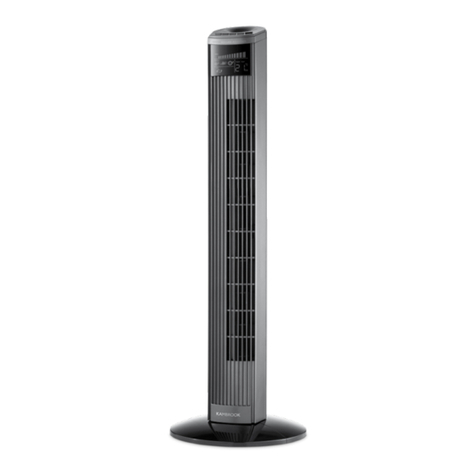
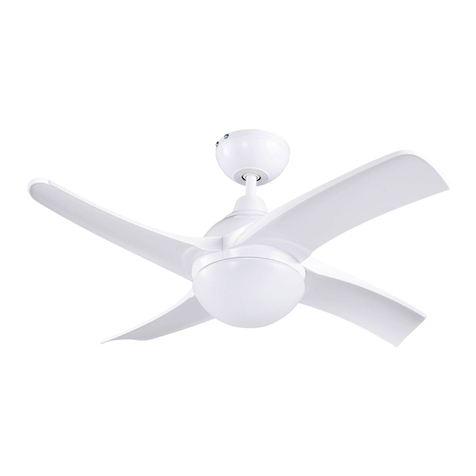
Sp Air SKJ-CR101 User manual

BLADELESS FAN
User Manual
SKJ-CR101
Please read this manual carefully before using the product and keep it properly.

1.SAFETY PRECAUTIONS
WARNING
To reduce the risk of fire, electric shock, or injury to persons,
please observe the following:
Other precautions shall adhere to national and local regulations on
electrical and electronic equipment.
·Children, elderly and persons with physical, sensory and reasoning challenges, or lack of experience
and knowledge should use this appliance only if they are given supervision or instruction by a
responsible person. Children should be supervised to ensure that they do not use the appliance as a toy.
·Please operate the appliance from a socket of the same current separately. Do not use a universal
socket with other appliances at the same time.
·If the appliance is not working as it should, unplug before carrying out any maintenance and no one
other than the maintenance technician can repair it.
·Do not move the appliance when you plug it in. When pulling out the plug, please pull out the plug in
hand. Do not pull out the cable.
·If the power adapter is damaged, you can buy another one in the specified store and replace it by
yourself.
·Do not stretch the power cable or place the cable under strain. Keep the cable away from heated
surfaces.
·Do not run cable under carpeting. Do not cover cable with throw rugs, other devices or similar
coverings. Arrange cable away from traffic area and where people will not be tripped over.
·Turn off all controls before unplugging.
·If you do not use it for a long time, unplug it from the socket. To avoid a tripping hazard wind the
cable safely when not in use.
·Do not put any object into wind inlets or outlets. Keep all openings unblocked and free of dust, lint,
hair, and anything that may reduce airflow.
·The appliance should be placed on a well-ventilated and even surface, and kept away from heat
source, oil, smoke and corrosive gas. Keep at least 150mm clearance around sides, back, front and top
to ensure the air intakes.
·Suitable for dry location only. Do not use outdoors or on wet surfaces.
·Fan, cable and plug are forbidden to immerse in water or other liquids in case of hazards. Do not use
extension cables without professional testing.
·Do not use in conjunction with or directly next to an air freshener or the likes. Do not use any
cleaning agents or lubricants on this appliance. Unplug before carrying out any maintenance

2.PRODUCT INTRODUCTION
All images in this instruction manual are for reference only, specific
items in the package shall prevail.
Basic Parameters
Product Name
Bladeless Fan
Product Model
SKJ-CR101
Rated Voltage
DC 12V
Airflow Speed
4 Speeds
Rated Power
18W
Timer
1-4h
FRONT
BACK
Top Cover
Air Outlet
Bottom Cover
Display Screen
Mood Lamp
Base
Power Cable
Switch
Air Inlet
Adapter

3. REMOTE CONTROL OPERATION
When use the remote control at the first time:
1. First plug the fan to the power supply;
2. then press the Timer button for 5 seconds to pair the remote control with the fan;
3. the fan will make a “di” sound three times after successful pairing.
ON/OFF
In the standby state, press the ON/OFF button to turn on and run.
In the running state, press the ON/OFF button, the fan stops and enter the
standby state.
Plasma
Press the button to turn on plasma function. The display screen will flash
green light twice and the fan will make a “di” sound twice.
Press the button again to turn off plasma function and the fan will make a
“di” sound twice.
Plasma can play a role in purifying the air.
Airflow
Speed
Level
Press the “+” button, the volume of air will increase.
Press the “-”button, the volume of air will decrease.
Oscillation
Press the oscillation button to adjust 1 to 4 levels oscillation angles.
The oscillation angle will loop through 30 to 60 degrees, 60 to 90 degrees,
90 to 110 degrees, and 110 degrees to off.
Mood
Lamp
Press the mood lamp button to adjust 1 to 4 levels lamp brightness.
After pressing the button at the fifth time, the mood lamp will turn off and
the fan will make a “di” sound twice.
Timer
Press the TIMER button on the remote control to adjust 1 to 4 hours timing
function.
Each press means 1 hour. Press the button twice means 2 hours, and so on.
After pressing the button at the fifth time, timer function will be canceled
and the fan will make a “di” sound twice.
ON/OFF
Turn On/Off
Timer
1-4 Hours Timing Mode
Oscillation
4 Levels Oscillation Angles
to adjust
Airflow Speed Level
4 Level Airflow Speeds
to Adjust
Plasma
Turn On/Off Plasma
Function
Mood Lamp
4 Level Lamp
Brightness to Adjust

4. INSTALLAION LOCATION
INSTALLATION LOCATION
Please arrange the fan on an even place. Do not place it on a tilted or soft surface that is
unstable to avoid damages or obstacles caused by tipping-over fan.
When this appliance operates, its air inlet should not be blocked. Please operate
appliance away from curtains in case that the fan can not work as the result of blocking
the air inlet.
Do not place any objective within 30 cm before the air outlet in case of reduced blowing
effect.
Keep away from curtains

5: DISPLAY SCREEN OPERATION
When the fan plugs and enters the standby state, display screen (as shown in the
pictures above) will be closed in 20 seconds.
ON/OFF:
After plugging the fan, press the screen to turn on.
In the running state, press the screen for 2 seconds and screen will be closed and stop
operation.
Airflow Speed Levels:
Press the display screen to switch the air speed from Level 1 to 2 to 3 to 4 in turn.
Display screen will be closed in 20 seconds without any operation.
Oscillating Operation
Press the display screen for 1 second and the fan will start oscillating. Press the display
screen again for 1 second and the fan will stop oscillating.
(Oscillating angles can only be adjusted by remote control.)
Display Screen Level Image (as shown below):
(Airflow Speed Levels、Timer Levels、Oscillation Levels)
Level 1
Level 2
Level 3
Level 4

6. BATTERY INSTALLATION
Install batteries before you use the remote control.
Battery Installation
1. Slide the battery cover back on the remote control;
2. Install two new AAA batteries;
3:Refit the battery cover on the remote control.
Note:Please install batteries in correct polarity.
※Remove batteries if the remote control is not used for a long period of time.
Old and useless batteries should be disposed in adherence to local laws and regulations.
Remote Control Back
Battery Cover
※require 2x AAA batteries

7. MAINTENANCE AND REPAIR
Please pull out the plug and cut off the power when maintaining.
When maintenance, please do not touch water or splash water, instead the
machine may be damaged because water gets in.
Please do not use banana oil, gasoline, alcohol, leach or metallic objects to
scrub the fan’s surface, which may discolor and deteriorate its surface.
Surface
Please slightly wipe the fan’s surface with a dry and soft cloth.
If the fan’s surface is too dirty, it can be wiped with a damp cloth containing a neutral
detergent.
Clean the surface and then use a dry cloth wipe.
Air Inlet/Outlet
Please use a soft brush or dust collector to clean the dust at the air inlet or outlet.
Accumulated dust may reduce the fan’s effect. Please clean the fan in time when there is
not much dust.
Remote Control
Please wipe the surface of the remote control with a dry soft cloth.
Please remove batteries if the remote control is not used for a long period of time.
Power Adapter
Please clean the power adapter with a dry soft cloth.
Preservation
The fan can be stored in a plastic bag after maintaining.
Please avoid unstable places and electric appliances with
cooling or heating function
Please avoid direct sunlight, high temperature and
moisture.
Please keep this appliance out of the reach of children.

8. AROMA DIFFUSER(SELECTIVE)
This product can add aroma liquid and give out aroma when operating.
How to add aroma liquid:
1. Remove the bottom cover outward (as
shown) , and take it down;
2. Take out the aroma container
upwards;
3. Add aroma liquids to the sponge in
the container;
4. Refit the aroma container and the
cover.

9. CHARGE(SELECTIVE)
This product has charging function. In a fully-charged state, it can
continuously run for about 150 minutes.
1. When detecting the power remaining below 10%, the
display screen will flash green light(as shown) three
times every 5 minutes.The fan will make a “di” sound for
three times till low power occurs and the fan is power off
.
2. When the fan is charging in a standby state, the display screen flash green
light. The display screen will be closed 5 minutes after full charge.
Battery Level Display:
How to replace
battery:
1. Remove the top cover outward (as shown) , and take it down;
2. Remove the fixed plate with a cross screwdriver;
3. Tilt the fan to take out the battery;
4. Put the new battery back and install the fixed plate and refit the cover.
Table of contents
Popular Fan manuals by other brands

Bimar
Bimar VP438A Instruction booklet
Hunter
Hunter Deermont PG3869 instruction manual
Hunter
Hunter 90400 owner's guide
Delta Electronics
Delta Electronics Exhaust Fan FFB Series specification
prana
prana recuperators RESIDENTIAL Series Quick user guide
cecotec
cecotec ForceSilence 8190 SkyLine instruction manual
