manuals.online logo
Brands
  1. Home
  2. •
  3. Brands
  4. •
  5. YitaHome
  6. •
  7. Fan
  8. •
  9. YitaHome JMOMQ-V1 User manual

YitaHome JMOMQ-V1 User manual

Pure & Easy
CONTACT US:
If you have any questions about the installation of YITAHOME® products,just contact us
at +1(888)-717-8084 from Mon-Fri 8:00 AM-16:30 PM PST / Saturday 8:00 AM-12:00 PMPST
or E-mail us at: after-sale.cs@hotmail.com
Alternative method to contact us(amazon.com orders only)
1.Log into your amazon account
2.Go to "Your Orders" and find the purchase
3.Click on "Contact Seller"
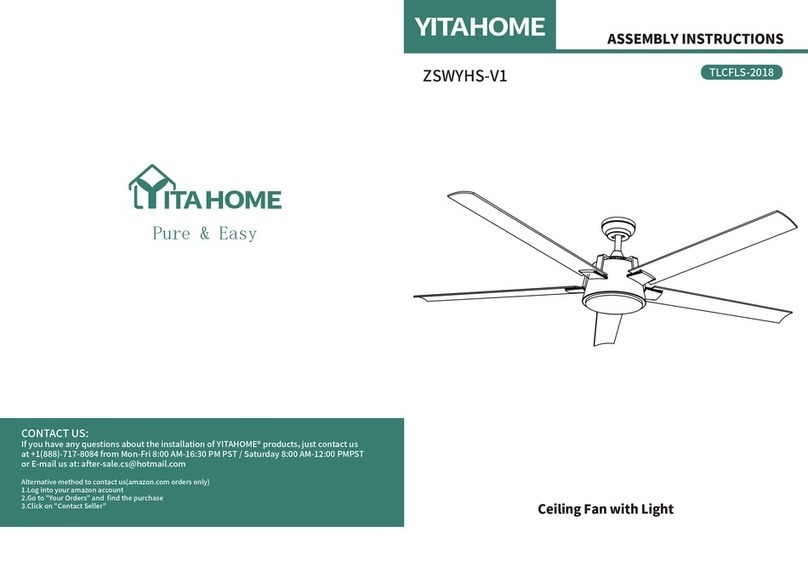
CEILING FAN
JMOMQ-V1
ASSEMBLY INSTRUCTIONS
TLCFLS-2017
Thank you for purchasing a YITAHOME product. To ensure correct function and safety,
please read and follow all the instructions before using the product.
ASSEMBLY INSTRUCTIONS
1 2
SAFETY GUIDELINES
1. To avoid possible electric shock, turn off the electricity at the main fuse box or circuit panel before you begin installing
or servicing the fan.
2. Read and follow all instructions and safety guidelines carefully before installing.
3. Make sure all electrical connections comply with the local codes or ordinances and the National Electrical Code. If you
are unfamiliar with electric wiring, please consult a qualified and licensed electrician.
4. Make sure there is sufficient space to rotate the blades of the fan, which is at least seven (7) feet of clearance between
the floor and the fan blade tips. The fan should be mounted at least thirty (30) inches from walls and/or other upright
structures.
5. WARNING:The outlet box and ceiling support joist used must be securely mounted, and capable of supporting at least
100 pounds . To reduce the risk of fire, electric shock or personal injury, mount to the outlet box marked “acceptable for
fan support” and use mounting screws provided with the outlet box. The box must be supported directly by the building
structure.
6. WARNING: To reduce the risk of fire, electric shock or personal injury, mount to outlet box marked "acceptable for fan
support" and use mounting screws provided with the outlet box. Most outlet boxes commonly used for the support of
lighting fixtures are not acceptable for fan support and may need to be replaced. Consult a qualified electrician if in
doubt.
7. Electrical diagrams are for reference only. Light kits that are not packed with the fan, which must be UL listed and
marked suitable for use with the fan model you are installing . Switches must be UL. general-use switches. Refer to the
instructions packaged with the light kits and switches for proper assembly.
8. After assembling, check that all connections are firmly secured.
9. After making electrical connections, spliced conductors should be turned upward and pushed up carefully into outlet
box. The wires should be placed separately from the grounded conductor and the equipment-grounding conductor on
opposite side of the outlet box.
10. WARNING:To reduce the risk of electrical shock and fire , do not use this fan with any solid-state fan speed control
device, or rheostat.
11. Do not operate the reverse switch until the fan has come to a complete stop. 12.Do not insert anything into the fan
blades while they are rotating.
13. WARNING: To reduce the risk of personal injury, do not bend the blade brackets (also referred to as "flanges") during
assembly or after installation. Do not insert objects into the blades.
14. To avoid personal injury or damage to the fan and other items, be cautious when working around or cleaning the fan.
15. Do not use water or detergent when cleaning the fan or fan blades. A dry dust cloth or lightly dampened cloth will be
suitable for cleaning.
NOTE: The important safety precautions and instructions on the manual are not meant to cover all possible conditions
and situations that may occur. It should be understood that common sense and caution are necessary factors
during the installation and operation of the fan.
NOTE: This product is not intended for use by persons (including children) with reduced physical, sensory or mental
capabilities that are different or impaired, or lack of experience and/or knowledge, unless such persons are
supervised and/or trained to operate the appliance by a person responsible for their safety.
NOTE: Children should be supervised to ensure that they do not use appliances as a toy.
NOTE: You must install a switch or circuit breaker that disconnects all power poles of at least 3 mm between each pole.
BEFORE YOU START
1.The input power for this fan must be 110V .
2.The electrical installation must be carried out by a qualified electrician.
3.To reduce the risk of electric shock, make sure the electricity is turned off
before mounting or dismounting the fan. The power cables for assembly must be earth,
positive and neutral.
4.Make sure all screws are assembled and tightened during assembly.
5.To reduce the risk of injury, do not touch the blades when the fan is running.
Insulating tape Double Open
End Spanner
Flat-bead
Screwdriver
Philips
Screwdriver
Stairs Pliers
PRODUCT INSTRUCTURE
ASSEMBLY INSTRUCTIONS
3 4
SCREWS BAG
A
Reference Image Qty.
Item
no.
×4
B
Reference Image Qty.
Item
no.
×4
INSTALLATION STEPS
INSTALLATION TIPS
IMPORTANT NOTE
Step 1: lock the lamp arm on the main lamp or iron plate
Step 2: connect with the connection cap at the connection point
and distinguish the L n line
Step 3: connect the suspension chain and lamp body with the ceiling,
and fix the hanging plate on the ceiling
Step 4: open the wire box, distinguish between L n and incoming line,
and then cover the wire box
1:Please turn off the main power supply when installing lamps and lanterns
2:Wear gloves when installing lamps to avoid cleaning and rusting.
3:Installation gecko, gecko screw must be firm, not loose,
in order to avoid danger。
4:Please handle with care when installing glass or fragile parts。
5:Pay attention to the tools do not scratch the surface of the hardware
plating, or it will affect the appearance and rust easily。
6:After installation and debugging, turn on the power
supply and start working after leaving。
1:The lamp is suitable for rated110 v.60zh power supply
2:Non professionals are not allowed to open the interior of the lamp
3:To replace the light source, turn off the power for 30 minutes
and wait until the bulb is completely cooled to avoid scalding.
4:Please do not discard the bulb or let children play.
5:Warm prompt, please turn off all power supply
when there is no one in the room.
6:Thank you very much for choosing our products
CCC
ASSEMBLY INSTRUCTIONS
5 6
RECEIVER ATTENTION REMOTE CONTROL SETTING AND OPERATION
Black wire “L” for 110V
White wire “N” for 110V
White wire for light
Blue wire for light
White wire for signal
Black wire for motor
Red wire for motor
White wire for motor

This manual suits for next models

1

Other YitaHome Fan manuals

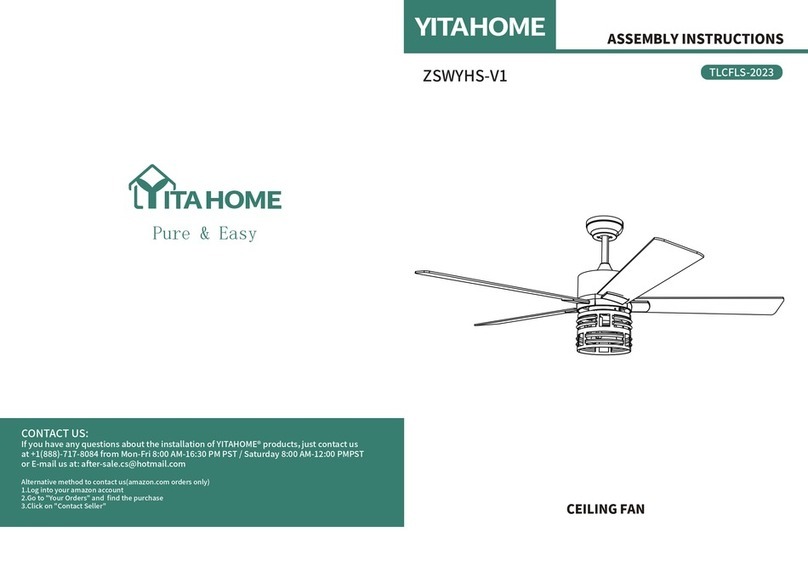
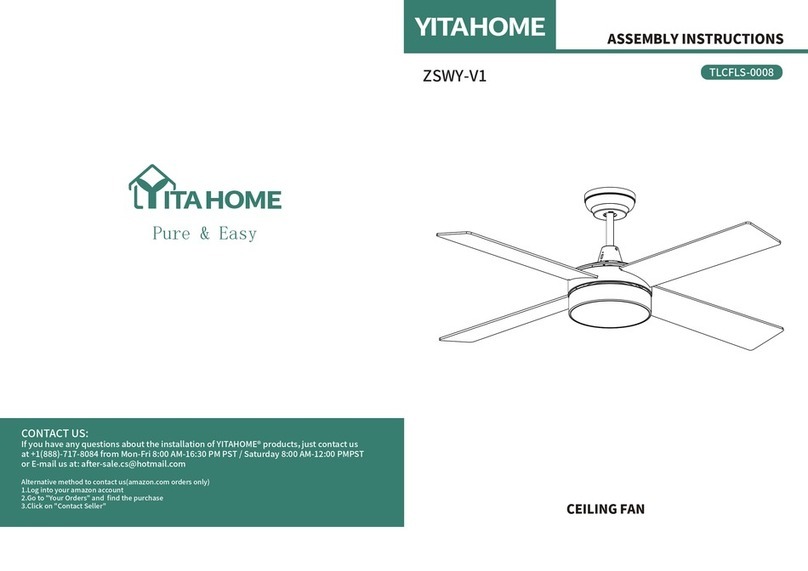
YitaHome ZSWY-V1 User manual

YitaHome

YitaHome ZSWY-V1 User manual

YitaHome TLCFLS-2007 User manual

YitaHome

YitaHome TLCFLS-2007 User manual

YitaHome TLCFLS-0008 User manual

YitaHome

YitaHome TLCFLS-0008 User manual

YitaHome TLCFLS-0007 User manual

YitaHome

YitaHome TLCFLS-0007 User manual

YitaHome TLCFLS-1002 User manual

YitaHome

YitaHome TLCFLS-1002 User manual

YitaHome TLCFLS-2018 User manual

YitaHome

YitaHome TLCFLS-2018 User manual

YitaHome TLCFLS-2022 User manual

YitaHome

YitaHome TLCFLS-2022 User manual

YitaHome TLCFLS-2028 User manual

YitaHome

YitaHome TLCFLS-2028 User manual

YitaHome ZSWYHS-V1 User manual

YitaHome

YitaHome ZSWYHS-V1 User manual

YitaHome TLCFLS-0010 User manual

YitaHome

YitaHome TLCFLS-0010 User manual

YitaHome TLCFLS-0009 User manual

YitaHome

YitaHome TLCFLS-0009 User manual

YitaHome TLCFLS-1003 User manual

YitaHome

YitaHome TLCFLS-1003 User manual

YitaHome TLCFLS-2039 User manual

YitaHome

YitaHome TLCFLS-2039 User manual

YitaHome ZSWYHS-V1 User manual

YitaHome

YitaHome ZSWYHS-V1 User manual

Popular Fan manuals by other brands

HAMPTON BAY SINCLAIR AL958-TB Use and care guide

HAMPTON BAY

HAMPTON BAY SINCLAIR AL958-TB Use and care guide

Bigassfans Powerfoil LED Quick installation guide

Bigassfans

Bigassfans Powerfoil LED Quick installation guide

HAMPTON BAY 434-972 Use and care guide

HAMPTON BAY

HAMPTON BAY 434-972 Use and care guide

Ebmpapst S3G450-ZI07-H1 operating instructions

Ebmpapst

Ebmpapst S3G450-ZI07-H1 operating instructions

Prima Klima PK125-ECblue instructions

Prima Klima

Prima Klima PK125-ECblue instructions

Ebmpapst R3G450-PA21-C1 operating instructions

Ebmpapst

Ebmpapst R3G450-PA21-C1 operating instructions

Comfort Zone CZST185 Series instructions

Comfort Zone

Comfort Zone CZST185 Series instructions

Ebmpapst R3G400-PW03-01 operating instructions

Ebmpapst

Ebmpapst R3G400-PW03-01 operating instructions

Scandomestic SV 10 Series user manual

Scandomestic

Scandomestic SV 10 Series user manual

Ebmpapst A4S200-AH04-01 operating instructions

Ebmpapst

Ebmpapst A4S200-AH04-01 operating instructions

Ebmpapst W3G350-CN01-32 operating instructions

Ebmpapst

Ebmpapst W3G350-CN01-32 operating instructions

Ebmpapst K3G355-RS02-H2 operating instructions

Ebmpapst

Ebmpapst K3G355-RS02-H2 operating instructions

Air King BFQ70 Important instructions & operating manual

Air King

Air King BFQ70 Important instructions & operating manual

Ebmpapst D2E146-HT65-94 operating instructions

Ebmpapst

Ebmpapst D2E146-HT65-94 operating instructions

HAMPTON BAY 44 in Hawkins owner's manual

HAMPTON BAY

HAMPTON BAY 44 in Hawkins owner's manual

Air King FRAK50S installation instructions

Air King

Air King FRAK50S installation instructions

tec lime TDF-2511 Inox user manual

tec lime

tec lime TDF-2511 Inox user manual

German pool TRI-306 operating instructions

German pool

German pool TRI-306 operating instructions

manuals.online logo
manuals.online logoBrands
  • About & Mission
  • Contact us
  • Privacy Policy
  • Terms and Conditions

Copyright 2025 Manuals.Online. All Rights Reserved.