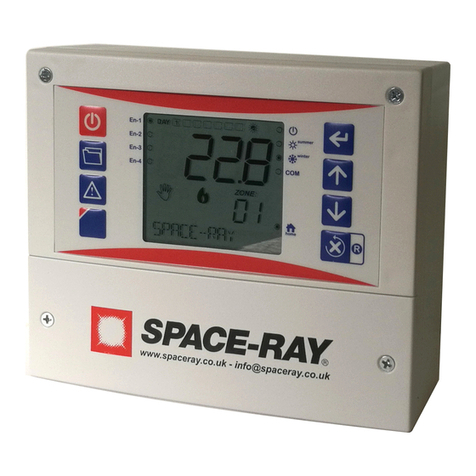
Space-Ray SCB60B-E1111 User manual

1
QUICK GUIDE for using SCB60B-E1111
Page 2. WIRING DIAGRAM
Page 3. FRONT PANEL (keyboard / display)
Page 4. MENU (SET, Temperature Setting Probes)
Page 5. MENU (TIME, Set Time, Day, Month, Year)
Page 5/6. MENU (TIMER programs)
Page 6. MENU (PAR, Setting Parameters, H5 codes)
Page 7. MENU (PAR, AUX Common fan settings)
Page 7. MENU (FNC, Enable Zones and Burners)
Page 8. LOCK Keypad.
Page 9. ALARM SIGNALS.

2

3

4
MENU
Press the menu followed by the key to scroll through the menu SET, TIME, PAR,
FN and INFO. The menu is in the following order:
1. SET, this is to set the Temperature Sensors.
2. TIME, used to set the Time, Date Month, Year, Weekday.
3. PAR, is to access all the parameters from Fan set up, Zone Qtys, Burner Qtys and
more.
4. FN is to Enable the Zones, Automatically, Manually or via Time settings as well as
Enable the Burners.
5. INFO shows the outside Temperature Sensors and any meters running.
You can access the above by pressing the following steps then Press the Enter key to
access the option required.
1. SET, Used to set the desired temperature for each Sensor probe.
Press (SET will be displayed), then Press This will then display SP1 (Sensor Probe
1) to change to a desired Sensor Probe Press until you find the required Sensor Probe,
SP1, SP2, SP3 or SP4. This will depend on how many probes you have connected and
determined by the H5 setting in Parameters. Once you have the desired Sensor Probe Press
then use the to change the temperature to the required setting. Press
again to set the Temperatures then repeat for SP2, SP3 and SP4 if connected. Once all
Probes are set Press this will return you to the main menu.
See section 13 in the manual for more.

5
2. TIME Used to set the time, date, year, month.
Press (SET will be displayed) then, then, this will display the current set time.
Press then use the
to change the Hour. Press then use the
to change the Minutes. . Press then use the
to change the Day (1 to 7. 1 being Monday). Press then use the
to change the Year. Press then use the
to change the Month. Press then use the
to change the Day of the month. Press to complete the process or to
scroll through again.
Once all settings are complete Press this will return you to the main menu.
See section 15 in the manual for more.
3.TIMER PROGRAMS
To set a timer program for a burner to come on or off first press (SET will be displayed)
then, then, then, Fnc will be displayed then press . AN-1 will be displayed
press if Auto is not displayed then press until it is. Once Auto is showing
press . This will show --:--. Press followed by the keys to set the hour.
Once correct press then use the keys to set the minutes. Once the minutes
are set press the again this will show all the days flashing (1 to 7) using the
keys you can set each individual day (1 to 7), weekend (6 & 7)or Mon to Fri (1 to
5). Press , using the keys you can then set the burners to ON or OFF. Press
again. you can now press the to start the process again or press .

6
Once you have set all your ONs and OFFs you can review all the programs you have set by
Pressing (SET will be displayed) then, then, then, Fnc will be displayed
then press . AN-1 will be displayed, press and AUTO will be displayed. Press .
Then using the key you can scroll through all the timer settings that have been set up
and add more if required.
See section 11.2 on page 5 of the manual for more information.
4.PAR Used to access all the parameters from Fan set up, Zone Qtys, Burner Qtys
Press (SET will be displayed) then, then, this will display PAR. Press this
will then display PA. Press Again. This is where you now enter the Password for the unit
to change the
Parameters, this can be locked by the customer with there own password. Use Installer
Password 95 or Factory Password 59. Please see page 7 of the manual under section 17.
Press the to enter the passcode required then Press . You can then use the
to scroll through all the parameters found in section 17 on page 6 of the manual
and section 4.2 on page 2 to find the desired H5 parameter.
When we set these up to send to the customer we will only set the H5, FB and
FBF codes.
The H5 code is the code to set the Operation mode for heating zones, sensor connections
and common AUX fan if fitted. Scroll through the parameters until you come to H5 then Press
, using scroll to the desired operation mode as shown in section 4.2 on page
2 and 3, for example H5=12 is 3xZones made of 1x single stage independent heater each +
Common exhaust fan. Press again, this will take you back to the H5 Display. Press
. Then reset the unit by pressing and holding the power button until OFF is
displayed then press the power button to turn the unit back on.

7
The FB code is the stop time of the common fan and burners before any burner ignition. We
Factory set this at 8 but can be adjusted to anything between 2 and 250 seconds. To set this
Scroll through the parameters until you come to FB then Press , using scroll
to the desired setting, we factory set this to 8 if a common fan is used.
The FBF code is the stop time of common fan and burners after any burner ignition. We
Factory set the at 8 but can be adjusted to anything between 2 and 250 seconds. To set this
Scroll through the parameters until you come to FBF then Press , using scroll
to the desired setting, we factory set this to 8 if a common fan is used.
Once you have set both the FB and FBF settings reset the unit by pressing and holding the
power button until OFF is displayed then press the power button to turn the unit
back on.
See section 4.2 on page 2 and 3 as well as Section 17 on page 6 in the manual for
more help.
5. FN is to Enable the Zones, Automatically, Manually or via Time settings as well as
Enable the Burners.
Press (SET will be displayed) then , then, then, this will display FNC.
Press this will display AN-1, this is
ZONE 1, (if there is more than one they will be AN-2, AN-3 or AN-4) if then press this
will give you the first option which will be ON, if you press you can change this to Auto
or OFF. Press once you have set the zone. See Section 11.2 on page 4 of the manual.
Once you have the Zones set to Manual. Auto Or Off. If you continue to scroll through the
menu options from AN-1 by pressing then again En-1 will display. This is your
Burner Enable options. Press then the key you can enable or disable the burner.
See section 11.3 on page 5. You can repeat this to set EN-1 to En-4.

8
6.KEYPAD Lock
To lock the keypad go into the PAR (section 4 above) and scroll through until you find the
HL, set this to YES.
When the keypad is locked, the message LOC will be displayed anytime a key is pressed.
To temporarily unlock the keypad hold for at least 3 secs until the message UnL
is displayed. The Keypad re-locks automatically after 15secs of inactivity.
These are the only basic functions we set up here in the
factory, for all other parameters and settings it is advised
that you ready the manual fully.

9
ALARM SIGNALS
When an alarm is displayed Press followed by the to scroll
through the below signals
Table of contents
Other Space-Ray Thermostat manuals
Popular Thermostat manuals by other brands
White Rodgers
White Rodgers 1F95-71 installation instructions
Toptech
Toptech TT-S-755H operating manual
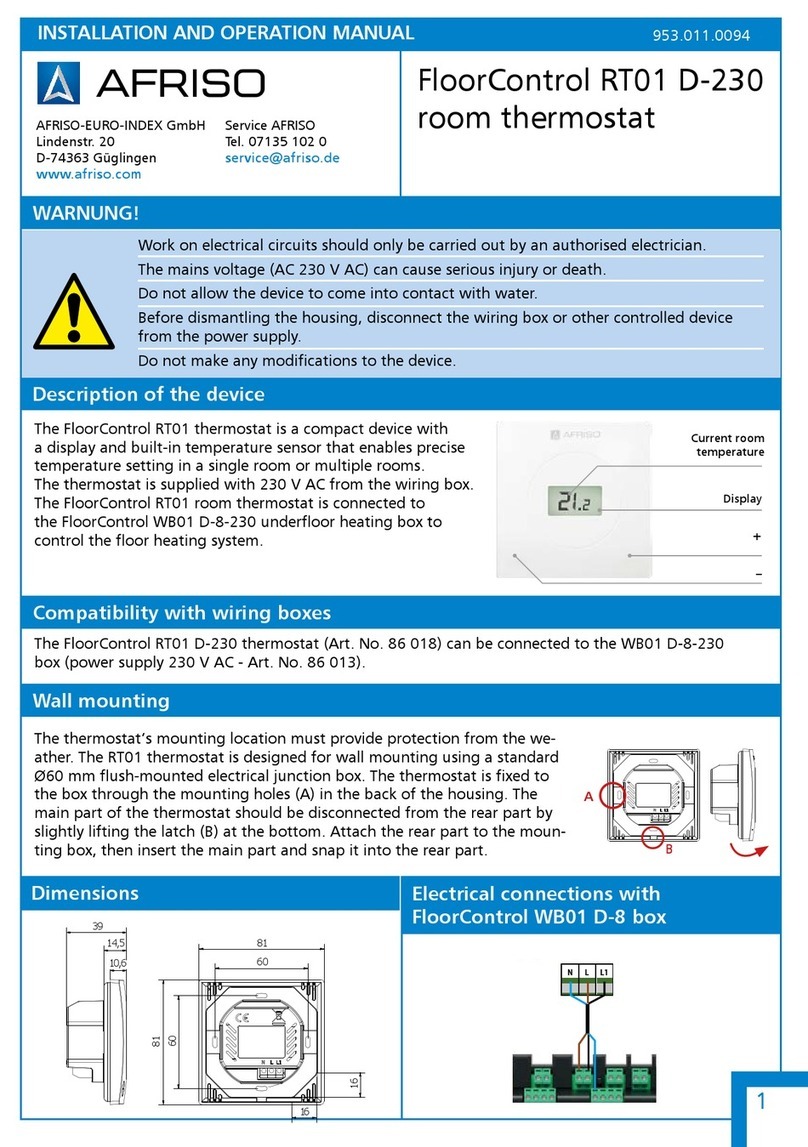
AFRISO
AFRISO FloorControl RT01 Installation and operation manual
Honeywell
Honeywell PROGRAMMABLE THERMOSTAT RTH6350 Quick installation guide
Etherma
Etherma ET-72 manual
Peco
Peco Peco TW205 operating manual
