SpaDealers City Arctic User manual

1
Observe!
A. Verify that the product has not been damaged during shipping
when unpacking the product. If damages are discovered, report in
that case, to the delivery company.
B. Read the technical instructions before installing the bath
C. We are not responsible for product malfunction or damages if our instructions are not followed during
installation.
D. Read the users instructions before using the bath
E. Do not leave children in the bath without supervision
F. For safety, energy consumption and cleanliness, we recommend using a lockable cover when the bath
is not in use and during heating.
G. ATTENTION! If the hot tub will be countersunk e.g. in a terrace it is necessary that the access is not
obstructed in any way order to be able to service it. Service hatches should be removable without a
problem.
H. Check the quality of the water, as well as temperature and function, regularly, don't leave the spa
unmonitored for long time periods.
I. If automatic dispensers (floating, etc.) are used, careful adjustment should be made to avoid incorrect
dosage. Follow the recommendations in our instructions.
Read the instructions carefully and save them for future needs.
The hot tub is for outdoor use only.
City Arctic & CityTub
1200 L
1810mm
1660mm
1010mm
350mm
300mm
20mm
2021-08-12

2
WARNINGS
•Danger! - Risk of drowning (especially for children under 5 years). Pay attention to and prevent
children from using the hot tub without permission. An adult supervisor must prevent children from
having access to the hot tub on their own.
•Use a lockable lid or other protective device that prevents access. When children use the hot tub, the
adult must be supervised.
•The temperature in the hot tub should never exceed 40 ° C. A lower temperature is recommended,
especially for children and for longer stays.
•High water temperatures increase the risk of birth defects early in pregnancy. Therefore, pregnant
women should use the hot tub with lower water temperatures and shorter periods.
•The user must always consider their state of health when using the hot tub.
•Always check the water temperature in the hot tub before using it.
•The use of alcohol, drugs or medicines before entering the hot tub or during the use of the hot tub
may cause unconsciousness and a risk of drowning.
•Avoid swallowing water.
•There must be a telephone and a list of emergency numbers near the hot tub.
See page 3 of the gas stove manual (separate) regarding controls and connections!
Use gas reducer 30 mbar, 2 kg / h (not included). See page 5 of the gas stove manual (separate) or the
last page of this manual.
See separate document for water hygiene!
RECYCLING OF THE PRODUCT
The metal parts of the product are taken to the metal recycling and the wooden parts can be incinerated.
Pressure impregnated wood is environmentally hazardous waste. Wooden frame and exterior wood panel can
be incinerated. Other parts are mixed waste.
PVC-plastic; Pipes
Landfill waste
HDPE-plastic; the plastic hot tub itself
Can be incinerated, can be removed, for
example, as energy waste.
EPS Insulation, bottom and panel insulation on insulated models
Can be incinerated, can be removed, for
example, as energy waste.

3
Connection of gas stove, City Tub and City Arctic models
(only City Arctic comes with insulated protective box)
1. Drainage 2. Inlet and outlet 3. LED (accessory)
4. Bubble (accessory) 5. Transformer (24V) 6. Gas stove 24 kW
NOTE! When the City Arctic is delivered, an insulated protective box for the gas stove is
installed, but not the box for the gas bottle. The following shows the installation of that box.
For City Tub the protective box is an optional accessory.
1
2
3
4
5
6

4
Usage of heater (City Tub & City Arctic)
Figure Ashows the stove connected. Connect the upper hose (2b) to the stove and the lower (2a) to the
pump. NOTE! Always remove insulation (3) before using the stove! See picture B. When the stove is in use,
the front door can be tilted as picture Bshows and protect from wind and rain.
The insulation (3) is put back in place when the stove is no longer in use, before the insulated door is put in
place. See picture C.
NOTE! In cold weather when there is risk of freezing! Remove the stove with pump and store them in a frost-
free place. If water is left in the tub and the stove is turned off, the pump and circulation must be kept
running. Leave the pump and gas stove connected according to figure Aand close the insulated front door
according to figure C. For the uninsulated City Tub, it is recommended to always drain the water after use in
case there is a risk of freezing. Disconnect the stove with a pump and store in a frost-free place.
Filling of water
Filling is generally done with a garden hose connected to the water mains. If another water source is used,
take special consideration regarding the potential for bacteria. Read the instructions on water hygiene and
the use of chemicals.
Remember that the water level will rise by approx. 5 cm when an average-sized person sits in the Hot Tub.
This is equivalent to 80 liters of water. The water level should be 20 cm below the edge when empty. The total
amount of water to heat up is subsequently reduced by ca. 200 liters. If the Hot Tub is completely filled, this
amount of water will flood over the edges when the users sit down.
Draining of water - In the bottom of the hot tub there is a drain valve. Pressing it opens the valve and the
water can flow out through the drain hose. Another press closes it. The drain hose may be extended, a 32 mm
outer diameter is suitable. NOTE! The drain valve is made so that it does not open too easily, thus high water
levels can prevent it from opening. If so, some water can be drained via the stove outlet until the bottom
valve can open.
B
A
3
3
C
2a
2b
3

5
Cleaning the hot tub - After the water has been used in a hot tub so it should be emptied out. The hot tub
is then rinsed out with clean fresh water. If the water has been in it for a long time, it should also be scrubbed
with soap. If you have a stove from SpaDealers so it should always be emptied of water.
Heating device - Always read the separate instructions supplied with the heating device, for example,
wood stove or gas heater. Be sure to follow them and take also into account the possible risk of freezing.
Function of Stove
The stove has a water flow control, is fully automatic and easy to use. Before the pump there is a filter which
ensures that debris is not sucked in and it’s important that it’s kept clean. The most common problem that
can occur is when dirty water is used and the filter gets clogged. This causes the water flow to diminish. The
stove then switches off. No temperature is shown in the display and no spark. The problem is solved by
cleaning the filter.
USE THE RIGHT LOW PRESSURE CONTROLLER
The types of gas cylinders and connection methods of low pressure regulators (30mbar, 2kg / h) can vary. It is
important that the correct low pressure regulator is used. Here are examples of the right type and also
incorrect types. NEVER USE an adjustable controller.
Examples of correct gas reducers and incorrect ones
Note that the amount of gas that the stove needs to give full effect is 1.6 kg / h. With a flow of 1 kg / h, the
effect is 60% less. So the most optimal is 2 kg / h.
BEFORE STARTING
Check that the gas type corresponds to that stated on the rating plate, see page 2 in the stove's operating
instructions. CHECK THAT THERE ARE NO GAS LEAKS! Open the gas valve and see instructions on page 7 in the
stove's operating instructions.
START UP> Start the pump, the ignition switch (11) is activated via ON / OFF, the ignition switches on and
"on" sound occurs during the ignition procedure, the sound stops after the gas burner has started; hot water
comes out. NOTE: When using the stove for the first time, or after a long period of inactivity, repeated ignition
attempts are needed to remove any air in the gas line.

6
Use the "GAS" knob to adjust the gas flow and "Power" to adjust the number of burners (one or three). "Gas"
and "Power" set to max position give maximum effect. Note! The "Water" knob adjusts the water flow and it
must always be set to the MAX position. If set to MIN, it reduces the water flow through the heat exchanger
and causes the water coming out to become so hot that the stove's overheating thermostat (placed on the
outlet pipe after the heat exchanger) activates and the heater stops.
SWITCH OFF> Close the main valve for the gas and switch off the pump.
Foundation and placement options
Maintenance
The wood on the outside must be treated with wood oil annually. The oil must be suitable for hard wood or
heat treated wood and provide UV protection. It would be also good if it contains a slight brownish nuance in
order to provide more protection.
Untreated Oiled Untreated > 3 years
If you have any questions, please contact us at +358-10-239 5600 or
info@spadealers.fi
We wish you many wonderful bathing days.
Nurmi
Gräs
Grass
Nicht auf Rasen!
Pelouse
Трава
Puualusta
Trästomme
Wooden frame
Auf Holzrahmen
Structure bois
Деревянная конструкция
Kivi- tai valulaatta
Sten- eller gjuten platta
Stone or concrete plate
Stein- oder Betonfundament
Pierre ou ciment
Камень или бетон
Tiivistetty sorapeti
Stampat grus
Gravel foundation
Dichter Schotter
Fondation en gravier
Гй
Place the Hot Tub
on a stable base
and not directly on
the ground.
This manual suits for next models
1
Table of contents
Other SpaDealers Hot Tub manuals
SpaDealers
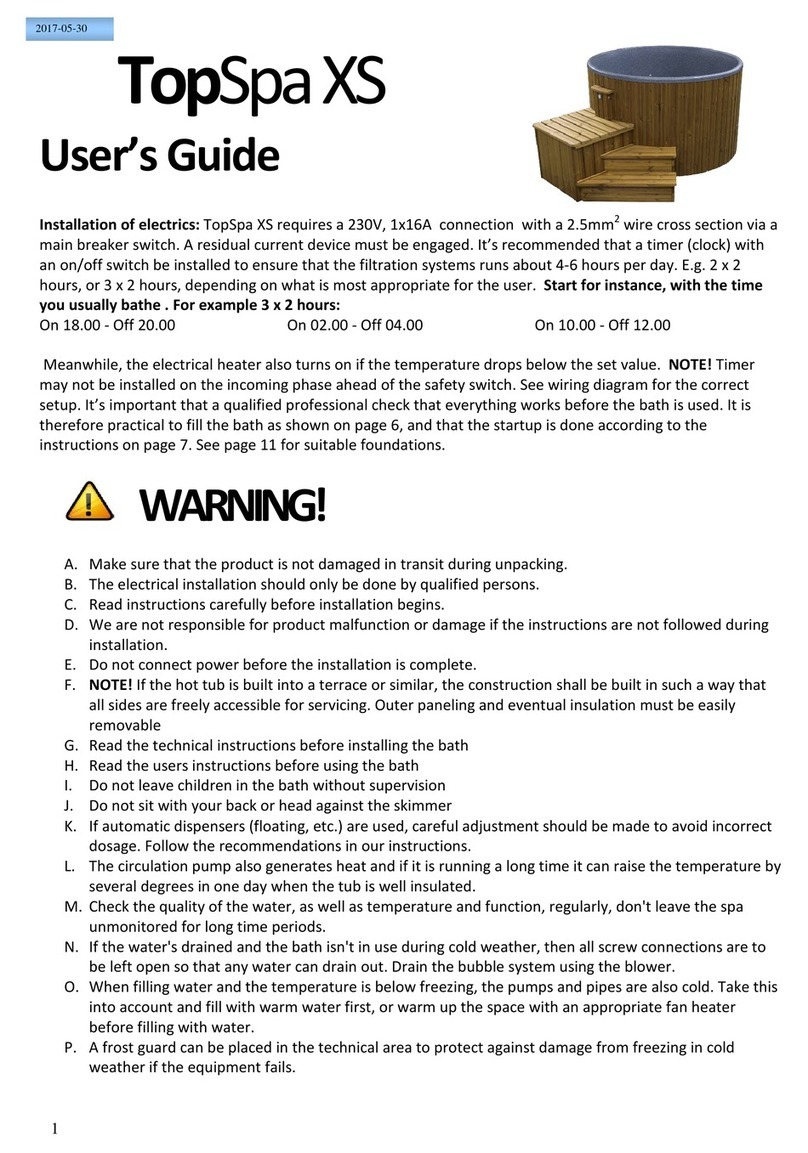
SpaDealers TopSpa XS User manual

SpaDealers
SpaDealers CityTub User manual

SpaDealers
SpaDealers Polar AquaKing User manual

SpaDealers
SpaDealers CityTub User manual

SpaDealers
SpaDealers RelaxComfortDuo User manual

SpaDealers
SpaDealers City-& FINNTub User manual

SpaDealers
SpaDealers arctic User manual

SpaDealers
SpaDealers SG-0007B User manual
Popular Hot Tub manuals by other brands

Thermasol
Thermasol TWPH7S installation manual
SpaEquip
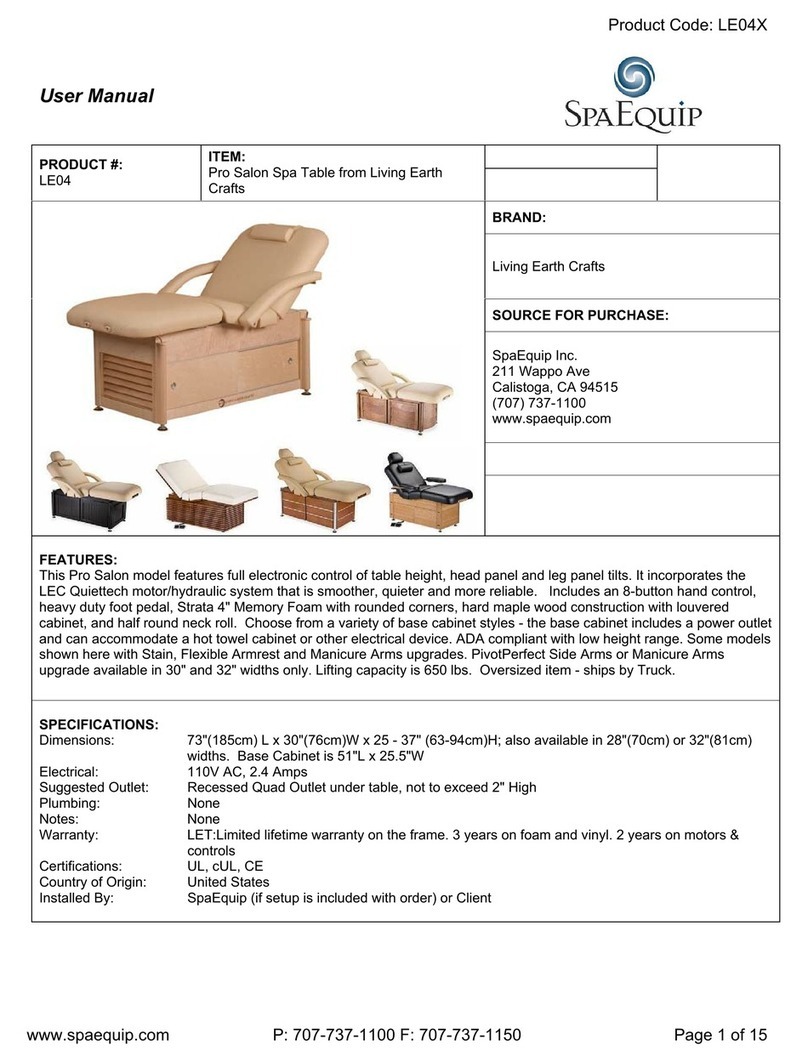
SpaEquip LE04 user manual
Balboa
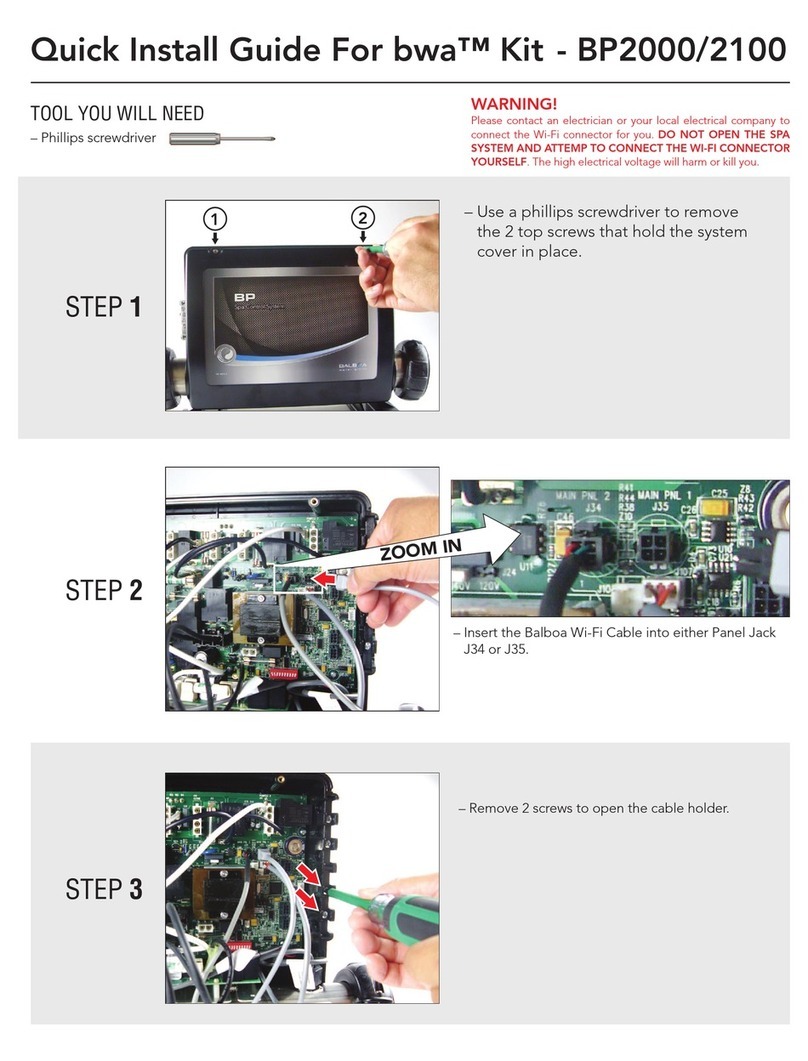
Balboa bwa BP2000 Quick install guide

Aston Global
Aston Global MT601-R Installation and owner's manual

Kogan
Kogan IBIZA KASPABWIBZA user guide
American Standard
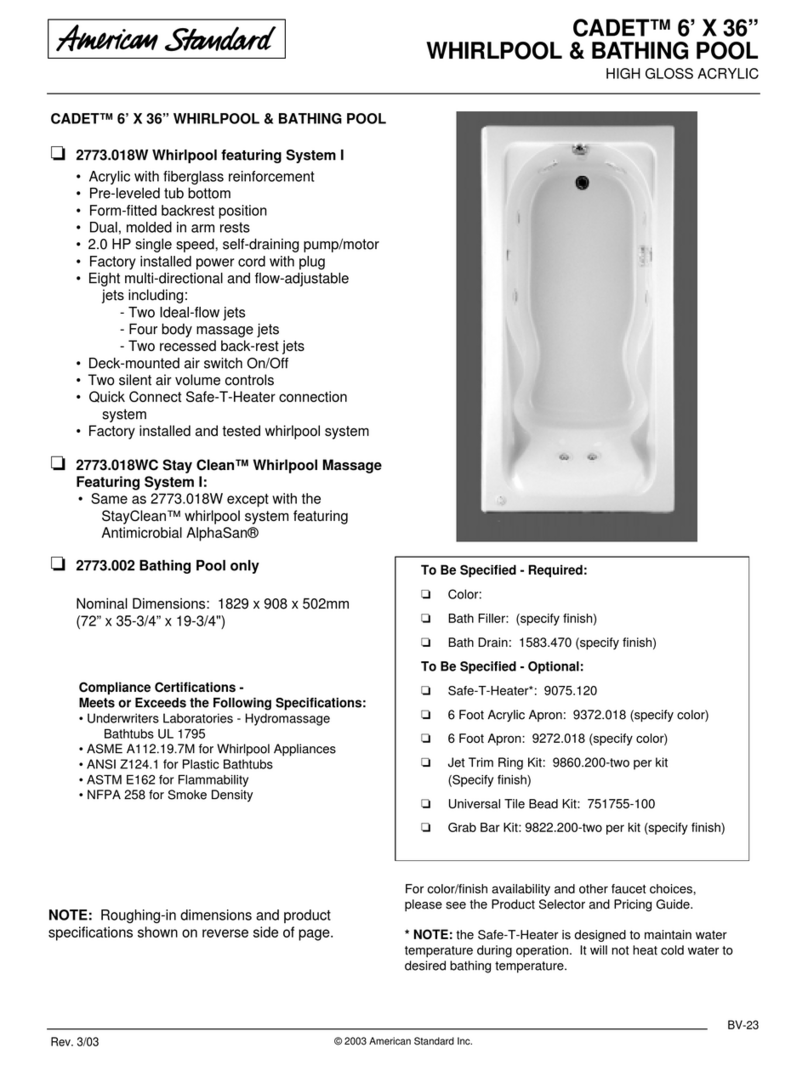
American Standard Cadet 6'x36 2773.002 Features & dimensions
