1. Identify a suitable location (see ‘Where to
Install’ p3).
2. Ensure enough clearance to carry out
cleaning as the rods must be lifted out of the
unit to clean. See dimensions in column B in
the table below.
3. Mark and then cut out the correct length of
pipe section to be removed to accommodate
the BoilermagXT unit and isolation valves.
Ensure the cut is level and burr free.
(Isolation valves are not included in the
BoilermagXT pack.)
4. Install appropriate isolation valves to the
pipework and fit the valves to the two PN16
flanges (see below for flange dimensions).
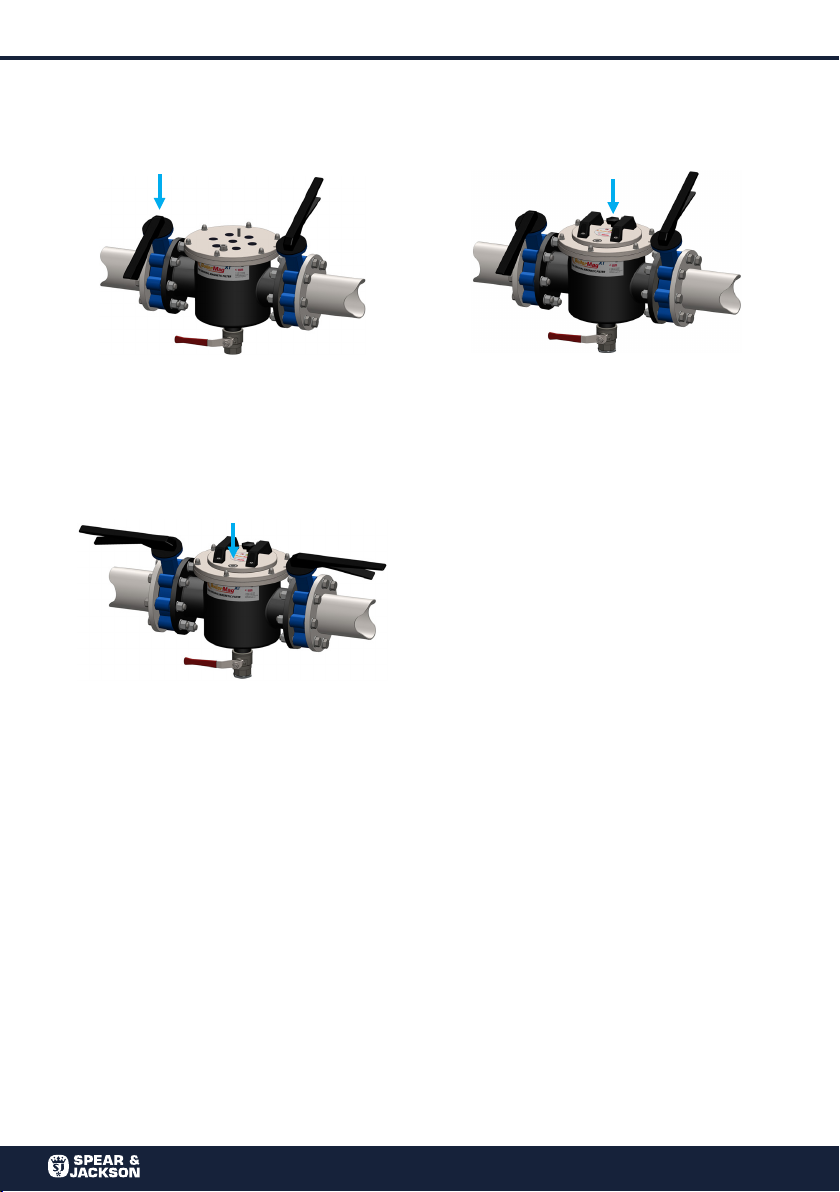
5. Position the BoilermagXT in place then align
and secure the fittings to connect the unit
to the valves.
6. Open the isolation valves and turn on the
heating system
7. Complete the BoilermagXT warranty card and
return to Spear & Jackson.
8. Run the heating system at normal operating
temperature and check installation integrity.
Flange details
Part No. Inlet / outlet ∅ABFlange spacing C
BMXT150/2/AAV 2" 305 260
BMXT200/3/AAV 3" 390 360
BMXT200/4/AAV 4" 390 360
BMXT300/6/AAV 6" 360 470
BMXT300/8/AAV 8" 400 525
BMXT400/10/AAV 10" 770 760
BMXT400/12/AAV 12" 820 760
B
A
C
2" PN16 4" PN16 6" PN163" PN16
10" PN16
Ø165
Ø125
Ø18
Ø220
Ø180
Ø18
Ø285
Ø240
Ø22
Ø340
Ø22
Ø295
Ø405
Ø355
Ø26
Ø200
Ø160
Ø18
Ø460
Ø410
Ø26
all dimensions in mm unless stated
Installing BoilermagXT
Installation details
www.boilermag.com