2
Notices
Except as expressly stated herein, Spectra Logic Corporation makes available this Spectra®library and associated
documentation on an “AS IS” BASIS, WITHOUT WARRANTY OF ANY KIND, EITHER EXPRESSED OR IMPLIED, INCLUDING BUT NOT
LIMITED TO THE IMPLIED WARRANTIES OF MERCHANTABILITY OR FITNESS FOR A PARTICULAR PURPOSE, BOTH OF WHICH ARE
EXPRESSLY DISCLAIMED. In no event shall Spectra Logic be liable for any loss of profits, loss of business, loss of use or data,
interruption of business, or for indirect, special, incidental or consequential damages of any kind, even if Spectra Logic has been
advised of the possibility of such damages arising from any defect or error.
Information furnished in this manual is believed to be accurate and reliable. However, no responsibility is assumed by
Spectra Logic for its use. Due to continuing research and development, Spectra Logic may revise this publication from time
to time without notice, and reserves the right to change any product specification at any time without notice.
If you do not agree to the above, do not use the Spectra library; instead, promptly contact Spectra Logic for instructions on
how to return the library for a refund.
RXT is a trademark of and BlueScale, Spectra, SpectraGuard, TeraPack, and the Spectra Logic logo are registered
trademarks of Spectra Logic Corporation. All rights reserved worldwide. All other trademarks and registered trademarks
are the property of their respective owners.
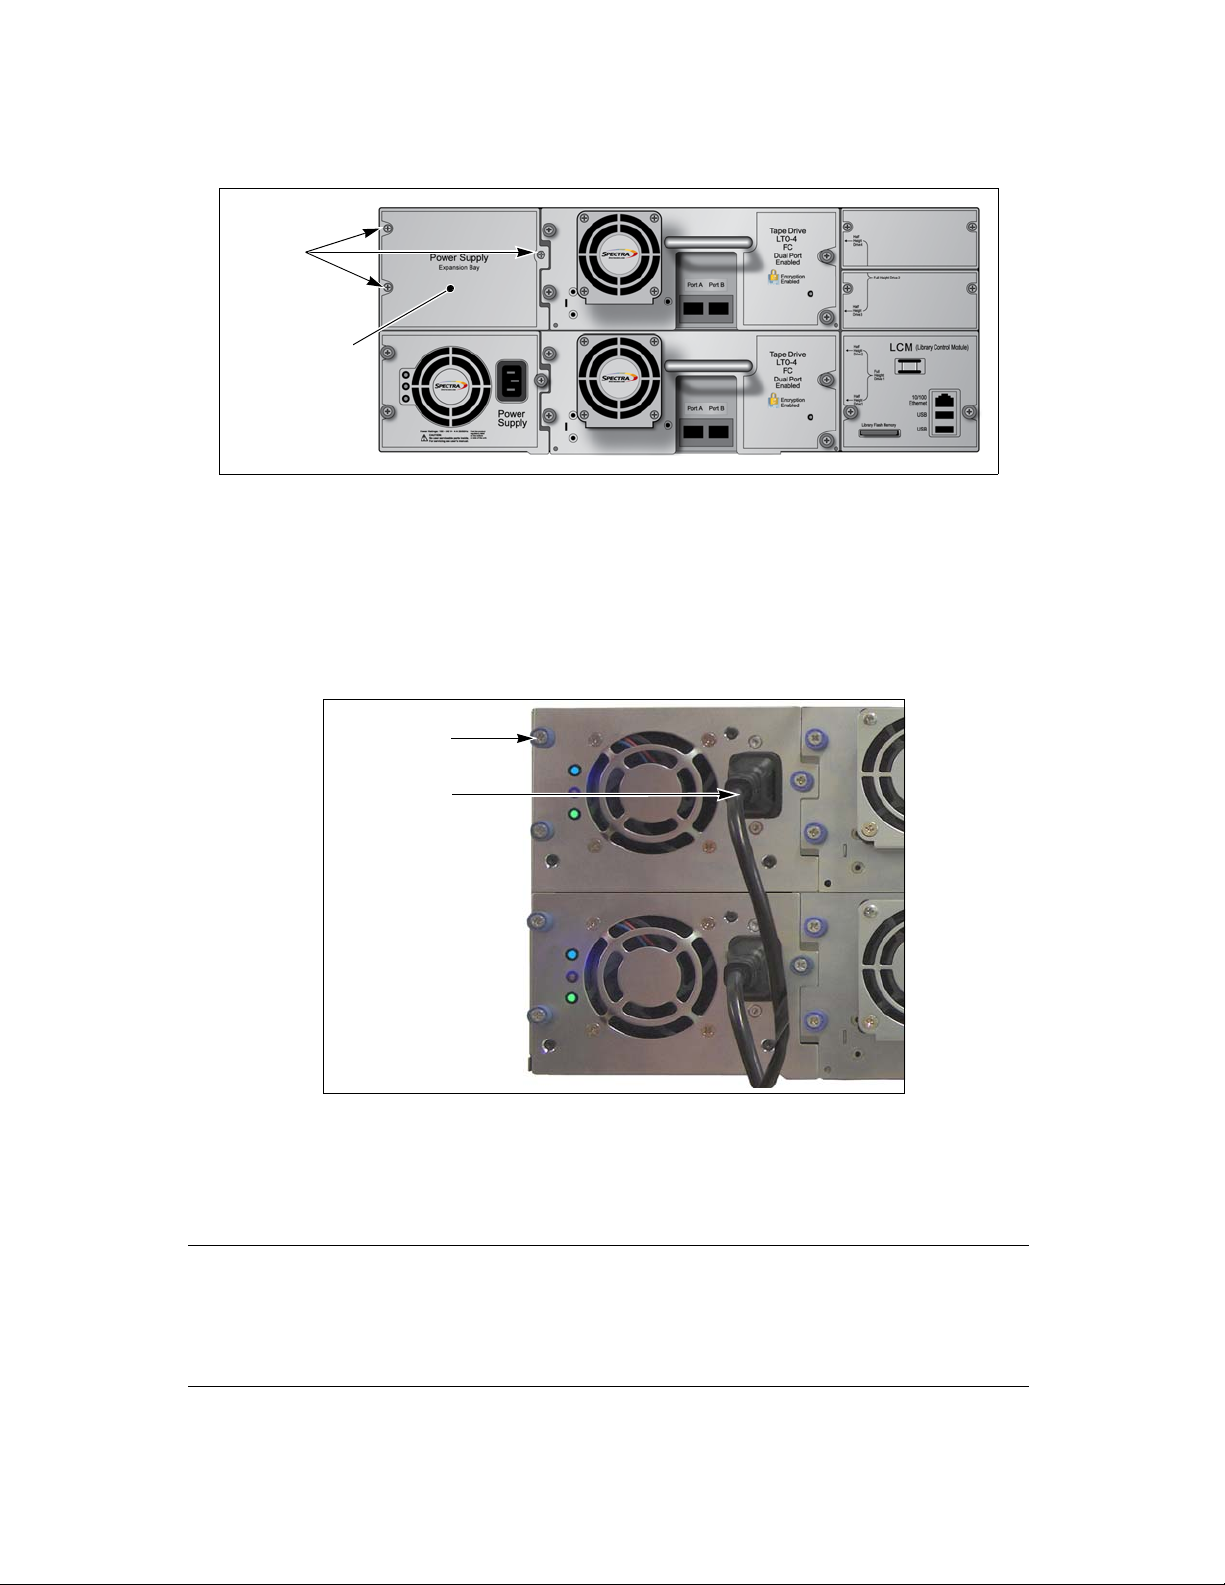
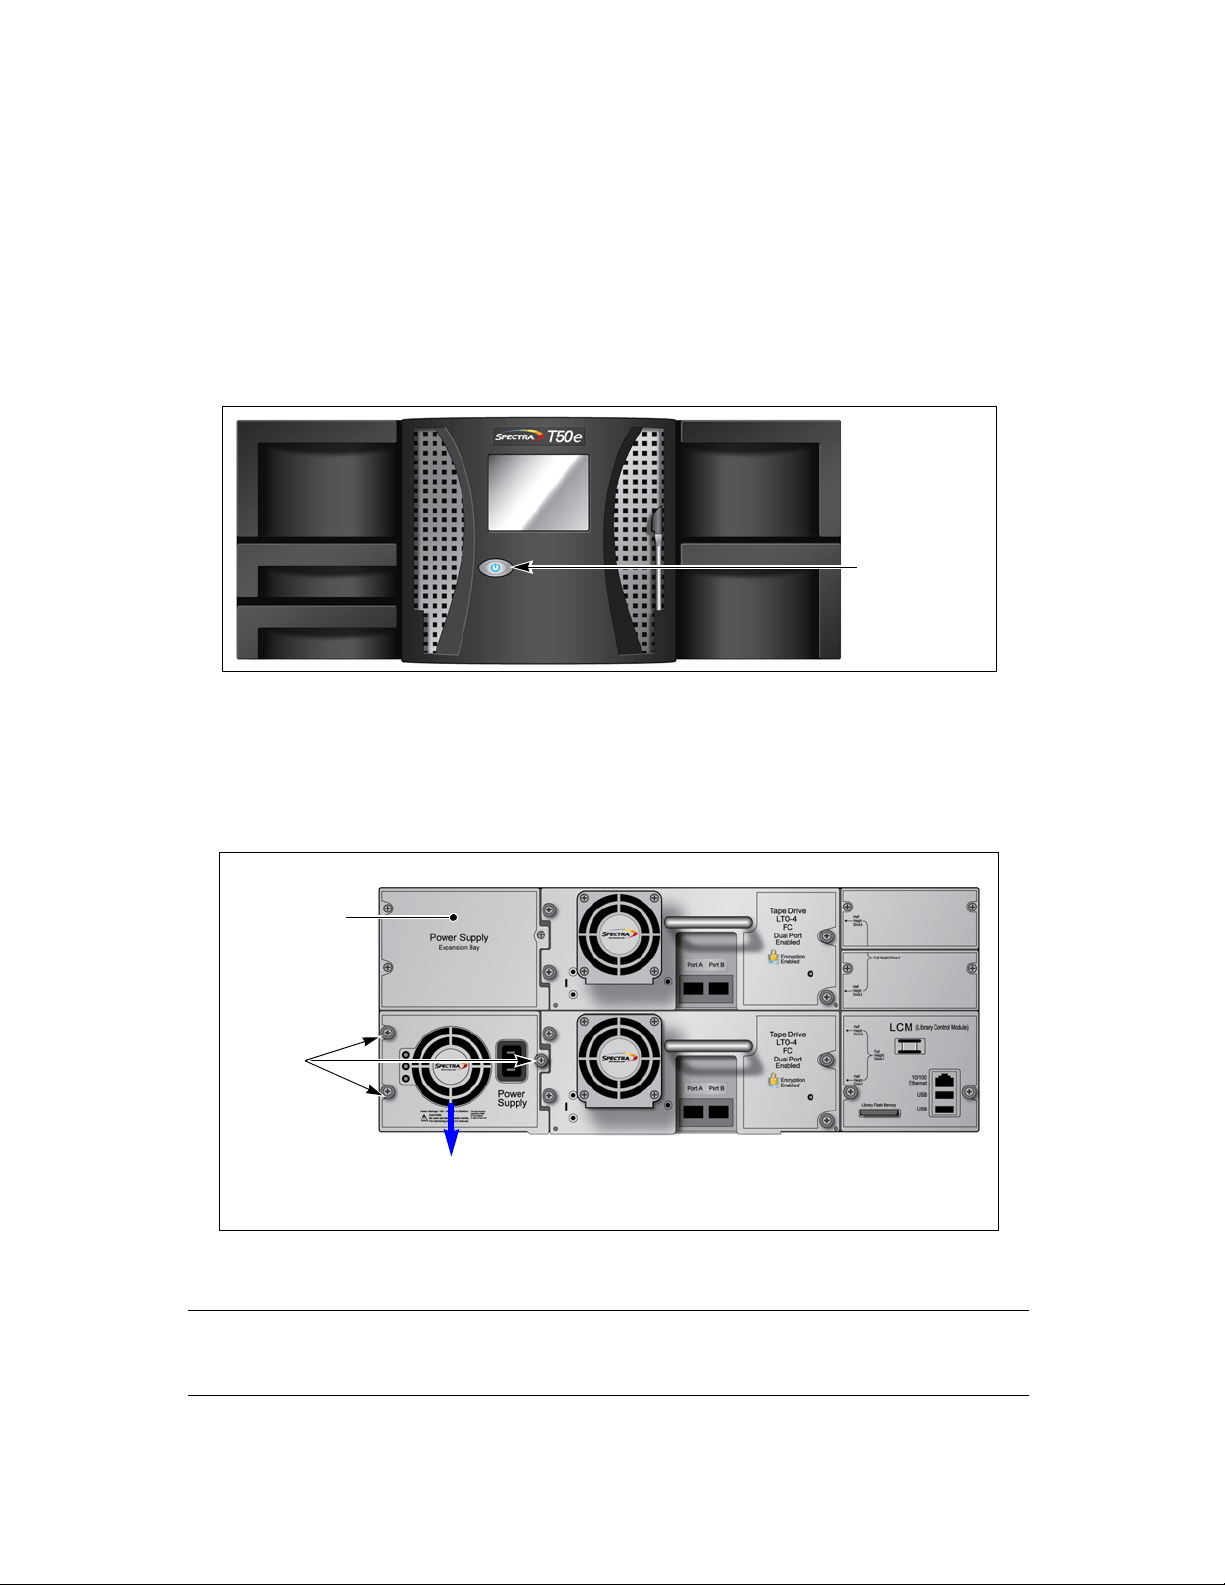
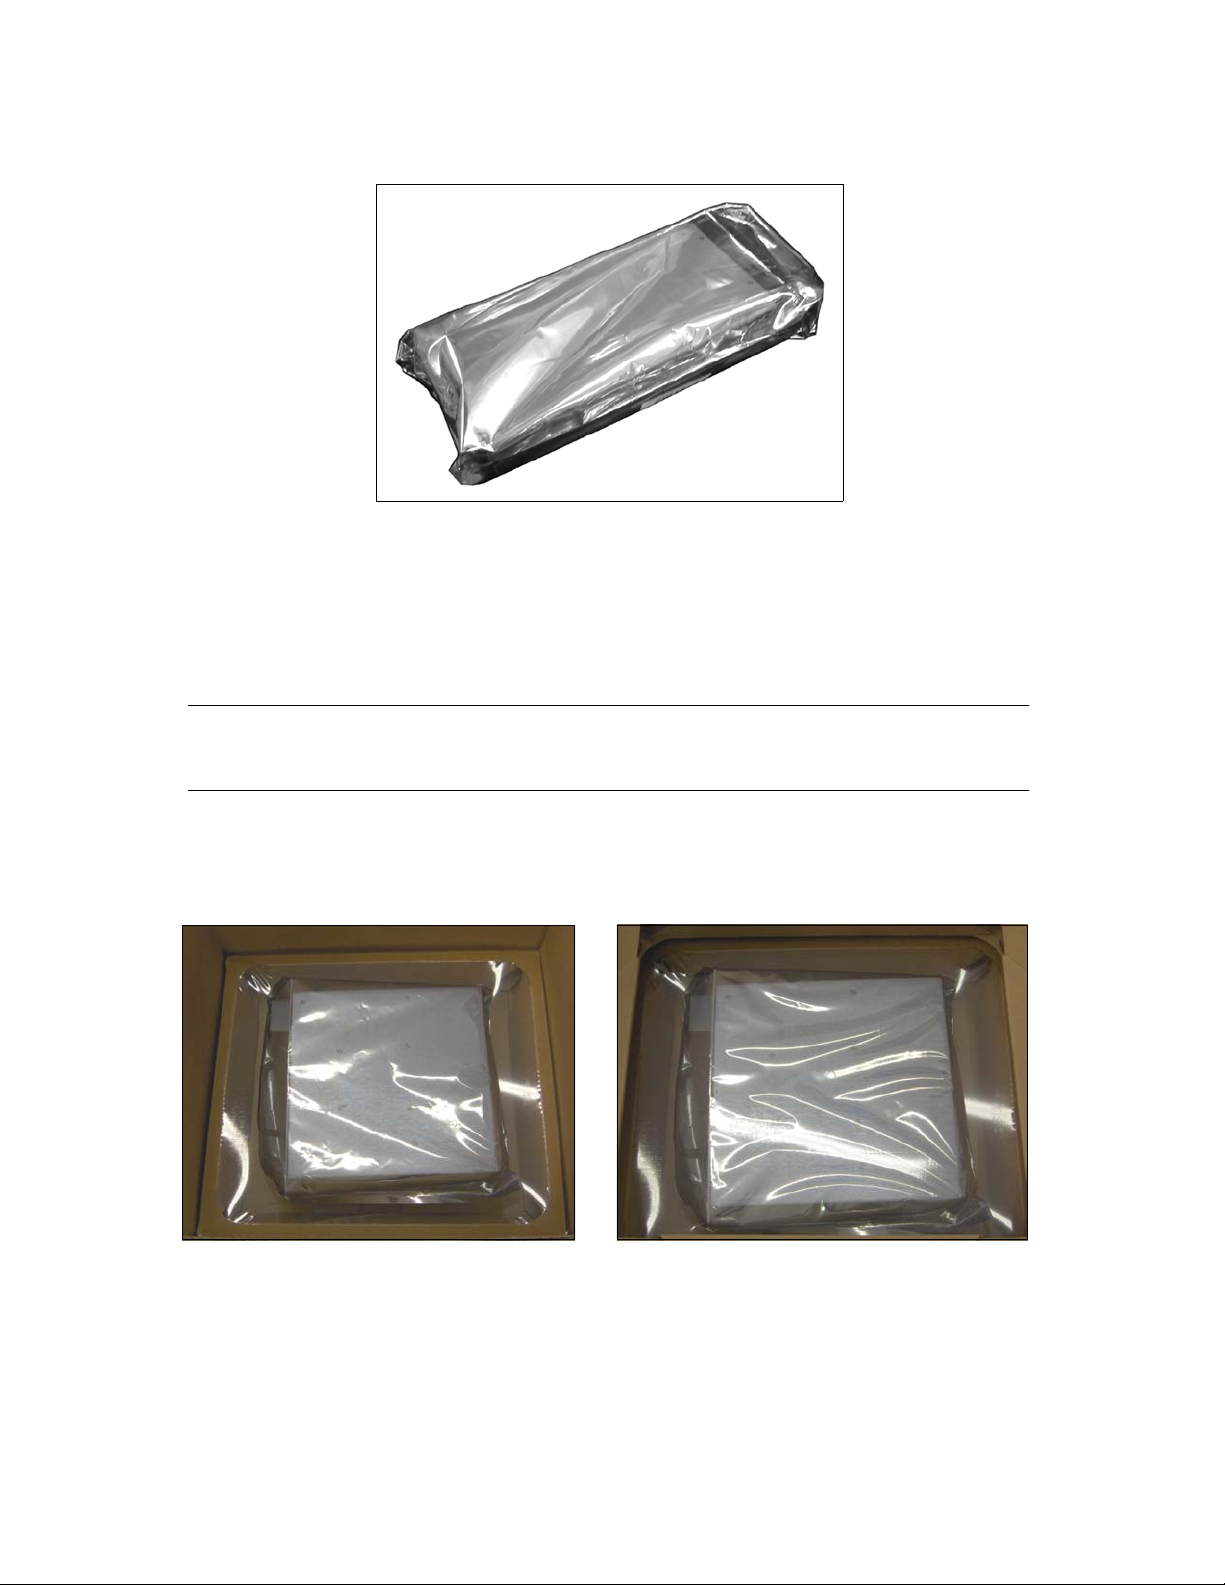
Spectra T50e Power Supply Installation or Replacement Instructions
Revision A, August 2008
Copyright © 2008 Spectra Logic Corporation. All rights reserved.
Contacting Spectra Logic
Spectra Logic Web Site: www.spectralogic.com
United States Headquarters European Office
Spectra Logic Corporation
1700 North 55th Street
Boulder, CO 80301
USA
Phone: (800) 833-1132 or (303) 449-6400
International: 00.1.303.449.6400
Fax: (303) 939-8844
Spectra Logic Europe Ltd.
Magdalen Centre
Robert Robinson Avenue
Oxford Science Park
OXFORD
OX4 4GA
United Kingdom
Phone: +44 (0) 870 112 2150
Fax: +44 (0) 870 112 2175
SpectraGuard Technical Support
Web Site: www.spectralogic.com/support
Knowledge Base: www.spectralogic.com/knowledgebase
United States and Canada
Phone: (800) 227-4637
Europe, Middle East, Africa Phone
Phone: 44 (0) 870 112 2185 (UK only)
49 (0)6028.9796.507
Email: spectralogic@stortrec.de
Mexico, Central and South America, Asia, Australia, and New Zealand
Phone: (303) 449-0160