SPIDERKITES Amigo DC User manual

How to y a soft kite
with a bar.
Amigo DC and Skipper
Manual
www.spiderkites.com

32
Overview and
construction.
Two line
Trainer kite:
Amigo DC
Four line
Trainer kite:
skipper
Leading Edge
Trailing Edge
Brakes
Brake Lines
Trainer bar
Kite Killer
Bridle
Flying Lines
Air Intakes
Leading Edge
Trailing Edge
Bridle
Flying Lines
Dual Line Bar
Kite Killer
Air Intakes
54
yLay out the kite in such a way that the
front side with the bridle is on top and
the leading edge with the air inlet ope-
nings are facing downwind.
yWeigh down the trailing edge with sand
or water bottles so that the kite does
not y away. A helper can also hold the
kite in place.
yArrange the bridle lines so that they are-
straight and not twisted.
yUnwind the ying lines completely from
the bar and make sure they are not
twisted! They should be parallel and
straight.
yIf the ying lines are not yet attached to
the kite or the handlebar, it is best to do
this with a Larkshead knot. See images
on the right as a guide. Note right and
left! Flying lines are color coded at the
ends.
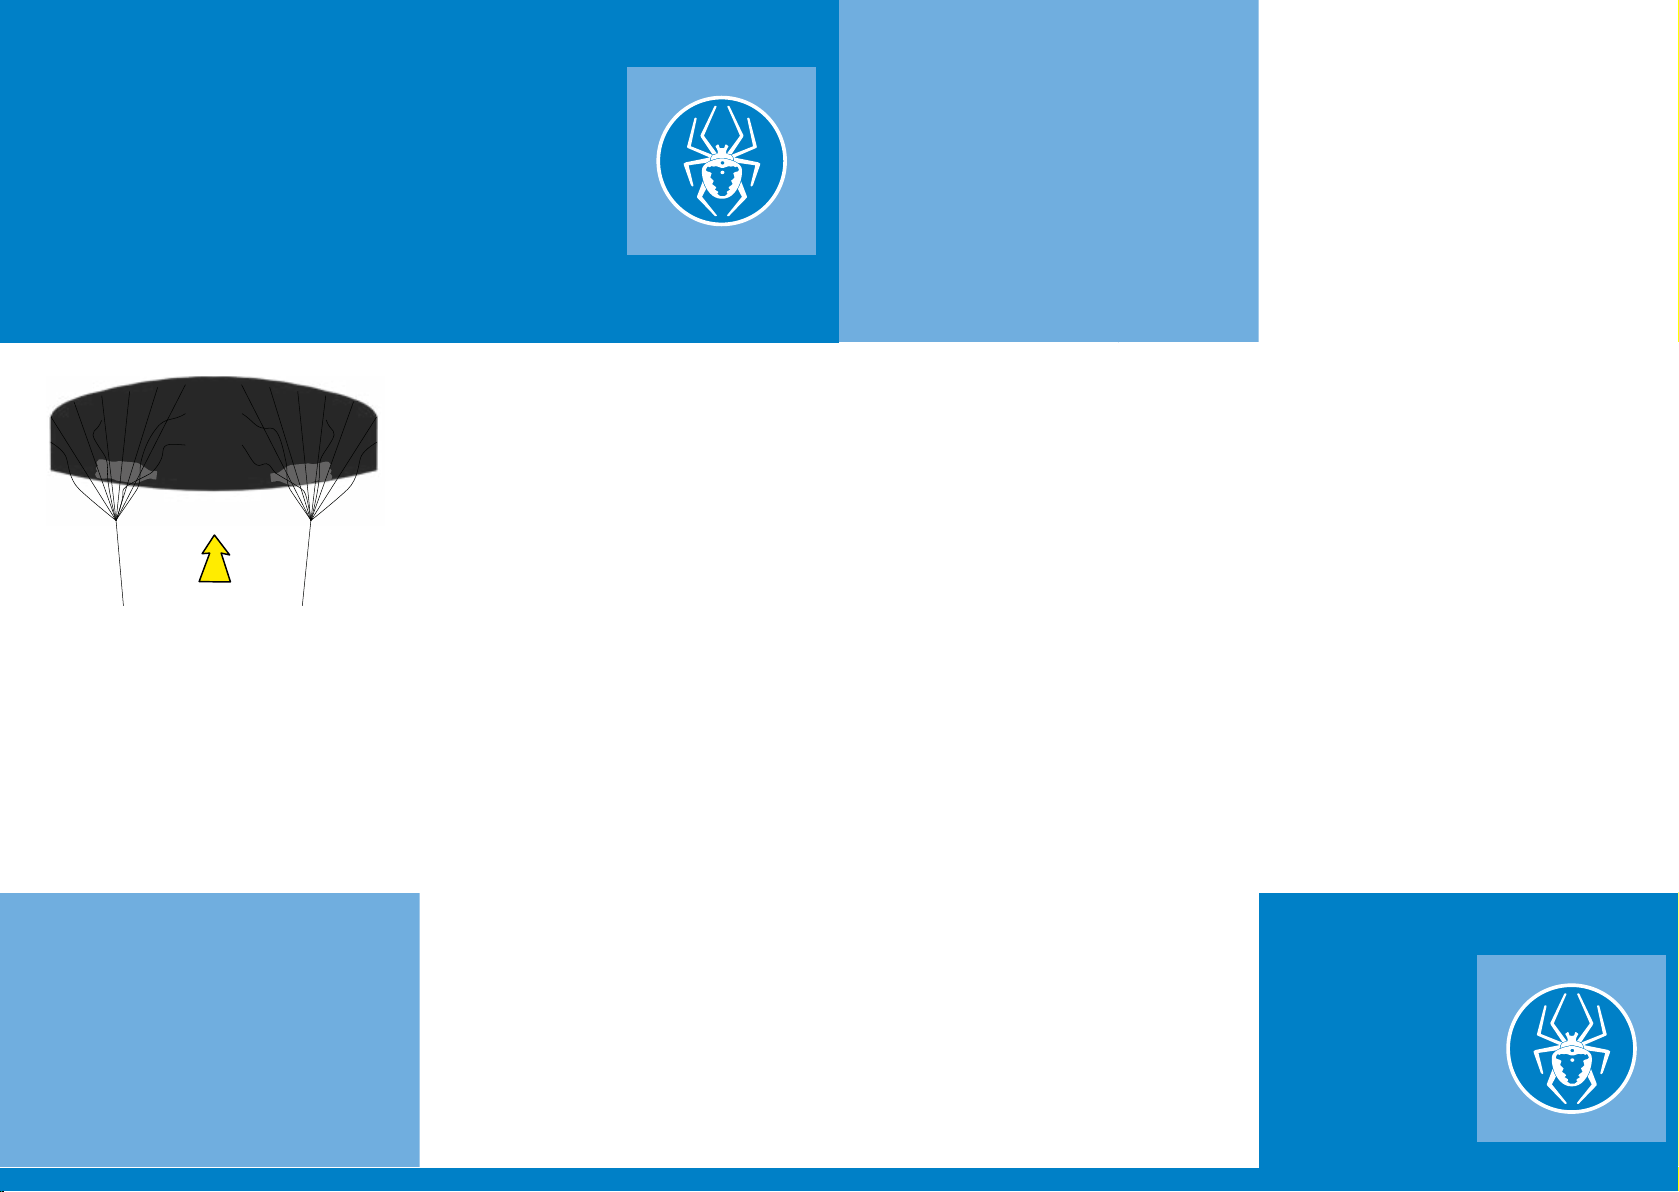
Solo launch:
load trailing edge
Wind
Set up and line
attachment. Larkshead knot
Attaching the ying
lines onto the kite.
This knot comes
in handy in many
situations. Easy
to tie and loosen.
Start without
helpers.
With sand or water bottles
on the trailing edge.

76
Your kite moves through the so-called wind
window. This is best imagined as a quarter
sphere with the pilot in the center. The power
zone is located in the middle of the wind win-
dow. This is where the wind power is strongest,
i.e. where the kite pulls particularly strongly
and is easy to controll. Towards the edge of the
wind window the power of the wind decreases
the further you get to the side.
Launching
yThe wind should not be too light for
the rst ying attempts.
yThe pilot stands with his back to the
wind and holds the bar rmly at the
ends.
yThe kite (air openings upwards) is secu-
red or held by the helper.
yBy snapping his arms (pilot lowers arms
quickly downwards) and taking a step
back, the kite lifts o the ground or is
released so that it can climb towards
the zenith.
Steering
yGrip the bar like a bicycle handlebar close to
the ends. Steering is the same as steering a
bicycle:
yIf you pull left, the kite makes a left turn, if
you pull right, you make a right turn.
yIf you hold your hands steady, in front of
your body, the kite will y straight ahead.
yFor a loop, continue pulling on the bar until
the turn is complete. This may cause the y-
ing lines to twist. Too many twists in the line
can result in friction.
yIt is important to y loops in time in the
other direction to untwist the lines.
Landing
yTo land your the edge of kite y it to the left
or right to the wind window and let it land
softly on the ground.
yThis is especially easy when a helper catches
and secures it.
Launching
and ight.
straight
Wind
left turnright turn
false right

Don’t crash!
A foil kite can withstand a lot. But if it
strikes the ground at high speed, it can
burst or tear the inner proles. So: absolu-
tely avoid it! Run towards the kite instead
of pulling back if a crash is unavoidable.
The Kite killer.
This is is a loop at one end of the ying line
that is placed around your wrist.
If you let go of the bar in a dangerous
situation, the Kite Killer ensures that the kite
goes to the ground almost uninated.
This works especially well with the Skipper
With the Kite Killer you have an eective
„descent aid“ and you can also launch the
kite easily again. With a little practice you
can relaunch the Skipper with the help of the
Kite Killer even if the kite is positioned on the
leading edge.
Land, don‘t
crash.
98
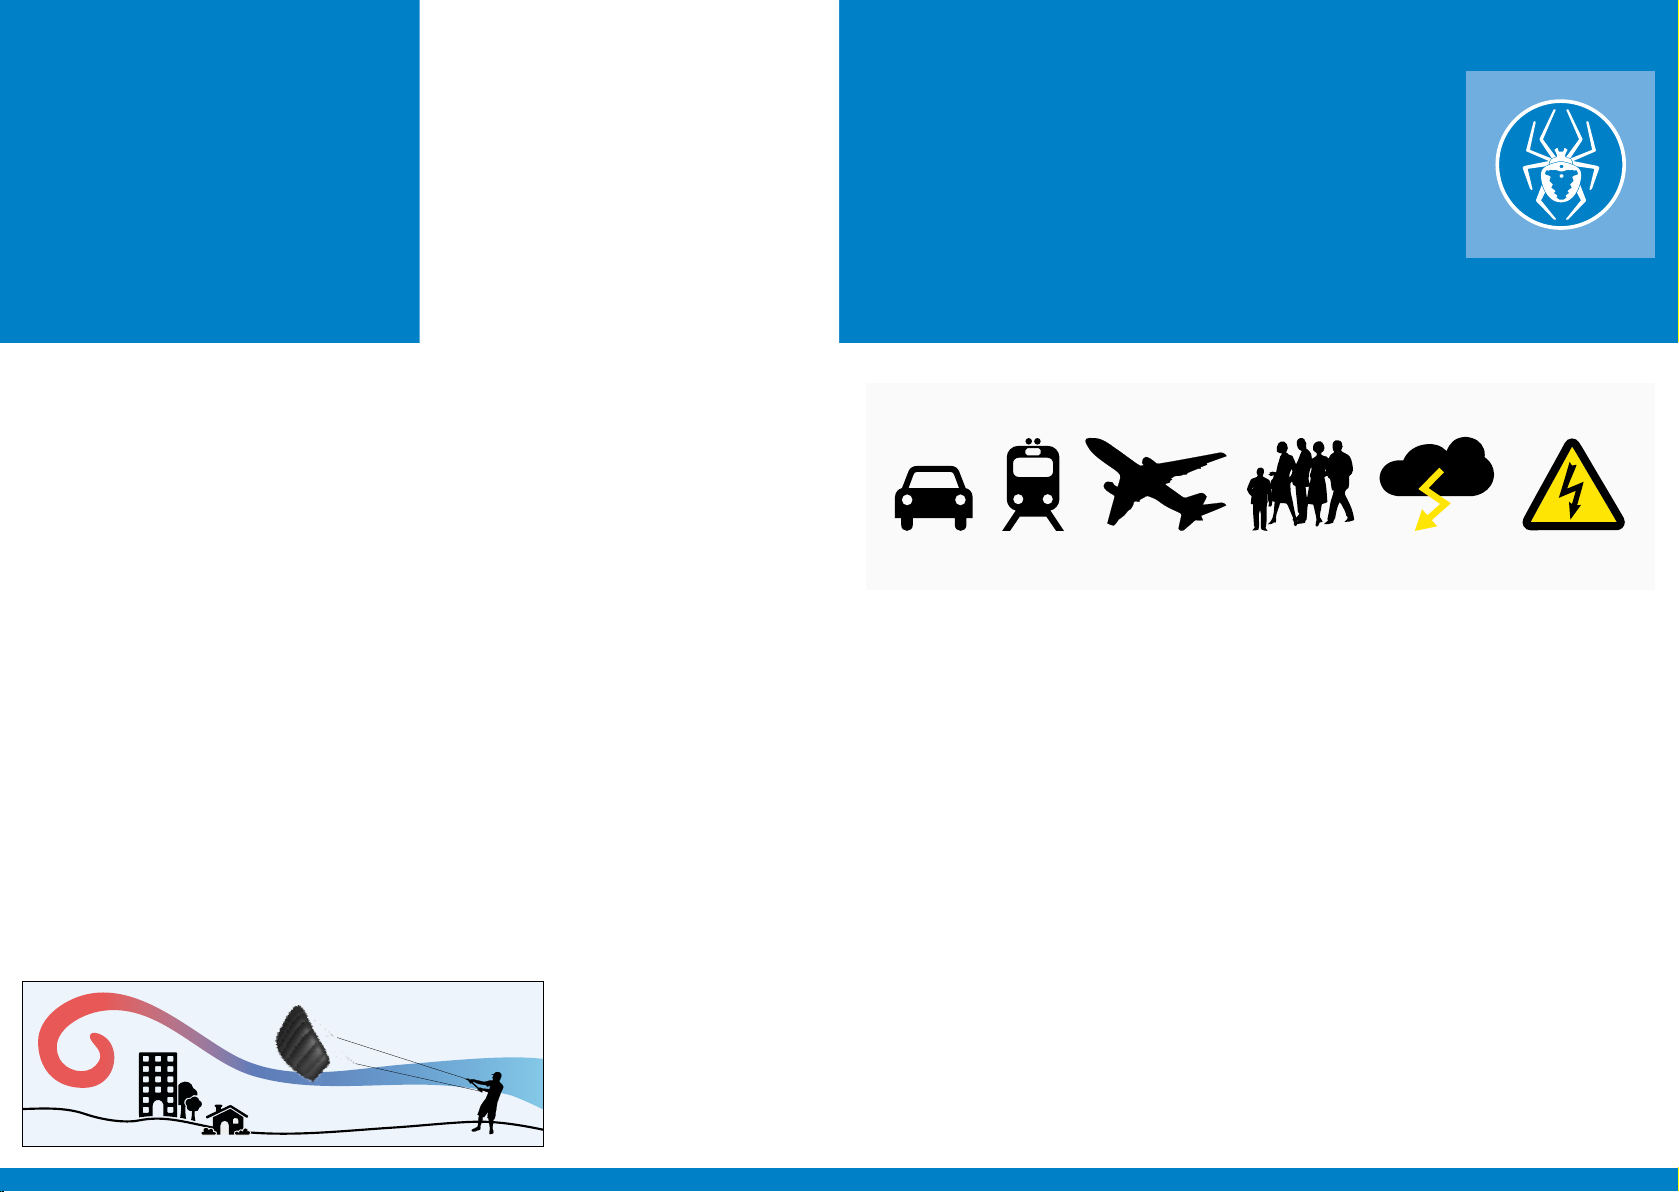
yDo not y close to high-voltage lines, air-
ports, train tracks, motorways!
yAttention, kite lines can pose a strangulation
risk!
yKeep a minimum distance of 500 meters
from streets and buildings; of 5 kilometers
from airports.
yNever y the kite in high wind speeds if you
are unable to control it.
yDo not y in thunderstorms, approaching
storms or in fog!
yNever use ying lines longer than 100 me-
ters; already with lines longer than 35 meters
the kite can be beyond your control.
yTo avoid cuts, never grab any lines that are
under tension.
yNever anchor yourself and the kite.
If you have any questions,
visit the following website:
www.spiderkites.com
The kite turns after launch immediately to
one side or the other and crashes?
Check to see if the left and right ying lines are
reversed. Make sure bridle and Flying lines are
untwisted and untangled. Check that the ying
lines are of equal length.
The kite will not launch or falls to the ground
right after launch?
The wind might be too light or too gusty.
The ying lines are twisted, but you don‘t
know which way?
Let the helper hold the kite while you untwist
the ying lines by rotating the bar
Where to y?
A suitable ying eld is free of obstacles that
cause turbulence or obstruction.
The ying lines are of unequal length?
Some ying lines can stretch after the rst
ights, especially due to high tensile loads,
which may lead to uneven ying lines. To adjust
the length you can move the end of the ying
line on the knot ladders on the bar rig.
Your kite got wet?
Foil kites can be own in the rain with no
problem at all. Afterwards your kite should be
dried as soon as possible. Do not leave the kite
packed while wet.
Your kite got dirty?
You can rinse it with clear water, possibly a
little detergent, and then let it dry. Strong
cleaners are not suitable.
Sunlight?
Avoid unnecessarily long exposure of the kite
to intensive sunlight. Excessive UV rays can
cause the colours to fade.
Safety!Tips.
Spiderkites
Große Hinterlohne 8a
D-26506 Norden
Never fly near
Roads Trains Airports People Storm High Voltage
1110
This manual suits for next models
1


