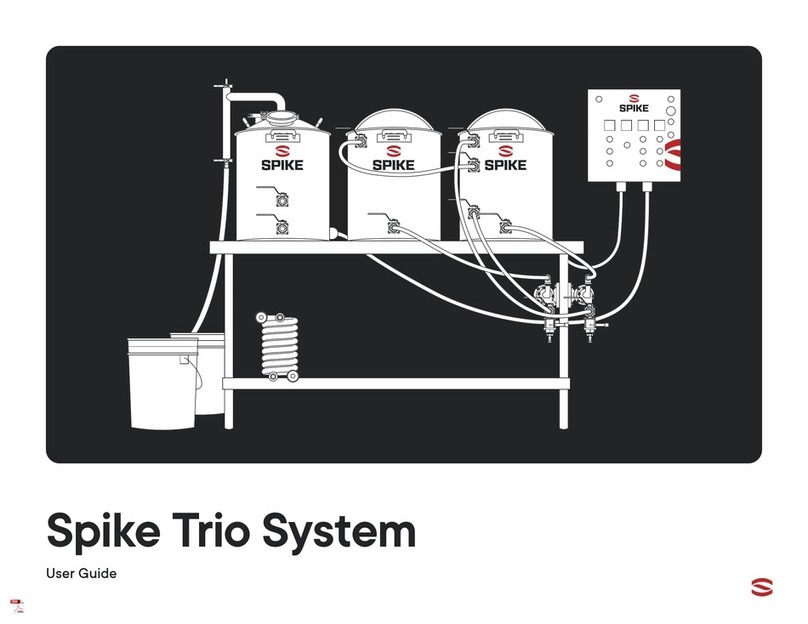
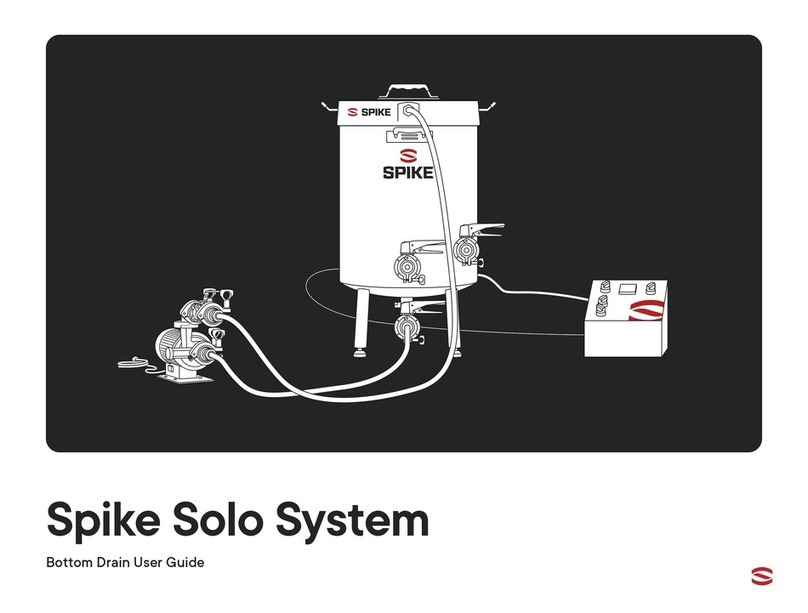
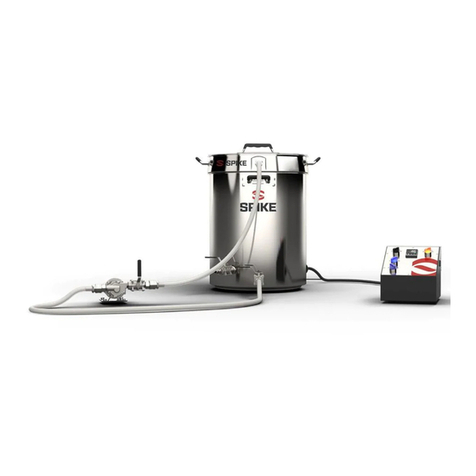
Spike Nano System User manual

Nano System
User Guide

SPIKE NANO USER GUIDE1
01. Assembly................................ 2.
Hot Liquor Tank ...................... 4.
Mash Tun .............................. 6.
Boil Kettle .............................. 8.
Steam Condenser Lid .............. 10.
Wort Chiller............................ 12.
Pumps .................................. 14.
Hoses ................................... 16.
Cart Assembly ........................ 17.
02. Brew Day Guide ..................... 18.
Autotune the Control Panel ...... 19.
Heating HLT........................... 20.
Strike Water to MT................... 21.
Mash Control System............... 22.
Vorlauf .................................. 24.
Sparging................................ 25.
Using the Steam Condenser ..... 26.
Boiling................................... 27.
Whirlpool............................... 28.
Knockout & Transfer ................ 29.
Cleaning................................ 30.
Congrats on
securing your
new Spike
Nano System!
We know you’re anxious to get brewing, so we made these
assembly instructions and Brew Day Guide easy for you to
follow and threw in a few pro tips along the way.
Grab a beer, and let’s get started.

SPIKE NANO USER GUIDE2
Assembly
01.
Ready to get your Nano up and running? This guide will show you how to assemble
each piece of equipment with step-by-step instructions and key visuals.
Hot Liquor Tank
Mash Tun
Boil Kettle
Steam Condenser Lid
Wort Chiller
Pumps
Hoses
Cart Assembly

SPIKE NANO USER GUIDE3
Assembly –
Before
you begin
Make sure the elements are plugged in, and the power cords are fully twisted
into position. We also recommend strain relieving the power cords so the full
weight is not pulling down on the element connection. Taking these actions will
certainly extend the life of your power cords.
Before installing parts into quick-connect (QC) ttings, be sure to lubricate
them with water. This will allow them to slide into the QC tting easily and
prevent tearing the o-ring.
Want to mount your control panel on the wall? Attach it to a piece of plywood
and affix it to the wall or use a TV mount with the proper weight capacity.

SPIKE NANO USER GUIDE4
Assembly –
Hot Liquor Tank

SPIKE NANO USER GUIDE5
ITEM DESCRIPTION QTY
AHot Liquor Tank 1
BHot Liquor Tank Bottom Drain Piping 1
CTC Clamp 7
DTC Gasket 7
ETC Buttery Valve 2
FTC Side Pickup 2
G6000w Heating Element 2
HTemp Sensor 1
IPower Cord - 15’ (not pictured) 2
A
B
E
E
C
C
D
D
G
DD
D
D
D
G
CH
C
C
FC
C
Assembly –
Hot Liquor Tank

SPIKE NANO USER GUIDE6
Assembly –
Mash Tun

SPIKE NANO USER GUIDE7
Assembly –
Mash Tun
A
L M
F
D
K
H
I
G
EH
H
I
IJ
J
I
I
I
H
HH
B
C
ITEM DESCRIPTION QTY
AMash Tun Tank 1
BManway Door 1
CGrain chute 1
DFalse Bottom 1
EMash Tun Bottom Piping 1
FMash Tun TC Quick Connect Fitting 2
G3000w Heating Element 1
HTC Clamp 6
ITC Gasket 6
JTC Buttery Valve 2
KTemp Sensor 1
LVorlauf Arm 1
MSparge Arm 1
NPower Cord - 10’ (Not Pictured) 1

SPIKE NANO USER GUIDE8
Assembly –
Boil Kettle

SPIKE NANO USER GUIDE9
Assembly –
Boil Kettle
A
B
BC
I
C
C
E
E
E
C
H
C
D
C
CF
C
BB
B
B
GB
B
B
ITEM DESCRIPTION QTY
ABoil Kettle Tank 1
BTC Clamp 9
CTC Gasket 9
DBoil Kettle Bottom Piping 1
EButtery Valve 3
F1” Boil Kettle Racking Arm 1
GTC Side Pickup 1
H6000w Heating Element 2
ITemp Sensor 1
JPower Cord - 6’ (Not Pictured) 2

SPIKE NANO USER GUIDE10
Assembly –
Steam
Condenser Lid
NOTE:
Water from drain hose will be warm. This can be
collected and used for cleaning or reused for
recirculation which cuts down on water usage. The
water can be recirculated until it’s about 120F or
until it becomes too hot to touch. Starting with ice
in the drain bucket can increase the amount of
time the recirculation water can be used for until it
gets too hot.
NOTE:
Make sure you keep the drain hose above the water
line if using a bucket for drainage. Failure to do so
will cause back pressure and system issues.
The Steam Condenser Lid is placed on the Boil Kettle
during the boiling step. Follow the process portion of
this guide for specic operating instructions.

SPIKE NANO USER GUIDE11
ITEM DESCRIPTION QTY
ACondenser Lid 1
BTC Clamp 4
CTC Gasket 4
DTC Cap 1
ECondenser Piping 1
F90° Barb 1
GCondenser Mister 1
H4” TC Clamp 1
I4” TC Gasket 1
J4” TC Clear Cap 1
K1.5” TC Barb - 3/4” 1
Assembly –
Steam
Condenser Lid
A
B
G
F
C
I
C
C
C
H
B
K
E
B
D
JB
Wrap the threads of the Condenser Mister (part G)
in teon tape to make a perfect seal.

SPIKE NANO USER GUIDE12
Assembly –
Wort Chiller
We designed our own plate chiller to cool the wort as
quickly and efficiently as possible. It also has its own
dedicated temp sensor. You’ll be able to see the chiller
exit temp on the control panel and adjust the ow rate
to achieve your perfect yeast pitch temp.
NOTE:
Be sure to properly attach hoses to the correct inlet/
outlet port. The heat exchanger is a counterow
style so the direction of ow matters.

SPIKE NANO USER GUIDE13
ITEM DESCRIPTION QTY
ANano Plate Chiller 1
BTemp Sensor 1
C1” TC Tee 1
DTC Clamp 2
ETC Gasket 2
FMounting Nuts 2
Assembly –
Wort Chiller
F
F
A
B
CED
D
E

SPIKE NANO USER GUIDE14
Assembly –
Pumps
NOTE:
Assemble the outlet valve and air bleed manifold
completely before attaching to the pump head.
Since the cross members of the cart are tight to
the pump, this will ease with installation.

SPIKE NANO USER GUIDE15
Assembly –
Pumps
ITEM DESCRIPTION QTY
APump 2
BTC Clamp 8
CTC Gasket 8
DTC Buttery Valve 2
E1.5” TC x 5/8” Barb (90°) 2
F1” TC Tee 2
G1.5” TC 3pc Valve 2
HMounting Nuts (Not Pictured) 8
A
B
B
D
C
F
C
C
B
G
C
B
E

SPIKE NANO USER GUIDE16
Assembly –
Hoses
ITEM DESCRIPTION QTY
A1.5” TC Barb - .75” 9
BLong Hose – 6’ 2
CShort Hose – 4’ 2
DCondenser Exit Hose 1
We use oversized barbs so the silicone tubing will be
securely attached without a need for hose clamps.
Also, this oversized barb creates a full port which
doesn’t restrict ow. Depending on the length you
cut the hose necessary for the condenser drain, you
may have 1’ - 3’ additional hose.
A A
A
A
A
B
C
D

SPIKE NANO USER GUIDE17
Assembly –
Cart Assembly
ITEM DESCRIPTION QTY
A4” Casters 4
B1.5” Buttery Valve 1
CTC Clamp 3
DTC Gasket 3
ECondenser Reservoir -
FTC Cap 1
GCIP Ball 1
H3/8” Vinyl Tubing 1
ISteam Condenser Pump 1
JHose Rack with Bottle Opener 1
KLid Holder 1
J
K
C
D
C
D
D
C
B
I
E
H
G
A
A
F
A
A
To install the casters :
1. Lock the brake on the caster, and then tighten
the caster into the cart leg. By locking the brake, it
makes the caster its own wrench, and it is easier to
screw in the caster.
2. Tighten the caster until the nut makes contact with
the cart.
3. The caster has a thread-lock powder so a bit of
force needs to be applied to fully install it. Note that
by locking the brake, a wrench is not required for
the installation.
provided
by brewer

SPIKE NANO USER GUIDE18
02.
Brew Day
Guide
Now that your Nano is fully assembled, it’s time to get brewing.
Follow the steps in this user guide for a simple and easy Brew Day experience.
Auotune the Control Panel
Heating HLT
Strike Water to MT
Mash Control System
Vorlauf
Sparging
Using the Steam Condenser
Boiling
Whirlpool
Knockout & Transfer
Cleaning

MASH TUN
EXCHANGER
HLT
BOIL KETTLE
SPIKE NANO USER GUIDE19
Using
Your Nano
Control Panel
Autotune the Control Panel
Before you get started, make sure to auto-tune
your HLT and MT PID controller. This ensures proper
system calculations and helps the heating element
run as efficiently as possible.
NOTE: you only need to auto-tune your HLT PID
before your rst brew
Controlling Your Boil
The BK PID is based on % power output to ne tune a
rolling boil. This is opposed to the temperature control
like the HLT and MT.
1. Once the elements are submerged the BK can be
set to 100% and turned on. Press 3 times until
you see ‘OUT’.
2. Use the Up and Down arrows to change the %
power output and press to set the output.
Press again to see the temperature readout
screen.
3. To begin your boil, we recommend setting
the temperature to 100% output to get
the boil started. When the BK is nearing
boil, be sure to watch out for hot break
and boil overs.
4. Once the hot break has passed you can
cover the BK with the steam condenser lid
and reduce the BK PID to roughly 40-50%
output.
1. Fill your HLT 75% full with water.
2. On the PID, press the up arrow until you hit 150
degrees Fahrenheit.
3. Press the key to set the temperature at 150F.
4. Turn the HLT element switch on to start heating
your water to 150F.
5. Once water reaches 150F, press on the HLT
PID until the top line reads “AT.”
6. Press the up arrow to turn “AT” to “on” and
press . This will start the Auto Tune process.
7. Auto Tuning will take about an hour as the PID
makes adjustments. Auto Tune is complete
when AT stops blinking on your PID.
Table of contents
Other Spike Brewing System manuals
Popular Brewing System manuals by other brands

BREWFERM
BREWFERM rvs 27 l operating instructions

KegLand
KegLand Fermzilla Unitank Series instruction manual

3TEMP
3TEMP Hipster WALL user manual

Bunn
Bunn ITCB DV Installation & operating guide

BrewBuilt
BrewBuilt X2 UNI Assembly instructions

Blichmann Engineering
Blichmann Engineering BrewEasy Compact TC Assembly operation maintenance

Curtis
Curtis ThermoPro G4 Series user guide

Fetco
Fetco Extractor Plus CBS-1251 Users guide and operator instructions

BRAVILOR BONAMAT
BRAVILOR BONAMAT Bolero 20 operating instructions

Grainfather
Grainfather G40 quick start guide

Curtis
Curtis G3 ThermoPro Series user guide

KegLand
KegLand BrewZilla 35L instruction sheet