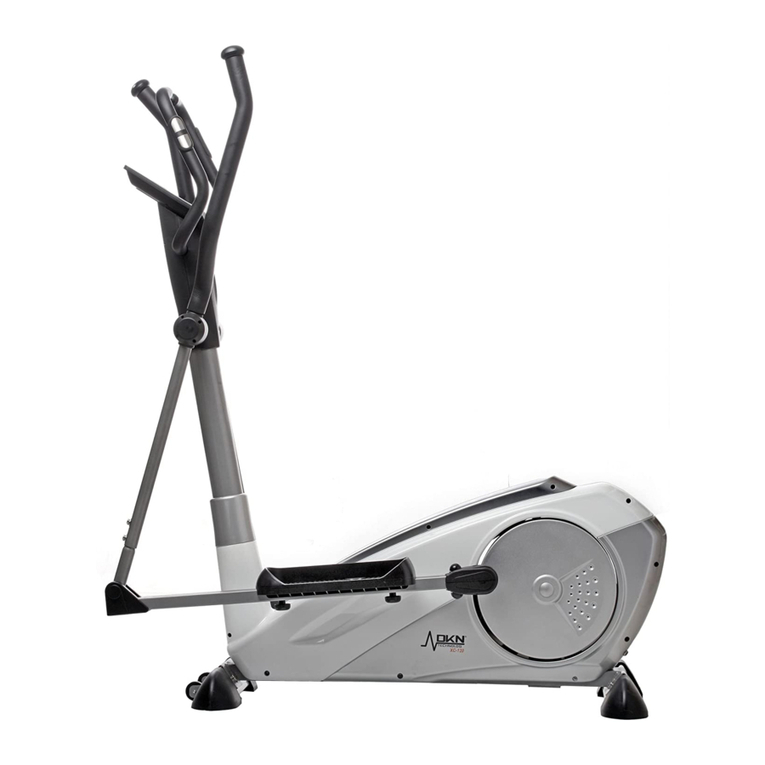
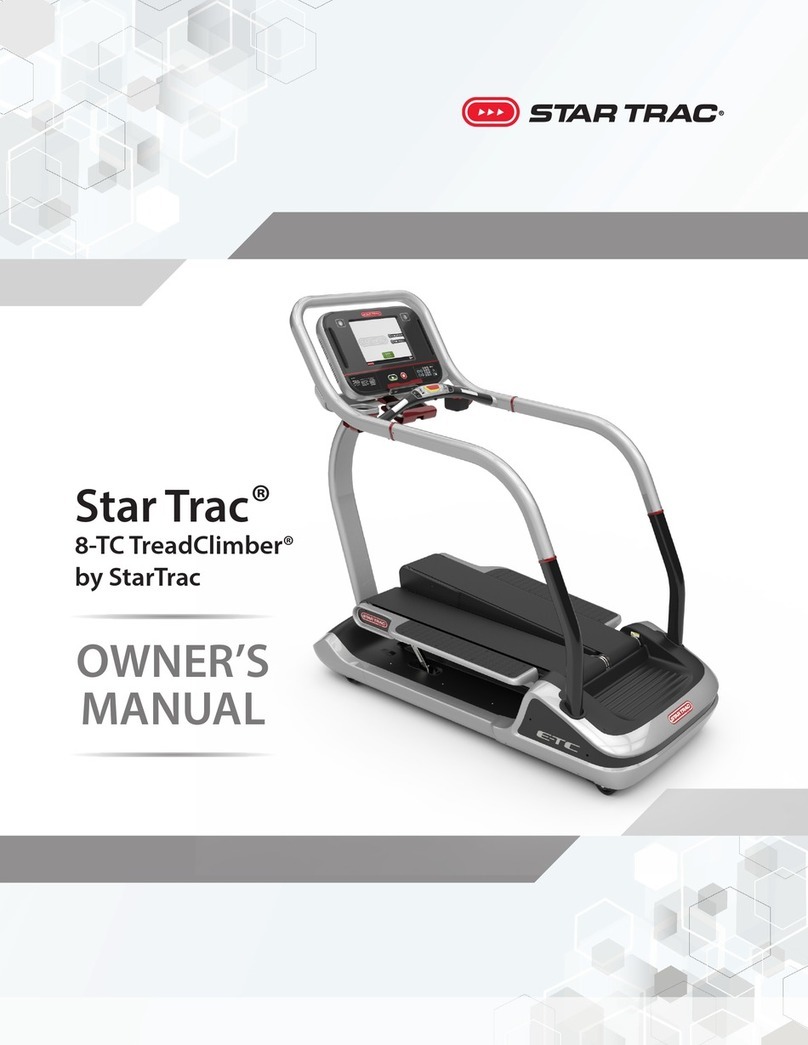
Sportop MST 8000P Operation manual

0673

4NBMM
)BOEMF
#BS
) )

$66(0%/<)255($567$%,/,=(5
$'-8677+(%$/$1&()257+(67(33(5
$66(0%/<)25&(175$/683325778%(
4UFQ"UUBDISFBSTUBCJMJ[FS$XJUINBJOGSBNF"UIFOGJYJUCZXBTIFST(
CPMUT(
"GUFS4UFQBTTFNCMFJGUIFNBDIJOFJT/05TUBCMFQMFBTF
BEKVTUUIFLOPCPG$JGZPVUVSOEJSFDUJPO
UIFQPTJUJPOXJMMCFVQJGZPVUVSOEJSFDUJPO
UIFQPTJUJPOXJMMCFEPXO
4UFQ$POOFDUUIFXJSFT"#GJSTUMZ
4UFQ"TTFNCMZUIFDFOUSBMTVQQPSUUVCF#XJUI"
CZCPMUT(XBTIFS(
"UUFOUJPO5BLFDBSFXIFOQVTIJOHUIFUVCFT
UPHFUIFSUIBUUIFDBCMFBSFOPUQJODIFE

$
$66(0%/<)25+$1'/(%$56833257
Step 1. Attach the right handlebar support(E2) with main frame(A).
Then, secure it with bolt(G6).
Please only hand tighten the bolt, DO NOT FIX THE BOLT TIGHTLY.
Step 2. Attach the right side handlebar(D2) with the right handlebar support(E2)
Then, secure it with screw(G1).

H2
&211(&77+(6,'(+$1'/(%$5
:,7+&(175$/683325778%(
&211(&77+(6,'(60$//+$1'/(%$5
:,7+&(175$/683325778%(
Step1. Connect the right/left small
handle bar (H2&H1) with
the central support tube (B)
by screws(G2).
G2

$66(0%/<)25
6/,'(3/$67,&&29(5&29(5
Step 1. Put the slide plastic cover(G8) into
the position beside the (B).
As shown on 1 .
Step 2. Pull down the cover same
as shown on 2 .
Step 3. Slide the cover(G7) to connect
with (G8). (See shown on 3 ).
Then, fix it by bolts(G2).
The same way to assemble left
side covers.
$66(0%/<)25
021,725:$7(5%277/(
Step 1. Remove the screws(F2) from the
back of the Monitor(F).
Step 2. Connect the sensor wire (B5 & B6)
with monitor wires and put the
monitor on the fixing plate.
Step 3. You can put the water bottle on the
plastic housing.

$66(0%/<)25$'$3725
The machine is available by using
the adaptor. Please plug it into the
housing from(A), and plug the other side into socket.
+2:72029(7+(0$&+,1(
Move the front stabilizer has built-in transport wheels.
Stand at the front of the machine and lift it up until the weight of the
machine is transferred to the transport wheels.
You can now easily move the
machine to a new location.

)
(
)

-8-
P/NO. DISCRIPTION Q'TY P/NO. DISCRIPTION Q'TY
˔˄ ʳ MAIN FRAME ˄ʳA53 SCREW ˇʳ
˔˅ ʳ MAGNETIC FLYWHEEL ˄ʳA54 PEDAL ˅ʳ
˔ˆ ʳ FLAT WASHER ˄ʳA55 SCREW ˋʳ
˔ˇ ʳ BELT ˄ʳA56 COVER(L) ˄ʳ
˔ˈ ʳ CRANE ˄ʳA57 COVER(R) ˄ʳ
˔ˉ ʳ PRESSING WHEEL ˅ʳA58 DECORTATION COVER(L) ˄ʳ
˔ˊ ʳ SCREW ˅ʳA59 DECORTATION COVER(R) ˄ʳ
˔ˋ ʳ SPRING ˄ʳA60 SCREW ʳʳ
˔ˌ ʳ NUT ˄ʳA61 SCREW COVER ˉʳ
˔˄˃ʳ
NUT ˄ʳA62 SCREW ˉʳ
˔˄˄ʳ
DRIVING PLATE ˄ʳA63 ELECTRONIC WIRE ˄ʳ
˔˄˅ʳ
CRANE ˄ʳA64 MOTOR ˄ʳ
˔˄ˆʳ
SPACER PIPE ˄ʳA65 DECORTATION COVER ʳʳ
˔˄ˇʳ
NUT ˄ʳʳʳ ʳʳ
˔˄ˈʳ
SPRING ˄ʳB1 MAIN SUPPORT TUBE ˄ʳ
˔˄ˉʳ
DRIVING PLATE ˄ʳB2 HAND PULSE COVER ˅ʳ
˔˄ˊʳ
BELT ˄ʳB3 SCREW ˇʳ
˔˄ˋʳ
NUT ˇʳB4 END CAP ˅ʳ
˔˄ˌʳ
FLAT WASHER ˇʳB5 SENSOR WIRE(UPPER) ˄ʳ
˔˅˃ʳ
SENSOR WIRE ˄ʳB6 HAND PULSE ˅ʳ
˔˅˄ʳ
SCREW ˇʳB7 SCREW ˄ʳ
˔˅˅ʳ
CHAIN ˅ʳB8 DECORTATION COVER FOR BOTTLE HOUSING(L) ˄ʳ
˔˅ˆʳ
BEARING ˇʳB9 DECORTATION COVER FOR BOTTLE HOUSING(R) ˄ʳ
˔˅ˇʳ
SPACER PIPE ˅ʳB10 SCREW ˇʳ
˔˅ˈʳ
CCLIP ˅ʳB11 BOTTLE HOUSING ˄ʳ
˔˅ˉʳ
SPRING ˅ʳB12 WATER BOTTLE ˄ʳ
˔˅ˊʳ
CCLIP ˇʳʳʳ ʳʳ
˔˅ˋʳ
METAL BUSHING ˇʳC1 REAR STABILIZER ˄ʳ
˔˅ˌʳ
CHAIN CONNECT BRACKET ˇʳC2 ADJUSTED END CAP ˅ʳ
˔ˆ˃ʳ
PIPE ˅ʳC3 SCREW ˅ʳ
˔ˆ˄ʳ
ONE WAY GEAR ˅ʳʳʳ ʳʳ
˔ˆ˅ʳ
TENSION CABLE ˄ʳD1 HANDLE BAR TUBE(L) ˄ʳ
˔ˆˆʳ
BUSHING HOUSING ˅ʳD2 HANDLE BAR TUBE(R) ˄ʳ
˔ˆˇʳ
SPACER PLATE ˄ʳD3 SPONGE ˅ʳ
˔ˆˈʳ
AXLE ˄ʳʳʳ ʳʳ
˔ˆˉʳ
TRANSPORTATION WHEEL ˅ʳE1 HANDLE BAR SUPPORTING TUBE(L) ˄ʳ
˔ˆˊʳ
SCREW ˇʳE2 HANDLE BAR SUPPORTING TUBE(R) ˄ʳ
˔ˆˋʳ
BUSHING ˅ʳʳʳ ʳʳ
˔ˆˌʳ
PIPE ˇʳ
F1 COMPUTER ˄ʳ
˔ˇ˃ʳ
PEDAL TUBE(L) ˄ʳ
F2 SCREW ˇʳ
˔ˇ˄ʳ
PEDAL TUBE(R) ˄ʳ
F3 ADAPTOR ˄ʳ
˔ˇ˅ʳ
BUSHING ˅ʳʳʳ ʳʳ
˔ˇˆʳ
TAPPING SCREW ˇʳ
G1 SCREW ˅ʳ
˔ˇˇʳ
METAL BUSHING ˋʳ
G2 SCREW ˇʳ
˔ˇˈʳ
CCLIP ˇʳ
G3 FLAT WASHER ˌʳ
˔ˇˉʳ
NUT ˅ʳ
G4 SCREW ˌʳ
˔ˇˊʳ
SCREW ˅ʳ
G5 SCREW ˅ʳ
˔ˇˋʳ
CONNECTION TUBE(L) ˄ʳ
G6 SCREW ˅ʳ
˔ˇˌʳ
CONNECTION TUBE(R) ˄ʳ
G7 PLASTIC COVER ˅ʳ
˔ˈ˃ʳ
PEDAL HOUSING ˅ʳ
G8 SLIDE COVER ˅ʳ
˔ˈ˄ʳ
BUSHING ˅ʳ
G9 END CAP ˅ʳ
˔ˈ˅ʳ
NUT ˇʳʳʳ ʳʳ
PARTS LIST
G10 SCREW ˉʳ
H1
H2
SMALL HANDLE BAR (LEFT)
SMALL HANDLE BAR (RIGHT)
˄ʳ
˄ʳ

3URJUDPPDEOH7UDLQLQJ&RPSXWHU
FUNCTION BUTTON
67$576723To start or stop monitor counting.
02'( Press to select functions between time, pulse, distance, and calorie.
83'2:1 To adjust and set all functions, and training programs setting.
5(6(7 To have the monitor jump to initial display for training mode selection. If you hold on
pressing the button for 2 seconds, the monitor will reset previous training as a new start.
FUNCTIONS
&5&/,0%('5$7( The monitor will calculate and display the time duration of climbed elevation of
500m that you have worked out.
&0LQ0&/,0%('0,187( The monitor will calculate and display the climbed elevation per minute.
** C.R. and C
/
Min M will switch display to each other on the same field in every
6 seconds.
7,0(
Count up
- To accumulate training time from 0:00 to 99:59 with one second increment when the
training starts.(No preset target)
Count down
- The monitor will start to count from preset time down to 0:00 with one second
decrementwhen the training starts. As soon as the preset time is achieved, the monitor starts
to alarm, and TIME will start to count up immediately from 0:00.
(/(9
&/,0%('
Count up
- To accumulate the climbed elevation from 0 to 9999 m with 10 m increment when
the training starts. (No preset target elevation climbed)
Count down
- The monitor will start to count from preset elevation down to 0 with 10 m
(
or
ml)decrement when the training starts. As soon as the preset target is achieved, the monitor starts
to alarm, and ELEV. CLIMBED will start to count up immediately from 0.
&$/25,(
Count up
- To accumulate calories consumption from 0 to 9999 cal with one cal increment when
when the training starts. (No preset target)
Count down
- The monitor starts to count from preset calories down to 0 with 1 cal decrement
when the training starts. As soon as the preset calories is achieved, the monitor starts to alarm,
and CALORIES will start to count up immediately from 0.
67$57
6723
5(6(7
83'2:1

-10 -
PULSE The monitor can detect both chest pulse and hand pulse, the chest pulse is priority. It means
if you hold both hands on handlebar grip sensors and wear on the chest belt together, the monitor
will display chest pulse only. If you would like to have hand pulse readout, please do not wear
on the chest belt when you hold on handgrip sensors. The monitor start beep when your heart
rate figure is exceeding the target.
NOTE
1. When you stop training and did not press any button for 4 minutes, the monitor will shut off automatically.
All previous training data (Time, Elev. Climbed, and Calories) will be stored. You may press any button or
start training again to wake up the monitor display.
2. You may have the monitor reset all function data by hold on pressing the RESET button for 4 seconds.
3. The monitor requires power supply with AC adaptor input.(Out put 500mA, 6V)
MONITOR INSTRUCTION MANUAL
1. Plug the power supply (AC adaptor).
2. The monitor displays all segments for 2 seconds.
[If you press RESET button for over 2 seconds, the monitor will display all segments for 2 seconds for a
new start.]
3. After all segments display, the monitor displays ODO (total climbed elevation) figure for a few seconds.
4. Press UP or DOWN to select training mode in MANUAL, PROGRAM (P1~P12), USER, TARGET.H.R. and press
MODE to confirm setting.
5. Different training mode:
MANUAL
1. Once you select MANUAL training mode, the LED bar below monitor display will light up to show
your current level position. You may increase or decrease training level by pressing UP or DOWN.
2. Press START/STOP to start training in Manual mode.(STOP symbol disappear from the monitor)
3. Press UP/DOWN/MODE to set target function data of Time, Eleven, Climbed, Calories, and Pulse.
Each preset function will count down from preset target as soon as training starts.
4. You may adjust training resistance level (1~16) by pressing UP/DOWN during training.
5. The monitor will alarm "bi-bi-bi" to remind you and stop as soon as one of each preset function target
has count down to zero.
PROGRAM
1. Once you select Program training mode, the LED bar below monitor display will light up to show your
current level position. You may increase or decrease training level by pressing UP/DOWN.
2. Press START/STOP to start training in Program mode. (STOP symbol disappear from the monitor)
3. Press UP/DOWN/MODE to select preferred training program profiles from P1 to P12.
4. Press UP/DOWN to adjust resistance level of the profile from level 1 to level 16. (You may adjust
training resistance level by pressing UP/DOWN buttons during training)
5. Press UP/DOWN/MODE to set target function data of Time, Elev. Climbed, Calories, and Pulse.
Each preset function will count down when the training starts.(Except Pulse)

-11 -
6. Press START/STOP to start your training with PROGRAM mode.
7. The monitor will alarm "bi-bi-bi" to remind you and stop as soon as one of each preset function target
has count down to zero.(Except Pulse)
USER
1. Once you select User training mode, the LED bar below monitor display will light up to show your
current level position. You may adjust increase or decrease training level by pressing UP/DOWN.
2. Press UP/DOWN/MODE to preset your own Profiles for training. You may quit profile setting mode
by pressing MODE button for over 2 seconds.
3. Press UP/DOWN/MODE to set target function data of Time, Elev. Climbed, Calories, and Pulse.
Each preset function will count down when the training starts. (Except Pulse)
4. Press START/STOP to start your training with USER mode.
5. During training, you may press UP/DOWN to adjust resistance level.
6. The monitor will alarm "bi-bi-bi" to remind you and stop as soon as one of each preset function target
has count down to zero.(Except Pulse)
TARGET H.R.
1. When you select User training mode, the LED bar below monitor display will light up to show your
current level position. You may adjust increase or decrease training level by pressing UP/DOWN.
2. Once you select TARGET H.R. for training, the monitor requests you to input the AGE. Press UP/
DOWN/MODE to set age. This data is the key point for the proper target heart rate data calculation
by the monitor.
3. Press UP/DOWN/MODE to select different percentage of target heart rate figures you would like to
achieve for training. There are 55%, 75%, 90% for selection, or you may input manually a target heart
heart rate figures for training.
3-1 The training resistance level is not available to be adjusted by buttons operation if you are training
in TARGET H.R. mode.
3-2 The resistance level will be auto adjusted by the monitor according to your actual heart rate figure.
If your current heart rate figures is under preset, the resistance level will be increased 1 level per
30 seconds till level 16 or the target heart rate figures is achieved. If your current heart rate figure
is exceeding preset target figures, the resistance level will be decreased on level immediately. The
resistance level will be keeping decreased by one level per 15 seconds till level one. If your
current heart rate figure is still exceed the target when the resistance level is dropped to level one
for 30 seconds, the monitor will stop and keep alarm to remind you.
4. Press UP/DOWN/MODE to set target function data of Time, Elev. Climbed, Calories. Each preset
function will count down when the training starts.
5. Press ST/STOP to start your training with TARGET H.R. mode.
Table of contents
Other Sportop Stepper Machine manuals
