www.spypoint.com
LIT-C-8
v.1.1
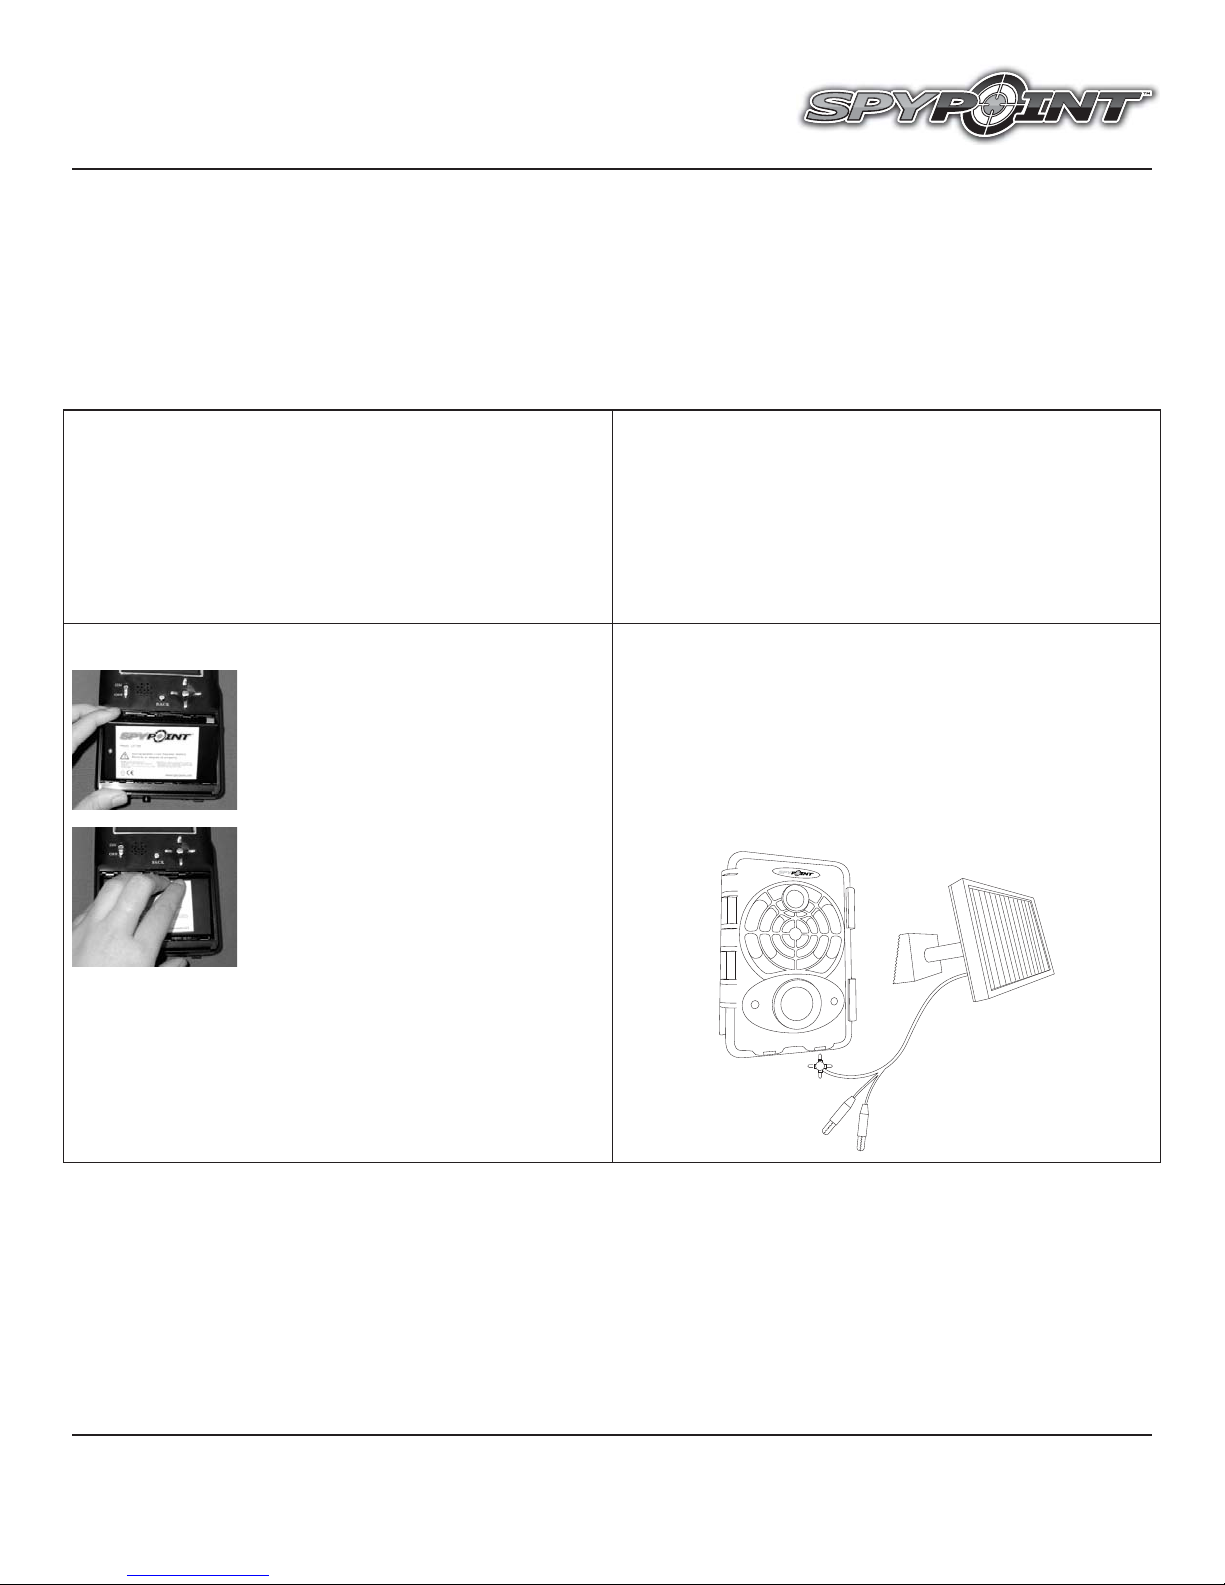
Étape 1
Pour installer la pile lithium dans la caméra, insérer la
pile dans le compartiment de piles en commençant par
le bas de la pile.
PILE LITHIUM RECHARGEABLE
ET CHARGEUR
Guide de l’utilisateur
Avant d’utiliser pour la première fois la pile lithium,
lire attentivement les directives qui suivent afin de
profiter au maximum de l’appareil.
SPÉCIFICATIONS
• Temps de charge ≈6 heures
• Température de fonctionnement (-20 °C à + 50 °C)
(-4 °F à +122 °F)
• Température de remisage (-30 °C à + 75 °C)
(-22 °F à +167 °F)
• Tension 7.4 volts
• Capacité 2000 mAh
CONTENU DE L’EMBALLAGE
• Pile lithium rechargeable (LIT-09)
• Chargeur CA
• Manuel de l’utilisateur
RECHARGER LA PILE
Pour recharger la pile lithium, brancher le chargeur à la pile. Le témoin lumineux
rouge indiquera que la pile est en charge et deviendra vert lorsque la charge sera
terminée. Le chargeur arrêtera automatiquement de charger lorsque le témoin
lumineux passera au vert.
INSÉRER LA PILE LITHIUM DANS LA CAMÉRA UTILISATION AVEC UN PANNEAU SOLAIRE
Pour maintenir la charge de la pile à l’intérieur de la caméra à l’aide du panneau
solaire, placer la pile lithium dans la caméra.
Pour relier le panneau solaire à la caméra, brancher le câble du panneau solaire à la
prise « DC 12V » ou « SOLAR PANEL » de la caméra (voir instructions selon le
modèle de la caméra, certains modèles n’offrent pas la possibilité de brancher
la pile lithium avec un panneau solaire).
Il faut premièrement s’assurer de charger complètement la pile avec le chargeur CA
puisque le panneau solaire maintient la charge et ne peut pas charger la pile si celle-ci
est complètement déchargée.
RED
BLACK
Panneau solaire
Caméra SPYPOINT
GARANTIE LIMITÉE
Le système LIT-C-8, conçu par GG Telecom, est couvert d’une garantie d’un (1) an
incluant les pièces et la main d’œuvre à compter de la date d’achat. Le coupon de
caisse est la preuve d’achat et devra être présenté si la garantie est applicable.
La garantie ne couvre pas les produits de GG Telecom ayant subi des abus,
de la négligence, des accidents ou de mauvaises utilisations ou entretiens.
Toutes modifications ou utilisations non conformes du produit affecteront son
fonctionnement, ses performances, sa durabilité et annuleront la garantie.
SERVICE DE RÉPARATION
Les réparations pour bris ou défectuosités non couverts par la garantie seront
facturées à prix raisonnables. Pour le soutien technique, s.v.p. écrire un courriel
téléphone pour vous rejoindre.
IMPORTANT: En aucune circonstance, GG Telecom n’acceptera de réparation sans
un numéro d’autorisation.
Étape 2
Pousser la pile vers le fond du compartiment pour
l’insérer complètement à l’intérieur du compartiment
de piles.
Note: Pour la plus récente mise à jour du manuel
d’utilisateur, référez-vous à notre site web.