Assembly/operating instructions for SSC-LUXon garden socket BAWI
1. Intended use
This product: -can be installed indoors and outdoors -protection type IP44, suitable for use in damp areas
-must not be exposed to strong mechanical loads or heavy soiling -may not be operated after damp or dirty storage until
after a condition check -may not be changed or modied, otherwise the operating permit and conformity will expire with
immediate eect! It is not allowed to remove the type plate.
If the aforementioned points are not observed, a short circuit or electric shock may occur! There is danger to life!
2. General safety instructions
The complete installation may only be carried out by an authorized electrician who is familiar with the applicable guide-
lines. Hereinafter referred to as „qualied electrician“.
For safe handling of the product, the user must have read and understood the installation/operating instructions com-
pletely before using the device for the rst time.
The product may only be used if it is alright. If the device or parts of it are defective, it must be repaired by a qualied
electrician.
This product is not a toy and is not allowed be stored or used within the reach of children.
Safe operation of the product is only guaranteed if these instructions are followed. Therefore, keep these assembly/
operating instructions. SSC-LUXon GmbH accepts no liability if the instructions given here are not followed or the lamp is
subjected to improper use.
3. Assembly & conguration
Caution: The connecting cable must be disconnected from the power supply before starting work (switch o the main
switch/fuse)! Only use parts which are supplied with the product or which are clearly marked as equipment! Otherwise the
product may not be suciently safe!
The cable routing shown in the illustrations is for simplied purposes only. They in no way represent a recommenda-
tion for connection! The connection may only be carried out by a qualied electrician.
When drilling, pay attention to cables and gas and water lines.
3.1 Assembly location
The product is suitable for indoor and outdoor installation. Do not cover the product under any circumstances, especially
not with insulating material, re hazard!
4. Operation, faults & disorders
Caution: The connecting cable must be disconnected from the power supply before starting work (switch o the main
switch/fuse)!
What to do in case of error?
In the event of a fault, the unit must be switched o immediately. The product may only be operated if it functions fault-
lessly. The unit may only be put back into operation after it has been checked by a qualied electrician! This is the case if:
1. there is visible damage, 2. the product is not working corrctly, 3. there is smoke, steam, or audible crackling noises, 4.
overheating can be detected
Caution: There is a danger to life - repairs to the product or work on parts carrying mains voltage may only be carried
out by qualied electricians.
Avoidance of disturbances and re hazards:
It is not allowed to cover the product under any circumstances. Air circulation must be ensured. Nothing may be attached
or hung on the product, especially no decoration.
5 . C l e a n i n g & c a r e i n s t r u c t i o n s
The product may only be wiped dry or carefully with a slightly damp and lint-free cloth. The product is not allowed to be
removed for this purpose. Do not use abrasive or sharp objects or aggressive cleaning agents. Do not use solvents.
Assembly instructions garden socket BAWI
1. Disconnect the connecting cable from the power supply!
2. Pull the cable connection unit out of the enclosure. Use the auxiliary rail inside for this. Fig.1
3. Loosen the four screws of the cable connector box and remove the cover. Connect the connecting
cable to the column (luster terminal L, N & protective conductor). Fig.3
4.Screw the cover back on with the four screws. Make sure that the seal does not slip. If necessary, x the
outgoing cable with the strain relief. Fig. 4.
5. Guide the cable connection unit with the auxiliary rail back into the enclosure. Fig.3
6. Direct mounting e.g. on wooden surfaces: Screw the energy column to the desired surface with two
screws. Fig.4
6.1. Direct mounting e.g. on concrete or stone: Mark the two drill holes (Ø 8 mm) with a distance of 190
mm and drill them. Place the dowels in the drill holes. Screw the energy prole to the desired surface
with two screws & the dowels. Fig.2 & 4
7. Switch the connecting cable to voltage. The product is now ready for use. Fig.5
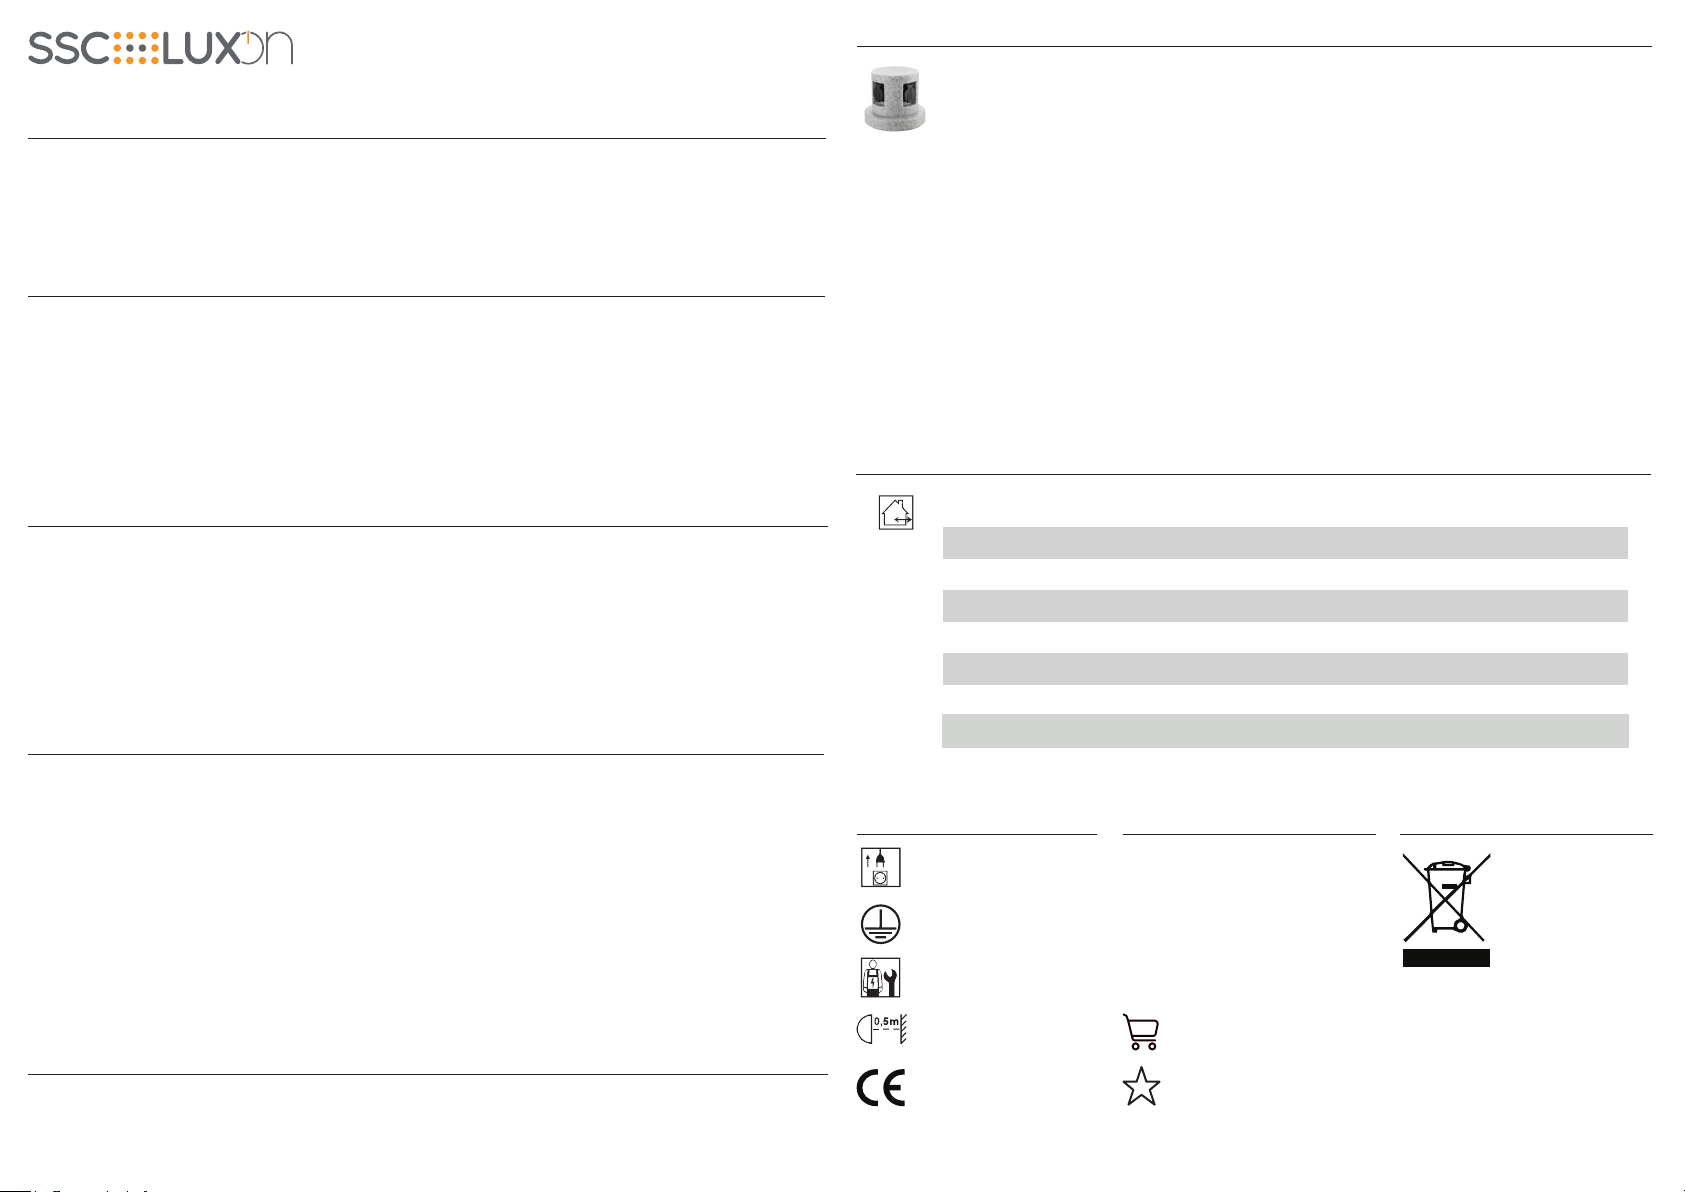
Type: Garden socket
Voltage: 220-240 V / 50-60 Hz
Protection type:IP44
Sockets: 4
Material: Plastics
Operating temperature: -20°C - +40°C
Capacity: 16 A / max. 3600 W
Protection class: I
Can be used
indoors and
outdoors
Technical data garden socket BAWI
SSC-LUXon GmbH – Am Krozinger Weg 4, 79189 Bad Krozingen, Germany
Notes, explanations & legend
Important information
Distance to illuminated objects
min. 0.5m
Protection class I
Installation only by qualied
electrician
Disconnect the device from the
mains power before starting
any work
Disposal instructions
Make sure to dispose
packaging in accordance
with the applicable guideli-
nes of your local authority.
Devices marked with
the crossed-out waste
garbage do not belong
in the household waste!
You are obliged to hand
in these devices at one of the free collection
points in your municipality. You can obtain
more information from your local authority,
the relevant town hall or a local or regional
waste disposal company.
Keep packaging material and small parts
away from children and animals. Danger of
suocation!
Notes on use indoors & outdoors
Protection type IP20 & IP23: Use only
indoors and dry, i.e. do not use in damp or
dirty rooms and in areas of high humidity.
Protection type IP44 & IP65: Can be used
indoors and outdoors.
Onlineshop:
www.led-lichtraum.de
Satised with your product?
Then we look forward to your
product review in our online store,
on Amazon or eBay!
Vers. 01/2022


