manuals.online logo
Brands
  1. Home
  2. •
  3. Brands
  4. •
  5. Standard Furniture
  6. •
  7. Indoor Furnishing
  8. •
  9. Standard Furniture 11631 User manual

Standard Furniture 11631 User manual

Read instructions carefully prior to assembly.
Thank you for purchasing this quality product. Check carefully for small parts which may come loose during shipment. Remove all components from
pack and place top down on soft surface such as carpet or cloth to prevent scratching the finish. Identify and count all parts as specified below.
It is recommended to use two or more person during the assembly process.
STANDARD
furniture
Cleaning instructions: Clean using soft cloth
Made in Vietnam
ASSEMBLY INSTRUCTIONS
GROUP NO.: 11620 AUBURN HONEY DR
ITEM NO.: 11631 - COUNTER HEIGHT TRESTLE TABLE
HARDWARE LIST: PART LIST:
No. Description Sketch Qty'
Size No. Description Sketch Qty'
1Short Bolt Ø 516'' x 60mm 8 pcs
2Long Bolt Ø
14'' x 75 mm 4 pcs
3Lock Washer Ø 516'' x 13mm 12 pcs
4Big Flat Washer Ø 516'' x 19mm 8 pcs
5Small Flat Washer Ø
14'' x 12 mm 4 pcs
6Allen Key 1 pc4 mm
7Industrial
Hex Bolt 4 pcs
Ø
12'' x 105 mm
8
9
Flat Washer 4 pcs
Ø
12'' x 23 mm
10 Wrench 1 pc
19 mm
sticker stick on the leg
L
sticker stick on the leg
R
A Table Top 1 pc
BLeft Front Leg
(or Right Back Leg) 2 pcs
CRight Front Leg
(or Left Back Leg) 2 pcs
D Side Stretcher 2 pcs
E Bottom Shelf 1 pc
134
6
B
C
C
BB
A
Step 1: Place the Table Top (A) upside down on a piece of cloth or
carpet. Attach the Left Front Leg (or Right Back Leg) (B) and Right
Front Leg (or Left Back Leg) (C) to the Apron of the Table Top (A)
by inserting Short Bolt (1), Lock Washer (3), Big Flat Washer (4) and
tighten with Allen Key (6). Do not fully tighten.
Step 2: Attach the Side Stretcher (D) to the Table Legs (C);(B) by
inserting the Industrial Hex Bolt (7); Flat Washer (8); Industrial Hex
Nut (9) as the picture shown and tighten with Wrench (10) provided .
Do not fully tighten.
BB
C
C
D
D
A
Step 1 Step 2
Step 3 2
3
5
6
D
E
C
B
C
D
B
A
E
Step 3: Attach the Bottom Shelf (E) to the Side Stretcher (D) by inserting Long Bolt (2), Lock Washer (3), Small Flat Washer (5). Fully tighten
all Bolts and Nuts in Step 1;2;3 at this time by using Allen Key (6) and Wrench (10) provided. Do not over tigten .
Turn the Table to upright position (*Note: It is recommended to use two or more persons to turn the Table). Assembly product is now
completed.
Finish
7
D
C10
89
Industrial
Hex Nut 4 pcs
Ø
12'' x 19 mm
STANDARD
furni ture
Read instructions carefully prior to assembly.
Thank you for purchasing this quality product. Check carefully for small parts which may come loose during shipment. Remove all components from
pack and place top down on soft surface such as carpet or cloth to prevent scratching the finish. Identify and count all parts as specified below.
It is recommended to use one person during the assembly process.
ASSEMBLY INSTRUCTIONS
GROUP NO.: 11620 AUBURN HONEY DR
ITEM NO.: 11637 - UPH COUNTER HEIGHT CHAIR II 2/CTN
HARDWARE LIST: PART LIST:
No. Description Sketch Qty'
1Long Bolt
Size
Ø
14'' x 75mm 4 pcs
3Short Bolt Ø
14'' x 40mm
4Lock Washer Ø516'' x 13mm
3 pcs
11 pcs
5Flat Washer Ø516'' x 19mm 11 pcs
6Allen Key 1 pc4 mm
No. Description Sketch Qty'
A Chair Back 1 pc
B Seat Cushion
Frame 1 pc
C Left Front Leg
Made in Vietnam
Cleaning instructions: Clean using soft cloth
7 Screw 6 pcs
Ø4 x40 mm
sticker stick under stretcher
D
F
G
Right Front Leg
Left Side Stretcher
Right Side Stretcher
1 pc
1 pc
1 pc
Step 2
3
4
5
6
6
145
Step 1: Attach Seat Cushion Frame (B) to Chair Back (A) by
securing the Short Bolt (3), Lock Washer (4), Flat Washer (5) on
back rail and Long Bolt (1), Lock Washer (4), Flat Washer (5)
onto Corner, tighten with Allen Key (6). Do not fully tighten.
Step 2: Attach the Left and Right Front Legs (C);(D) to Seat
Cushion Frame (B) by using Medium Bolt (2), Lock Washer
(4), Flat Washer (5) and Allen Key (6). Do not fully tighten.
Attach the Front, Left side, Right side of Stretcher (E);(F);(G)
to Right, Left of Front Leg and Chair back by securing the
Screw (7) with Phillips-head screw drivers (not provided).
Step 3: Place the Chair on flat surface and adjust legs so that
chair is level and does not wobble. Tighten all Bolts and
Screws with Allen Key (6) provided and Phillips-head screw
drivers (not provided). Assembly product is completed .
R
L
2Medium Bolt Ø
14'' x 50mm 4 pcs
EFront Stretcher 1 pc
1 pc
245
6
D
D
7
7
A
B
AC
AE
D
B
G
F
Read instructions carefully prior to assembly.
Thank you for purchasing this quality product. Check carefully for small parts which may come loose during shipment. Remove all components from
pack and place top down on soft surface such as carpet or cloth to prevent scratching the finish. Identify and count all parts as specified below.
It is recommended to use two or more person during the assembly process.
STANDARD
furniture
HARDWARE LIST: PART LIST:
No. Description Sketch Qty'
Size No. Description Sketch Qty'
Cleaning instructions: Clean using soft cloth
Made in Vietnam
1Allen Bolt Ø
14'' x 50mm 8 pcs
2Lock Washer Ø516'' x 13mm 8 pcs
3Flat Washer Ø516'' x 19mm 8 pcs
5Allen Key 1 pc4 mm
ABench Cushion
Frame 1 pc
BLeft Front Leg or
Right Back Leg
DSide Stretcher 2 pcs
E
ASSEMBLY INSTRUCTIONS
GROUP NO.: 11620 AUBURN HONEY DR
ITEM NO.: 11639 - COUNTER HEIGHT BENCH 1/CTN
4 Screw 8 pcsØ4 x40 mm
CRight Front Leg or
Left Back Leg
sticker stick on the leg
L
sticker stick on the leg
R
2 pcs
2 pcs
Front Stretcher 2 pcs
Step 1: Place the Bench Cushion Frame (A) on a piece
of cloth or carpet to prevent from scratching.
- Attach the Left Front Leg (or Right Back Leg) (B) and
Right Front Leg (or Left Back Leg) (C) to Seat Cushion
Frame (A) by using Allen Bolt (1), Lock Washer (2),
Flat Washer (3) and Allen Key (5). Do not fully tighten.
- Attach the Side and Front Stretcher (D);(E) to the
middle of 4 Legs as the picture shown and insert the
Screw (4), secure with Phillips -head screw drivers (not
provided).
5
123
A
B
B
C
C
D
E
D
C
E
D
4
4
A
B
Step 1 Step 2
Step 2: Turn the Bench to upright position and place it on
flat surface and adjust legs so the Bench is level and does
not wobble. Tighten all Bolts and Screws with Allen Key (5)
(provided) and Phillips - head screw drivers (not provided).
Assembly product is completed .

Other Standard Furniture Indoor Furnishing manuals

Standard Furniture OMAHA GRAY DR 16680 User manual

Standard Furniture

Standard Furniture OMAHA GRAY DR 16680 User manual

Standard Furniture 14140 User manual

Standard Furniture

Standard Furniture 14140 User manual
Standard Furniture Carrington 17024 User manual

Standard Furniture

Standard Furniture Carrington 17024 User manual

Standard Furniture 13916 User manual

Standard Furniture

Standard Furniture 13916 User manual
Standard Furniture 93850 OLIVIA BR User manual

Standard Furniture

Standard Furniture 93850 OLIVIA BR User manual

Popular Indoor Furnishing manuals by other brands
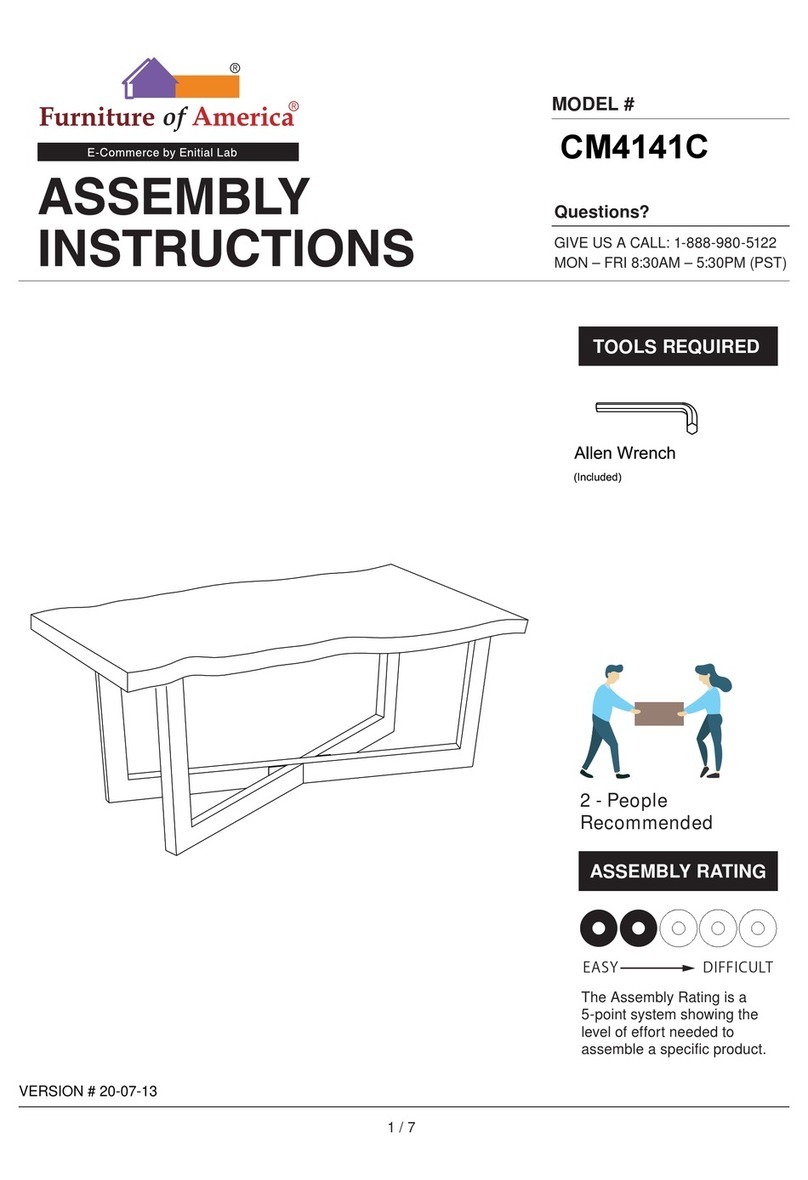
Boff Double Assembly instructions

Boff

Boff Double Assembly instructions

HULALA HOME SBHM0638 manual

HULALA HOME

HULALA HOME SBHM0638 manual

Furniture of America CM7560C Assembly instructions

Furniture of America

Furniture of America CM7560C Assembly instructions

Furniture of America Vilgot CM4493-3PK Assembly instructions

Furniture of America

Furniture of America Vilgot CM4493-3PK Assembly instructions

STILFORD S2 user manual

STILFORD

STILFORD S2 user manual

pakoworld MILL Assembly manual

pakoworld

pakoworld MILL Assembly manual

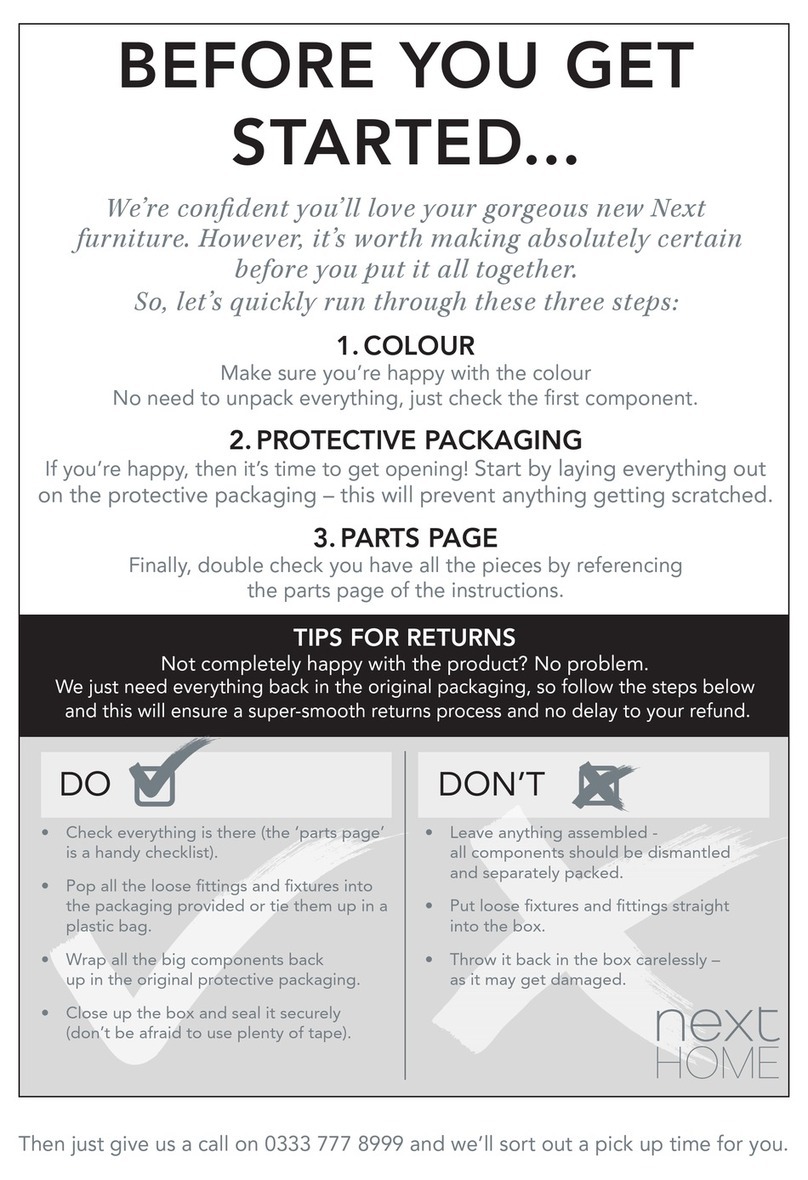
Furniture of America CM4141C Assembly instructions
Furniture of America

Furniture of America CM4141C Assembly instructions

Next 777264 Assembly instructions

Next

Next 777264 Assembly instructions
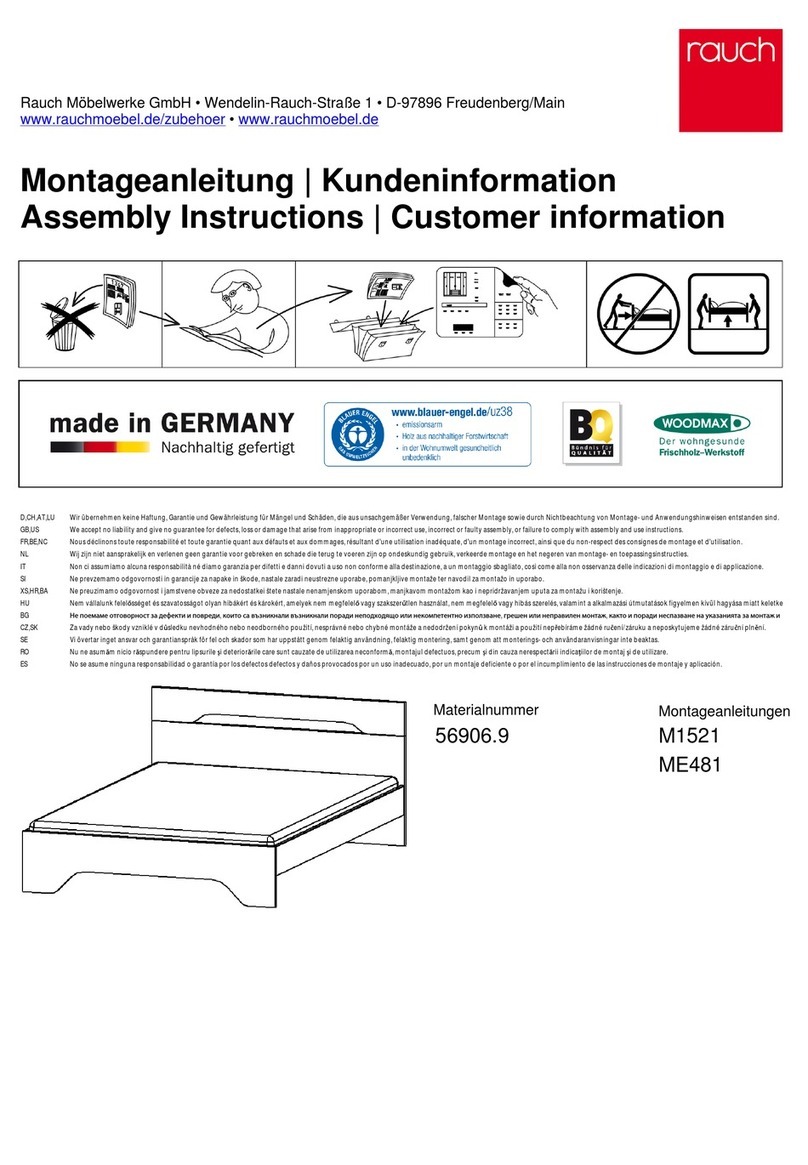
Rauch Noosa M1521 Assembly instructions
Rauch

Rauch Noosa M1521 Assembly instructions

Rauch ML065 Assembly instructions

Rauch

Rauch ML065 Assembly instructions
Ameriwood HOME 8234500COM Instruction booklet
Ameriwood HOME

Ameriwood HOME 8234500COM Instruction booklet

beautyrest SmartMotion 1.0 Quick installation guide

beautyrest

beautyrest SmartMotion 1.0 Quick installation guide

nomon Mixta trio coffee table Assembly instructions
nomon

nomon Mixta trio coffee table Assembly instructions

BISLEY Hideaway HID1255LUK Assembly instructions
BISLEY

BISLEY Hideaway HID1255LUK Assembly instructions

Manual Thinking MT-WT L99-D Assembly instructions
Manual Thinking

Manual Thinking MT-WT L99-D Assembly instructions

Lifely Coco Series Assemble instructions

Lifely

Lifely Coco Series Assemble instructions

Allen + Roth FRM71022AS quick start guide

Allen + Roth

Allen + Roth FRM71022AS quick start guide

Studio Designs SD GAMING OVERLORD 51257 Assembly instructions

Studio Designs

Studio Designs SD GAMING OVERLORD 51257 Assembly instructions

manuals.online logo
manuals.online logoBrands
  • About & Mission
  • Contact us
  • Privacy Policy
  • Terms and Conditions

Copyright 2025 Manuals.Online. All Rights Reserved.