manuals.online logo
Brands
  1. Home
  2. •
  3. Brands
  4. •
  5. Standard
  6. •
  7. Transceiver
  8. •
  9. Standard G59OODA User manual

Standard G59OODA User manual

SiTANDARD.
TFilPLE EANS
G59OODA
c5908DE
OWNER'S
MANUAL
Thank
you
for
purchasing
our
transceiver.
For
proper
use
of
your
transceiver,
please
readthis
manualthoroughly.
Keepthismanual
in
asafe
place
for
reference
ata
laterdate.
5OMHZ/
144MH2I44OMHz FM TRANSCEIVER
3
eg
19
25
e31
43
47
e53
MARANTZ
JAPAN,
INC
I How
tousethismanual.
OThis transceiver
cov€rs
50MHz,144MHz
and44OMHZ
b.nds. Thismanuat's
descriptionsare
basedonthe
UHF
(440
MHz
band)
olCS9q)DA
OThismanual
usesthe
following
symbols.
E Reference
loanother
page
Function
mode
Function
Blinkmode
E
tr
I After
unpacking,
make
surethat
thefollowing
items
areincluded.
1. Owner's
manual...........
.................
...............1
2. Blockdiagram
...............
..................
............1
3. Microphone
(CMP883)
..
.................
.
.
.........1
4. Transceiver...................................................
1
5. Powersupply
cable...........
.................
........1
6. Mounting
bracket........................................
I
7. Mounting
sclewslormobiles
bracket
Bolts
(M4
mmx8mm)
..............................4
Bolts
(M5
mmx20
mm)............................4
Nuts
(M5
mm)
.............................................
4
Flat
washers
(M5
mm)...............................8
Lock
washers
(M5
mm)
.............................
4
Tapping
screws
(M5
mmx15
mm).........4
HexagonWrench
........................................
1
8. Microphonshunger..................
..................1
9. Sparetuses
(12A)........................................2
10.oTMF
unitCTD5700...................................
1
(Attach6d
lo the mainbody.)
12.
CTCSSione
squelchunit
CTN5700.........
1
(Anached
tothe mainbody.)
It
tt " -"- " (us€ r]3lenbseuoj
Icuanb€rlsuol SSCIC
aql6uluu€cs
(tuouow
uecs
tuouraN)
se|cuenbar
j tuouref{
c!lp€ds
6uruuecs
Ot "- - .. " .. " (uEcS
fuor.lenlr!a6ord)
sserppv
irouanlcll|padseoutuuegs
6e - " - " - - (uP€tuourel1lcotS)
sseJPPVtuotrlan
toXlol8
€6uluuBcs
6e"- (uBcS
irouay{)
/Ooural4
ursapuenbarl
ouruuecs
(uP€ uJProord)obue8cll|cadseuecs
/0 " " " - uecg
Isng
pou1[ ournseua$6ul6uBqc
1.0
- - - - (uRlS
v)qDn\puEg
erluf eqlouluu"cs
1e - - " '(uE?S
zHn!)zHr\t
urrtlu|loutuu?Js
ez" - '(IaI Ayl)uorlcunl
epoyl
l€S
aqlourouprlC
gZ" - " -sdstszHt!! ur,{cuonberJeqlourbueqC
dels
,buenberl
e{ 6uroueqC
ZZ " - )tco'l,byeq 6urs1
epoFl
)itol ^ay
urropepsaql6u!sn
GIO pueg)
spueg
pssnun
6utaloo
'''roa\od
ou|llrusuPrl
gql
6urues
glO qqsnbS)
uolldacau.rood6uDnpecueuropodoui^ordurl
fZ ' ,(cuanb€U
"tlVCeqt
q&!
soull€s
palBlcossv
ouuols
oz - -- - "" ,buonba.U'l'lvcaql6u!6uBqC
,(cu€nberl'l'lVC
sql6u|sn
''''- peeds
uecsa|]t6ul6uer.lC 6t sNotrvuSdo
orcNVAov I
I
I
I
I
t)
9e" - -" " " edil uecse$6ul6ueqC
''''- - uorpunlue3soql
NVCS9g tt
zl
0t
0l
tt'
su€d
lo
uorpunl
pue
uoqBledo
sepon
leseu
6uNrursuPrl
0ur^recau
ze ""'
z€ " -- uo[cunjtuourenrad,(Heql
re sNollcNnl UotJSt/'{utd^H
oe .'- lrun
fuouray{
pOur^otrJaurooupgsul
6z " ftouroy{Burad/(Iuecse|]louuols
R (dn)pEg
tuouon),QouelrlaqtounBs
62 - " (patord
tuotloll)tuouray!oullcatord
ea
gz roqloueolououro4fuouraylE6u doC
''''''- tuouJofl
oqloutserl
Lz slualuoC,0ouranaql0ur6ueq3
tz - - stuotuoCftourowOur^eldsro
9z'-- . " Ircuray!bulols
9z - epoy!fuouraylaql
epoy!olnvur
lrourgnl
ied,(g6ur,reg epou
oln
ee' "" - epof{
lenuew
pueo}nv
uaa,Yqsq6ulqqi,v\S
e€ - - "- apol,||
Fnupnl
u!
,(]oujsnl
.rad,{H6ur^es
'fuourswrod^HPourleldsro
pueqeql6uroueqC
''''''- - pueg
ulBneqloulpalas
''''''- - qqenbs
eqlourlsnlpv
ournp^
aql6urlsnlDV
uOrgrod
gql6ulurn-[
0t
- "'
SNOIIVH3dOCISVS
'''''- ' euueuvaqlourqcelv
''''''segsJ
tPuolloo
aql
roqv
'peoqp4uoc
aqlouucouuoo
fuouroy{eursouqlas6ur^€S 1- " - ro{Rods
lpurglxa
aql6urFauuog
guoqdorclur
eql6u0couuo3
t-
L-
t -"- - '
a|g"clddnsrorodaqtOurpeuuoC
le^|acsuErlsql6u|||Plsul
9" -- - - - la)lcBlq
oullunouJeqloufiplsul
g leyJElg
pue
lg^Eosuelleqloulunoyl
-" " - suorFEcerd
9Z sNottcNnl
AUo|/\{lr!
sluotuoc
lo
ogBI
NOII\NIVISNI
I
I
I
I-
Table
ofContents
REPEATER
OPERATIONS 43
TheRepeater
Function
...................-........_._.
....................44
lJsingRepeater
i,4ode
(Auto
Repeater
Mode)..................44
Cancelling
AutoRepeater
Mode.................._...................44
Setting
RepeaierMode
lllanua
y.....................................
44
Receiving
a
StationDtrectlyin
RepeaterMode
(Beverse)
45
Changing
the
OlfsetFrequency
and
CTCSS
ToneFrequency
forRepeater
Mode...............45
UsingaRepeaterwhich
requires
a
1750
HzTone
Burst
Signat........................................46
ADDITIONAL
FUNCTIONS 47
Removing
the
BandLimit.................................................48
Preventing
Unintentional
Transmission
(PTT
Lock).........48
RF
Squelch................ ...................48
Changingthe
Frequencies
on
Both
Sides
ol
theDisplaySimultaneousty(VFOLink).....
...............49
Changingthe
Display
Brightness
(Dimmer)
....................49
ChangingtheVolume
ofthe
Beep....................................49
SettingthePTT
BeepTransmission(Sland-by
Eeep)
......50
Stopping
theTransmission
Automatically
(Time-Out
Timeo
....... .............,50
Muting
theOpposite
BandAutomaticay(Auto
Mute)
......50
Mutingthe
Sub-band
(Sub-band
Mute)
...-.-....................,.
50
Turningthe
Powerolf
Automatically
(Auto
powef
Ofi) .....51
Seitingthe
Cross-bandRepeater
....................................
S
j
Settingthe
AutoAMReception
Mode
.............._._............51
SettingtheAlvl
Reception
ModeManually
.......................51
USINGTHEACCESSORIES 53
Enler
theFrequency
Directlywith
theMlcrophone
...........54
Code-Squelch
andPaging...............................................54
Settingthe
Code-squelch
code........................................
S5
UsingtheCode-sque1ch..................................................55
SettingIndividual
Codefor
Paging..................
.
..............55
SettinqPaging
Codesfor
Other
Slations..........................
56
Setting
aGroupCode ...................56
Transmitting
aPaging
Signat........................
... .............57
Receiving
aPaging
Signal...............................................57
Delayed
fue-squeEh Paging
Send
Trrne
......................
58
ChanginglheBeeps
a
rhe
Pagrng
mode
. ......................58
UsingDTMFCode ......... ..58
Transmrttrng
aOTMFfue lrom
lheMrcrophone. 58
Storingthe
DTMFCade
In
Memory.. 59
ChangrngaDTMFCodeStoredrnMenro.y
......._... 59
SendrngaDTMFCodekom
aMemory
....._.._.....
............
60
Erasrnglhe
DTMFclde ............_..........._...._...__.._.............60
ChangrngtheIntervai
SendrngTime
ofthe DTMF
Code ..60
SettingtheDTMF
Conlrot..................__................._..........61
Receivrngthe
DTMFConlrolcode..-.............
.. .............61
ChangrngtheFrequency
by
DTMFControl
......................6l
UsrngTone
Squelch
(CTCSS)
....,....................................62
Usrng
theTone
Encoder
andTone
Squelch.....................62
ChanglnglheFrequency
oltheTone
Signal....................62
Usngthe
CAW590Series
Optionat
Cabte.......................63
PACKET
OPERATIONS 65
DataPacket
Transmission
..........._..................._...............66
1200
bpsDataPacket
Transmission................................
66
High
Speed9600
bpsDataPacket
Communication
.........67
Switching
between1200
and
9600bps............................67
Selectingthe
BandtoReceive
PacketData
.....................67
REFERENCES bY
II
8""" " " " "" ""' euualuvaqloulqceuv
L" """""" "" "" """ " ' salqPc
lEuolloo
aql
]noqv
L""""""""""""" " "" "peeq
lorluoc
aql
ourloauuoc
L-""""""""""""' " relPods
lPuralxa
aLlloullceuuoc
1."
.' " " """ ""' " """ auoqdorcltl.iollloullcauuoc
9"""""" """" e|qec^lddnsra^odaqloullcauuoC
9""""""" .'"" "" " " " ra^tocsuPrlaqlDutllElsul
9"" " " " " "" "' "" lelceiq
bullunoulaqlbutllBlsul
9"" """" " ' lolceJS
pue
lo^tecsue.r1aq1ouqunoyl
t"" """""""" " """ suollnesald
NOIIVIIVISNI
J,-
INSTALLATION
Precautions
Installation
location
For
proper
operationof
your
transceiver,
please
iol
owthe
guidelines
listed
beiow
. Avoid
exposingthetransceiver
to
high
temperature,
humidity
ordust.Avoida ocationwith
directexposure
tosunlighl.InstaI
lhetranscetverin
a drywell,
ventilated
area
. In
order
to
keep
thekansceiver
cool,
provide
sufficienl
spacein
backandunderneath
thetransceiver
to
permit
theradialing
fins
tooperate
proper
y tt s
norrnallor
lhetransceivers
maln
untt
may
gel
wafr
. Mount
thetransceiver
sothebackol
thetransceiver
does
not
touch
any
material
that
couldbedamaged
by
heat.
Install
thetransceiverin
a place
free
of
excessivevrbrations.
Dashboard
mounting
.lt isrecommended
thatthetransceiver
bemounted
underthe
dashboard,onthe
sideotthe
glove
boxor
undertheinstrument
panel.
CAUTION;
Neverinstall
thetransceiverin
thefollowing
ptacesi
. Near
airconditioneroutletvents . Exposed
todirect
sunlight . places
withexcessive
. Near
electronic
circuits . Placeswhere
thetranscerver
mayaifect
safetydriving
Power
supply
. The
transceiveris
designed
for
vehicles
wilh12VDC
electricalsystems.
lt
cannotbeusedinvehicles
with
24VDC
electrical
systems.
. Never
connectthe
transceivertoAlternating
Current
(AC).
Il-;swrll
oanage
lothelrarsceive'.
12VDC
HW
rLgJ
'slloqurur
fl l €qlualq0rl
pue
la)jcerq
6u
lunoru
aqlur
^poqursureql
uasul
z
poq
urPuraqlro
laued
reeJaqluo
.rolceuuocalqec
lerxeoc
aLll
ol
euuelueaql
l3au
uoc I
-arq6 ]pue
staqse/r\
lPll
eql
qonorql
sM€lcs0utddel
'. asu.rrr
9N eLllssedroslnu pues.raLlseM
)lcol
s
-..r
seM
lell
qlr/{
lo}3e.rq
aql
llelsur
'lxaN sJaqseM
.r . :-: qonorqt
slloq
pB€q-xaq
uru 9lJ
aqlssed
z
s,4o.lJS
a. r r
' ...asLULi]
gli\
rolLUrx
t t ol
Oto ]o
saloq
luc
IO8peeq-xeH
uJurtl.l
Je^recsuP4eql0urllelsul
sloq
..rJ
g!l .ro]u.rur
9 I 01
z 90lo saloqlrJC
€qseMrer4----.-la
ioqsPM
lcot----i5 dP
1nv-----6bB
I
TI
6@
8E
papnloul
are^
pr€rl
aqlesn paqcelle
^lurl oq uec
lraraq^ lalcerq 6urlunouror.ll
lletsul
lelcerq
bu[unouraqlburlle]sul
IO8pe€q-x€H
NO]V-IIVISNI
loIceJS
pue
re^rocsuPl1or.l}0ur}unou\
INSTALLATION
Connecting
the
power
supply
cable
ForVehicle
Thetransceiverrequires
power
irom
thevehic
e's12VDC
battery.
Usethe
power
supplycordin
lheaccessory
package
toconnecl
thebattery
tothetranscetver
Fuse
Bor Baflery
(12V)
I Before
connection,
disconnect
lhenegatiye
"-"
lermrna
otthebattery.
This
prevents
ashort
circuit.
2 Connect
the
red
wre
ofthetransceiverto
the
pos
tive
le ry-d o' tre oale.y F''.rly igller-
the
ballery
lerm
aa
3 Coonect
the
black
wire
olthe
transceiver
tothe
negat
ve
terminal
ofthebattery.
Firmly
tightenthe
batterytermnal.
4 Connect
the
power
connector
onthemainbody
to
theconneclor
onthe
power
supplycable.
Advice
. lfthe
suppliedcableis
notlong
enough,
usethe
CAWs75
orCAW576
optiona
power
cable.
CAUTION
. When
usingthetransceiver
invehicle
with
a
24VOC
electrical
system,aDC-DC
converter
toconvert24
VDC
to12VDC
must
beused.
. ll
thevehic
eis
notusedfor
along
period
of
time
d
sco'rnecllhe
power
sLpply
cable
. The
rranscerverrequires
12
A
fuses.
Batlery
olthevehicle
(se
€),,satqec
euortdoaq)5-sl. otralau
salqec
leuoDdo
aqt
lnoqv
(91
€) ,,sued,o
uortcunl
pue
uorlerado,,olialau
.
iuauloInDa
raqlo ro auoqdreeup loauuoc lou oO ra)jpads
leu]alxe
aqlro]
pasn
IluosreurLr.rolraleadsleu.ralxo
or.ll.
raleads
lEuralxa
oql
6urlceuuoC
a.rour]o
v0zL
:luarnclndlno
AB0t
itndtnoCC
s€
qcns'Ilddns
raMod
OC
palelnOar
easn
'uorlels
pax
I
esere^racsuerlaql0ursnuaqM
NOrlvl]V1SNl
(ot G) .lrun
fuouranlaqt6ur^oueuro6uruasut,rrola8
pPaq
lorluoc
aqlbuucauuo3
eql 6url3auuooe]olaq llo
euoLldororul
le^ra3suPl]aql Ulnl .
euoqdorcl.uaq]6ulpauuoC
AtddnSra^^od
CO
petetnOaU
uorlels
pexrl
e
rol
(tPUoudo)
Zt)iSC
INSTALLATION
AttachingtheAntenna
ForVehicle
The
performance
oithetransceiverdependson
thetypeofantennaused.Seect
anantennathatmatches
your
operal|ngrequrremenrs.
IndependenlAntenna
144MH2Band CommonAntenna
D
Whenusino
acommonantenna:
Thetransceiverhas
abuilt-lntripexer.Theretore,
a
common
antenna
fot
501144144OMqzbandcan
beused
YagiAntenna
(lnslalled
onaroof)
When
usinoaindeoendent
antenna:
Whenndependent
antennasareused,
a duplexer,
triplexeror
coaxialswilch
must
beusedtoselect
the
antenna.
Transceiver
CAUTION
. The
antennamustmatch
thebandused.Donoltransmit
onbandsthaldonotmatch
theantenna.lfunmatching
bandsareused,thetransceivermay
bedamaged.
. AdjustVSWR
oftheantennato1.5
or
less.Never
usethetransceiver
whenVSWRisover1.5in
succession.Thiswrr
causethe
transceiver
is
protection
circuit
to
reduce
transmission
power
and
may
damage
thetransceiver.
. Never
use
damaged
orbrokencables.
. Whenmounting
anantennabase,
connecta
ground
between
thebaseandthe
automobilebody.Thisisnotneeded
for
antennasthatdonotrequire
agroundpace.
Attaching
aFixedAntenna
To
properly
installthe
antenna,
refer
totheantennainstallation
manua
suppliedwiththeantenna.
Thefollowing
exampleisforhomeinstallation.
Formore
detail,consult
your
dealer.
Towaterproof
theconnectors,lirst
tightlywrapthe
connectorwith
double-sidedadhesivetape,
then
wrap
single-
sidedvinvltaoe
overit.
GP
(Ground
Plane)Antenna
(Attached
toa
porch)
CAUTION
. Checkallsupportlines
to
make
suretheantenna
doesnotdamage
surroundingbuildingsor
people
ilitlalls
oris
blowndownbystrongwinds.
. KEEP
thecoaxialcablelength
totheantenna.
SNOIIVU]dO
CISVS
BASICOPERATIONS
Onthecontrolhead
I Pressthe
@l key
3 To
lurr hp power
ot. press
lhe @ "e,
2 Coniirm
thedispay
isilumrnared
a@l
t15.5?E
Ye5.0CC
i2 Conlrmihe
drsplay
rsIluminated
t15.5?E1e5.000
4 Conlirmthe
dispayextinquishes ,| 4 Conlirrnthedrsptay
extinguishes
Adiusiing
theVolume Adjusting
lheSquelch
Onthemrcrophone
I PressrhemWFR-l
To
turnthe
power
oti pressthe
IEWERI
. When
lhetransceiverrsnot
receivingasignal,
lmakesaslaticlike
noise Thesqueich lunclion isused lo eliminalelhis no se
I Fully
lur. lre SOL
hroo
(
ounlerclochw
se
( norse sernitted)
clockwisetolncrease
thevolume.
_r@,".
rtea\l
iE ES6EE /O( I
Tum
the
VOLknob
clockwiseto
2 Turn
theVOLknob
counterclockwtseto
decreasernevotume 2 Slowlytumthe
SQL
knob
clockwise
Advice
. When
the recerving
slationis heard,
adjustthevolume
accorornov.
. Or,press'the
mLoF-Fl
keyonthemicrophone
lo adiuslthe
volume.
Whennorsers
e11rlledaotusr
rhe
volJro
accoioirgry
Press
lhe Eo-[5FFl
hey
afleradjuslrna
3 Sloplurningtheknobwhen
lhe
norse
disappears. I
Advice
. The
conditionwherenoiseis
emtted scaled squechoff . V\hen
usrrgheSQLlnobloehrrrulenoise
trscalled
squechor
. lllhesquelcl"levelisIncreased,weaLs,aralsmaynolbereceved
. Tl'e
squelcl'ofrunctron
prevents
rheaqJetchlorr
nre
ruotrng
weax
srgnats.
. The
lra.sceiverhas
lhe
FF-squelch'ulclton.
lhe
squetc'1.s
openedwtFnlfpsignalstrenqlhe)?cepdslhe
levelspl
bvlhrs
Iarl
INMOo-l/f!]o
eqloursserd
rorolcoasaql6ururniIqpueq
txau
aqlol
paoueqcaq
Lecpueqaql pale^qce
sruorlcunlsrql
uaqM pueq
eql
puo^aq
saoo
leql
uorlcunleseqre^ecsuelleql .
'ACUOnOA4
aql
lndur
^tlrarpolposn
oqueceuoqdo)cru
€88dnc
aql .
AelosrpaLlluo
palecrpurlou
]nq
pe^rece]
eo^euj
oLeo
lq6ru
pup
ua
taLluaa,lqeq
pLr6,s
uorleu'qLrlor
v .
lalJrp
^eu]a^olroFru
leu6ls
aql
'aul
IaLUes
le
spueq
qloq
uo
pg^lgCal
Sl
leuOls
oulesAqluoqM .
pueq'qnsoqlurpa^elosrps,3ITllA,,sinccosrql
ll zqwbbl
oltas
sr
pueq
tqolu
pue
zHr!ott ollas
sr
pueq
ual eql pueq
aur-esaqluolaseleepslq6lr
pueop
sueleqlsaletsour,'ollo]
UlOUllllu.rSUe4Sl
pUeq
UleUJelrqMe^lACellOUUeCpUPq-qns€eq-L. pueq
aql
eDueqcoleroluro
puoces
90ro]qoul-los oql
ppq puE
ssard€
045'94'
poletdsrp
s 'NtVn u.rrluoC
Z
'pueq
ureuraqt
]calas
olqou)i
los aqlssaid I
2HL1ott
ro
zHl,,!
},l ollas
equec
spueq
qlog zHt\ott.ro zHr!t
olpooueqc
oquec
pueq
lq6ru
oql zHL"{ottJozHr\tt! zHn09
ol
pe6ueqc
oquec
pueq
ual aqf
009h,'
025'9h'
(1o8069c)zH9"t
9666erol00000t
(vo0069c)zHt!s666ff 01000
0zr poeq
zHnOtt
zHli\
966.1'l
o1000
}'l pueqzHn,'!
Pueq
lq0rU
(j0806SO)zHy\t
q66
6ttol00O oet
(vo0069ctzH^ 9666t' ol0cr0
0?t :pueqzHy\t
0}'
zHy\l966
1tt ot
000}'t :pueq
zHn
t'l
zHy!
966t9 o1000
09 puPq
zH^ 09
pueq
le l
:sMololsetas
oquec
pueq
qce3 .
pueq
ureuraqlse
l€s
srpueq
t!6r!uaqM
peurue
sideeq
paqc]
d q6rqauOpuequreuraqtse
tassrpueq
u3l
eqluaqM
peurura
aresdaoq
poqctld-qorq
ooir.ll.
pueq_qns
oql
pa
lec
srpalcaloslou
pueq
aql .
acrApv
B009Ah
'paqc]rMs
sr elos
p ,NlvL\,
urrtuoc
z
0e59hl
puPq
oql0ul0ueqc
peeq
lorluoc
eqluo
pleq
eLltlca
asotqoul loseqlssord I
peeq
lorluoc
eqluc
pueq
tqolB
eqlol
pueq
ttalaqlL!o4peqclrMsoquec
pueq
LJ|PL!
aqf pueq
ureuraqlurauoparesuorlcun,crseqioqlo
pue
6ururursueil
lcuenbo4
eql6uoupqC pueq
,,NtVyI,,
aqlse
palcotas
oquec
pueq
euo
IlB09hh
euoqdo]cruraqluo
SNOIIVH:ldO CISVg
pueg
urer{aq}ourpalas
BASIC
OPERATIONS
VFO
mode
- 3 lf M isdisplayed(memorymode).presslhe
lV iEFil key
- 11'CAL'is
displayed
(callmode)
presslhe
lV^rENilkey
It
" is
blinking
(scan
mode),
press
lhel!ffiEr-il key
lrsernodersdcpayedp'e5,ll. [aiRSFl
.a,
lo
i
d,
LeJFI
^lode _a. press
lhe fam3Fil fa! torprLrn
t'levFO
.nooe
TheVFO
(Variable
FrequencyOsc ator)slhe modeinwh
ch
frequencies
canbechangedusrngthe
seectoror
pressing
the
@ /
lDolvitlkeys
Thtsisthemodeolthetransceverwhenshippedand
rmmediate
y
alterresetling.
I Press
lheSQLknobto
selecllhe
rnan
band
2 Conlrrmlheman
band
ndrcalor
4 Conlrm
lhe
VFOmode
AOvlCe
. qesp lnaVrO Irlere s drilcJ,l, 'plurl nq to
lheVrO -nodp
The
VcO'e.pr ratu
rs allslateIo
he,1t;l ctate
e<cept
tl
p
rnemory _
. PreSS
tl'e CLRSLII
Ley
IO
relLrnlo the
VLOn
Odeds tle
drsplayedlrequency
Inmemory
orcall
mode
. Turn
these eclortoreturntolhe VFOrnodeaslhe displayedca I
frequency
- Receivino
Fecervingistheprocessof
setlingadesiredfrequencyandreceiving
lransmiss
ons Ths lransceverhas
aseleclor
oneach
side
Therelore,
thelrequency
canbechangedwithoul
seleclingarnan
oano.
Oncontrolhead
I settotheVFornode
2 Turnlhe
selecto
r
clockwiseto ncreasethe
lrequency
2 Selto
theVFOmode.
3 Turnthe
seleclorcounlerclockwise
todecrease
ne rreouencv
Advrce
. The
CMPBB3microphooe
canbeused
toenterlhefrequency
drreclly
. -helreouelllcan be.aprdr)
changed
In\uc(essio'l
bynoldrrq
downlhe@or [@ (eys -
On
ihemicrophone
keylo seiecllhe band
IrfI
eu6Do
aqlu)n]
s0uruas
aql
olurnla)olure6€uo
pue
lo )e^racsuerloqlolrolod
euop6uaqsrlratrq,{
petdnraturs
uorl€lado
losal
p
}l .
lasar
eoururopadrole urebe
uopue,,ora^racsuertaqtolrar
odaqlur
nl
olfuessocau
lou
s 1l
'6urururei6ord
eroloq
lrlasoilrun
fuoureur
t9!nltc leuo[do
or]tourseqcindrauv
uo
sr(92€)uorlrun,fuouay\llcolordaql]
lasdraqtouupcfuou.r€|,1l
.
'tsrus6urues
olAaql
tasar
sourueseqt
utr/|
apeur
oeoqseqaletslulaerllp.
(lasoilou
sr
(610
o1000ssorppe)fuoLlroL!euraluraq1)
)asar
s ^tuo(66
tol080
ssoippe)
trun
tuouraur
!9|o!,!ceq1
lrufl
fuouranaql6urasau
lgt Jo
t Jl .ie
dsrc
tJ tl! (: J^Ptos10
(tesertou
aiesbuulosfuouay!)alelsfuolcel
leu
6uoaql
olleser
erPsOuruas
Oln pue
fuouJanrad^H
oql
l€sau Oln +tuourawrad,(H
otels
jeul0!o
sl!urslleldslpaql
leql
urUUoC
g
{tesei
lou
aresburlasfuouoli\]ed^H
pue
OIA
aq1)
pezrprlrursr
l9!nNC
oql
'polunour
sr
lrun
l9|n!,!O
o|{uoqM
'alels
fuotce]
leurDuo
aql
o]
leset
e]esOuqFsfuoLUoWaqtIt!O
lesaufuoual,'l
:IetdslO
opour
lasar
easooqc
ol.rolcolesoqlurnt 6( losor
lou
are
sburDasfuourerIred^H
puefuouloy!)
etptsfuoicel
putOuo
oqlol
lasar
alesoorllosrortlo
pup
eponlas'Icuenberl
-llVC OjAaql
lssaS
oln
re,1
odoqturnlol^al @ aqlssaid
puelo)iE eq]uMop
ptoHU
'llora^
odaqlUln1 I
'olels
fuolcel
pur6uo
orllollesoi
eres
elets
0tnelep)
tuotcel
1eu
6rrooqtot
sOuitles
losar
olspor]laurrnorburMollo]eql]oeuo
esrl
UO
't
rU 5I' rAelosro
u0les
V
lasau llv
4eC*
JYT/
sapor{
leseH
@ eqtu/roPPtoH
I
'suorlelsroqlo
Iq posn
6uraq
]ou
s ^cuonbo4
aqtui/luoc 6urllrLUsue4alolag t
Ee59h!
epour
ol^eqt ol
las z
--)r/ -,
oo
\ilItrY
,ieods
pueqclrMs
pueq
urguieLll
lcalas
olqoullos aqlssord I
suorlels
)ellloL.llM^llcar
palecrunululoc
uec
no^ qctrMs
@
aq]bursserd
pue
^cuenba4
parsap
eolJo^recsue]l
eqlburuas
Ig
auoqoorcrui
eqlolul
sNotlva3do
ctsvS
6urgrusuerl
BASICOPERATIONS
Operation
and
Function
of
Parts
The
operationand
function
oitne
parts
ofthecontrolhead
areas
fol
owsi
O PWR
. To
turnthe
power
onandofl.
. Whenthe
power
is
off,
hold
downthefunctionkey
while
pressing
this
keytoenter
theResetmode.
@ Rotary
ChannelSelector
(Left
band)
. Tochange
theJrequencyoftheLeft
band.
. To
turnonandotlor
select
various
settings
. Pressthisknoboncetochange
thefrequencyin
1l,,lHz
steps.
Presstheknob
againto
return
tothe
original
lrequency
. Thisknob
isreferredtoas
the'Selectot'inthismanual
. E :Press
this
knob
tosetandcancel
the
DTI\,4F
conlrol.
o sQLKnob
(Left
band)
. Toadjustsquelch
oftheLeftband
. llthisknobispressed,themainbandissettolheLeftband.
. lf
thisknobishelddownfof
0.6secondormore,thefrequency
bandcan
beswitched.
@ VOL
Knob
(Left
band)
. Toadjustlhevolumeof
theLefl band.
@
otoz
. These
keyscallthe
contentsof
Hyper
l,,lemory
(HM).
. Thesekeys
are
referred
toaslhe'H[4Keys'in
thismanual.
@ RotaryChannel
Selector
(Right
band)
. To
changethefrequency
oithe
Right
band.
. lt
isalso!sedtoturnonandofforselectvarious
settings.
. Pressthisknoboncetochangelhefrequencyin
1
l\4Hzsteps.
Presstheknob
againto
return
1othe
original
frequency.
. Thisknobisreferred
toasthe
'Selector'
in
thismanual.
. @: Press
thisknobtosetandcancellhe
DT[,{Fcontrol.
O SQLKnob
(Right
band)
. Toadiust
squechoftheUHFband
. lf
thisknobis
pressed,
themainbandissettotheUHFband.
. ltthisknobishelddownfor0.6secondormore,thefrequency
bandischanged.
@ VOLKnob
(Right
band)
. Toadjust
the
volume
oftheRight
band.
Or
. Pressthiskey
toenterlunctionmode.This
causesthered
charactersonthetop
palt
ofeachkeytolight.lfnokeyis
pressed
within
3seconds,lunclionmodeis
canceled
. Function
modeisindicaled
byE inthismanual.
. Holdlhis
keydownformore
than1second
toenter
funclion
blinkmode.This
causesthered
characlersonthetop
part
oteachkey
tobink.
llnokeyis
pressed
within10
seconds,
iunction
blinkmodeiscancelled.
. Function
Blinkmodeis
indicated
by
@ in
thismanuat.
6..9
)3
tu|oi^
tslcPd
uecs
^sng
uecs
ploH
ltiro
6ur6Ed
qclanbs
apoc
apour
las/Acuonoarl
epour
y\lv
/fuoulauJuPcs
fuoruoy\l
oPour
ArouaY{
.raqurnu/0ouraurred^H
&ourour./gdIH
(apoyl
iroluayl)'oLlaure
lo
slualuoc
oqlsreolC
t@ .
apot\
les
olslcalas:E.
suorleledo
rosuorlcunlsnoue^aqlsla3uec
.
I3S U13
@
'epoLu
teacai
rol^cuonbarllosllo
pue
^suonbe4ouoloqlsles
:
@ .
epoLu
leodo]
lacuec
pue
slos
iE .
(0ullosor.tt
procar
olapoul
los
urpuolas
i rol
iori
eqlsserd)
^ollt"'l
rol0urlos
aqlse]ols.
()icot
io) s s6u|los
teu
6roa-tr iol ll l ut
petols
apoul
los
aql
olsicelos.
.t-duAv\
o
.toianosouoliol
^cuonbe4
gg3t3eq1s1eg
@.
ropo3ep/raDof,ua
SSC1C
aqlsocuec
pu€
sles
:E .
reMod6urllruJsuerlor.lsooueqC
.
os'r od
@
sNot_LVUfdoctsva
osc gvd lnlo Hs
rE##'ffs
rapocueauol
qclonbs
auol
apour.raleadau
ralv\oduorssrursuerl
suorlec!pul,{elds;6
peaH
lorluoc
(apor\
fuo(uatl)
'ssarppe
luaraup
eot
^lo!.rou.r
Jo
sluotuoc
oqlIdoC:E .
(apot\
los)
opoL!
los
oqleOueqS:E
.
(^cuanbarl
ttVC) ^cuonbe4ltec
olooueqC:E
.
(apot{
fuoulo!,!)iourour
jo
s}ueluoc
aq}obueqC:E .
(OlA) ^louJeurololrrM:E .
apoLuArouJall
puE
oln uoeruaq
soqclr^\s.
1N3 yI/A@
'uecs
^loLuoLr.r
iojpesn
aqot,loueu eqlslag
:@ .
'uecs^]ou]oLu
rol
AroLlaLUaqtslecuec
pue
slos
:E .
'uecs
^roureLusdols
pue
slrels
.
yvsyrl
sy!@
'uecs
Lupr6ordoqlroloOuer^cuenbo4eqlstecuec
pue
stos
rE .
uorlcunJueosur€r6ordoqtpue
uecszHl,,!!sdols
puesuets
.
sd Ncs
@
apoc
qotonbs
epoCotllslos @ .
epouJ
qclonbs
epoCslgcuec
pue
slos:E .
uollcunJAcuonbail
llVC aqlslocuec/sAelosrp
.
os'c
-]vc
@
.JalauJ
X-t/pu6rs
apour
uollcunl
tl
v{H
*;..-ry EEE
lrr-f
slrorpzHor//zHOOlJ L | |
elny\ r I I
pueq
ureylJ I
sselPPe
,fiouro!11
BASIC
OPERATIONS
@ Microphone
Jack
Thewiring
diagramisbelow.
138V
Contro
Speakeroulpul
PTT
Ground
Aud
o
rnput
Mrcropfocessor
intedace
(0ala)
[4icroprocessor
intedace
(Clock)
CAUTION
. 13.8
VDCis
present
at
pin-1
otthemicrophone.
. lt
a
microphone
otherlhan
theCL4P883,areto
beused,
pin-
1
,
pin-7
and
pin-8
mustnol
beconnected.
Connectingthese
pins
couldresultin
damagelolhelransceiver
. OnlytheCMPSE3microphoneshould
beusedwith
C59O0D
serestransceiver.Incorrectconnections
couldresultln
damagetothetransceiverandmicrophones.
@ Antenna
Connection
(For
50/14414401\.4H2
antennas)
@ Power
SupplyConnection
(13.8V
DC)
@ External
SpeakerJack
(Right
band)
. Whenanexternal
speaker
isconnectedtotheRight
band
jack
only,theoutputlrom
boththeLefiandRightbands
can
be heard
onlheexternal
speaker.Theinlernal
speaker
cannotbe
used
when
anexternalspeakeris
connected.
. llexternalspeakersareconnectedtoboththeLeftandRight
bands jacks,
the Lelt band is heard
on the speaker
connecled
totheLeltbandandtheRighl
band
ls
heardon
thespeakerconnectedtotheRight
band
@ External
SpeakerJack
(Left
band)
. Whenanexternal
speaker
is
connectedtotheLeft
band
terminaonly,
theoulpullromtheLell
bandcanbeheardon
theexternalspeaker.TheRight
bandcanbeheard
onthe
inlernal
speaker.
. llexternalspeakersareconnectedtoboththeLeftbandand
Right
bandterminals,theLett
bandisheard
onthespeaker
connecledto lhe LeflandtheRighlband is heardonthe
speakerconnecled
lothe
Right
band
@ Packet
ConnectionJack
@.11-\O
DKXO
DKF?
@!l)6,
(ouor.loo]crul
08Bdr,,J3
aql
oulsn
parols
lou
sr
fuouJou.r
rad^H
/v\eu
eql
I lenueurlos
srapoLuftouJourrod,{H
oqluoqM) po}ltruo
s doaq
paqclrd-slpprL!
epuepolecue?
sruollcunlsrql
Ief #
eql0urssordroue
puoces
0
urqlr^
passord
sl
^olou
Jl
pe^eldsrps
iroLuouJrad^Hoql'uold?oa]
6uunp
IeI
#
eql
6usserdroue
puocos
0
urqlr,^
possard
ole
1-O
slaf eql
ll .
^llcelip
peIrLlsuell
equeo
leu6
s
ly\Jjc
oql uorssruJsuerl6urnp
pessold
Jl
.
,(llcorlp
porelue
equecIcuonbe4aq]
'uorldaca]
6Uunp
pessald
Jl
.
ped^ay
@
( pelco lou
olE
peoq
to4uoc
ar]luos^e)ieql) posn
aquecouor.ldorc
wto4uoc
aloLuoraql
uoslel I@ pue
@ eql^luo
]es
st
lco
lof or.ttugqM
tossrlcolle)j
oqluo0rsodroaoteql
uruoqM.
vco-r
-v@
uo
pournt
sruoqcun]
qclanbspueq
ureuleLl passerd
uaqM.
Jlo'-tos
@
^cuanoa4llec
aqlslosues
pue
s^eosrc.
rtvc @
UOrlcal
p
pre^
dneqluruegsaqlsuelsoruoqluessoq)sosned.
dnroqwnu
ssorpppfuoureuJro
^cuonba4
eL.tiso^ol .
dn@
uollcerp
pleaury\op
oql ul uecsoql suelsal ueqluecseql Sosned.
ul opraqLlnusserppe^roL!oL!lolcuonberlaqlse^oy\
.
NMOO
O
pueq
ureureqluoslrursuerl
'possard
olrqM.
rfd o
pueq
ueuJeqlsoqclD
s .
ONV€
@
opou fiouJer\ pue
opoL!
OfA uao/ loqsaqclr s .
v!/A
@
Jlo
pueuola^1odeqlsujnl'passetd
uoqM .
U]MOd
O
e88dy!c
sNot.tvu3do
ctsv€
ouoqdoJJg\or.lluosuEd
louolcunl puB
uorlElado
BASICOPERATIONS

This manual suits for next models

1

Other Standard Transceiver manuals

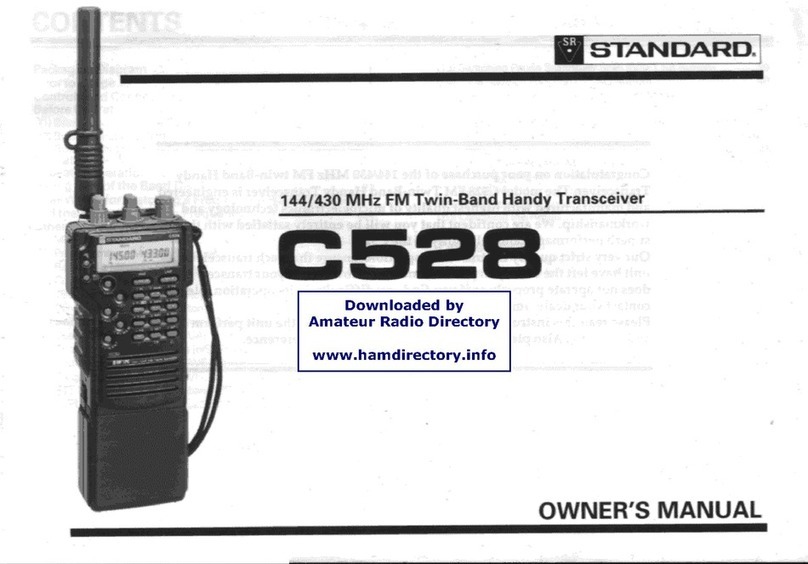
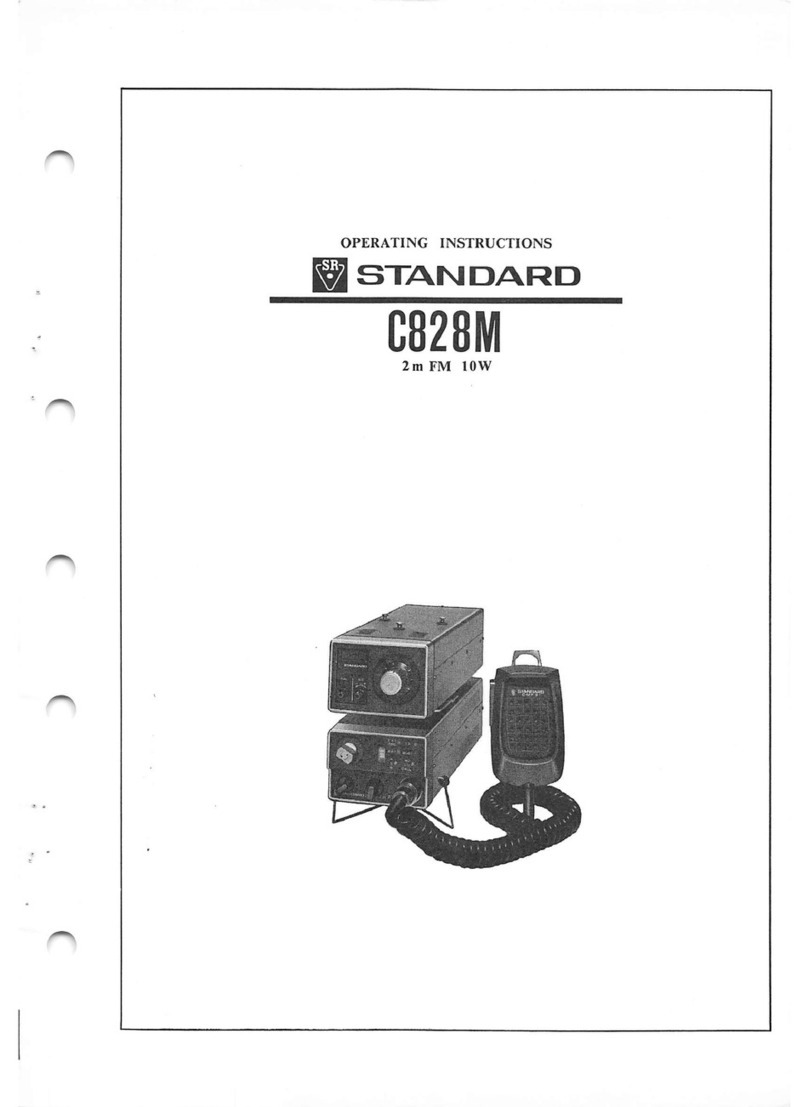
Standard C828M User manual

Standard

Standard C828M User manual

Standard C58 User manual

Standard

Standard C58 User manual

Standard C558 User manual

Standard

Standard C558 User manual

Standard C508 User manual

Standard

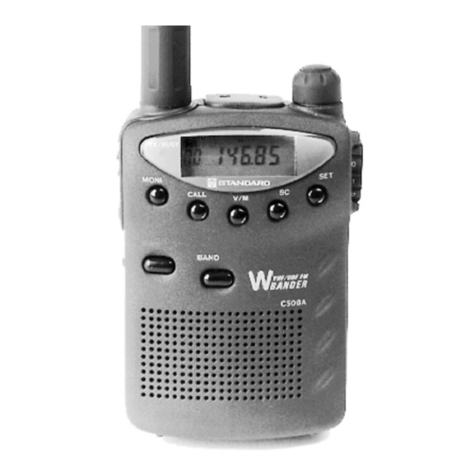
Standard C508 User manual

Standard C168 User manual

Standard

Standard C168 User manual

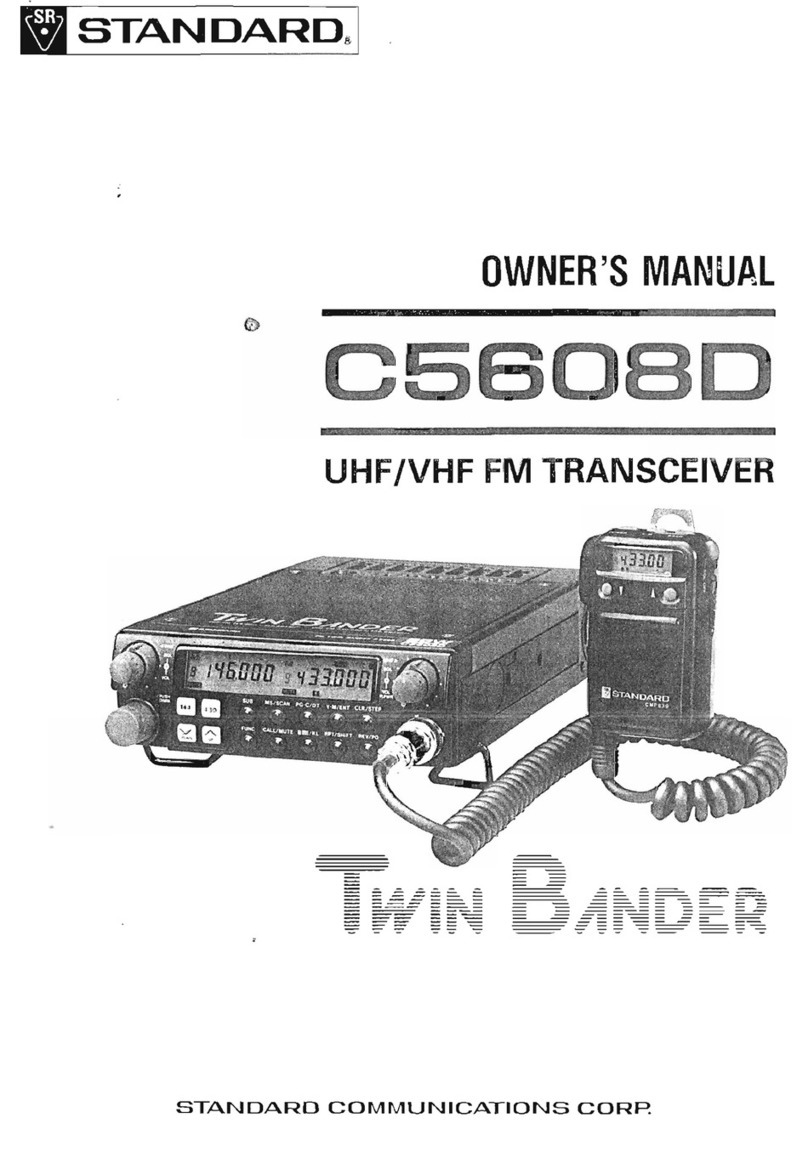
Standard Twin Bander C5608D User manual

Standard

Standard Twin Bander C5608D User manual

Standard C500E User manual

Standard

Standard C500E User manual

Standard C528 User manual

Standard

Standard C528 User manual

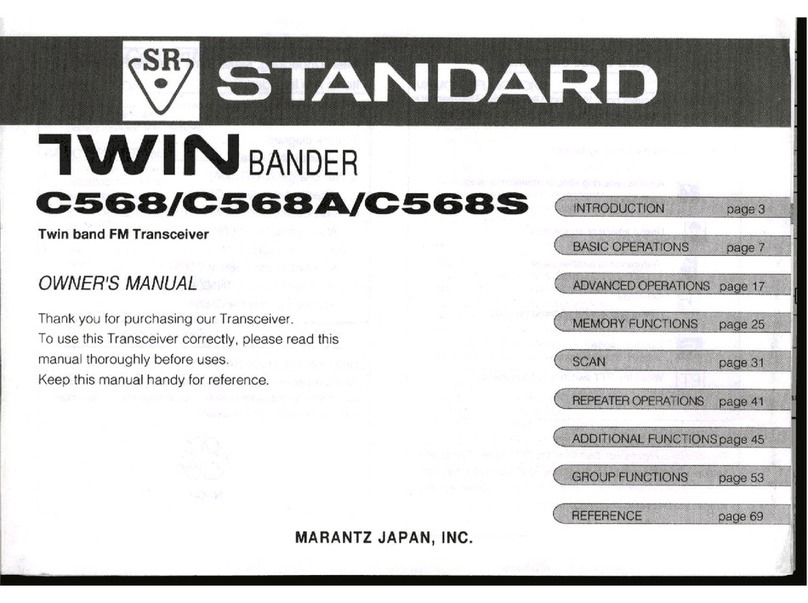
Standard TWIN C568 User manual

Standard

Standard TWIN C568 User manual

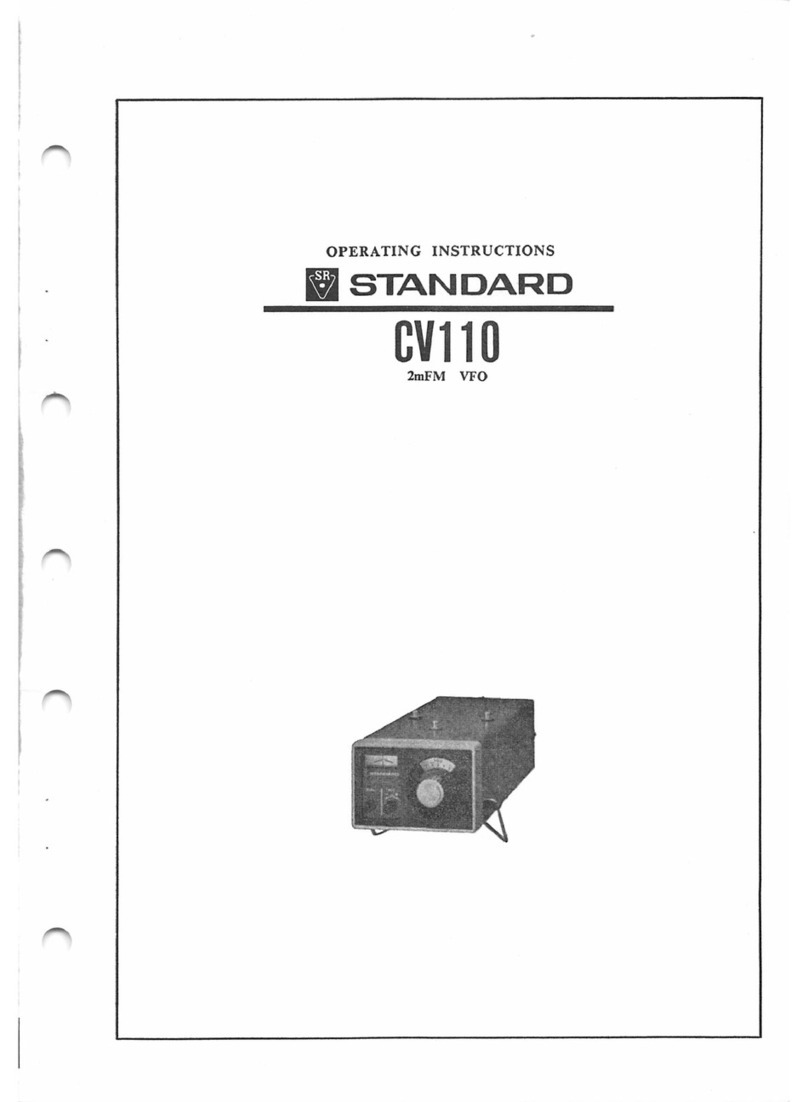
Standard CV110 User manual

Standard

Standard CV110 User manual

Standard C8800 User manual

Standard

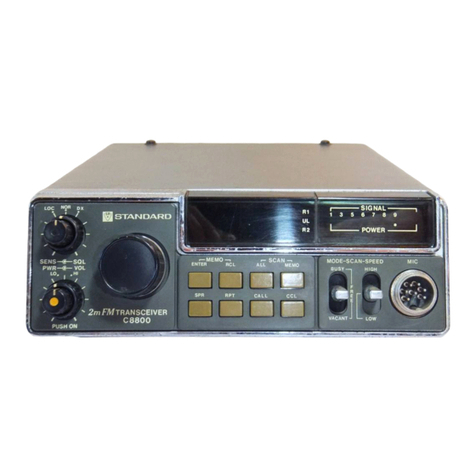
Standard C8800 User manual

Standard C5400 User manual

Standard

Standard C5400 User manual

Standard C430 User manual

Standard

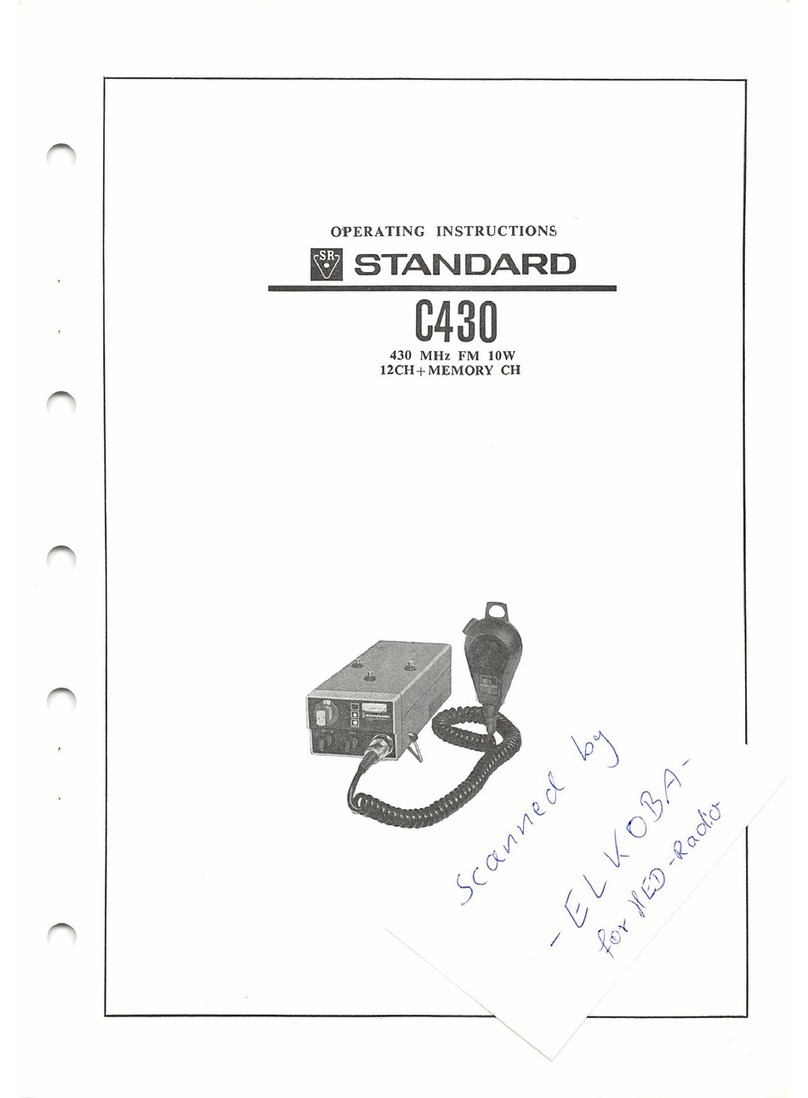
Standard C430 User manual

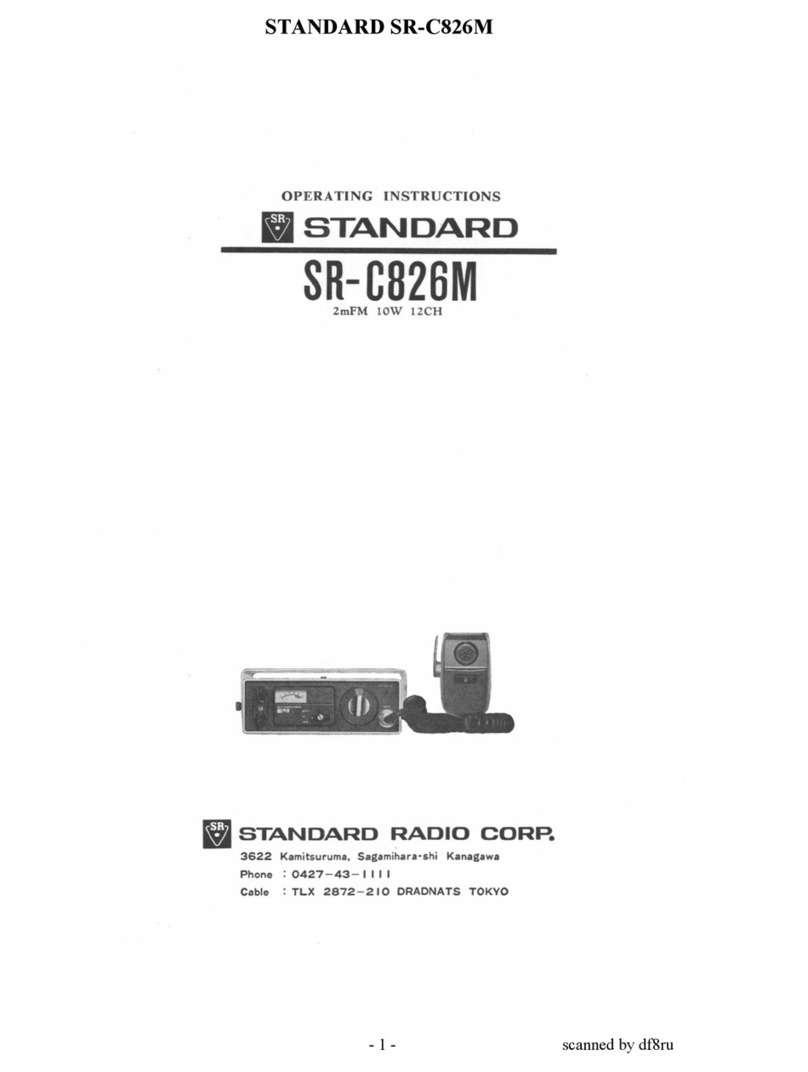
Standard SR-C826M User manual

Standard

Standard SR-C826M User manual

Standard C168 User manual

Standard

Standard C168 User manual

Standard C108 User manual

Standard

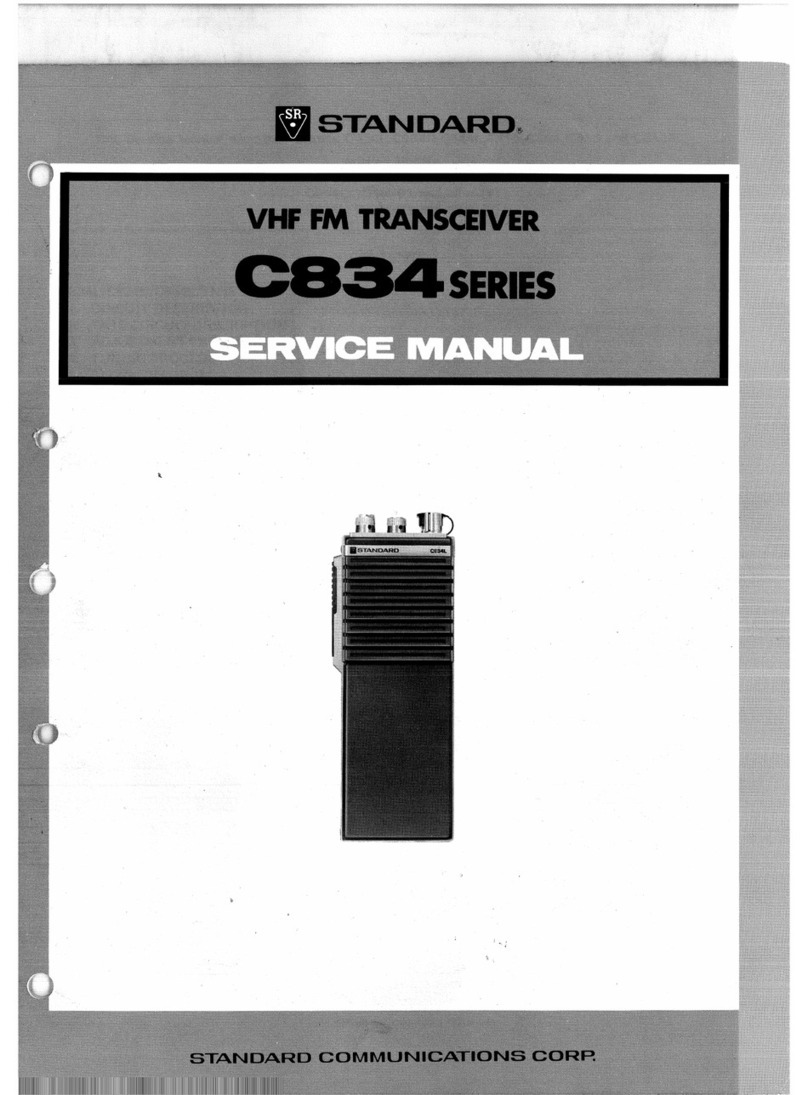
Standard C108 User manual

Standard C 834 series User manual

Standard

Standard C 834 series User manual

Standard C120 User manual

Standard

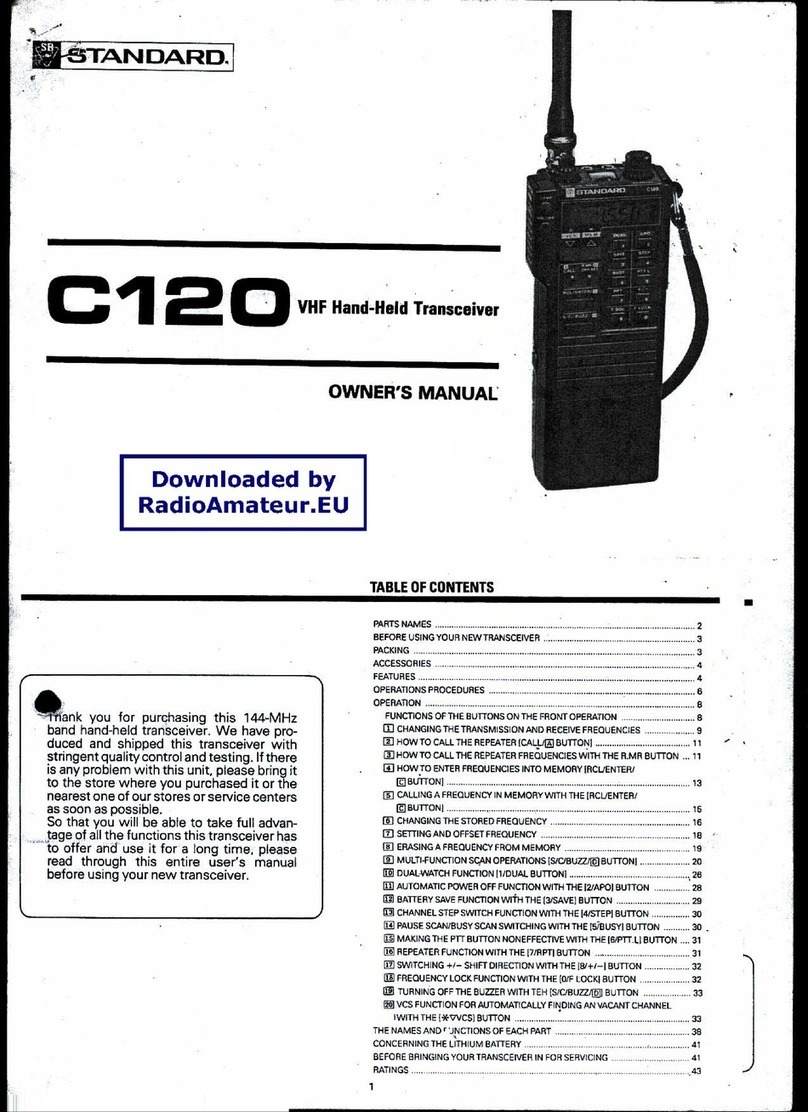
Standard C120 User manual

Popular Transceiver manuals by other brands

Kenwood TM-733A instruction manual

Kenwood

Kenwood TM-733A instruction manual

ELECRAFT K4 introduction

ELECRAFT

ELECRAFT K4 introduction

Kenwood TS-120S Service manual

Kenwood

Kenwood TS-120S Service manual

Qixiang Electron Science & Technology T4K-5888UV user manual

Qixiang Electron Science & Technology

Qixiang Electron Science & Technology T4K-5888UV user manual

Midland G10 PRO Instruction guide

Midland

Midland G10 PRO Instruction guide

DRAKE TR7 Operator's manual

DRAKE

DRAKE TR7 Operator's manual

Telex RadioCom TR-80N Owner & user manual

Telex

Telex RadioCom TR-80N Owner & user manual

Kenwood TK-280 Service manual

Kenwood

Kenwood TK-280 Service manual

Intek M-110 PLUS owner's manual

Intek

Intek M-110 PLUS owner's manual

FreeWave MM2 user manual

FreeWave

FreeWave MM2 user manual

CPS CP396 user manual

CPS

CPS CP396 user manual

Kenwood TM-231A instruction manual

Kenwood

Kenwood TM-231A instruction manual

Microhard Systems MHX920A operating manual

Microhard Systems

Microhard Systems MHX920A operating manual

Nokia RH-21 Series troubleshooting guide

Nokia

Nokia RH-21 Series troubleshooting guide

CPS CP922 user manual

CPS

CPS CP922 user manual

Kenwood TK-2302 instruction manual

Kenwood

Kenwood TK-2302 instruction manual

PYE Cambridge AM 10 D Service manual

PYE

PYE Cambridge AM 10 D Service manual

Vertex Standard VX-5500U Alignment Guide

Vertex Standard

Vertex Standard VX-5500U Alignment Guide

manuals.online logo
manuals.online logoBrands
  • About & Mission
  • Contact us
  • Privacy Policy
  • Terms and Conditions

Copyright 2025 Manuals.Online. All Rights Reserved.