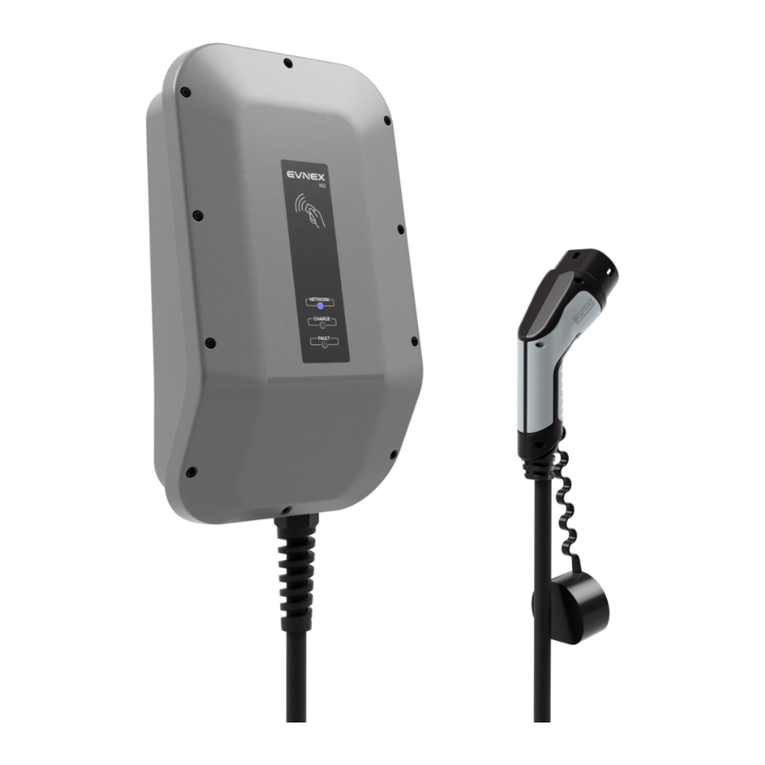
Stanley Healthcare Hugs CGS-HGS-1000-U User manual

Hugs® Wi-Fi Tag Charger
USER GUIDE

Warnings
FAILURE TO HEED THE FOLLOWING WARNINGS COULD RESULT IN INJURY TO
OR THE DEATH OF PERSONS IN YOUR CARE.
• Test your Hugs® Wi-Fi Tag Charger regularly, or arrange for regular
testing by your authorized STANLEY Partner, to ensure that the system
and devices function to the site’s specifications. Additionally, you
should test your system after power outages, programming changes or
upgrades, or after reconfiguring any system equipment.
• Do not ignore low battery alerts on your Hugs computer: replace devices
showing low battery with a fully charged tag immediately, and place the
depleted tag in the Hugs charger in accordance with your facility’s estab-
lished procedures.
• Report to STANLEY’s Global Compliance Officer (402-742-9322) any
repetitive, frequent or seemingly unexplained condition that is similar
in nature each time it occurs IF the condition has not been otherwise
solved through the efforts of STANLEY’s (or STANLEY’s Partner’s) Technical
Service Department(s).
Cautions
FAILURE TO HEED THE FOLLOWING CAUTIONS COULD RESULT IN HARM TO
YOUR SYSTEM OR CAUSE IT TO FUNCTION IMPROPERLY, INTERMITTENTLY, OR
NOT AT ALL.
• Train staff to operate the Hugs® Wi-Fi Tag Charger correctly. Refer
to the individual product manuals/instructions provided with system
components as a basis for training, or contact STANLEY Healthcare at
800-380-8883 to arrange for training provided by STANLEY or its Partner
on a fee basis. Train and test new staff members before they begin their
duties.
• Position any trailing wires so that they are not a trip hazard and are less
likely to get damaged.
• Check that the plug is not damaged and that the cable is properly
secured with no internal wires visible.
• Where there is evidence that the supply may not be safe, such as
damaged equipment or wiring, the supply should not be used until work
has been done to correct this.

iii
Hugs® Wi-Fi Tag Charger User Guide
Table of Contents
Warnings ii
Cautions ii
Introduction 1
Overview 1
Intended Use 1
Documentation 1
About the Tag Charger 2
General Description 2
Dimensions and Weight 2
Operating and Display Modes for LEDs 5
Installing the Charger 6
Wall Mounted 6
Desk Mounted 6
Setting Up the Charger 7
Using the Charger 8
Inserting the Tag into the Charger 8
Removing the Tag from the Charger 10
Charging Information 11
Battery Life and Charging Time 11
Tag Battery Status in the MobileView Software 12
Row Color in the Census List 12

iv Hugs® Wi-Fi Tag Charger User Guide
Charging Status 13
Battery Status 13
Battery Status Alerts in the Census List 14
Maintenance 15
Operational Checks 15
Cleaning Instructions 15
Supplies and Accessories 16
Model Numbers 16
Compliance and Safety 17
Limited Warranty and Disclaimer 18

Introduction
1
Hugs® Wi-Fi Tag Charger User Guide
Introduction
Overview
The Hugs Wi-Fi Tag Charger can charge up to 24 tags simultaneously. LEDs
display the charging status for each Hugs Tag, as well as indicating tag and
charger slot problems. The Hugs Tag is reset when placed in the charger, but
the history remains in the system.
The Hugs on MobileView software notifies the users when the Hugs Tag
battery is getting low.
For more information about Hugs Tag battery statuses in the MobileView
software, see “Tag Battery Status in the MobileView Software” on page 12.
Intended Use
The Hugs Wi-Fi Tag Charger is intended for facility staff who are using the
Hugs Wi-Fi Tags in conjunction with the MobileView security application.
Documentation
The following documents may be used in conjunction with this document:
• Hugs Wi-Fi Tag Charger Data Sheet p/n 0971-063-000
• Hugs on MobileView User Guide p/n 0980-030-000

About the Tag Charger
2Hugs® Wi-Fi Tag Charger User Guide
About the Tag Charger
General Description
This section describes the parts and LEDs on the Charger.
POWER
SOCKET
ON/OFF
SWITCH
CHARGER
STATUS
CHARGING
LED
CHARGING
CONTACTS
Dimensions and Weight
• Size (Height x Width x Length): 32 x 300 x 210 mm (1.26 x 11.81 x 8.27 in.)
• Weight: 1 kg (2.2 lbs)
Note: The Charger is designed to prevent tags from being inserted in the
wrong direction.
HUGS TAG SLOT

About the Tag Charger
3
Hugs® Wi-Fi Tag Charger User Guide
About the Tag Charger
General Description
This section describes the parts and LEDs on the Charger.
POWER
SOCKET
ON/OFF
SWITCH
CHARGER
STATUS
CHARGING
LED
CHARGING
CONTACTS
Dimensions and Weight
• Size (Height x Width x Length): 32 x 300 x 210 mm (1.26 x 11.81 x 8.27 in.)
• Weight: 1 kg (2.2 lbs)
Note: The Charger is designed to prevent tags from being inserted in the
wrong direction.
ON/OFF Switch
After the Charger is plugged in, press the ON/OFF switch to the ON position.
Charger Status
The Charger status LED is located at the top-right on the front of the
Charger. When the Charger is plugged in and turned on, the Charger status
LED turns AMBER.
Charging LED for Hugs Tag
CHARGING LED:
Yellow when the Hugs Tag
is correctly placed in the
Charger
HUGS TAG SLOT

About the Tag Charger
4Hugs® Wi-Fi Tag Charger User Guide
Each Hugs Tag slot in the Charger has its own charging LED (24 LEDs in
total). There are three (3) available colors for the LEDs: GREEN, YELLOW and
RED. For more information about the LED color indications, see “Operating
and Display Modes for LEDs” on page 5.
Charging Contacts
The charging contacts are located on either side of the Hugs Tag slot.
Charging for the Hugs Tag only begins once the charging contacts are
aligned with the metal in the band slots on the Hugs Tag.
Power Socket
The power socket is located at the bottom-right side of the Charger. An
external power supply is provided with the Charger. For more information
about the power supply, see “Supplies and Accessories” on page 16.

About the Tag Charger
5
Hugs® Wi-Fi Tag Charger User Guide
Operating and Display Modes for LEDs
The following table describes the indications for the Charging LEDs. Each
Hug Tag slot has its own Charging LED.
Color Description
GREEN Battery is fully charged.
YELLOW Charging in progress.
RED FLASHING Issue with the Hugs Tag. Remove and replace the tag.
RED SOLID Issue with the Hugs Tag slot. It is not necessary to unplug the Char-
ger. An error may possibly be cleared by switching the Charger OFF
then back ON again. If the issue continues, do not use the specic
Hugs Tag slot. Other slots can be used for charging. Please contact
Support at 1-800-380-8883.
OFF - NO COLOR LED does not turn on when the tag is placed in the slot. Remove the
tag and replace it with a dierent tag. If the LED is still o, place the
tag in another Hugs Tag slot. If the LED is on (GREEN or YELLOW) in
the new slot then the problem is with the rst Hugs Tag slot. Do not
use this slot to charge tags. If the LED in the new charging slot is o
as well, then there is an issue with the tag. Discard the tag.
The Charger Status LED (for the entire unit) is AMBER when the Charger
is ON. See the image under “General Description” on page 2 for the
location of the Charger Status LED.

Installing the Charger
6Hugs® Wi-Fi Tag Charger User Guide
Installing the Charger
The following items are included with the Hugs Tag Charger:
• Two (2) #6 Philips head screws
• Two (2) plastic wall anchors
• Mounting plate
Wall Mounted
1. Establish a location on the wall for the Hugs Tag Charger.
2. Draw two (2) holes on the wall, at a level distance 262 mm apart,
from center to center.
3. Drill two holes at the marked locations on the wall.
4. Insert the plastic wall anchors in the drilled holes.
5. Mount the plate and align the anchor holes with the wall anchors.
6. Using the supplied Philips head screws, securely screw the plate to
the wall.
7. Optionally, use wood screws or other suitable wall mount hardware
in the remaining holes on the plate.
8. Slide the Hugs Tag Charger onto the plate to mount it on the wall.
Desk Mounted
The Hugs Tag Charger includes a folded stand that can be used to place the
charger in a tilted orientation on a desk.

Setting Up the Charger
7
Hugs® Wi-Fi Tag Charger User Guide
Setting Up the Charger
1. Plug the supplied power cable into the power socket located on the
side of the Charger.
2. Plug the other end into the wall external outlet.
3. Press the ON/OFF switch to the ON position.
4. The Charger status LED turns ORANGE indicating that the Charger is
now ready for use.

Using the Charger
8Hugs® Wi-Fi Tag Charger User Guide
Using the Charger
Inserting the Tag into the Charger
1. Ensure the Hugs Tag is clean to prevent contamination to the
Charger. The tag must also be completely dry before placing in the
Charger.
2. Aim the bottom of the Hugs Tag towards the small bump located in
the inferior portion of the tag slot in the Charger.
3. Push the tag and align the band slots to the charging contacts.

Using the Charger
9
Hugs® Wi-Fi Tag Charger User Guide
4. Push down firmly to insert the tag into the slot.
5. The Charging LED turns ORANGE, indicating that the Hugs Tag is
now charging.

Using the Charger
10 Hugs® Wi-Fi Tag Charger User Guide
Removing the Tag from the Charger
1. Push the tag towards the small bump.
2. Lift the tag out of the slot.

Charging Information
11
Hugs® Wi-Fi Tag Charger User Guide
Charging Information
The battery charging process does not harm the Hugs Tag or its operational
characteristics.
Battery Life and Charging Time
• Battery Life - Once charged, the Hugs Tag will typically last 14 days
under normal use. It is, however, recommended to place the Hugs Tag
in the Charger between uses (ensure the tag is cleaned first!).
• Charging Time - Up to 3 hours is the maximum charging time for a
tag from a low battery state.

Tag Battery Status in the MobileView Software
12 Hugs® Wi-Fi Tag Charger User Guide
Tag Battery Status in the
MobileView Software
Row Color in the Census List
To help you remember what each row color means in the Census List, click
the Color Legend icon in the upper-right corner on the Hugs homepage:
The Low Battery (brown) appears only when a Low Battery alarm has been
declared.

Tag Battery Status in the MobileView Software
13
Hugs® Wi-Fi Tag Charger User Guide
Charging Status
The charging status of the Hugs Tag can be verified under Hugs Tags on the
Hugs homepage.
• Available: The tag is not reporting low battery, not assigned and is not in
the charger.
• In Use Now: The tag is assigned.
• Charging: The tag is in the charger.
• Available - Need Charging: The tag is reporting low battery, not assigned
and is not in the charger.
Battery Status
Click on the active (blue) link to display the Hugs Tags that are/need
charging. The following Search results page opens:

Tag Battery Status in the MobileView Software
14 Hugs® Wi-Fi Tag Charger User Guide
Click the Details link to obtain more information about the Hugs Tag. Select
the Tags tab to view the battery status for the specific Hugs Tag:
Battery Status Alerts in the Census List
The Battery Level Event (configurable) alerts the user that a battery is
getting low (below a certain amount). Remove the tag and place in the
charger.
For more information about dismissing Alerts, see the Hugs on MobileView
User Guide p/n 0980-030-000.

Maintenance
15
Hugs® Wi-Fi Tag Charger User Guide
Maintenance
Operational Checks
It is recommended to verify all LEDs are working by placing a Hugs Tag in
each of the slots, at least once a week. If, at any time, an LED fails to light up
(even when you switch the Charger Off then On again), contact Support at
1-800-380-8883.
Cleaning Instructions
The Hugs Tag Charger can be cleaned using a standard Saniwipe or similar
soft cleaning cloth and a soft bristle brush for any buildup around the
charging contacts. Follow these guidelines for cleaning the Charger:
• First, consult with your Infection Control representative for cleaners avail-
able to your hospital that have been approved for use on plastics.
• Use a disinfectant with no more than 20% alcohol or enzymatic cleaners
with a mild pH such as Enzol® or Maxizyme®.
• Do not use pathogenic cleaners specified for TB.
• Do not soak or immerse the Charger.
• Do not use an autoclave to clean the Charger or serious damage may
result.
NOTE: Fully charged tags can be stored in the Charger or in the Hugs
Wi-Fi Tag Storage Rack (Tag Dispenser).

Supplies and Accessories
16 Hugs® Wi-Fi Tag Charger User Guide
Supplies and Accessories
The Hugs Tag Charger is shipped with the following components:
• 110/220V AC (autoselect)
• External power supply: should support 12VDC @ 3A
• Power cable (3 meters*) replaceable and country-specific for the
following areas:
- Argentina
- Australia
- China
- Europe (except Italy, Switzerland, and United Kingdom)
- Italy
- Japan
- North America
- South Africa, United Arab Emirates, India
- South Korea
- Switzerland
- United Kingdom
• Folded base (for inclined standing option)
• Two (2) #6 Philips head screws
• Two (2) plastic wall anchors
• Mounting plate
*Note: In North America, AC power cords must not exceed 4.5 meters
(approximately 14.75 feet) in length, to comply with National Electrical Code
(NEC) Sections 400-8 (NFPA 75, 5-2.2) and 210-52 and Canadian Electrical
Code (CEC) Section 4-010(3).
Model Numbers
The Hugs Tag Charger part numbers based on the power supply outlet type:
• CGS-HGS-1000-U U.S. and Japanese outlet
• CGS-HGS-1000-E European outlet
• CGS-HGS-1000-UK U.K. outlet
This manual suits for next models
2
Table of contents
