Star AsuraCPRNT Instruction sheet

AsuraCPRNT
CONFIGURATION MANUAL
Rev. 1.70

About this manual
This manual is provided to describe OS version 1.7.
It details the AsuraCPRNT software specifications and related topics.
This manual has been created with application and software developers in mind.
The user is assumed to have basic knowledge and capabilities in those areas.
CAUTION:
•The information in this manual is subject to change without notice.
•STAR MICRONICS CO., LTD. has taken every measure to provide accurate
information, but assumes no liability for errors or omissions.
•STAR MICRONICS CO., LTD. is not liable for any damages resulting from the
use of information contained in this manual.
•Reproduction in whole or in part is prohibited.

Table of Contents
1. Configure ...........................................................................................................1
Setting Option Items..............................................................................................................................1
Setting Method........................................................................................................................................ 5
2.
Admin Options on AsuraDesktop
.........................................................................7
2-1. Administrator ........................................................................................................................................7
Setting Option Items..............................................................................................................................7
Setting Method........................................................................................................................................ 7
2-2. Power .......................................................................................................................................................8
Setting Option Items..............................................................................................................................8
Setting Method........................................................................................................................................ 8
3. Admin Options from ButtonAction
............................................................................9
3-1. Mechanism ............................................................................................................................................9
Setting Option Items..............................................................................................................................9
Setting Method........................................................................................................................................ 9
3-2. System...................................................................................................................................................10
Setting Option Items............................................................................................................................10
Setting Method......................................................................................................................................10

Configure
1. Configure
Using the “Configure” application, you can view and change the AsuraCPRNT settings.
Please refer to the following sections for an explanation of the options.
Setting Option Items
Please refer to the following for setting option details:
1. About
Displays information about the unit listed below.
Ethernet IP Address
Printer Firmware
Operating System
Mechanism Status
SDK Information
2. Admin Options
View and change the settings related to the below listed Administrator Options.
Display admin menu on button press
Required button hold time (seconds)
Require security pin
Security pin
3. Boot Options
View and change the settings related to the below listed Boot Options.
Startup Application
Calibrate on next boot (*)
Display Mouse Pointe
*: Only use this function if you wish to recalibrate the touch screen. After
loading, a [+] target will appear on the display in the upper left, upper right,
lower right, lower left, and center in that order. Using a pen (or similar-sized
object) touch the points. After finishing the center target, the AsuraCPRNT
will automatically reset and the calibration will be applied.
Star Micronics Copyright 2013-2015
1

Configure
If you make a mistake when pushing the targets, it becomes a factor in
displacement occurs in the touch position of the display. Please configure
exactly and carefully. Please refer to the software manual for how to perform
an emergency recovery.
4. Browser Default
View and modify the homepage of AsuraWebBrowser.
5. Logging
View and modify the setting of Syslog Server.
6. Network
View and change the following network related settings. When “Static (manual)” is
selected, it is possible to change the specific settings of the IP address, Subnet
mask, Gateway, etc. When “DHCP (automatic)” or “None” is selected, those settings
will not be shown.
Static (manual)
Host Name
IP Address
Subnet Mask
Gateway
First DNS
Second DNS
DHCP(automatic)
Host Name
First DNS
Second DNS
None
Host Name
7. Passwords
Set the passwords for all administrator levels.
Star Micronics Copyright 2013-2015
2

Configure
8. Printing Services
View and change the settings of Printing Services (enable/disable).
Folder Monitor
StarWebPRNT
9. Printer Defaults
View and change the printer related functions’ default settings.
Printer Density
Density Correction
Printer Speed
Dithering
Buffering
Grey Levels
10. Printer Defaults2 (Memory Switch Settings)
View and change the printer related functions’ default settings.
Printing Region
11. StarWebPRNT
View and change the setting of StarWebPRNT service.
Text encoding
12. Time and Date
View and change the time and date.
13. Web Application
View and change the settings of web-based applications (enable/disable).
AsuraBrowser_Demo
Browser Control
Signage
Sample WebApp
StarWebPRNT_SDK
Star Micronics Copyright 2013-2015
3

Configure
14. Wifi Module
View and change the setting of enabled USB WiFi dongle chipset
Chipset
Star Micronics Copyright 2013-2015
4

Configure
Setting Method
Configuration from display screen (offline)
The method for configuring the settings from the display is explained in the
following steps.
1Select “Configure”on the display and open the program.
2Select an option and display the setting details.
3After changing the settings, press “Save”to register the changes.
Settings are saved for each page. Before changing screens, press “Save”
to ensure the changes are registered.
4After completing the changes, press “Exit” to close the setting screen.
* Please restart the printer if chipset setting of USB WiFi was changed.
Configuration from a web browser connected to network (online)
Configuring the settings from a peripheral PC’s web browser connected through
the network is explained in the following steps.(*1), (*2)
1Connect a network cable to the AsuraCPRNT and power on the unit.
2Confirm the IP address displayed in the bottom right corner of the display.
3Enter the address in your PC’s web browser and access the page, then start
the Configure application.
Please ensure your PC and AsuraCPRNT are connected on the same
network
A username (default:admin) and password (default:thermal) will be
required to establish the connection. The password can be changed by
using the configuration utility.
Confirmed compatible web browsers: Internet Explorer, Google Chrome,
Safari, Firefox.
4Select an option and display the setting contents.
5After changing the settings, press “Save”to register the settings.
Settings are saved for each page. Before changing screens, press “Save”
to ensure the changes are registered.
6After all changes have been made, press the “Exit” button to close the
program.
* Please restart the printer if chipset setting of USB WiFi was changed.
Star Micronics Copyright 2013-2015
5

Configure
*1…The following browsers are ensured that it was configured correctly.
InternetExplorer10(Windows8), Internet Explorer11(Windows8.1), Google
Chrome Ver.30(Windows7), Firefox Ver.24(Linux Ubuntu 12.04), Safari(Mac
OSX 10.8)
*2…In some tablet default browser, there may be that collapse occurs in the
layout. In addition, iOS5 is not supported by the configuration.
Star Micronics Copyright 2013-2015
6

Admin Options on AsuraDesktop
2.
Admin Options on AsuraDesktop
Settings for power usage and restrictions can be viewed as well as changed utilizing the
function displayed on the “Asura Desktop” after the AsuraCPRNT’s initial startup. For
specifics and instructions please refer to the following sections. For other application’s
restrictions, please refer to the separate “Operating Manual”.
2-1. Administrator
Administrator special functions can be used from the “Admin” menu.
Setting Option Items
Special functions are listed below:
Unlock Paper Cover
Lock Paper Cover
Print Test Page
Setting Method
Unlock Paper Cover/Lock Paper Cover
The AsuraCPRNT paper cover is set by default on “Lock” to prevent theft.
Please use the buttons to lock/release the paper cover when needed.
Print Test Page
Prints a test page to confirm proper print functionality.
Star Micronics Copyright 2013-2015
7

Admin Options on AsuraDesktop
2-2. Power
AsuraCPRNT power management options.
Setting Option Items
The power management functions are listed below:
Sleep
Reset
Shutdown
Setting Method
Press the power icon on the upper right side of the display.
To sleep(*), reset or shutdown, use the power management menu
* Please refer to the specification manual to know about “Energy saving mode”.
“Sleep” button is not displaied if main function is runing.
<Main function>
・Operating original user applications
・Operating original AsuraCPRNT applications
(configuration and various demonstrations)
・Connecting an original user USB device, and operating with an application or an
external device
Caution:
Since unexpected damage may be caused to the operating system, please do not power
off the unit using any method except the one described in this manual.
Star Micronics Copyright 2013-2015
8

Admin Options from Button Action
3. Admin Options from Button Action
View and change the settings and power restrictions using the button on the back of the
AsuraCPRNT screen. For specifics and instructions please refer to the following sections.
3-1. Mechanism
View and configure settings related to AsuraCPRNT printer functionality.
Setting Option Items
Special functions are as follows.
Lock Paper Cover/Unlock Paper Cover
Print Test Page
Open Cash Drawer
Paper Calibration
Setting Method
Unlock Paper Cover/Lock Paper Cover
A lock feature is included in the AsuraCPRNT paper cover to prevent theft.
Release or secure the cover via the corresponding button as needed.
Print Test Page
Produces a test print. Use this to check printing as needed.
Open Cash Drawer
Activates peripherals. Use this to check operation as needed.
Paper Calibration
Automatically calibrates the “no paper” and “Black Mark” sensors. Confirm that
the paper is properly set and commence calibration.
Star Micronics Copyright 2013-2015
9

Admin Options from Button Action
3-2. System
View and configure settings related to the AsuraCPRNT’s internal settings.
Setting Option Items
Special functions are as follows.
Run Configuration
Reset Network
Running Application Window
Shutdown/Reboot/Sleep
Setting Method
Run Configuration
Opens the AsuraCPRNT’s “Configure” application.
Reset Network
Resets the network connection.
Running Application Window
View applications that are currently running. Force running applications to
close as needed. To correctly shut down an application please follow the
method outlined for that specific application.
Shutdown/Reboot/Sleep(*)
Shutdown or Reboot the AsuraCPRNT unit.
* Please refer to the specification manual to know about “Energy saving mode”.
“Sleep”button is not displaied if the following main function is runing.
<Main function>
・Operating original user applications
・Operating original AsuraCPRNT applications
(configuration and various demonstrations)
・Connecting an original user USB device, and operating with an application or
an external device
Star Micronics Copyright 2013-2015
10

Admin Options from Button Action
Caution:
Since unexpected damage may be caused to the operating system, please do not power
off the unit using any method except the one described in this manual.
Star Micronics Copyright 2013-2015
11

URL: http://www.starmicronics.com/support/
Table of contents
Other Star Touch Terminal manuals
Popular Touch Terminal manuals by other brands
Bosch
Bosch rexroth IndraControl VAC 08.1 operating instructions

Samson
Samson TROVIS 6600 Mounting and operating instructions
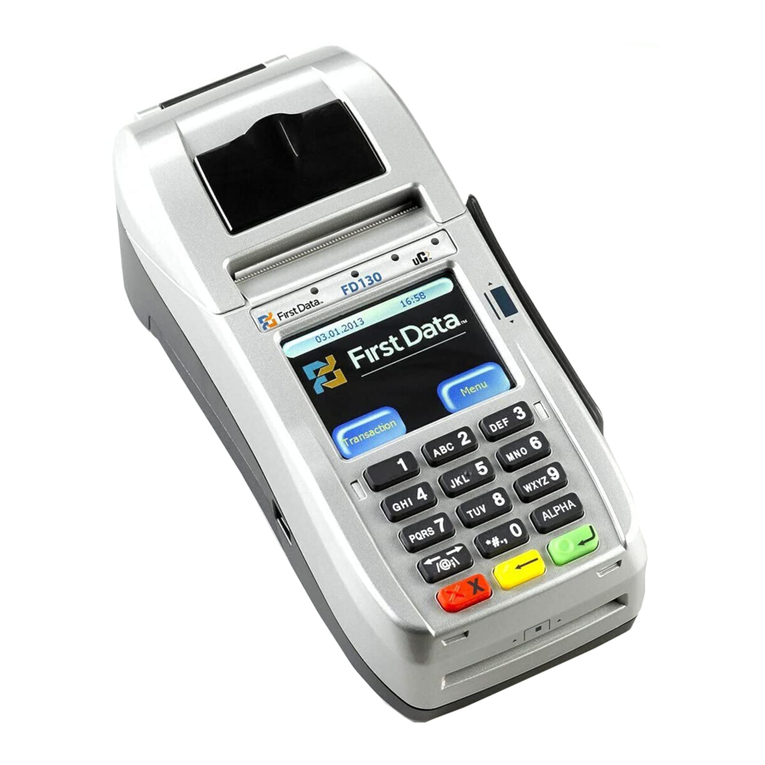
First Data
First Data FD130 Quick reference guide
HP
HP Rp5000 - Point of Sale System Setup guide
Sam4s
Sam4s SPS-1000 Programming manual
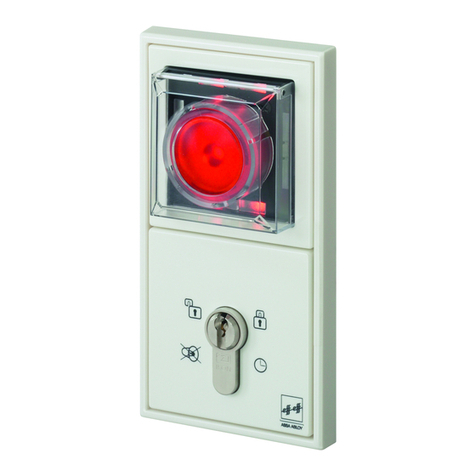
Assa Abloy
Assa Abloy 1380 Installation and mounting instructions
