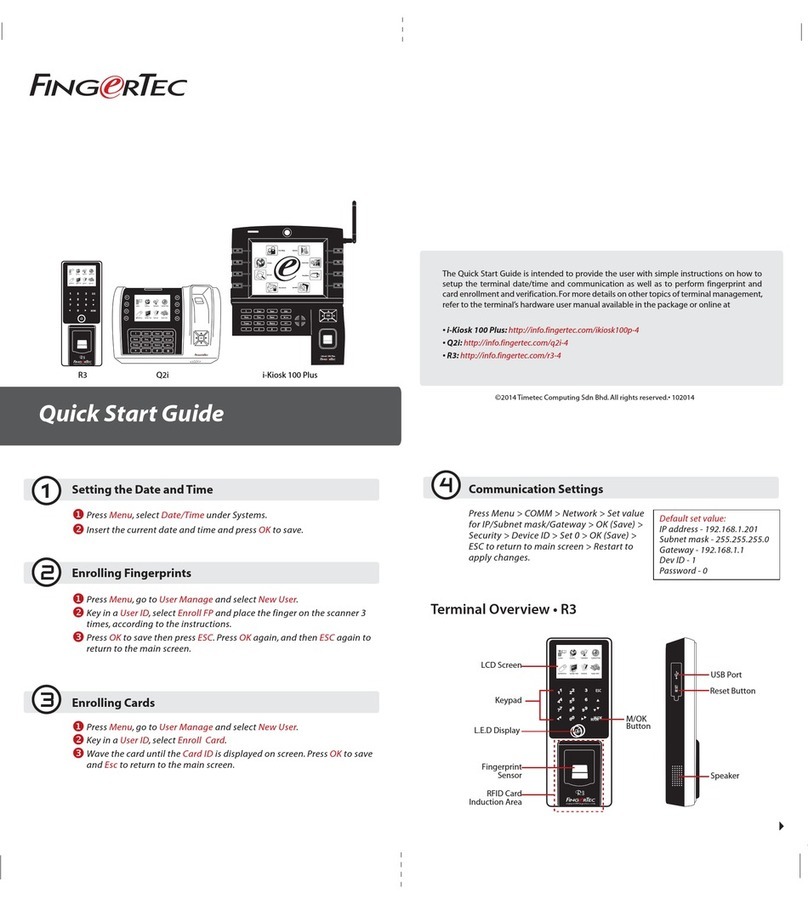
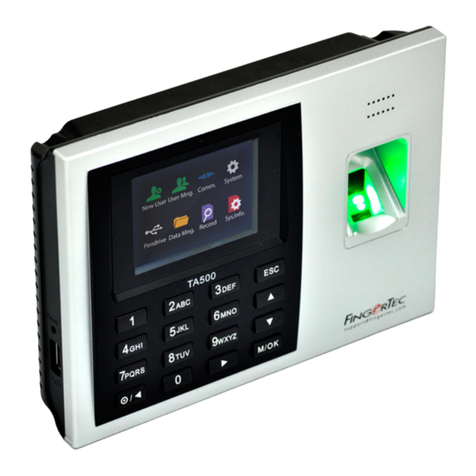
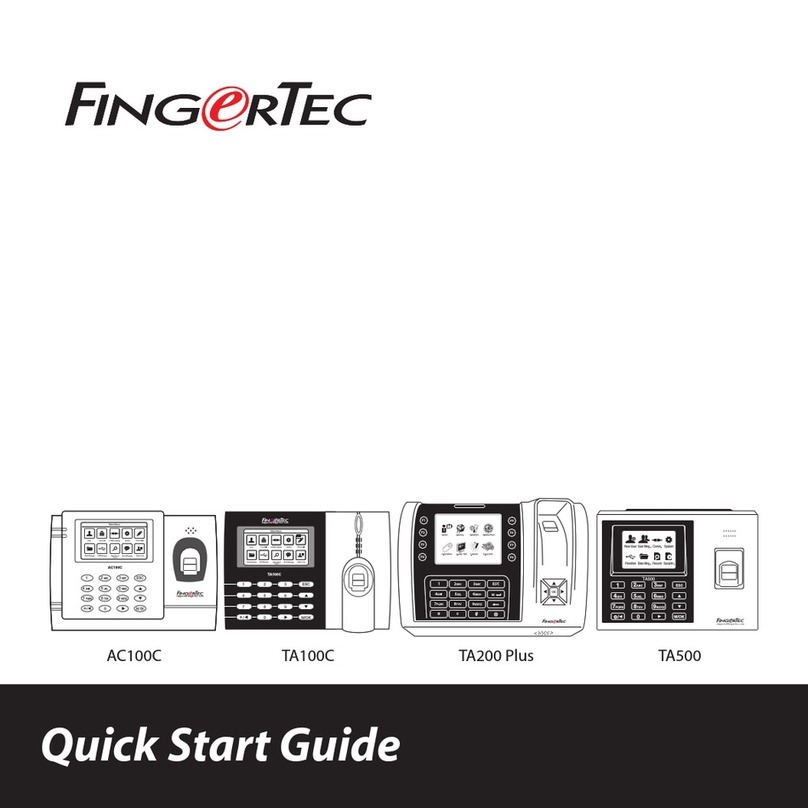
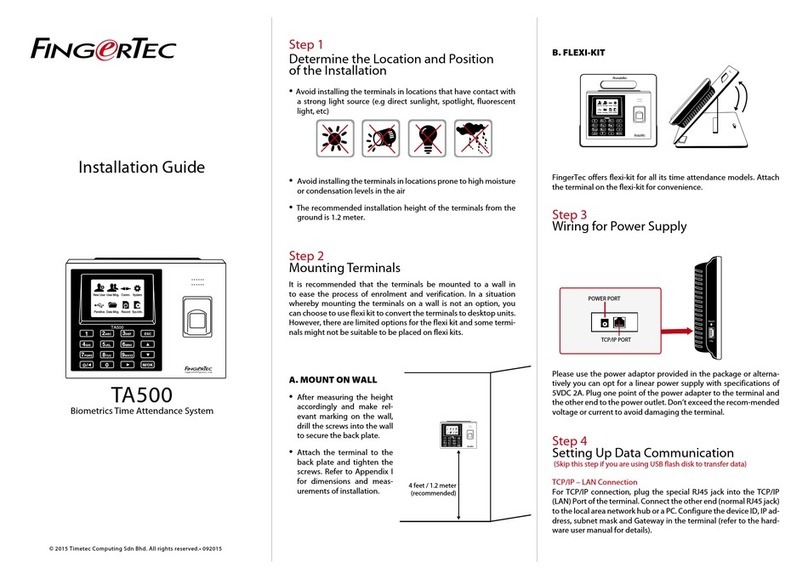
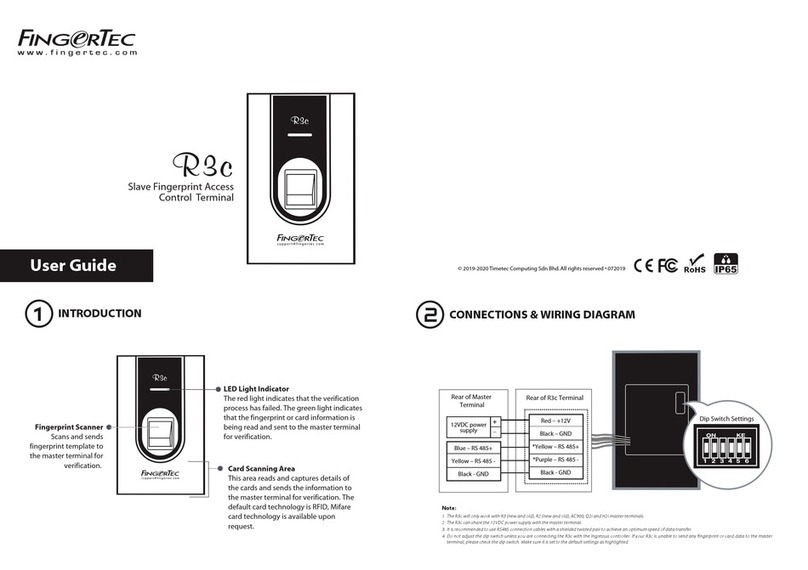
FingerTec AC100C User manual

AC100C TA100C
FMM-100
User Guide

Copyright Notice
All rights reserved. No part of this book may
be reproduced or transmitted in any form
or by any means, electronic or mechani-
cal, including photocopying, recording, or
by any information storage and retrieval
system, without written permission from
Timetec Computing Sdn Bhd. Every pre-
caution has been made to supply complete
and accurate information. Information in
this document is subject to change without
prior notice.
Disclaimer
No person should rely on the contents of this
publication without first obtaining advice
from a qualified professional person. The com-
pany expressly disclaims all and any liability
and responsibility to any terminal or user of
this book, in respect of anything, and of the
consequences of anything, done by any such
person in reliance, whether wholly or partially,
upon the whole or any part of the contents of
this book.
TimeTec compuTing Sdn Bhd

Contents
5-6 Chapter 1
GETTING STARTED
Viewing the User Guide in the Internet
Terminal Included Accessories
Included Printed Materials
Activating Terminal
Registering Terminal
7-9 Chapter 2
BASICS
Introduction to Terminal
Terminal Overview
Main Menu
Power On/O Button
Battery
• External power supply
Cleaning Terminal
• Cleaning The Body
• Cleaning the Fingerprint prism
Restarting and Resetting Terminal
• Restarting the terminal
• Resetting the Terminal
10-16 Chapter 3
USERS
Introduction
• Voice Message
Methods of Enrollment
• Fingerprint Enrollment
• Card Enrollment
• Password Enrollment
Menu Options
• Expiration Options
• Edit User
• Delete User
• Display Options
• User Role
• Define Role
• Assign Role
17-28 Chapter 4
INSTALLATIONS & CONNECTION
Installations
• Mount On Wall
• Flexi-Kit
Communications
• USB Port
• TCP/IP Port
• Power Supply Port
• COM Key
Configure TCP/IP connection
Configure USB Flash Disc
• Download
• Upload
• Download Option
Configure WiFi
Configure GPRS/3G Connection
Configure Webster
RS232/RS485 serial Conf.iguration
Conf.igure a USB connection
Enabling Wiegand
TCMS V2 Online Activation
Installation and Setup of TCMS V2
Connecting The Terminals to TCMS V2
• Determining Terminal Number
• Using TCP/IP
• Setting Up Netmask and Gateway
• Using RS232 Connection
• Using RS485 Connection
Communication Key

29-34 Chapter 5
SYSTEM
Setup Date and Time
• To set date
• To use Daylight Savings Time (DLST)
• By Date/Time
• By Week/Day
Attendance Record Storage Option
• Duplicate Punch Period
• Display User Photo
• Alphanumeric User ID
• Attendance Log Alert
• Cyclic Delete ATT Data
• Cyclic Delete ATT Photo
• Conrm Screen Delay(s)
• Save Illegal Verication Record
• Expiration Rule
Fingerprint Options
Reset Options
35-38 Chapter 6
PERSONALIZATION
User Interface
Voice
Bell
• Edit and Delete a Preset Schedule
• Output to External Bell Siren
Punch State Options
• Punch State Mode
• Punch State Required
Shortcut Key Mappings
39-40 Chapter 7
DATA MANAGER
Delete Data
Backup Data
Restore Data
41 Chapter 8
ATTENDANCE SEARCH
42 Chapter 9
RECEIPT PRINTING
Data Field Setup
Printer Option
43-44 Chapter 10
SHORT MESSAGE DISPLAY
Add a Short Message
• Select Message Type
Public, Personal and Draft List
Message Option
45 Chapter 11
WORK CODE
Adding a Work Code
All Work Codes
Work Code Options
46 Chapter 12
DIAGNOSTIC
47 Chapter 13
SYSTEM INFO
Device Capacity
Device Info
Firmware Info
48-49 TROUBLESHOOTING
“Unable to Connect” Appears
“Admin Arm” Appears
Dicult to Read Finger
The LED is Blinking All The Time
“Duplicate Finger” Appears
RFID Card Doesn’t Respond
No Sound

5
A Packet of Bolts Screwdriver Siren Cable RFID Cards (5 pieces)
* Exclusively for TA103C-R model only
DC 5V Power Adaptor
A Packet of Bolts
ScrewdriverDC 5V Power Adaptor
Chapter 1
Getting Started
Viewing the User Guide in the Internet
The User Guide is available in the package when you purchased the terminal. The User
Guide is also available online at http://www.fingertec.com and http://user.fingertec.com.
Choose the language that you prefer for your User Guide.
Terminal Included Accessories
Do not abuse the fingerprint sensor by scratching the surface, contacting the sensor’s
surface with heat, pressing hard during placement of fingerprint for verification. Clean
the sensor occasionally with microfiber cloth to maintain the performance of the
sensor.
AC100C MODEL TA100C MODEL
ITEM
DC 5V Power Adaptor
A Packet of Bolts
Screwdriver
Siren Cable
RFID Cards (5 pieces)
FUNCTION
For supplying power to the terminal.
Use the screws to hold the back plate of the terminal against a wall.
Use the screwdriver to open the back plate of ngerprint terminal and to
install the back plate against a wall.
For connecting the terminal to external siren.
For card enrollment and verication.

6
Included Printed Materials
• FingerTec Comprehensive DVD
• Quick Start Guide
• Pamphlet
• User Enrollment Template Form
• Warranty Card
Activating Terminal
Every FingerTec terminal comes bundled with a unique license key. To start using the ter-
minal with TCMS V2, you must connect the terminal to TCMS V2 and perform online activa-
tion. TCMS V2 reads the serial number of your terminal and sends it for verification at the
FingerTec server via Internet.
In case you do not have an Internet connection, you would need to do offline activation.
Please send the serial number and models of your terminals to your local resellers or
Registering Terminal
Make sure that you register your terminal’s warranty with us at
http://www.fingertec.com/ver2/english/e_warranty.htm.
for a 36 month warranty protection.

7
L.E.D Display LCD Screen
Keypad Fingerprint
Sensor
Speaker
Reset Button
& USB Port
RFID Card Induction Area
* for TA103C-R model only
Reset
Reset
Reset
L.E.D Display
LCD Screen
Keypad
Fingerprint
Sensor
Speaker
Reset Button
& USB Port
Chapter 2
Basics
Introduction to Terminal
FingerTec is a renowned brand name for commercial products for door access and
time attendance systems. FingerTec offers a wide range of products to cater to the
growing needs for biometrics products in office/home automation as well as in security
industry.
FingerTec terminals are loaded with powerful microprocessor that can process biomet-
rics authentication methods for accurate personal identifications and for collection of
precise data for time attendance. In addition, some fingerprint terminals are made to
accept card verification as an added security measure.
This manual covers color time attendance models of FingerTec products from AC100C
and TA100C model. The terminal acts as a tool to collect attendance data. For a
processing of attendance data, FingerTec is providing a powerful time management
software, TCMS V2 to process data and provide accurate and reliable attendance
reports.
Terminal Overview
AC100C MODEL TA100C MODEL

8
ITEM
LCD Screen
LED Display
Keypad
Fingerprint Sensor
RFID Card Induction Area
Speaker
USB Port
Reset Button
FUNCTION
Displaying status of terminal, day, date and time.
Green LED: The terminal is working ne and it is in standby mode.
Red LED :There is an error at the terminal that requires checking.
For rst time use, the terminals need to be charged fully to avoid having the red
light blinking.
To input instructions into the terminal and to allow conguration.
To scan nger for conrmation of identity.
Area that reads RFID cards.
For terminal voice emission.
To upload/download users information, password and transaction logs via
USB disk.
To restart the terminal as and when required.
User Mgt
Enroll users/ manage user data.
User Role
Assign privilege to users for data secu-
rity.
Comm
Setup FingerTec terminal communica-
tion with computer through LAN, RS232
and RS485. Set security password of the
device for a secure data transfer.
System
Congure the settings of the FingerTec
terminals from general to display set-
ting to ngerprint, and reset the termi-
nal to default settings.
Personalize
Adjust the date/time, Voice, bell sched-
ules settings of the terminal.
Data Management
To delete/backup or restore data.
Main Menu
USB Manager
Upload and download data and infor-
mation to and from FingerTec terminal
using a USB ash disk.
Attendance Search
Check attendance and transaction logs
that are available in FingerTec termi-
nals and perform housekeeping in the
machine.
Short Message
Create & manage Short Message dis-
play.
Work Code
Create & manage workcode function-
ality.
Autotest
Tests that can be done on the FingerTec
terminal on various aspects.
System Info
View both available and used memory
in the terminal as well as system infor-
mation.
9
Power On/O Button
Use the power on/off button to turn the terminal on or off. You can disable the button to
avoid accidental shut off of the terminal.
Battery
Terminals operate using power supply from a standard power outlet. Inside the terminal,
there is an RTC battery for the running of the clock. Charge the terminal for at least 3 hours
straight before you start using it. When there is a serious delay in time or the clock keeps
on restarting, the RTC needs to be replaced.
External power supply
Mini UPS (uninterrupted power supply) 5V and mini UPS 12V provide mobile power supply
to the terminals. Charge the mini UPS sufficiently for optimum performance.
Refer to http://accessory.fingertec.com for more information about accessories.
Cleaning Terminal
Cleaning The Body
Use a dry cloth to clean the terminal’s body. Do not use any liquids, household cleaners,
aerosol spray, solvents, alcohol, ammonia and abrasive solutions to clean the body of the
terminal because it could damage it.
Cleaning the Fingerprint Prism
Clean the fingerprint prism with a cellophane tape for (silicon coated prism).
View the video on how to clean the fingerprint prism at this link
http://www.fingertec.com/newsletter/enduser/cleanfinger.html.
For the non-coated prism, please use microfiber cloth.
Restarting and Resetting Terminal
If a feature isn’t functioning as it should, try restarting or resetting the terminals
Restarting the Terminal
Push the On/Off button on the terminal to restart the terminal. If you can’t restart
the terminal, or if the problem persists, you might want to reset.
Resetting the Terminal
Resetting the terminal will cause all your settings to return to the original factory
settings.
Step 1: Press Menu >System >Reset
Step 2: Press OK to Reset the whole system settings and restart the terminal.

10
Chapter 3
Users
Introduction
FingerTec devices recognize users by face recognition, fingerprint, card access or a set of
pin numbers. The Date, Time Data and User ID will be stored in its internal storage upon
verification and will be used to generate reports in accordance with the user’s attend-
ance.
Privileges can be assigned accordingly based on individual permissions. Likewise, a Sys-
tem Administrator can have his rights restricted or be given full control. Access controls
such as the ability to modify settings within the menu will be barred when a System Ad-
ministrator has been assigned to a device. The role of an administrator plays a crucial role
in the vitality of the data in these devices.
For example, Network Administrator(s) can be allowed to configure communication set-
tings but not to enroll new users.
Three levels of authority govern each device:
• Super Administrator
The top of the hierarchy, Super Administrators have, full access to all functions.
• Administrator
The rights of an Administrator are limited by the permissions granted by the Super Ad-
ministrator. For example, a Network Administrator can be allowed to configure commu-
nication settings but are not allowed to enroll users.
• User
Normal users have no access to any functions within the device.
By default, every user enrolled is a normal user. Super Admin and Administrator roles are
allocated from the list of normal users, either directly from the terminal or assigned via
our software.

11
VOICE / MESSAGE
“Verified”
“Try again please”
“Admin Affirm”
“Duplicate Finger”
“Invalid ID”
WHAT DOES IT MEAN?
Identity verication is successful, the terminal stores the transaction logs and
opens the door (if connected to door access)
Identity verication is failed because the nger is not properly positioned, the
template is not available in the terminal or the password is incorrect.
You are not an administrator of the system and you cannot access Menu page.
This message only appears during registration when the nger that you want
to enroll has been enrolled before. “FP Enrolled Alrd” will be displayed on the
LCD screen.
For 1:1 verication, User ID entered does not match with ngerprint.
VERIFICATION METHOD
1:1 (One to One)
1:N (One to Many)
PROCESS
You have to identify your User ID before inputting any biometrics feature for
verication. For example, your user ID is 1008. One to one method requires
you to key in user ID followed by your ngerprint to get veried.
You don’t need to identify your User ID before inputting any biometrics fea-
ture for verication. Simply place your nger on the scanner for verication.
Center point
Voice Message
Methods of Enrollment
Fingerprint Enrollment
Please assign an enrollee as a Super Admin before you proceed to enroll any other cre-
dentials, as the menu options are only available to a Super Administrator.
It is recommended that all users enroll two fingerprints for each user ID. The first finger-
print will serve as a template for primary access where the other fingerprint will be used
as a backup in the rare event that your first fingerprint is unreadable.
1:N – Place your finger properly on the scanner and the terminal will verify your identity.
1:1 – 1:1 requires input of User ID before the terminal reads and verifies your identity.
Some precautions have to be taken to get a good read every time.
· Make sure the center point of your finger is placed in the middle of the
scanner for a good read.
· Recommended to use index finger. The terminal accepts other
fingers but index is the most convenient.
· Make sure the finger is not wet, too dry, injured or dirty.
· Do not press hard on the sensor, just place it comfortably
· Avoid direct sunlight or bright light.

12
Prior to enrolling your fingerprint, please choose the fingers that will be used to enroll
into the device. We recommend using both index fingers as opposed to your thumbs as
their size may differ between individuals, which may not fit wholly on the scanner.
Follow the steps below to enroll a fingerprint:
Step 1: Press Menu >User Mgt >New User
Step 2: User ID >Key in User ID
This is the unique ID number that represents the user in the devices and software.
Make sure you do not use duplicated ID. The maximum length is 9-digits
Step 3: Select Fingerprint >Press the corresponding number to select which finger(s)
to enroll from the on screen image.
Step 4: Press OK to start enrolling the fingerprint >Place your finger on the scanner
3 times >Screen will display the quality of image captured >Press OK to save >Press
ESC to return to the main page
Step 5: Press User Role >Select Role >Select Normal User >Press OK to save
Select Super Admin or other defined role(s) you wish to assign to this user.
Refer to page 15 User Role for more details. Repeat Steps 3 and 4 to enroll the 2nd
backup fingerprint.
Card Enrollment
Please check the technical specifications of the device to ensure that this function is sup-
ported before continuing. The default card type is 64-bit, 125kHz RFID card. MIFARE and
HID card systems are available upon request.
Follow the steps below to enroll a card:
Step 1: Press Menu >User Mgt >New User
Step 2: User ID >Key in User ID
This is the unique ID number that represents the user in the devices and software.
Make sure you do not use duplicated ID. The maximum length is 9 digits
Step 3: Select Card >Wave card at the induction area >Screen displays the card ID >
Press OK to save

13
Step 4: Press User Role >Select Role >Select Normal User >Press OK to save
Select Super Admin or other defined role(s) you wish to assign to this user.
Refer to page 15 for more details regarding User Role
Password Enrollment
Password verifications have a lessened security presence in Attendance Reporting and
Access control systems. Despite this, passwords are generally the primary preference for
enrollment. FingerTec devices can accept up to 8-digit passwords in numeric format.
Follow the steps below to enroll password:
Step 1: Press Menu >User Mgt >New User
Step 2: User ID >Key in User ID
This is the unique ID number that represent the user in the devices and software.
Make sure you do not use an existing ID. The maximum length is 9 digits
Step 3: Select Password
Step 4: Insert password for the 1st time >Press OK >Re-enter the password to con-
firm
Step 5: Press User Role >Select Role >Select Normal User >Press OK to save
Select Super Admin or other defined role(s) you wish to assign to this user.
Refer to page 15 for more details regarding User Role
Menu Options
Expiration Options
You can set the expiration options for each employee if required. Once the expiration
period for the employee has been exceeded, access to the company will be restricted.
Step 1: To turn on the function, Press Menu >System >Attendance >Expiration Rule
>Press OK to turn it ON
Step 2: Press Menu >User Mgt >New User >Expiration Rule >Press OK to Enter
Step 3: Select the Expiration Options as below.

14
• Expired Date: You must set the employees’ employment starting and ending date.
• Entries: You can set the number of transaction for the employee before their working
duration expires. For example, once their attendance transaction reaches the limit,
the employee’s access will be marked as ‘expired ‘and will be barred from entering the
premises.
• Expired Date and Entries: You can set both the expired date and entries for one employee.
The settings will take effect when either option has been attained. For example if the
expired date is set as 11th of January with the number of Entries set at 500, and the
employee had his 500th verification on 9th of January, the expiration rule will take
place on 9th of January.
You can also set for the user to be deleted or to remain in the system once the
expiration options have been fulfilled. For more details on these settings, refer to
refer to page 32 Expiration Rule.
Edit User
Name Change, user role, deletion or re-enrollment of fingerprints, card and/or pass-
words can be modified after the enrollment process. However the user ID is permanent
and cannot be changed.
To edit user information:
Step 1: Press Menu >User Mgt >All User >User ID
Step 2: Key in User ID >Press OK Button > Select Edit
Step 3: Select the credentials to be edited >Save and Exit.
Delete User
Only an administrator can perform user deletion at the terminal. To delete user(s):
Step 1: Press Menu > User Mgt > All User > User ID
Step 2: Key in User ID > Press OK Button > Select Delete
Step 3: Select Delete User, User Role, Fingerprint or Password
Step 4: Press OK Button to delete > Select OK to confirm deletion > ESC to exit.

15
Display Option
Users can choose the display style of their credentials either to be in. Single Line, Multiple
Line, Mixed Line, Single Line & Sort by Name, Multiple Line & Sort by Name and Mixed Line
& Sort by Name. The different types of display are shown below.
Press Menu > User Mgt > Display Style > Select the type of Display > ESC to Exit
SINGLE LINE MULTIPLE LINE MIXED LINE
SINGLE LINE & SORT BY NAME MULTIPLE LINE & SORT BY NAME MIXED LINE & SORT BY NAME
User Role
Employees with Super Admin rights are granted limitless access to all settings and sys-
tems within the terminal in addition to the ability to enroll new users. Super Admin can
also perform system Reset.
Employees with Normal User rights are only able to log in their attendance at a terminal.
They are unable to access the menu to modify settings within the menu.
In addition to the three defined roles, you are given the option to configure 3 different
subsets.
Refer to page 16 on details on how to configure the User Defined Role.

16
Dene Role
You can define what the administrator is allowed to do at the device. A maximum of
three different role sets can be configured. For example, you create a role called Network
Admin, and limit his access to the Network option only. Therefore, he is unable to enroll
new users or configure device settings.
Step 1: Press Menu >User Role
Step 2: Select User Defined Role >Press OK >Press OK again to enable the selected
Role
Step 3: Rename the Role >Define User Role >Save and Exit.
Once these roles have been defined, they will appear in the Users tab where you
can assign employees accordingly.
Assign Role
To define roles for new employees:
Step 1: Menu >User Mgt >New User >User Role
Step 2: Select the role to assign to the employee >Save and Exit.
To define roles for existing employees:
Step 1: Menu >User Mgt >All Users >Press OK >Select the User ID >Press OK >Edit
Step 2: User Role >Select the role to assign to the employee >Save and Exit

17
4 feet / 1.2 meter
(recommended)
Reset
TCP/IP PORT
USB PORT
........
......
Reset
POWER PORT
Chapter 4
Installations & Communication
Installations
FingerTec terminals offer several con-
nections for power and communica-
tions. Installations of FingerTec time
attendance terminals are simple.
Mount On Wall
After measuring the height accordingly
and make relevant marking on the wall,
drill the screws into the wall to secure
the back plate.
Attach the terminal to the back plate
and tighten the screws.
Flexi-Kit
FingerTec offers flexi-kit for all its time
attendance models. Attach the termi-
nal on the flexi- kit for convenience and
cosmetic purposes. View flexi-kit at
http://accessory.fingertec.com
Communications
Connection points for power and com-
munication are available on top of the
terminals. Refer to the following dia-
grams for the terminals you require.

18
1 8
TOP
FRONT
1 8
CONNECTOR PIN CABLE COLOR CONNECTOR
TX+ 1•White/Orange •1 TX+
TX- 2•Orange •2 TX-
RX+ 3•White/Green •3 RX+
4•Blue •4
5•White/Blue •5
RX- 6•Green •6 RX-
7•White/Brown •7
8•Brown •8
JOINT 1 PIN JOINT 2 PIN
TX+ 1 ••3 RX+
TX- 2 ••6 RX-
RX+ 3 ••1 TX+
RX- 6 ••2 TX-
USB Port
Linking with USB flash disk for remote data
transfer.
TCP/IP Port
Connect with CAT 5 cable for LAN connection,
one end to this port and another end to the
computer’s TCP/IP Port.
TCP/IP for Single Connection – Linking the ter-
minal to a single computer using TCP/IP re-
quires Ethernet 10/100Base-T Crossover Cable.
The cable can be used to cascade hubs or to
connect Ethernet stations back-to-back with-
out a hub. It works with both 10Base-T and
100Base-TX.
TCP/IP for Network Connection – Linking the terminals to multiple computers using TCP/IP
requires Ethernet 10/100Base-T Straight Thru Cable or “whips”. The cable works with
both 10Base-T and 100Base-TX, connecting a network interface card to a hub or net-
work outlet.
Power Supply Port
Insert the Power Adapter point to this port for power.
FingerTec devices offer several types of communication mediums for data transfer that
allows you to share employee credentials across all devices within the network without
re-enrolling users. Employee attendances are downloaded into our software for easy
viewing, analysis and reporting.
We recommend that you delete the attendance records upon completion of the down-
load process. The deletion process can be done manually at the device or commands via
the software’s interface.

19
This chapter will provide instructions to guide you in setting up the correct parameters to
establish connection between your devices and the software. The available communica-
tion methods are listed below:
• TCP/IP
• WiFi (Wireless)*
• GPRS or 3G*
• Webster
• RS 232/RS 485
• USB drive
*This communication method is only available upon request
Configuring your Device ID should be your first step before continuing with the above
communication methods. It is crucial that each terminal’s unique ID is identified and set
apart. By default, all our Device IDs are set to “1”, therefore you must change the Device ID
manually if multiple devices are installed.
To change the Terminal ID:
Step 1: Menu >Comm. > PC Connection >Device ID >OK
Step 2: Insert new ID by pressing the keypad >OK to Save >ESC to Exit
COM KEY
Create password for a specific terminal here. The security password known as COM Key
is intended for extra security. To conect the terminal with the sofgtware, the COM Key
inserted in the Software must be the same as the one inserted in the terminal or else the
connection will not be established even though the activation key and product key are
correctly inserted.
To set the Comm. Key
Step 1: Menu >Comm. > PC Connection >Comm. Key
Step 2: Insert the password by pressing the keypad >OK to Save >ESC to Exit

20
Conf.igure TCP/IP connection
Internet Protocol (IP) is a unique numeric designation of each device within a network.
Without an assigned IP Address, it would make identifying a specific terminal difficult.
The default IP address of each terminal is 192.168.1.201. Connect your terminal via a
RJ45 (LAN cable) to connect to your local area network.
To change the IP address:
Step 1: Menu > Comm. >Ethernet > IP Address > OK
Step 2: Insert the IP Address > Press Down arrow to go to the next column
See below to understand every column.
• IP Address: Known as Internet Protocol Address, the default configuration is
192.168.1.201.
• Subnet Mask: Set to 255.255.255.0 by default, this is used to manage a specified net-
work range. You may change the subnet mask if you have multiple networks in your
company.
• Gateway: By default, it is configured as 0.0.0.0. Only configure the gateway if the
device and PC are on different IP ranges.
• DNS: Domain Name System. By default, the DNS has been configured as 0.0.0.0. If you
are using your own internal DNS servers, please change your DNS to ensure that it is
reflected accordingly.
• TCP COMM Port: The default port is 4370. Only change the number if your network is
unable to utilize this port.
• DHCP: Dynamic Host Configuration Protocol. It’s used to allocate dynamic IP address-
es to clients on a network.
Congure USB Flash Disc
USB drives can be utilized to transfer data between FingerTec devices and software if a
cable is unavailable. You can export employees’ attendance records (transaction logs)
from the device to the USB drive, and import the data from the drive directly to your
management software and vice versa.
Other manuals for AC100C
8
This manual suits for next models
1
Table of contents
Other FingerTec Touch Terminal manuals

FingerTec
FingerTec TA300 User manual

FingerTec
FingerTec TA500 User manual

FingerTec
FingerTec R3c User manual

FingerTec
FingerTec FACE ID 2 User manual

FingerTec
FingerTec TA500 User manual

FingerTec
FingerTec FaceID 2 User manual

FingerTec
FingerTec AC100C User manual

FingerTec
FingerTec R3 User manual

FingerTec
FingerTec Face ID 6 User manual

FingerTec
FingerTec m-Kadex User manual