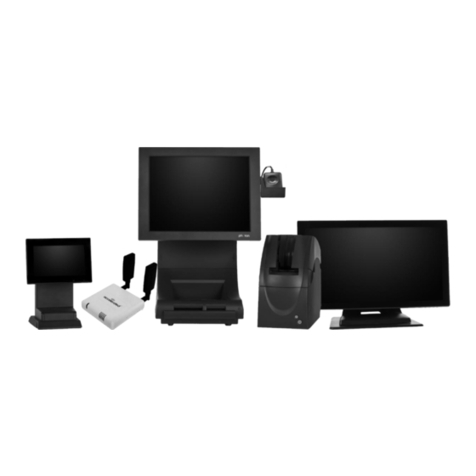
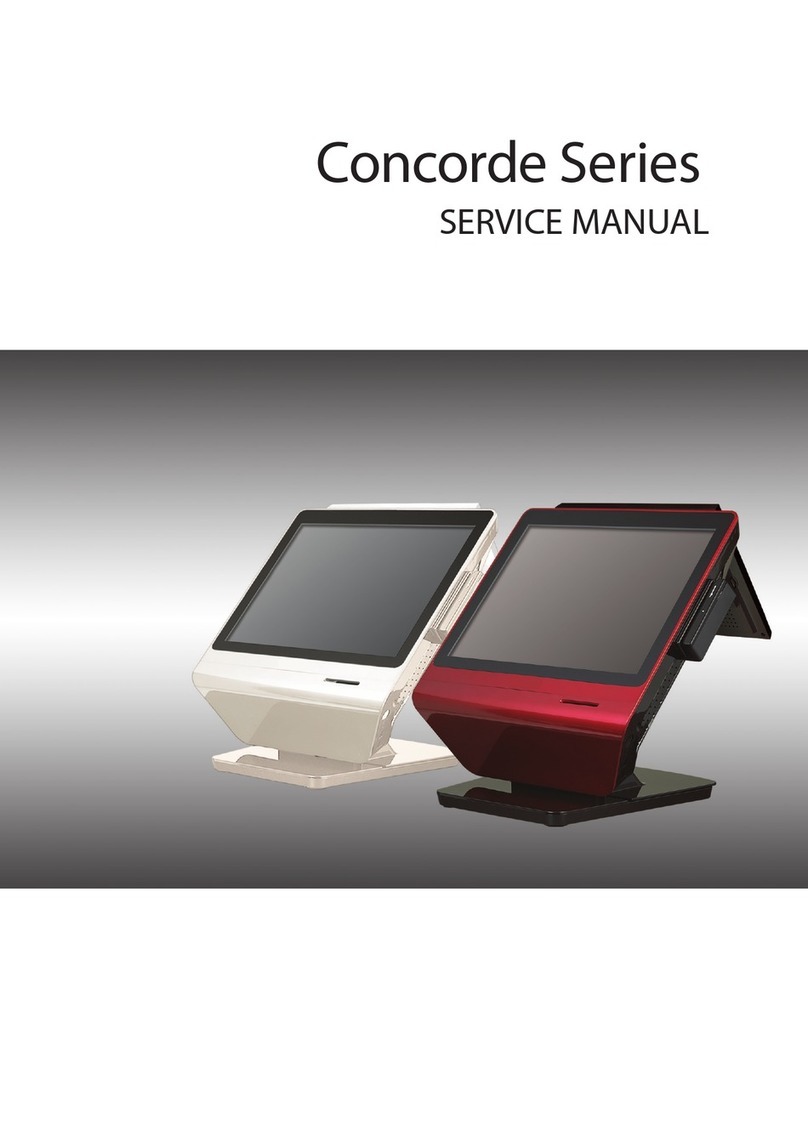
Star mPOP Quick start guide

Check the Supplied Accessories
If any of the package contents are missing or damaged, contact the dealer where the product was purchased.
This document explains the setup procedure for the mPOP.
For further instructions, please refer to the mPOP online
manual.
Please read the instructions before using the product.
3Turning on the Main Unit Power
1Connecting the Power Cable
Introduction
A transparent protective lm is axed to the top surface of
mPOP. Remove the lm before use.
2Connecting the USB Cable
4Inserting a Roll of Paper
Easy Setup Guide
80878840
Pull the cover opening lever toward you
❸,
and then open the printer cover ❹.
Pull the end of the paper out straight❻, and
then close the printer cover
❼. Remove the
piece of paper that is cut automatically❽.
USB-B
You will need: Plug for the mPOP:
- USB cable included with the product
- USB conversion adapter (if necessary)
USB-C
®
You will need: Plug for the mPOP:
- USB cable ( C-C*1 / C-Lightning*2 )
sold commercially or one that comes with a tablet
Windows, Android, Mac, Linux
iOS (iPad, iPhone)
After connecting the USB cable, refer to the back side for wiring so that the product does not rattle. Driver download site for Mac / Linux environment. (https://www.star-m.jp/supportsite-wsw.html)
Insert a roll of paper in the direction shown
in the illustration ❺.
Press the printer back into place until a click
is heard and the printer locks❾.
Press the front of the printer to disengage
the lock ❶, and then pull out the printer ❷.
Turn on the power on the side of the main unit ❶, Check that the
Power LED (blue) lights and the Error LED (red) blinks ❷.
Connect the included power cable to the inlet on the back side of the
product ❶. Connect the plug of the power cable to the outlet ❷.
Connect your tablet / smartphone / PC to the USB connector.
*1 Use a cable that complies with the USB 2.0 standard and supports 3.0A or higher. *2 Please use MFi certied products.
Before use
Only for models which include a barcode reader
6
8
7
6
7
8
9
9
1
2
NG
5
5
1
2
43
12
1 2
Communication
Communication and Recharge
1
2
1
23
mPOPOnline Manual :
mPOP online manual
Star Windows Software
The Windows driver is included in the Star Windows Software.
The Star Windows Software can be used to configure the printer settings
and perform an operation test.
Download [ Star Windows Software ].
Extract the downloaded software and execute "Setup.exe".
Follow the wizard instructions and complete software installation.
Windows
Star Quick Setup Utility
You can use the following functions by using Star Quick
Setup Utility.
Firmware update
Memory switch change, logo registration
Printing operation/peripheral device operation check
iOS / Android
5Preparing/setting up the conguration app
Conguration app
download site
A driver is required when using it in a PC environment.
You can also use the settings app to change product and peripheral settings.
Scan the QR code on the right side or search the app to access the download site.
POP10CI
Tablet Stand Mounting Bracket with Tape
Two Screws
Paper Roll
Easy Setup GuideSafety Instructions
This Manual
Power Cable
Barcode Reader Barcode Reader Stand Double Sided Tape Two Screws
Mounting Template
( Cardboard Material )
USB Cable

Wiring the Cables
Wire the cables as needed according to the location where the
main unit is installed. Turn OFF the main unit power before
connecting or disconnecting the cables.
Connecting the peripheral devices
Connect the specied USB device, tablet / smartphone you want
to charge, etc. to the USB connector of the product.
Securing the Main Unit
Secure the main unit in order to prevent it from tipping over.
Turn OFF the main unit power, then follow the procedure below.
Select a at, level location to install the main unit.
Place the mounting template so that the “FRONT” edge of the
mounting template is aligned with the front of the installation
position. Remove the liner from the tape on the bottom of
the mounting br acket and adhere the mounting bracket in
accordance with the mounting template. The tape has strong
adhesion. Please carry out the adhering work carefully.
Adjusting the Coin Tray
For the owners of other companies’ trademarks mentioned in this document, see Trademarks in
our website (https://www.star-m.jp/eng/trademarks.html).
Copyright 2022 Star Micronics Co., Ltd.
Installing the Barcode Reader
Connect the barcode reader cable to the main unit.
Assemble the barcode reader stand.
Use the double-sided tape or screws as necessary to fasten the
stand in place.
USB-A
USB-C
Designated barcode reader, LCD Display
Other peripheral devices
Tablet or other peripheral device
Plug for the mPOP:
Plug for the mPOP:
Route the USB cable so that it passes under the USB cable hooks.
To ensure the main unit is not tilted when installed, beware
that cables do not protrude from the hooks while the cables
were routed.
Press the mounting bracket rmly so that the tape is adhered to
the surface securely.Remove the mounting template.
Check the position of the slot for mounting bracket on the
bottom of the main unit, and position the main unit so that the
slot is in front of the mounting bracket hook .
Slide the main unit so that the mounting bracket hook enters the
slot to secure the main unit in place.
If you want to secure with screws, please refer to the online
manual.
Press the hook part on the bottom of the divider with a narrow
pointed tool to disengage the lock ❶, then lift up the divider ❷.
Press the coin tray from the inside with your ngers to expand it ❸,
and then remove the divider ❹.
Install the divider in the desired position.
Unlock the hook A on the divider ❶and lift it up ❷.
Install the divider in the desired position.
(North, Central & South America Only)
Place the barcode reader into the barcode reader stand.
Route the power cable so that it passes under or between the
power cable hooks.
Use your chosen application or other means to open the cash
drawer, and then remove the coin tray.
A
1
2
2
1
3
4
1
2
4
3
Models with Barcode Reader or as an Option
1 2
Communication
Power Cable
Vertical Bill Type
Flat Bill Type
USB Cable
Recharge
Recharge
1
2
This manual suits for next models
1
Other Star Touch Terminal manuals
