10
1. SALT REFILL - During each regeneration of
the water softener, a specic amount of salt is
consumed, thus requiring periodic replenishment.
The frequency of the replenishment depends on the
regeneration schedule. Always replenish salt before
the supply is exhausted to ensure a continuous
supply of softened water.
We suggest using pellet type salt or grade A rock salt
that contains no dirt or sediment. Fill tank about 3/4
full. Do not pack full. Do not use block salt. Potassium
chloride, a salt substitute, can be used.
2. PREVENTING IRON FOULING OF MINERAL
BED - If iron is present in the water supply, the
softener will eventually become iron fouled,
resulting in reduced softening capacity and rust
stained xtures. Mixing one or two ounces of Super
Iron Out® or similar iron cleaner with every 80 lbs. of
salt added to the brine compartment will minimize
these problems. As an alternative, there are types of
salt available on the market that contain iron control
agents.
3. BRINE COMPARTMENT CLEAN OUT - To prevent
service problems, the salt compartment should be
emptied and accumulate. This clean out should be
done when the salt level is low or exhausted.
To eliminate the need of removing the brine tank
(two tank models) or the entire unit (single tank
models), use a wet/dry vacuum cleaner to empty the
old brine water. Once emptied, clean dirt from the
salt compartment. Add 5 gallons of water and new
salt.
4. PERIODICALLY CHECK TIME OF DAY SETTING
- Power outages will cause time of day timer setting
to become incorrect. To reset, refer to “Setting the
Control Valve.”
5. CHANGE OF OPERATING CONDITIONS - Should
your family size, your water usage habits or your
water quality change, the regeneration program
setting may have to be adjusted. Do not lower salt
setting.
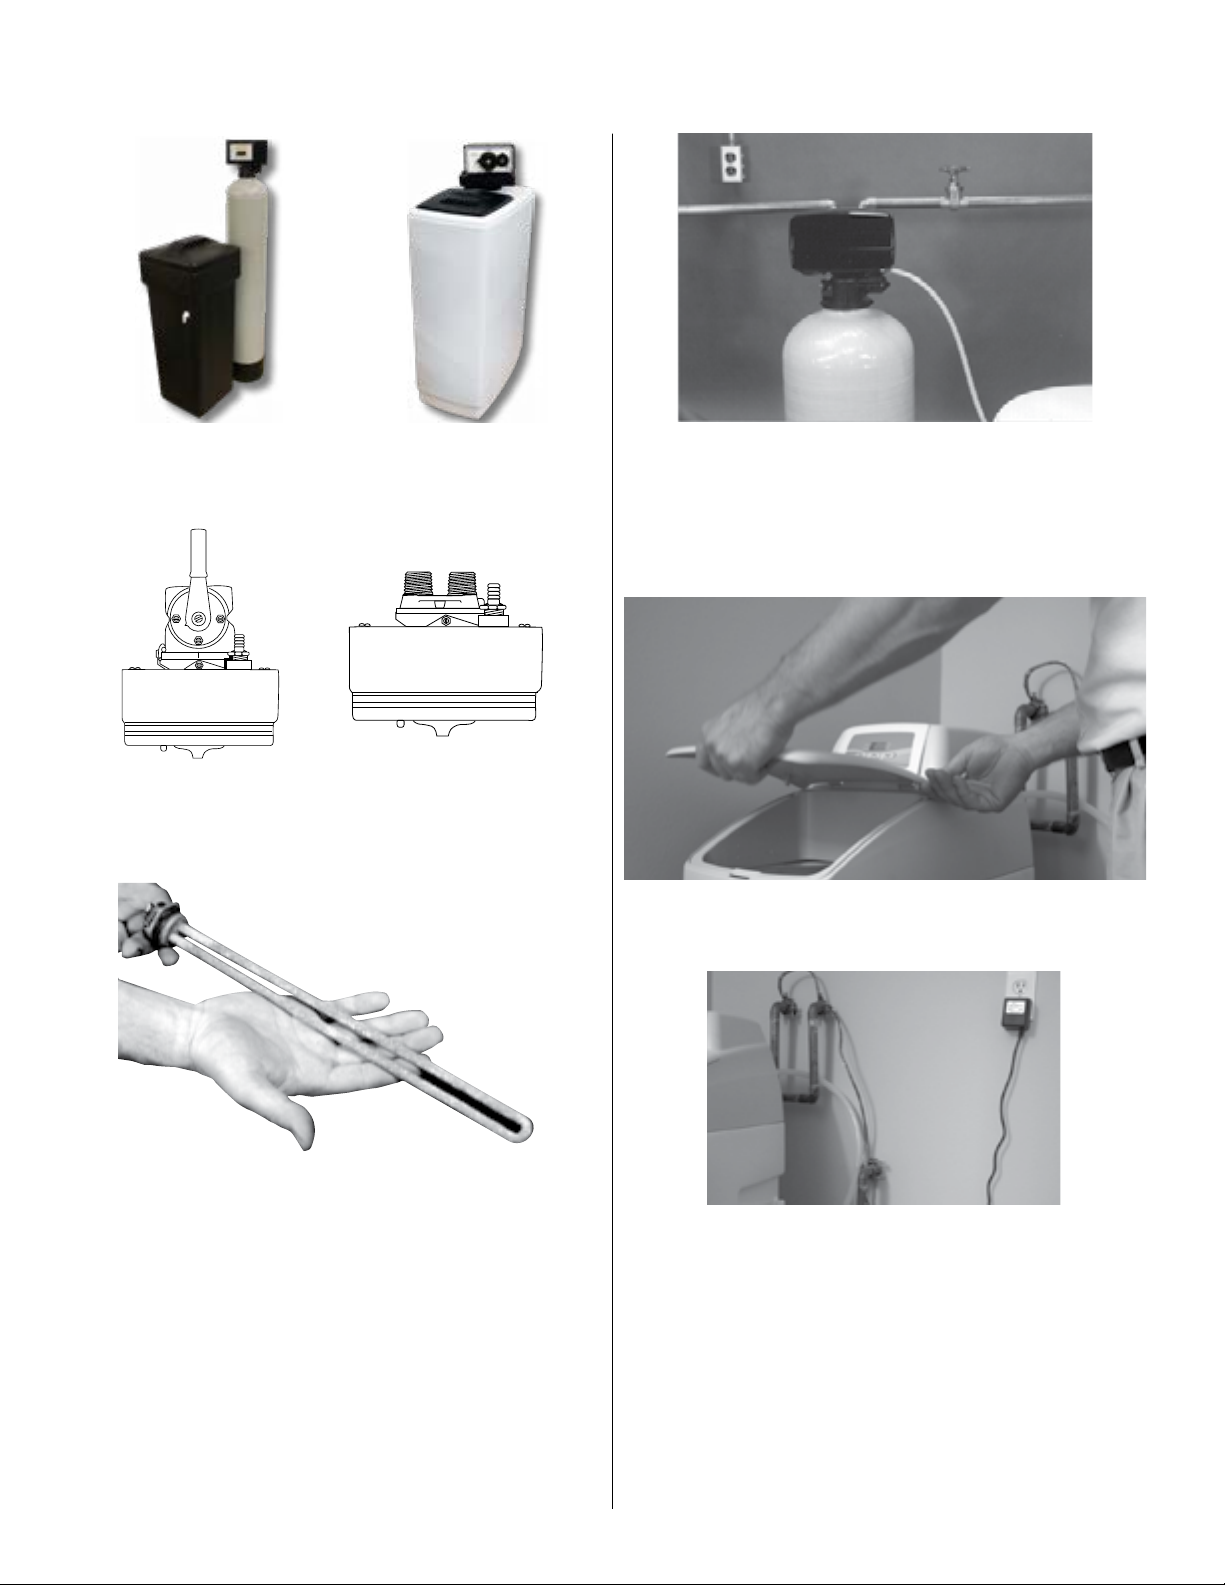
MAINTENANCE
PREVENTING WATER CONDITIONERS OR FILTERS
FROM FREEZING WHILE IN STORAGE
NOTE: The warranty does not apply to damage due
to freezing, nor is the manufacturer responsible for
or assume any liability for breakage, missing parts or
consequential damage that results from placing the
unit into storage.
1. Plan Ahead! Placing the unit into storage should be
done when the salt level in the brine tank is low but
NOT completely exhausted.
2. Immediately before storage and before the
salt is completely exhausted, manually start
the regeneration process and allow the unit to
automatically go through all of the regeneration
cycles.
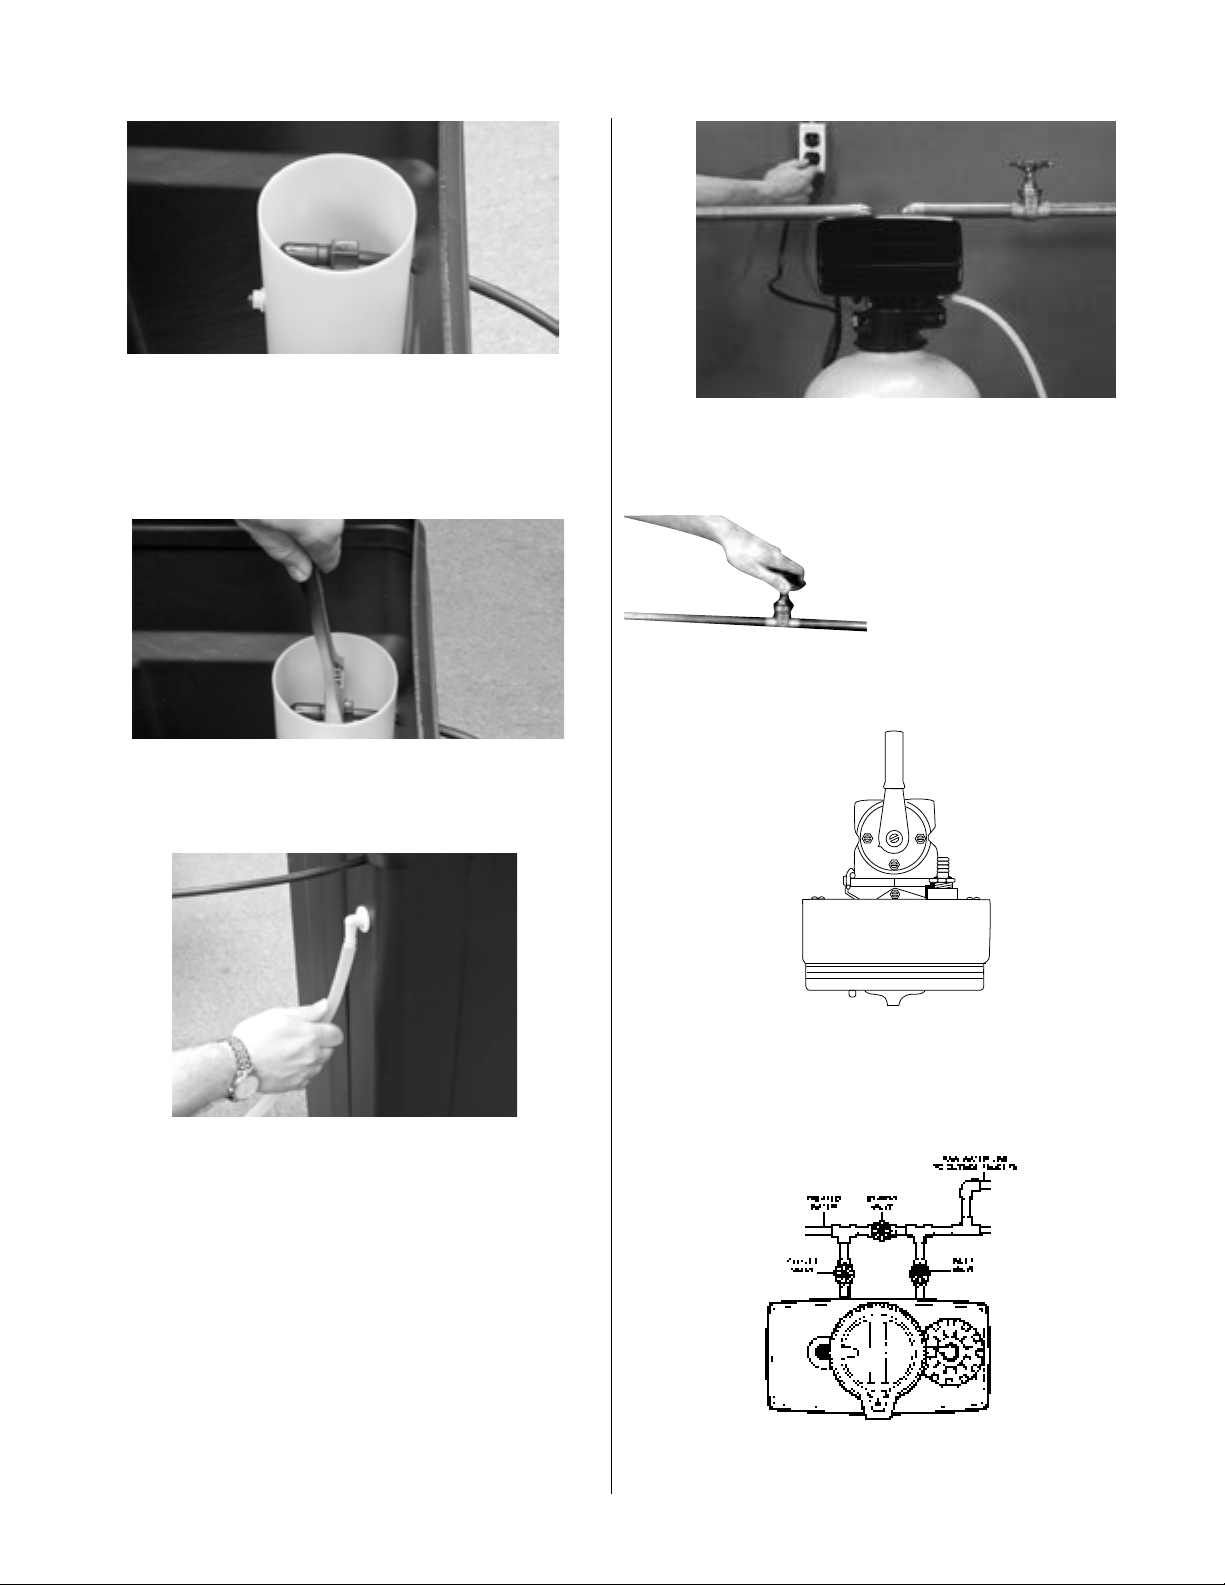
3. Place the unit into the by-pass position,
depressurize and disconnect the plumbing from the
control valve.
4. Remove the control valve from the mineral tank by
turning counterclockwise.
5. Shake as much water out of the valve as possible
and store in an open, dry area. Place any loose
ttings in a plastic bag and tape to the valve.
6. Syphon water from the mineral tank, inserting a
hose into and down the distributor tube. This tube
is in the middle of the mineral tank and can be seen
once the valve is removed.
7. Using a wet/dry vacuum cleaner, empty the
brine tank/salt compartment of brine water. Then
remove as much of the remaining salt as possible.
CAUTION: Salt will become encrusted if allowed to
remain in the brine tank.
8. Using two (2) people, place mineral tank or cabinet
on its side on the oor, using caution as the cabinet
or mineral tank will break if dropped or not handled
carefully.
CAUTION: Water from the mineral tank will cause
damage to carpeting, vegetation, furniture, etc. The
manufacturer of the equipment is not responsible, and
assumes no liability for such damage.
9. DO NOT stand the unit upright until it is to be
placed back into service. To do so will allow
remaining moisture to settle to the bottom of
the mineral tank, expand when freezing, thereby
splitting the tank.
10. To place the unit back into service, refer to
installation and control valve instructions.