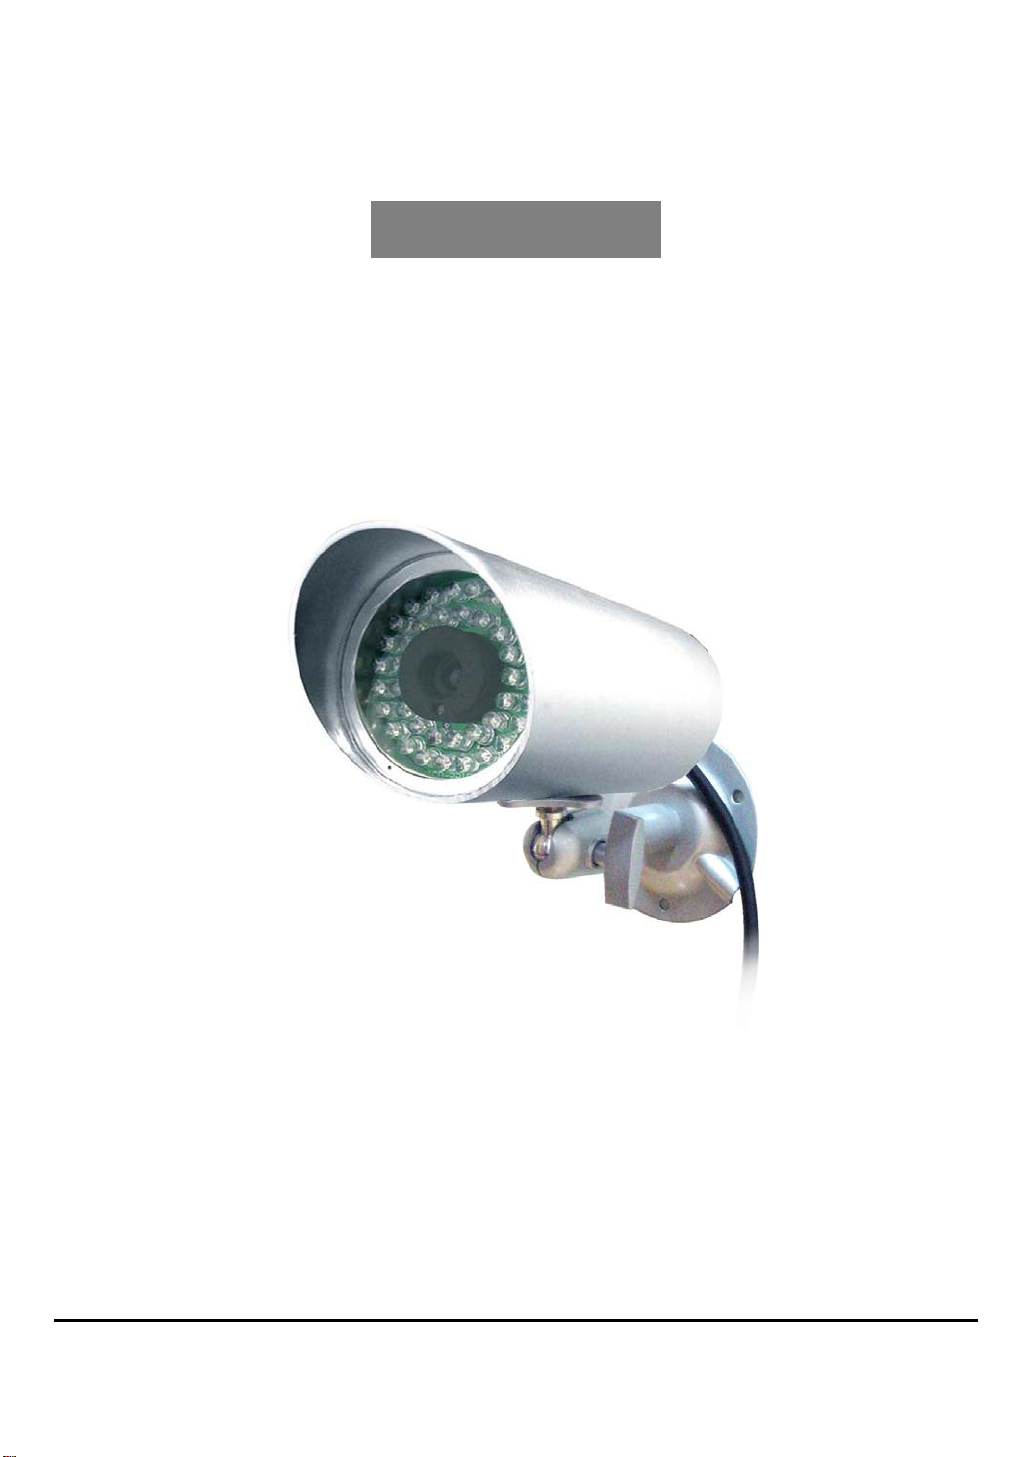
Model IP901 Weatherproof Day/Night Network IP Camera
2
Table of Contents
LIST OF FIGURES AND TABLES
1. INTRODUCTION ......................................................................................................................... 6
2. HARDWARE DESCRIPTION AND QUICK INSTALLATION/USAGE................................ 8
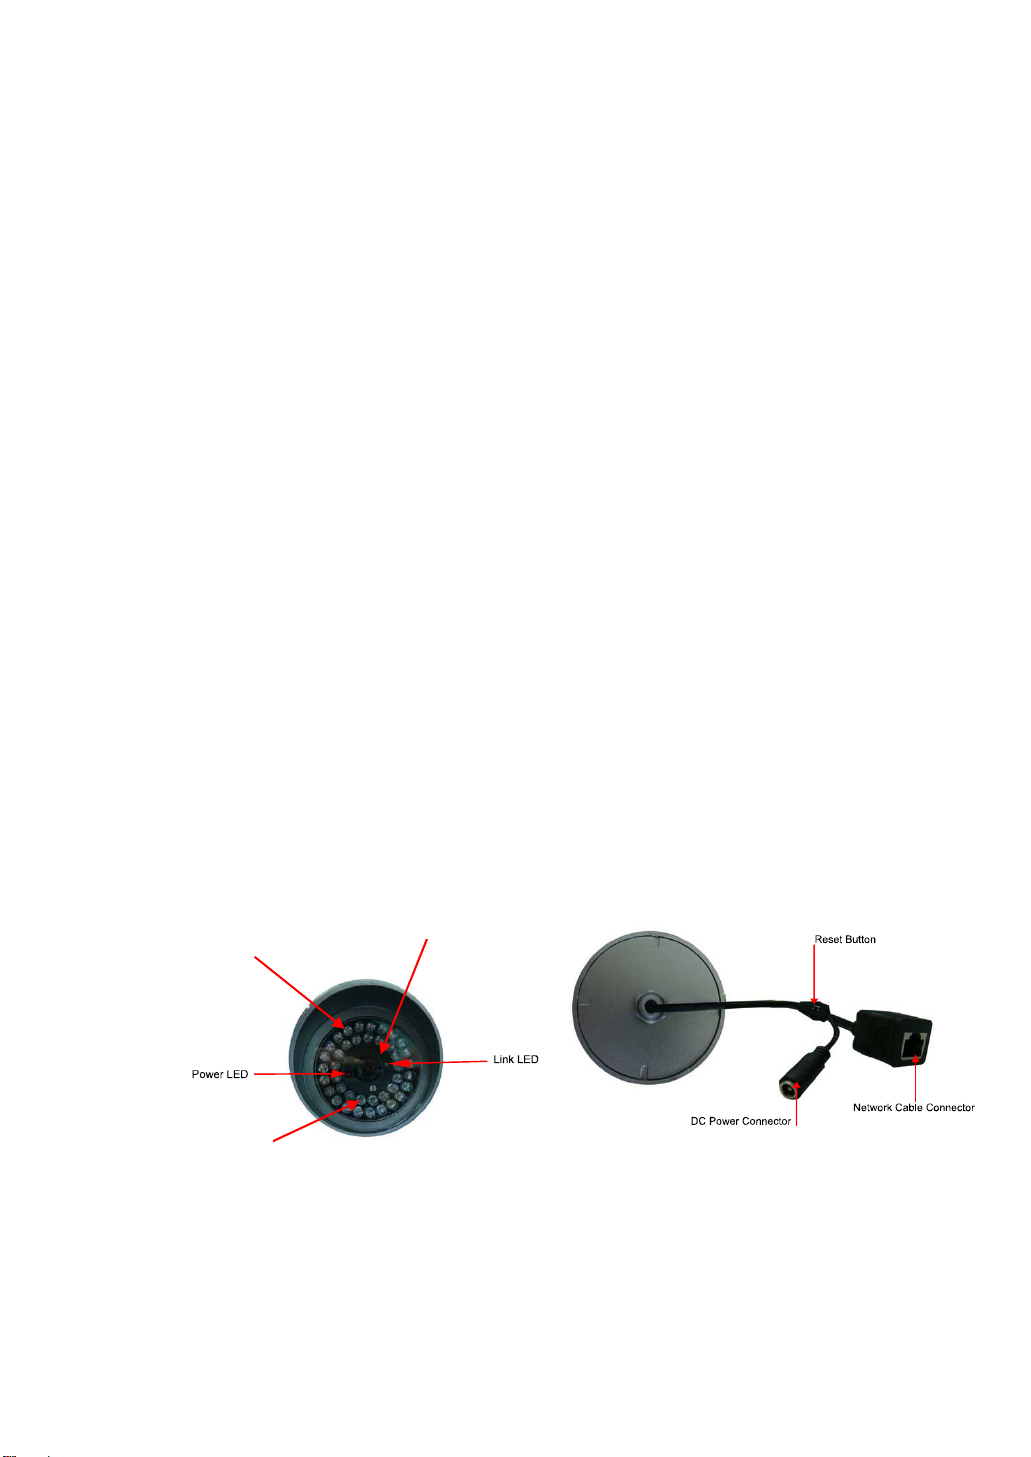
2.1. MAJOR HARDWARE COMPONENTS....................................................................................... 8
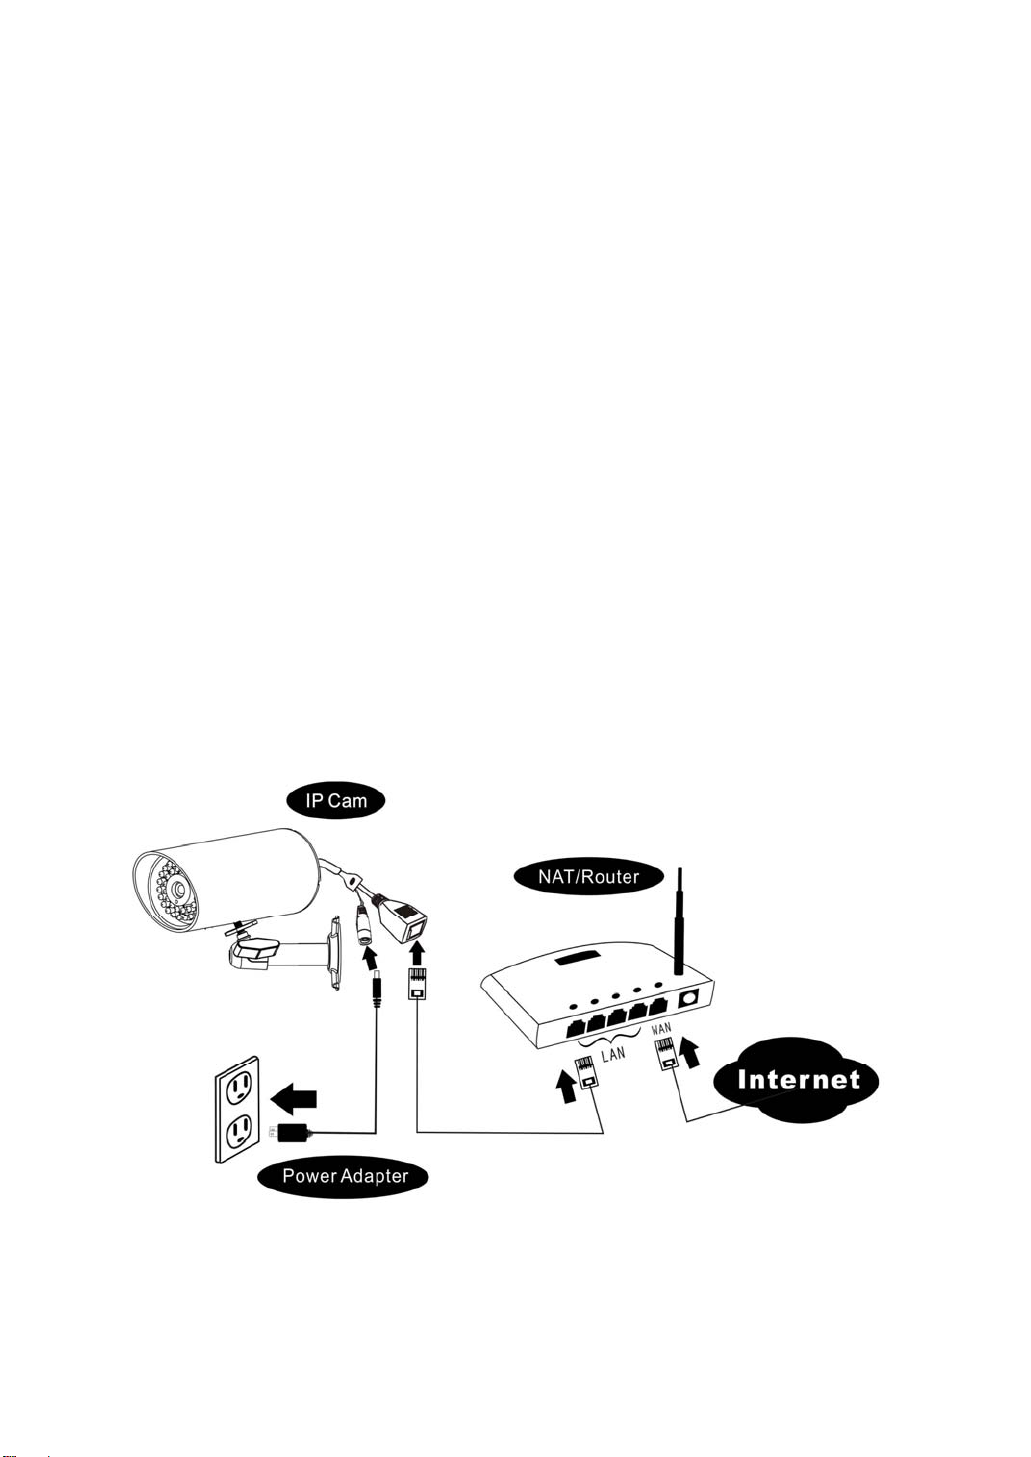
2.2. QUICK INSTALLATION AND USAGE........................................................................................ 8
3. WEB CONFIGURATIONS ........................................................................................................12
.........................................................................................................4
3.1. INFORMATION......................................................................................................................13
3.2. VIDEO DISPLAY ................................................................................................................... 14
...................................................................................................................22
3.3. NETWORK ........................................................................................................................... 15
3.4. ADVANCED NETWORK ........................................................................................................ 17
3.5. VIDEO SETTINGS................................................................................................................. 18
3.6. 3GPP/RTSP SETTINGS .....................................................................................................20
.....................................................................................................24
3.7. MOTION DETECTION
3.8. NIGHT MODE CONTROL
3.9. DATE/TIME .......................................................................................................................... 25
3.10. ADMIN ................................................................................................................................. 26
3.11. UPGRADE............................................................................................................................ 27
............................................................................................................................31
3.12. REBOOT.............................................................................................................................. 29
3.13. SAFE MODE
3.14. SET TO FACTORY DEFAULT .................................................................................................32
4. FEATURES AND SPECIFICATIONS..................................................................................... 33
4.1. FEATURES ........................................................................................................................... 33
4.2. SPECIFICATIONS ................................................................................................................. 34
5. PACKAGE CONTENTS ........................................................................................................... 36
APPENDIX A. LIST OF TESTED NAT/ROUTER DEVICES........................................................ 37
APPENDIX B. MAXIMUM ALLOWED VIDEO USERS ................................................................ 38
APPENDIX C. PERFORMANCE INFORMATION......................................................................... 39