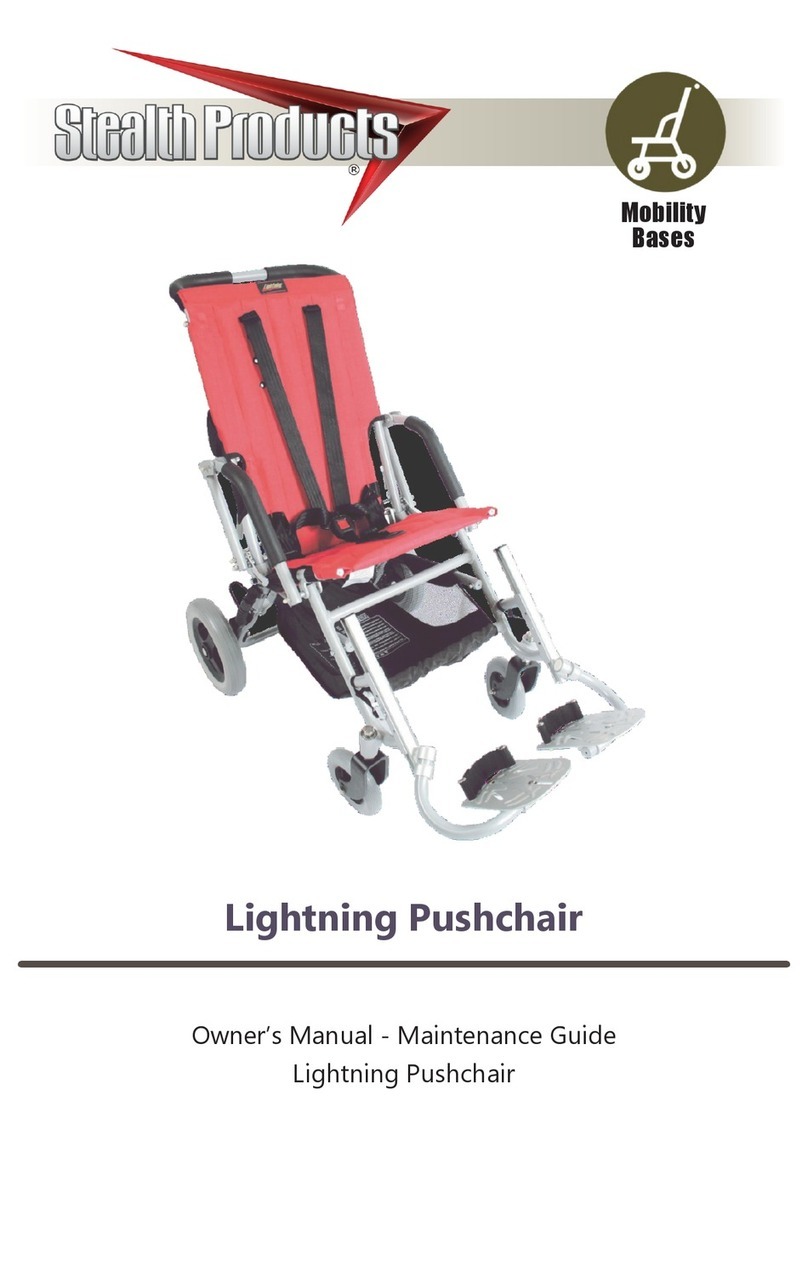
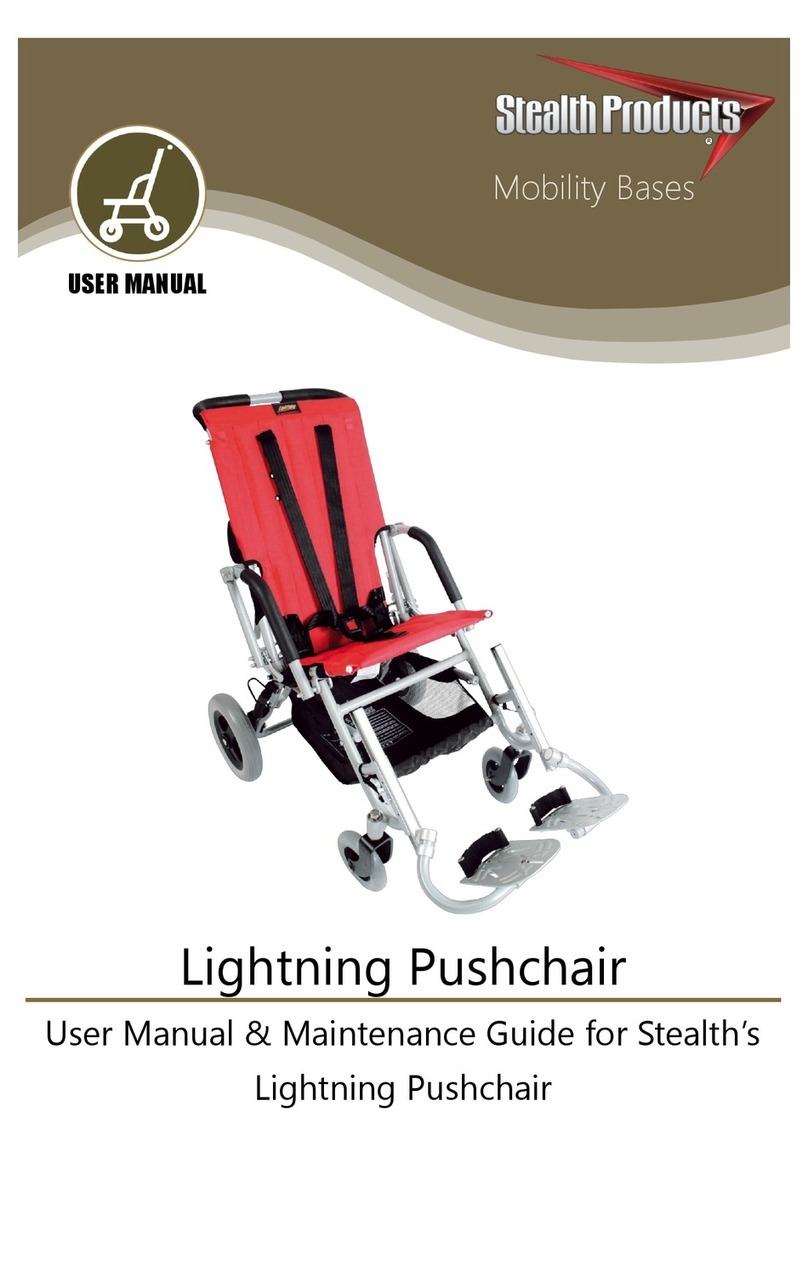
Stealth Products Lightning User manual

Mobility Bases
OWNER’S MANUAL
Lightning Pushchair
Lightning Pushchair Owner’s Manual

Customer Satisfaction 1.0
Stealth Products strives for 100% customer satisfaction. Your complete
satisfaction is important. Please contact us with feedback or to suggest changes
which may help improve the quality and usability of our products. You may reach
us at:
General
Read and understand all instructions prior to the use of the product. Failure to
adhere to instructions and warnings in this document may result in property
damage, injury, or death. Product misuse due to failure to adhere to the following
instructions will void its warranty.
Immediately discontinue use if any function is compromised, if parts are missing
or loose, or if any component shows signs of excessive wear. Consult with your
supplier for repair, adjustment, or replacement.
i

Important Information!
All persons responsible for tting, adjustment, and daily use of the devices
discussed in these instructions must be familiar with and understand all safety
aspects of the devices mentioned. In order for our products to be used
successfully, you must:
•read and understand all instrucons and warnings;
•maintain our products according to our instrucons on care and maintenance; and
• ensure devices are installed and adjusted by a trained technician.
Supplier Reference
Supplier:
Telephone:
Address:
Purchase Date:
Model:
Important Information 2.0
ii

These installation instructions will guide you through your product’s options
and possibilities. They are written with the expressed intent of use with standard
congurations. They also contain important safety and maintenance information
and describe possible problems that may arise during use. For further assistance
or more advanced applications, please contact your supplier or Stealth Products,
LLC at (512) 715-9995 or toll free at (800) 965-9229.
Always keep the operating instructions in a safe place so they may be referenced
as necessary.
All information, pictures, illustrations, and specications are based on the product
information that was available at the time of printing. Pictures and illustrations
shown in these instructions are representative examples and are not intended to
be exact depictions of the various parts of the product.
Ordering Documentation
You can download additional copies of this user manual by accessing the Stealth
website (www.stealthproducts.com) and searching “Lightning Pushchair Owner’s
Manual” in the search bar at the top of the page.
Introduction 3.0
iii
CAUTION
These products are designed to be tted, applied, and installed exclusively by a
healthcare professional trained for these purposes. The tting, application and
installation by a non-qualied individual could result in serious injury.

Warranty 4.0
Our products are designed, manufactured, and produced to the highest of
standards. If any defect in material or workmanship is found, Stealth Products,
LLC will repair or replace the product at our discretion. Any implied warranty,
including the implied warranties of merchantability and tness for a particular
purpose, shall not extend beyond the duration of this warranty. Stealth
Products, LLC does not warrant damage due to, but not limited to:
•misuse, abuse, or misapplicaon of products; and/or
•modicaon of products without wrien approval from Stealth Products, LLC.
Any lack or alteration of serial number, where applicable, will automatically void
this warranty.
Stealth Products, LLC is liable for replacement parts only. Stealth Products, LLC is
not liable for any incurred labor costs.
No person is authorized to alter, extend, or waive the warranties of Stealth
Products, LLC.
Stealth Products warrants against failure due to defective materials or
workmanship for a period of:
Covers: 180 days
Hardware: 5 years
Electronics: 3 years
In Case of Product Failure
In the event of product failure covered by our warranty, please follow the
procedures outlined below:
1. Call Stealth Products at (512) 715-9995 or toll free at (800) 965-9229.
2. Request a Return Authorizaon form (RA) from the Returns Department and follow the
instrucons on the document.
iv

Table of Contents 5.0
v
.
1.0 Customer Satisfaction ................................................................................. i
2.0 Important Information............................................................................... ii
3.0 Introduction ............................................................................................... iii
4.0 Warranty ..................................................................................................... iv
5.0 Table of Contents........................................................................................ v
6.0 Warning Labels.......................................................................................... vii
6.1 Warning Labels ...........................................................................................................vii
6.2 Limited Liability...........................................................................................................vii
6.3 Testing ............................................................................................................................vii
7.0 Safety Precautions ................................................................................... viii
7.1 Safety Rules.................................................................................................................viii
8.0 Design and Function................................................................................... 1
8.1 Intended Use .................................................................................................................1
8.2 Lightning Standard Push Chair Features.............................................................1
8.3 Features of all Lightning Models ...........................................................................2
8.4 Special Edition Features ............................................................................................3
8.5 Specications for all Models ...................................................................................4
9.0 Installation Instructions ............................................................................. 5
9.1 Preparation.....................................................................................................................6
9.2 Tools..................................................................................................................................6
9.3 Installation Plan ............................................................................................................6
9.4 Required Tools...............................................................................................................7
9.5 Folding and Carrying the Lightning......................................................................8
9.6 Adjusting the Seat Back Angle ............................................................................11
9.7 Installing the Foot Plates........................................................................................... 15

Table of Contents 5.0
vi
9.8 Foot Plate Depth Adjustment ................................................................................. 17
9.9 Using and Adjusting the Safety Harness ............................................................ 20
9.1.0 Engaging and Disengaging the Wheel Lock.................................................. 22
9.1.1 Installing the Headrest Extension....................................................................... 23
9.1.2 Installing the Canopy Extension ......................................................................... 23
9.1.3 Installing the Padded Headrest........................................................................... 24
9.1.4 Installing the Ankle Cus....................................................................................... 26
9.1.5 Installing the Padded Harness Cover................................................................ 28
9.1.6 Installing the Trunk Support Accessory ........................................................... 29
9.1.7 Attaching the Work ‘N Play Tray......................................................................... 33
10.0 Transportation ...........................................................................................34
10.1 Preparing the Lightning for Transport............................................................... 34
10.2 Assembly Instructions.............................................................................................. 35
10.3 Attaching the Lightning to a Vehicle ................................................................. 36
11.0 Wheel Replacement...................................................................................37
11.1 Wheel Replacement.................................................................................................. 37
12.0 First-Time Use ............................................................................................38
12.1 Dealer Assistance ...................................................................................................... 38
12.2 User Testing ................................................................................................................. 38
12.3 Conditions of Use...................................................................................................... 38
13.0 Cleaning and Maintenance ......................................................................39
13.1 Cleaning and Maintenance.................................................................................... 39
13.2 Additional Maintenance ......................................................................................... 39
14.0 Notes..........................................................................................................40

Warning Labels 6.0
Warning Labels 6.1
Warnings are included for the safety of the user, client, operator and property.
Please read and understand what the signal words DANGER, WARNING,
CAUTION, NOTICE and SAFETY mean, and how they could aect the user, those
around the user, and property.
Limited Liability 6.2
Stealth Products, LLC accepts no liability for personal injury or damage to
property that may arise from the failure of the user or other persons to follow
the recommendations, warnings, and instructions in this manual.
Stealth Products, LLC does not hold responsibility for nal integration or nal
assembly of product to end user. Stealth Products, LLC is not liable for user death
or injury.
Testing 6.3
Initial setup and driving should be done in an open area free of obstacles until
the user is fully capable of driving safely.
DANGER Identies an imminent situation which, if not avoided, may
result in severe injury, death, and/or property damage.
WARNING Identies a potential situation which, if not avoided, may
result in severe injury, death, and/or property damage.
CAUTION
Identies a potential situation which, if not avoided, may
result in minor to moderate injury and/or property
damage.
NOTICE
Identies important information not related to injury, but
possible property damage.
SAFETY
Indicates steps or instructions for safe practices, reminders
of safe procedures, or important safety equipment that may
be necessary.
vii

Safety Precautions 7.0
viii
Safety Rules 7.1
WARNING
Incorrect installation of the Lightning push chair or its accessories may cause damage
to the hardware and/or injury to the user.
• Immediately discard any plastic wrapping.
• Never allow children to fold, assemble, or disassemble the push chair.
• Do not exceed the push chair’s weight capacity. Excessive weight may cause
a hazardous, unstable condition if the approved load is exceeded.
• Falling or sliding out of the chair presents risks for serious injury. Exercise
caution.
• Always use a seat belt.
• Never leave the chair user unattended.
• Never use the push chair if it becomes damaged. Discontinue use
immediately.
• Always engage the brakes when stopping or releasing the chair handle.
• Accessories or parcels placed in or on the push chair may render it unstable.
Exercise caution.
• Avoid burn risks by never putting hot liquids on the working tray.
•Folding and unfolding the chair poses risks of nger entrapment. Exercise
caution.

Design and Function 8.0
1
Intended Use 8.1
The Lightning push chair is intended for use as a pediatric mobility base.
Designed to be highly durable while remaining portable and convenient, the
Lightning is lightweight and easily folded, transported, and stored.
Crafted with 7000 series aluminum, commonly used for aircraft structural
members because of its excellent strength-to-weight properties, the Lightning is
available in two models, three sizes, and two colors.
Lightning Standard Push Chair Features 8.2
Heavy-duty upholstery
includes ducle seners
and is easily cleaned
Adjustable seat depth
accommodates growth
O-set arms provide
addional width
Removable, adjustable
swing-away footrests
Front rigging includes swing-away,
ip-up adjustments for these
areas:
• Extension
• Fore/A
• Angle
• Lateral
Storage
Basket
Wheel
Locks
Back angle
adjustment:
• 85 °
• 90 °
• 95 °

2
Design and Function 8.0
Features of all Lightning Models
Both the Lightning Standard and Lightning Special Edition models come in
three sizes (11”, 14”, and 16”) and two color options, Red Glow or Navy Blue.
11” Lightning Standard:
• Frame weighs only 25lbs.
• Folds easily for transport
• Can support up to 75lbs.
• Adjustable seat and back angle to accommodate clients’ needs
14” Lightning Standard:
• Frame weighs only 27lbs.
• Folds easily for transport
• Can support up to 125lbs.
• Adjustable seat and back angle to accommodate clients’ needs
16” Lightning Standard:
• Frame weighs only 28lbs.
• Folds easily for transport
• Can support up to 150lbs.
• Adjustable seat and back angle to accommodate clients’ needs

3
Design and Function 8.0
Special Edition Features 8.4
The Lightning Special Edition model features all of the options of the
Lightning Standard model, plus additional add-ons, including:

4
Design and Function 8.0
Specications for all Models 8.5
11” Model 14” Model 16” Model
Overall Height (Push Handle) 36” 36” 38”
Overall Width 19.5” 24” 25”
Seat Angle Settings 30° 30° 30°
Seat Depth 10-12” 12-14” 16-18”
Seat to Floor 20” 21” 22”
Seat to Foot Plate
(Standard Extension Range in 1”
Increments)
1-12” 1-17” 1-17”
Back Angle Settings 85°, 90°, 95° 85°, 90°, 95° 85°, 90°, 95°
Headrest Extension + 6” height + 6” height + 6” height
Front Wheels 6” 6” 6”
Rear Wheels 10” 10” 10”
Overall Weight of Chair (Without Rigging) 25lbs. 27lbs. 28lbs.
Weight Capacity 75lbs. 100lbs. 150lbs.

Installation Instructions

Installation Instructions 9.0
6
Preparations 9.1
Only a qualied service technician should install the Lightning and its
accessories.
WARNING
Incorrect installation of the Lightning push chair or its accessories may cause damage
to the hardware and/or injury to the user.
Tools 9.2
Use the proper tools to install and adjust the Lightning push chair to the desired
position for the user. Ensure all torque specications are followed.
Installation Plan 9.3
Set up an installation plan before beginning the installation. This plan should take
into account:
• Where the Lightning will be placed as well as applicable laterals and support cushions.
• How the Lightning will be operated, including the folding and locking funcons.
•Sucient clearance of and for other hardware and accessories
CAUTION
The use of improper tools may cause damage to the device. Not tightening to the torque
specication can cause components to fail or cause discomfort to the user.
CAUTION
Any connection must always be secured with all delivered screws. Only use the screws
provided in the package.

Installation Instructions 9.0
7
Required Tools 9.4
Below are the tools needed to complete the installation of the laterals:
(Note: Tools are not provided.)
Tool:
Adjustable or 10mm Crescent Wrench
#1 Phillips Screwdriver
3/16” Hex Key

Installation Instructions 9.0
8
Folding and Carrying the Lightning 9.5
1
2
Step One: Grasp the push chair handle(s). Use your foot to depress the folding lock
mechanism, and continue to depress the mechanism while pushing the back of the push chair
toward its seat.
Folding
Lock
Mechanism
Step Two: Lay the folded chair on its left side, so that the carrying handle is face-up.
Carrying
Handle

Installation Instructions 9.0
9
3
Step Three: Unlatch the hook-and-loop strap from the back of the chair. Loop the strap under
then back over the chair’s armrest, then fasten the hook-and-loop strap to the back of the
chair.

Installation Instructions 9.0
10
Step Four: Having secured the hook-and-loop strap around the armrest, lift the push chair by
its plastic carrying handle.
4

Installation Instructions 9.0
11
Adjusting the Seat Back Angle 9.6
1
In order to adjust the back angle, the chair’s back upholstery must rst be removed.
Step One: Unlatch both hook-and-loop straps on the seat back.
Other manuals for Lightning
1
Table of contents
Other Stealth Products Stroller manuals
