STEINWAY LYNGDORF Steinway & Sons Model C User manual

[Skriv tekst]

Steinway & Sons Model C – Installation Manual, version 2.1
2
TABLE OF CONTENTS
!
TABLE OF CONTENTS ...................................................................................... 2
INTRODUCTION TO THE MODEL C ................................................................. 3
SAFETY WARNING/ PHYSICAL HANDLING ..................................................... 3
UNPACKING MODEL C SPEAKERS ................................................................. 3
SYSTEM PLACEMENT IN THE ROOM .............................................................. 7
CONNECTION OF EQUIPMENT ........................................................................ 8
ROOM CORRECTION INTRODUCTION .......................................................... 11
CLEANING THE SPEAKER .............................................................................. 11
STORING THE SPEAKER ................................................................................ 11
REPACKING OF MODEL C MUSIC SYSTEM .................................................. 11
SERVICE INFORMATION ................................................................................. 12

Steinway & Sons Model C – Installation Manual, version 2.1
3
INTRODUCTION TO THE MODEL C
The Model C is a floor standing speaker capable of reproducing the mid and high
frequencies only, why it must always be supported by boundary woofers.
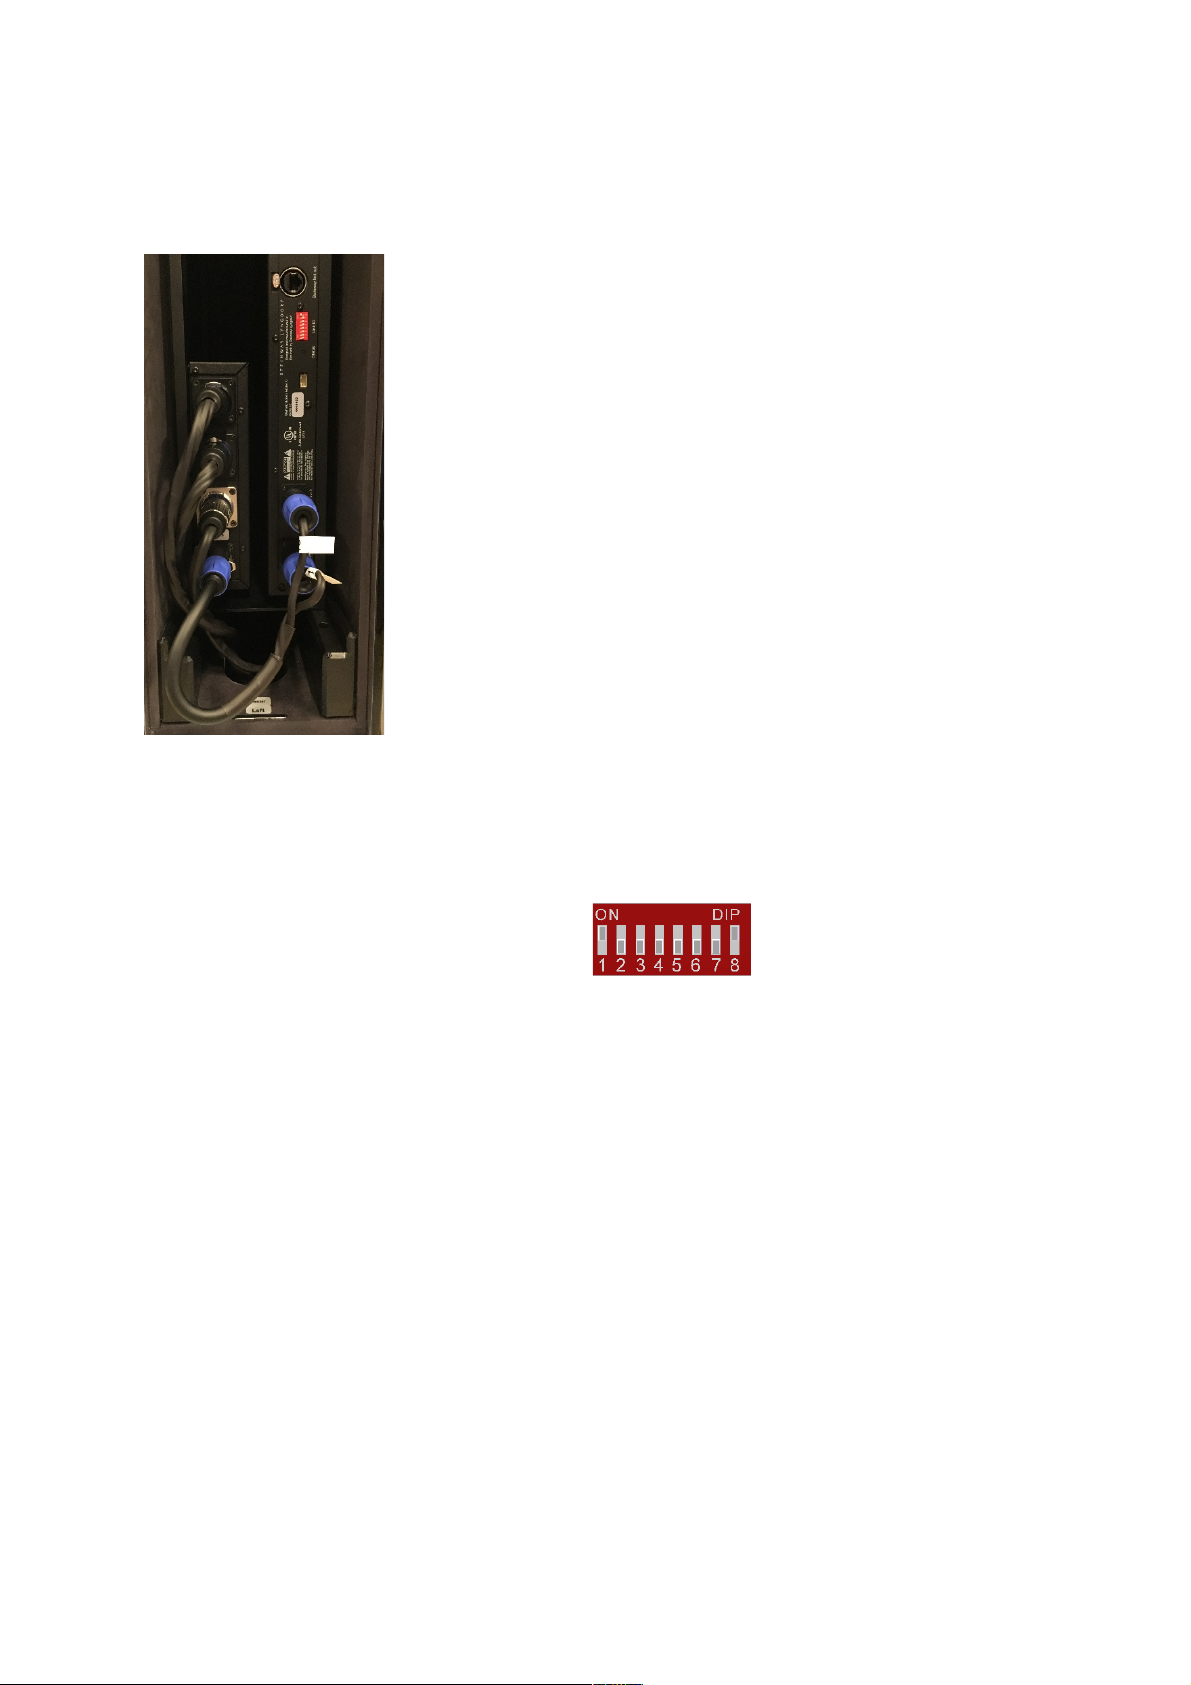
It features a cabinet for holding the connections as well as the Model A1 amplifier, which
can power the Model C speaker as well as a boundary woofer. Alternatively the amplifier
can be placed in a rack or furniture together with the processor.
SAFETY WARNING/ PHYSICAL HANDLING
The Model C loudspeakers are very heavy and large. They can be difficult to handle. Follow all instructions for
unpacking and installation. Use ergonomically correct body positions. Be careful not to unbalance the large
speaker systems during handling. Steinway Lyngdorf cannot be held responsible for any physical damage
which occurs during the installation process.
The crates weigh 135 kilos (384 lbs) each, and the speakers weigh 85 kilos (187 lbs) each, why you need to take
precautions to unpack and install the speakers.
UNPACKING MODEL C SPEAKERS
Each crate holds a single Model C loudspeaker mounted on transport panels on top and bottom, which secures
the loudspeakers during transportation as well is of use when lifting the loudspeaker into its final position.
The crates have been assembled using the Clip-Lok packaging system. The tool for removing the clips is in the
foot of the crate.
Once you have unclipped the box, remove the top. With the speakers you will also find the following items:
• Dolly Cart for moving the speaker
• A piece of carpet for pulling the speaker over even surfaces
• Metal bars for lifting the speaker
• Allen Key, Hex4, for mounting the decorative side panels
• Spike Kit holding both pointed and rubber pad spikes
• Speakon Plug, NL4FC
• Cable for connecting the Model A1 amplifier to the speaker
If the speakers are part of a total Model C System, the crate might also include the Model A1 amplifier.

Steinway & Sons Model C – Installation Manual, version 2.1
4
The crate holds the tool for opening in the corner foot
During moving and handling, do not tilt the boxes more than 90 degrees. It might be best to unpack
the system outside the building in which the installation is to be made.
The crates have been assembled using the Clip-Lok packaging system. The clips must be removed
with the tool supplied inside the corner of the boxes as illustrated.
Pull out the Clip-Lok opening tool by using two fingers.
Place the tool behind the clip. Use your other hand to keep the clip in place when you unlock it. Otherwise the
clip may cause damage when it springs out of grip.
WARNING:
Be very careful when you unlock the clips. They are firmly fixed and may cause
damage when they spring open, unless you keep the clips in place with your free
hand as illustrated is active.

Steinway & Sons Model C – Installation Manual, version 2.1
5
Removing Speaker Shipping Protection
The speaker stand is extremely heavy. To avoid potential damage when removing the transport
protection plate, place one of the foam protection plates from the shipping crate below the speaker
stand for secure support. Use the supplied Unbraco (Hex/Allen) key to release the bolts.
Using a Dolly for Moving the Speakers
Included in the packaging is a dolly cart with four multi-directional wheels. It is placed as a lid above
the amplifier module compartment in the right speaker crate. You can use the dolly for moving the
speakers into and inside of the place of installation. Unlock the Clip-Lok clips following the instructions
on page 8 and the dolly can be taken out of the crate.

Steinway & Sons Model C – Installation Manual, version 2.1
6
Spikes
The speakers are designed to stand on each four spikes or feet. The system accessories box
contains three mounting options.
a. 28 mm high spikes for wooden floors or floors covered with ordinary carpet.
b. 48 mm high spikes for floors covered by thick carpet.
c. Non-penetrating feet mainly for marble, granite or similar floor materials.
Spikes are the most stable option but might cause damage to the floor below; therefore, the use of
spikes will be each customer’s own responsibility. Steinway Lyngdorf cannot take any responsibility
for any damages caused by spikes. Choose the non-penetrable feet if there are any concerns about
potential harm to floors.
NOTE: The feet have rubber facing to protect the floor. Do not push or drag the speakers when they
are standing on the feet, as the rubber may be ripped off and damage may occur to the floor.
Dimensions:

Steinway & Sons Model C – Installation Manual, version 2.1
7
SYSTEM PLACEMENT IN THE ROOM
Guidelines for Room Placement
You can place the speakers according to the design of the room from a visual point of view, as long
as you respect the basic stereo triangle (60x60x60 degrees) by not allowing too much space between
the speakers vs. the distance from the speakers to the listening position. If a symmetrical position is
impossible and the distance from each speaker to the listening position is different, then this can be
compensated digitally by adjusting the delay in the Installation Menu (see Speaker Delay section). In
an off-axis listening situation, you should not exceed a 0 degree position towards the nearest speaker.
Regardless of speaker positioning, the RoomPerfect™ system will always ensure that the frequency
response in the listening position remains the same.
The Model C speakers requires a set of Boundary Woofers, as this speaker does not reproduce the
lowest frequency range.
For perfect performance these recommendations must be followed:
• The speaker must be located at least 1 meter or 3.3 feet (50 cm or 1.65 feet from the rear
edge of the metal base) away from rear walls.
• The speaker must be located at least 1.5 meter or 4.8 feet away from side walls.
• The speakers must be toed-in towards the primary listening position. For instance, if the
speakers are positioned in a 30-degree angle as seen from the listening position, then the
speakers should be toed-in 5-15 degrees depending on where the best sound is achieved.
• Both speakers should have the same amount of side reflections, i.e. symmetrical positions in
the room relative to adjacent walls.

Steinway & Sons Model C – Installation Manual, version 2.1
8
CONNECTION OF EQUIPMENT
Speaker Cable Wiring
The Model C Speaker holds an A1 amplifier in the box behind the speaker. The amplifier connects to the
speaker through wires fitted with speakON connectors.
A1 DIP Switchboard Addressing
The DIP switchboard on the back of each A1 amplifier
must be set for correct identification of the speaker
connected to it. See next page for traditional stereo setup.
If the speakers are part of a multi-channel setup, you will
receive a wiring diagram dedicated to your specific setup.
Daisy-Chaining
The two Model A1 amplifiers can be connected in Daisy-Chain – one cable from LINK A output from the
processor to Steinway Link IN on the first A1 amplifier (ID#0) – one cable from Steinway Link OUT on the first
A1 amplifier (ID#0) to Steinway Link IN on the second A1 amplifier (ID#1)
DIP 8 must be adjusted for either termination or transmission. Switch DIP 8 to lower position on the first A1
amplifier (ID#0). Switch to upper position on the second A1 amplifier (ID#1).

Steinway & Sons Model C – Installation Manual, version 2.1
9
Left Side / Stereo Setup
An Model A1 amplifier is powering the Model C speaker. The amplifier is
mounted together with the crossover for the mid-high section in a chassis,
which is fixed to the top of the box with two M4 screws.
The adapter cable to the amplifier is included with the speaker, and you need
to connect the Model A1 to your processor through a Steinway Link cable.
The Model A1 amplifier must be connected to your local mains power supply.
Make sure to set the voltage selector to the correct setting before turning the
system on.
The dip switch on the Model A1 must be:
The switch 8 is activated, as the link is terminated - as in this suggested setup, the speakers are on
separate link outputs, and not connected as a daisy chain to a single link output.
The adaptor cable configuration:
ID#0
LEFT

Steinway & Sons Model C – Installation Manual, version 2.1
10
Right Side / Stereo Setup
An Model A1 amplifier is powering the Model C speaker. The amplifier is
mounted together with the crossover for the mid-high section in a chassis,
which is fixed to the top of the box with two M4 screws.
The adapter cable to the amplifier is included with the speaker, and you need
to connect the Model A1 to your processor through a Steinway Link cable.
The Model A1 amplifier must be connected to your local mains power supply.
Make sure to set the voltage selector to the correct setting before turning the
system on.
The dip switch on the Model A1 must be:
The switch 8 is activated, as the link is terminated - as in this suggested setup, the speakers are on
separate link outputs, and not connected as a daisy chain to a single link output.
ID#1
RIGHT

Steinway & Sons Model C – Installation Manual, version 2.1
11
ROOM CORRECTION INTRODUCTION
Why do you need room correction? The characteristics of your room affect the sound that reaches your ears.
In any system, more than 50% of the sound you hear comes from the contribution of the room, echoes,
reflections, absorption, and the like.
Follow the instructions of the Installation Manual of the processor, but note that during measurements, you
can work, talk and move around in the room. But the measurements will last longer depending on the level of
background noise.
CLEANING THE SPEAKER
Polish the system for perfect appearance with a micro fiber cloth. Dust and fingerprints are highly visible on
the black piano gloss lacquer. If necessary, moisten your cloth with distilled or demineralized water only.
DO NOT use ordinary furniture polish or cleaning agents as these usually contain wax or silicone that may
cause damage to the surfaces.
STORING THE SPEAKER
The Model C features wooden constructions with high gloss lacquered finish as well as high end electronics.
Electronics as well as wooden constructions are vulnerable for sudden changes in temperature as this will
cause cracks in the wooden constructions and cause serious degradation of the lifetime of the electronic
circuitry.
The products should thus be kept and stored in stable conditions with temperatures between
10o to 25o Celsius and with a relative humidity level between 50% and 55%.
REPACKING OF MODEL C MUSIC SYSTEM
In case the system components are to be moved to another location repacking into the original shipping crates
is necessary, as the weight and vulnerable surfaces are causes of concern.

Steinway & Sons Model C – Installation Manual, version 2.1
12
SERVICE INFORMATION
To obtain warranty service, you must contact your original dealer or the Steinway Lyngdorf distributor of the
region or country where you are located. If you have trouble locating an authorized representative, please find
contact information at www.steinwaylyngdorf.com,
Steinway Lyngdorf
Ulvevej 28
DK 7800 Skive
Denmark
In some cases, it may be necessary to return the equipment to Steinway Lyngdorf or an authorized service
provider for repair; therefore, it is recommended that you save your original packing materials. Steinway
Lyngdorf will not be responsible for any damage due to unauthorized packing or shipment in non-original
packing materials. If return is made in authorized packaging, risks are borne by Steinway Lyngdorf. Additional
charges may occur if new packing materials are required for return shipment.

Steinway & Sons Model C – Installation Manual, version 2.1
13
Table of contents
Other STEINWAY LYNGDORF Speakers manuals

STEINWAY LYNGDORF
STEINWAY LYNGDORF Steinway & Sons Model O User manual

STEINWAY LYNGDORF
STEINWAY LYNGDORF Steinway & Sons Marine Speaker User manual

STEINWAY LYNGDORF
STEINWAY LYNGDORF IW-66 User manual

STEINWAY LYNGDORF
STEINWAY LYNGDORF IW-15 User manual

STEINWAY LYNGDORF
STEINWAY LYNGDORF S-SERIES User manual

STEINWAY LYNGDORF
STEINWAY LYNGDORF Steinway & Sons LS User manual