Stellar Home Furniture S214 User manual

S214 / S215
From : Stellar Home Furniture
Manufactured by : CymeTech inc.
Page 1
Assembly tools required : Hammer, Phillips # 2, #3 and regular screwdriver, 1 and 17mm wrenches
Follow the step-by-step instructions on a clean area ( ex. carpet). Read instructions
ASSEMBLY INSTRUCTIONS
before starting the asembly
Special Notes :
To make the assembly simple and well done, you have to be familiar with the parts.
S214 : 54 inches bed
S215 : 60 inches bed
1- Bed side left/right
2- Upper/lower bed rail
3- External doors
4- Middle doors
5- Cabinet side left/right
6- Cabinet top
7- Cabinet cross rails
8- Bed wide bottom panel
(S214, 4X; S215, 5X)
9- Bed narrow bottom panel
(S214 only)
Parts not shown :
1 - Cabinet upper rail
11- Bed side rail, plywood
12- Crossing rail, plywood
13- Bed rail upper/lower
31- Door reinforcement rails
4
2
3
1-2
1-1
2
5-1
6
9
5-2
8
7

Item : 18
Item : 22
15mm
Pre-Assembly check list ardware pack
3
"
Screw ( round head ) Wood dowel
Handle
Quick-Fit dowel
7/8
Eccentric housing
32
Screw #6 - 5/8"
8
4
4
32
16
Screw #8 - 1"
Page 2
2
Screw cap
4
Assembly screw Screw #8 - 1 1/8"
Item : 14
Item : 20
12
Item : 29
84
1
48
22mm
2
Item : 15
S214 / S215
From : Stellar Home Furniture
Manufactured by : CymeTech inc.
Bed feet
This item as a left an a right part
Item : 30
plate
reinforcement
Item : 28
Part a
bed, left side shown
Mechanism for Collapsible
Part b
Item : 23
Screw #1 - 3/4"
Item : 19
Bolt M6 - 19 mm
Item : 21
Item : 26
Seafty chain divice
Screw #8 - 2 1/2 "
Item : 27
Item : 24
Item : 25
Item : 16 Item : 17

Screw cap
Page 3
Wall cabinet
Step 2 :
Repeat step 1 right side
without safety chain
Step 3
Item: 14, 4X
from top side
S214 / S215
From : Stellar Home Furniture
Manufactured by : CymeTech inc.
Item: 18, 11X
Left side shown
Step 1 :
5-1
on the top no screw cap.
Secure two assembly screws
Item 29a
Item: 15
2X
Mecanism
preparation :
both side
Edgeband
5-1
5-2
6
7-1
1
7
7
Edgeband
one side
Assembly screw
18 places typ.
Item: 16
18X
Item: 26
16X
a
lock pin
1a: Remove
1b: Open
mecanism
b

Step 4
4c. Locate vertical studs in the wall,
secure upper end of cabinet with
a minimum of two #8 X 2 1/2"
screws in upper trim ( 3 screws
included).
Use proper screws
depending wall construction.
Wall cabinet
Page 4
Warning :
It is mandatory to fix the cabinet firmly to the wall by locating inwall
studs. Severe damage to the cabinet and possible injuries to people
may result. Use longer or bigger screws if needed. Stellar ome Furniture
is not responsible for part damages or injuries caused by inappropriate
installation.
4a. Remove bottom wall trim to
install cabinet against wall
S214 / S215
From : Stellar Home Furniture
Manufactured by : CymeTech inc.
4b. Place level tool on the cabinet
side and adjust if needed.
Remove wall trim
to fit in cabinet
Wall
2X
27

S214 / S215
From : Stellar Home Furniture
Manufactured by : CymeTech inc.
Bed, base
Page 5
Insert eccentric housing then tighten
clockwise with screwdriver.
Item: 14
16X
Step 5
2
2
Item: 24
16X
Insert dowels completely
to the bottom of holes
to avoid doors damage
1-1
1-2
Step 6
3
4
4
3
Note carefully handle
holes position
Item: 15
28X
2
2
Locate and secur front/ rear panel using
eccentric housing. Make sure to align doors
and front/ rear panels before final tight.

Slide down sides 1-1 and 1-2 first, then
secure with eccentric housing. Place
and tighten assembly screw.
1-2
1-1
Step 7
2
2
Bed base
Page 6
S214 / S215
From : Stellar Home Furniture
Manufactured by : CymeTech inc.
Item: 16
8X
Item: 14, 12X
Step 8
Item: 26
8X
Item: 21, 8X
Item: 18
6X
SCALE 1 : 6
DETAIL C
Item: 30
2X
2X
Make sure to tighten bolt using 1 mm
SCALE 1 : 8
DETAIL A
wrench. Repeat on the other side.
Secure reinforcement plate, locate it
inside, than align with M6 bolt, 4 places.
Item: 29b
Do not loosen up the bolt
on the rear side of the
mechanism.

Step 10
Secure upper & lower rails #13 first, than
bring down inner frame from step 9 and
secure it using assembly screw.
Item: 13
2X
*Note holes
orientation
S214 / S215
From : Stellar Home Furniture
Manufactured by : CymeTech inc.
Bed base
Step 9
Page 7
Item: 26
11X
11-1
11-2
12
Inner frame assembly
Item: 16, 14X
Item: 16, 8X

With two people, one on each side, insert
bed into cabinet by holding it verticaly and
paralell to the cabinet. Make sure to align
mecanism on each side as shown below.
Do not open bed completely until safety scews are installed. It may result in severe damages
to the cabinet and bed parts as well as possible injury to people.
Page 8
Insert part A top flat in
between part B opening
as shown.
From : Stellar Home Furniture
Manufactured by : CymeTech inc.
Step 12
Open bed just enough
to access mecanism
and insert safety scews.
Note:
Step 11
Warning !
DÉTAIL H
ECHELLE 1 : 8
Item: 23, 4X
Safety screws, two
on each side.
b
Do not loosen up the bolt
on the rear side of the
mechanism.
a

S214 / S215
From : Stellar Home Furniture
Manufactured by : CymeTech inc.
Page 9
Step 13
Step 14
9a: Once bed is installed into wall cabinet,
move sideway cabinet bottom until a
perfect alignement of doors with wall
cabinet.
move cabinet
sideway
9b: Then secure cabinet bottom with
minimum one screw into lower trim.
Make sure to reach wall stud.
Cut to size the bottom wall trim
previously removed at step 4 and
re-install it both sides of cabinet.
27
Wall Bed
Align cabinet
with doors
Lower cabinet
trim
Bottom wall trim
cut to size
Wall
Bed

Page 10
Can be mounted
left or right side
(use pilot holes)
S214 / S215
From : Stellar Home Furniture
Manufactured by : CymeTech inc.
Item: 22
2 X
Item: 18
4X
Step 16
Wall
Can be mounted
left or right side
(use pilot holes)
Step 15
Mur / Wall
Item: 31
2X
D
Be sure you use the right screw
to avoid door damages
Do not overtight
Item: 17
12X
DETAIL 1 : 1
DETAIL D
Item: 2
8X
4 places
Handle and screws,
Item: 19
4X
DETAIL E
SCALE 1 : 6
2X
DÉTAIL V
ECHELLE 1 : 1
Item: 18
Item: 25

S214 / S215
From : Stellar Home Furniture
Manufactured by : CymeTech inc.
Page 11
Step 17
Balance adjustement :
For a perfect balance of mechanism, you may have to adjust it as required
since not all mattresses have the same weight. Use a 17mm (or 11/16'') wrench.
Do it slowly half turn at a time, equally both sides. To obtain a perfect balance,
the bed must be stationary in each opened position.
Do not unscrew completely the
adjustement bolt
F
DÉTAIL F
ECHELLE 1 : 5

Page 12
From : Stellar Home Furniture
Manufactured by : CymeTech inc.
Warranty
The warranty from Cyme Tech covers defects in material and
workmanship for a period of 5 years from the date of purchase. The
original purchase receipt is required as proof of purchase. This warranty is
limited to the replacement of defective parts.
This warranty does not cover normal wear and tear, scratches, alterations
and intentional and non-intentional damages.
This warranty does not cover the product if it has been placed outdoors or
in a humid environment.
This warranty is only valid for purchas
es made at an authorized Cyme Tech
dealer in Canada and in the United States.
This warranty defines the limits of Cyme Tech’s liability and entitles the
original buyer to specific rights. Any warranty defined by law in your state
or province is limited to a period of 5 years. If the law in your state or
province prohibits this restriction, then it does not apply.
This manual suits for next models
1
Table of contents
Popular Indoor Furnishing manuals by other brands
RAL
RAL ORION PLUS Assembly instruction
Dunelm
Dunelm Indi Dressing Table Assembly instructions

Coaster
Coaster Sandrine 509743 Assembly instructions
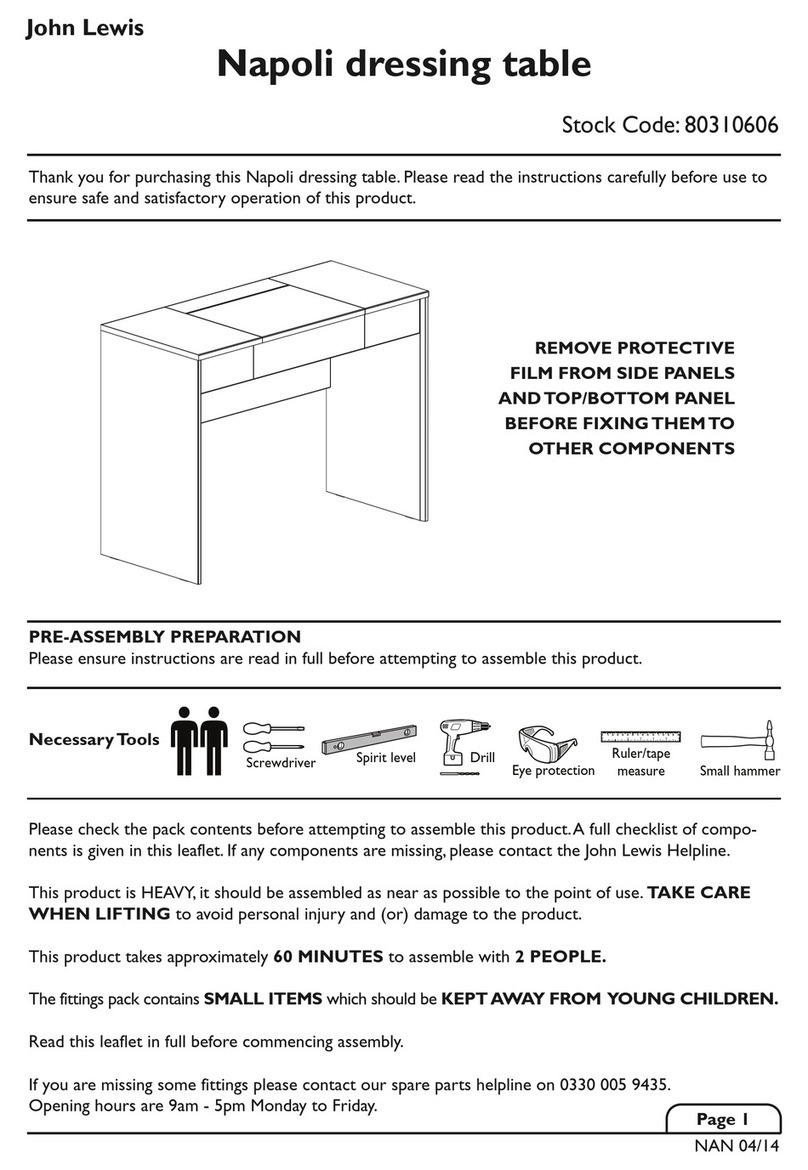
John Lewis
John Lewis Napoli 80310606 instructions
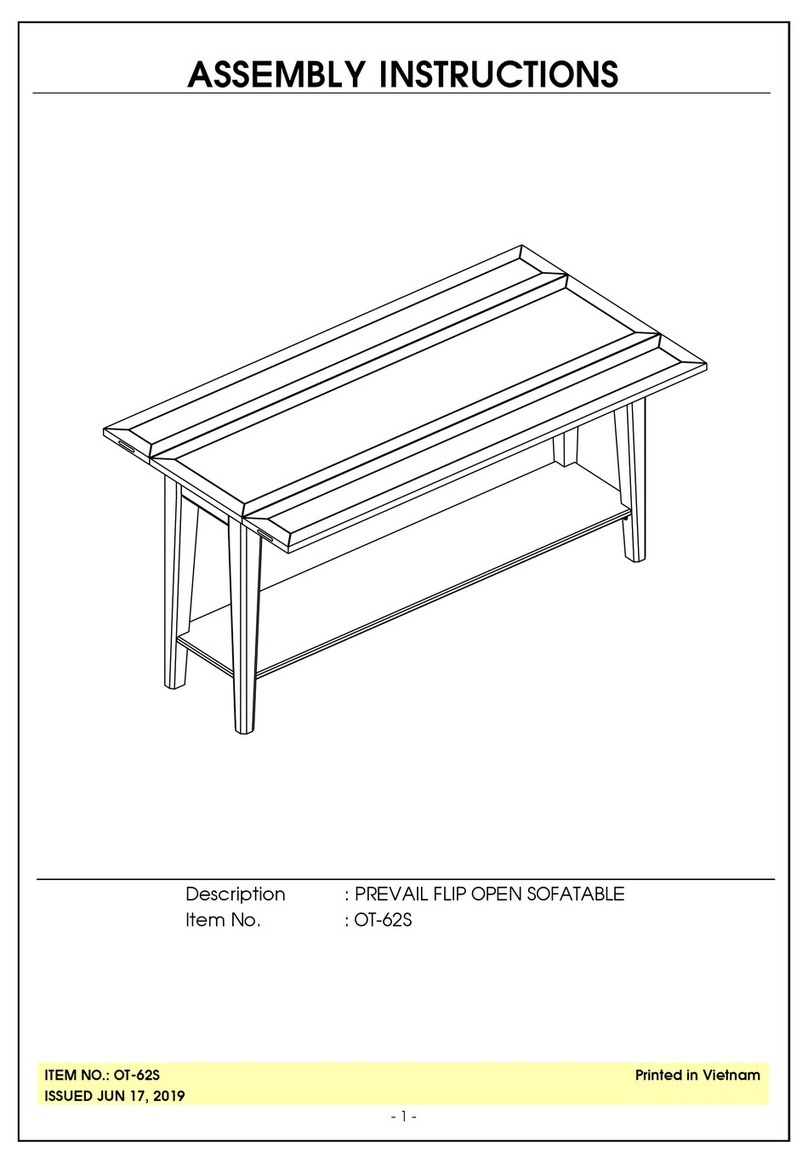
Unfinished Furniture of Wilmington
Unfinished Furniture of Wilmington OT-62S Assembly instructions

FourStar
FourStar 11224514FD Assembly instructions
Walker Edison
Walker Edison AF42MDRC Assembly instructions

Mäusbacher
Mäusbacher Dandy 0335 32 Assembly instructions
ESS
ESS Container ROLL TCL-1 installation manual
Homelegance
Homelegance Abbeville 1856F-1/-3 Assembly instruction
The Land of Nod
The Land of Nod Polygon Bookcase Assembly instructions
Rauch
Rauch MZ192 Assembly instructions

