FS 40, FS 40 C, FS 50, FS 50 C
English
6
gets smaller), impaired hearing,
dizziness, or impaired concentration –
these symptoms may possibly be the
result of too-high exhaust gas
concentration – Risk of accidents!
Operate your power tool so that it
produces a minimum of noise and
emissions – do not run the engine
unnecessarily, accelerate the engine
only when working.
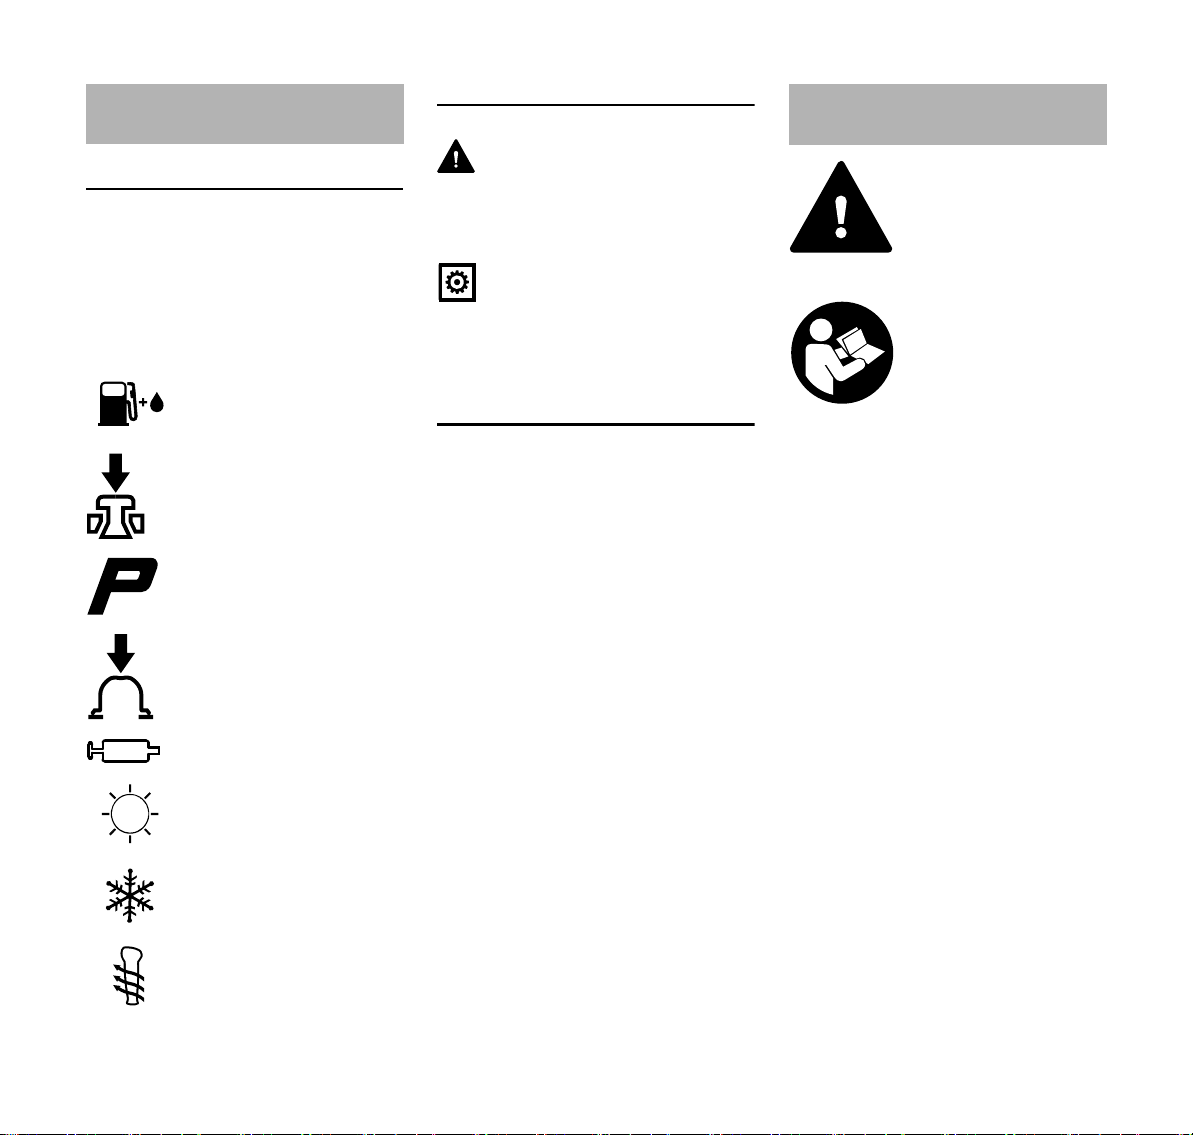
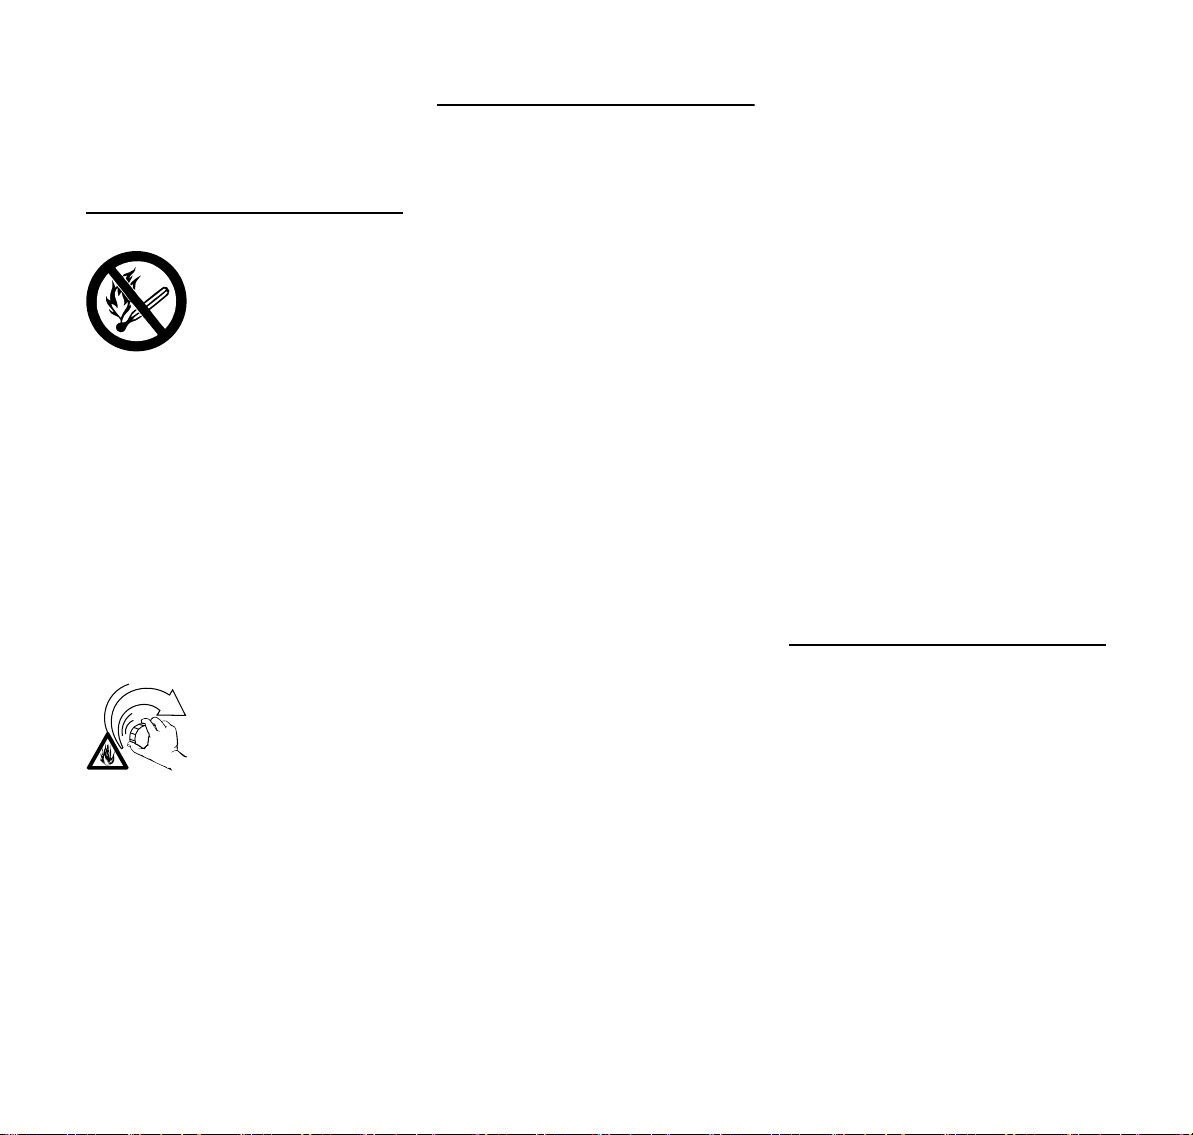
To reduce the risk of fire, do not smoke
while operating or standing near your
power tool. Note that combustible fuel
vapor may escape from the fuel system.
Dusts, mist and fumes emissions during
the work may be hazardous to your
health. Wear respiratory protection in
case of heavy dust or smoke emission.
If your power tool is subjected to
unusually high loads for which it was not
designed (e.g. heavy impact or a fall),
always check that it is in good condition
before continuing work – see also
"Before Starting". Check in particular
that the fuel system has no leaks and the
safety equipment is fully operative.
Never use a power tool that is no longer
safe to operate. In case of doubt, contact
a dealer.
Do not operate your power tool with the
choke lever in the warm start position <
– the engine speed cannot be controlled
in this position.
Be particularly careful when working on
difficult, densely grown terrain.
When mowing in tall scrub, under
shrubbery and hedges: Hold the cutting
tool at a working height of at least 15 cm
– this avoids risks to animals.
Always shut off the engine before
leaving the unit unattended.
Check the cutting tool regularly at
frequent intervals, and immediately if
you notice a change in its behavior:
–Stop the engine, hold the machine
securely, allow the cutting
attachment to come to a stop
–Check condition and tightness of
connections, look out for fine cracks
–Immediately replace defective
cutting tools, also in case of minor
hairline cracks
Clean grass and plant residue off the
cutting attachment mounting at regular
intervals – remove any accumulated
material from the cutting attachment and
deflector.
To reduce the risk of injury, shut off the
engine before replacing the cutting
attachment.
Do not continue using or attempt to
repair damaged or cracked cutting
attachments by means of welding,
straightening or modifying the shape
(unbalanced).
Particles or pieces may come off and hit
the operator or a bystander at a high
speed – risk of most severe injuries!
If a rotating cutting attachment touches a
rock or another hard object, sparks may
be generated which may possibly ignite
combustible materials. Also dried-out
plants and brushwood are combustible,
above all in hot and dry weather. If there
is a risk of fire, do not use cutting
attachments in the vicinity of
combustible materials, dried-out plants
or brushwood. It is mandatory that you
ask the responsible forestry office about
current fire hazards.
Using mowing heads
Only use the deflector with a properly
mounted blade that ensures the mowing
line is restricted to the permissible
length.
Always switch off the engine to adjust
the mowing line for manually adjustable
mowing heads – risk of injury!
Misuse with mowing lines that are too
long reduces the working speed of the
engine. The constant slipping of the
clutch causes overheating and damage
to important components (e.g. clutch,
plastic housing parts) – e.g. due to the
cutting attachment rotating during idling
– risk of injury!
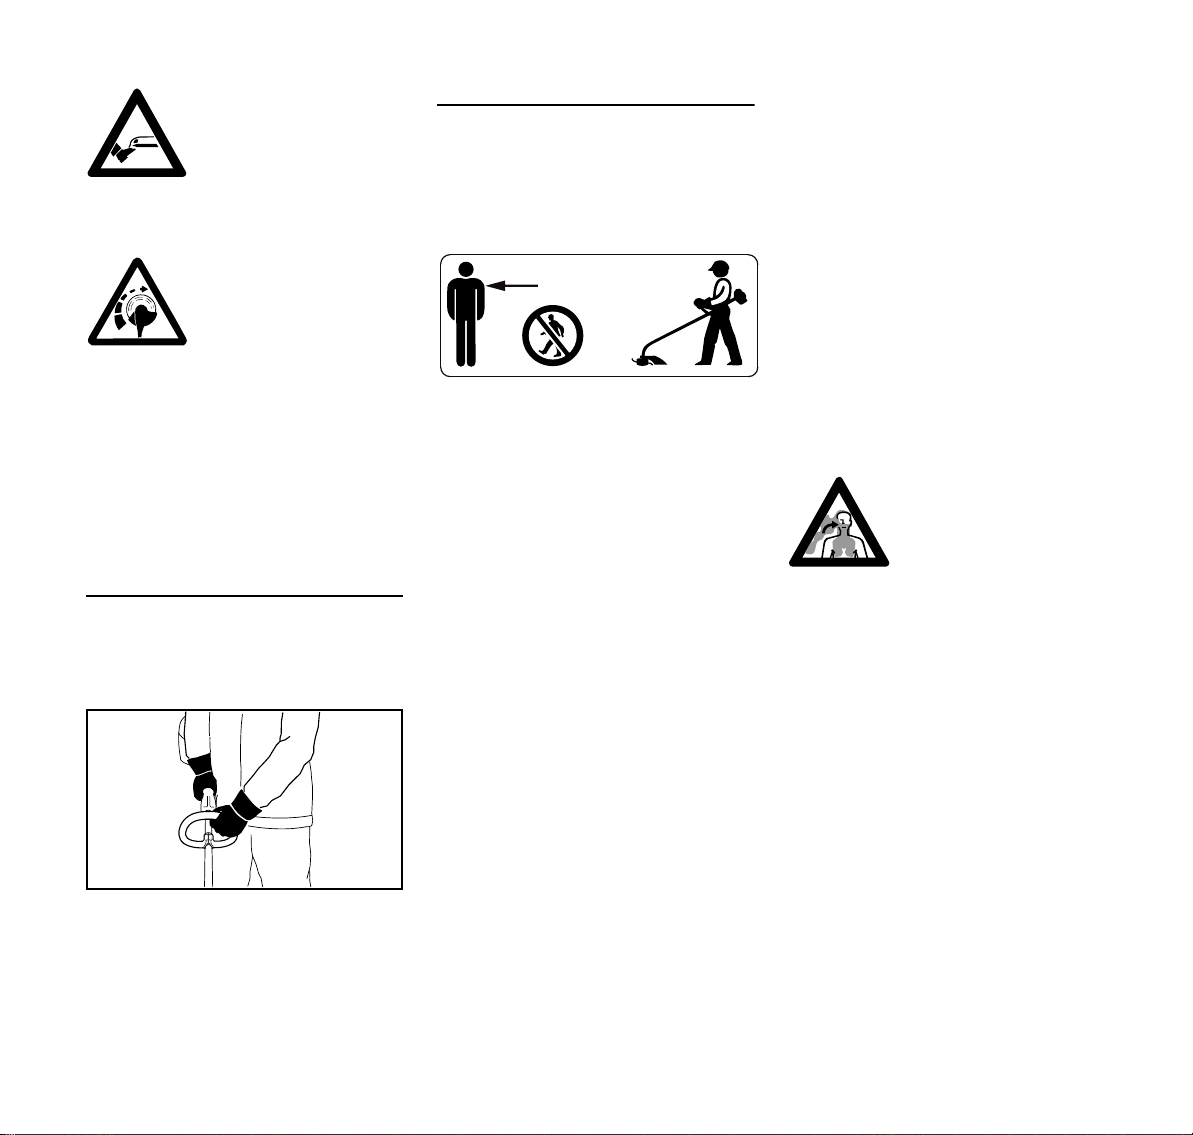
Never work with-
out protection
suitable for the
respective
machine and cut-
ting tool – risk of
injury from ejected
objects!
Check the work site –
rocks, metal objects etc.
could get caught up and
ejected – potentially
beyond a distance of
15 m – risk of injury! Such
objects can also damage
the cutting attachment
and other property (e.g.
parked vehicles,
windows).