Quattro Grill
Model / Modèle / Modelo : SGP4033N
InputRating/ Taux d’Entrée / Índice de Entrada : 48,000 BTU/Hr
Equipped for use with Liquid
Propane Gas only.
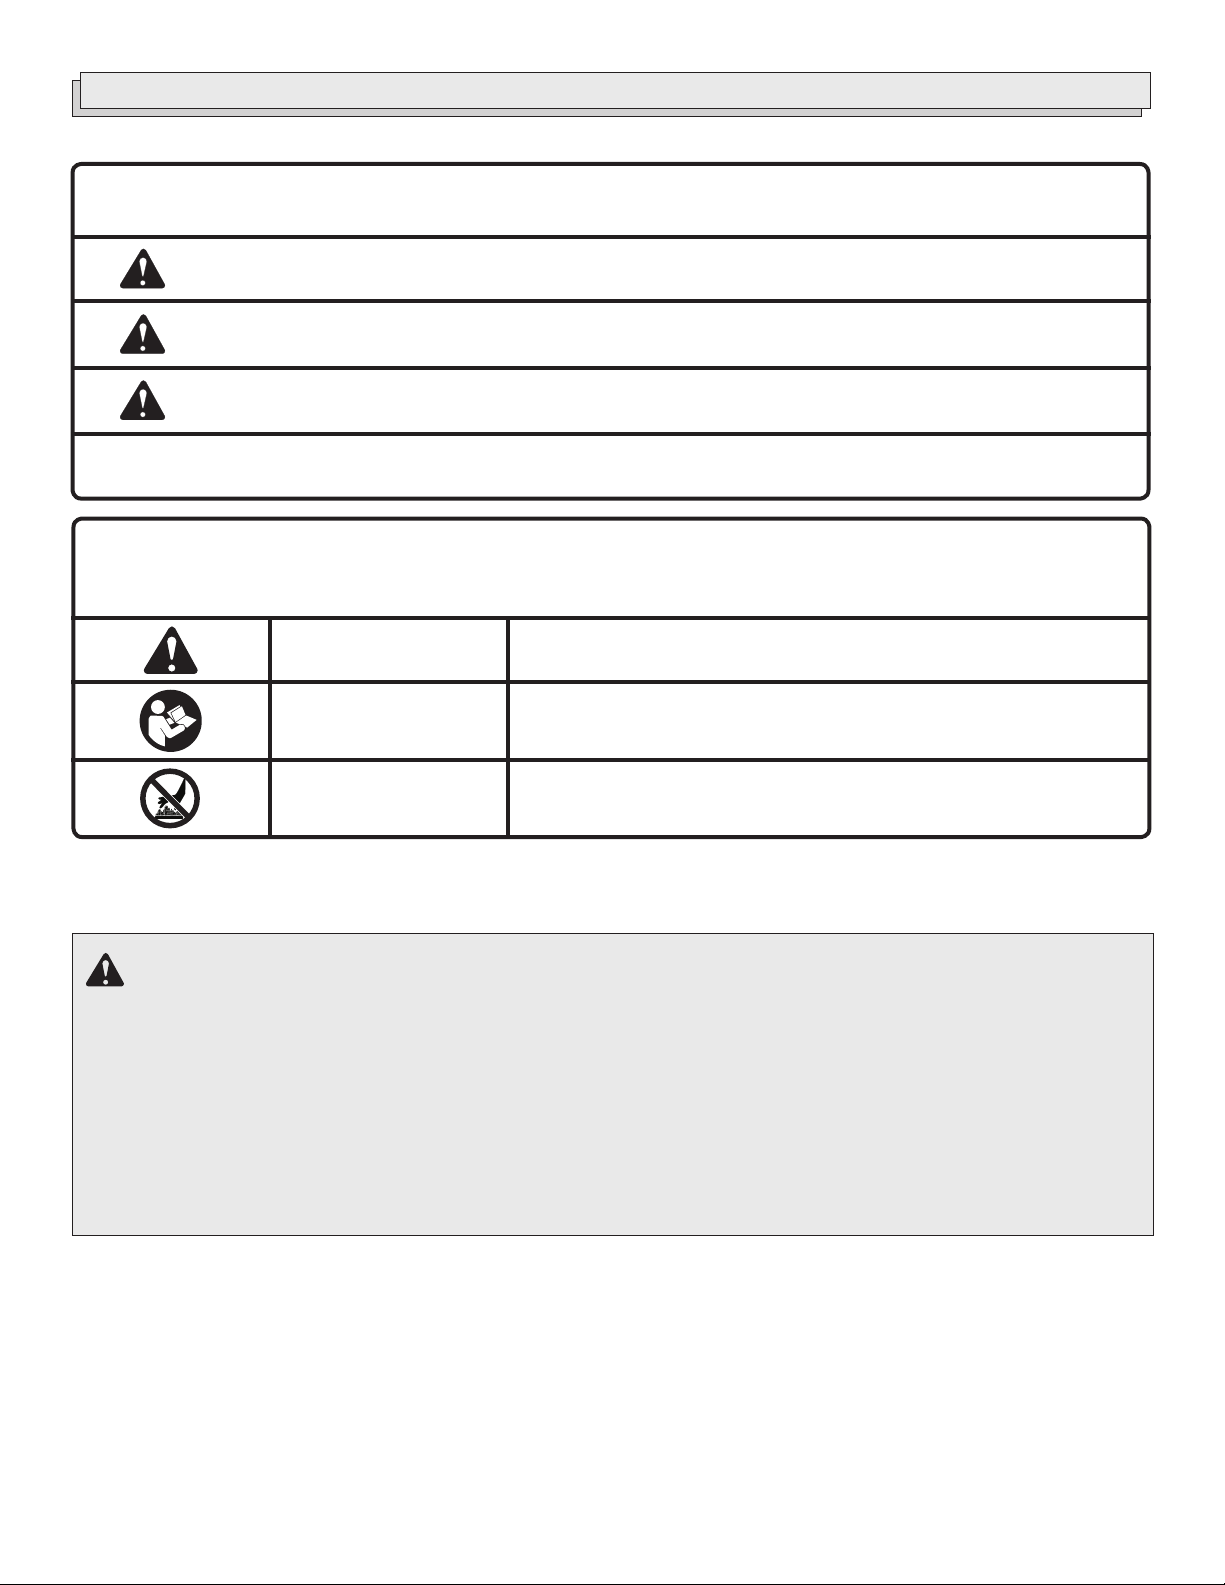
Read Instructions
Before Lighting:
1. OpenLid during lighting.
2. Pushin and turn the control
knob to the ON position for
the burner you wish to light.
3. Press and hold ignitor until
theburner lights. When the
burner is lit, turn the control
knob to the desired setting.
4. To lig ht otherburners, re peat
steps 2 and 3. To light an adjacent
burner, simply push in and turn
adjacent cont rol knob to ON
once the prior burnerislit.
5. If ignition does notoccur in 5
seconds, turn the burner
control(s)nutes,
and repeat the lighting
procedure.
1. O uvrez le couvercle avant
d’allume r l’appareil.
2. Enfoncer et tourner le bouton
de commande à la position
« ON » pour le brûleu r à
allumer.
3. Appuyer sur l’allumeur et
le maintenir enfoncé jusqu’à
ce que le brûleur s’allume.
Quand le b rûleur est allumé,
tourner le bou ton de commande
au réglage désiré.
4. Pour allumer les autres brûle urs,
répéter les étapes 2 et 3. Pour
allumer un brûleur adjacent,
simplement appuyer sur les
bout ons de commande et les
tourner à la position « ON »
quand le brûleurprécédent est
allumé.
5. Si l’appareil ne s’allume pas en
5 secondes, fermezle robinet
du brûler, attendez 5 minutes,
et procédez de nouveau à
l’allumage.
Lisez les instructions avant
d’allumer l’appareil:
1. Abra la tapa durante elencendido.
2. Presione y gire la perilla de
control a l a posición“ON”
del quema dor que desea
encender.
3. Oprima y no suelte el botón de
encendido hasta que el
quemador se encienda. Cuan do
se enciendael quemador, gire
la perilla de control a laposición
deseada.
4. Para encender otros quemado res,
repita los pasos 2 y 3. Para
encender un quemador adyacente,
simplemente presione y gire la
perilla de control adyacente a la
posición “ON” cuando ya se
haya encendido el quemador
anterior.
5. Si no se enciende en5 segundos,
gire los controlesdelquemador
a la posición de apagado ,
espere 5 minutos y repita el
procedimiento de encendido.
Lea las instrucciones antes
del encendido:
?
1-800-847-5993
www.stokgrills.com
ANSZ21.58a-2008, CSA 1.6a-2008. Aparatos
a gas para cocinar al aire libre. Para utilizar al
aire libre solamente. Si guarda el aparato en un
espacio cerrado, retire el cilindrio de gas y
déjelo en el exterior. Apague el suministro de
gas propano líquido en el cilindro cuando el
aparato no esté en uso.
ANSZ21.58a-2008, CSA 1.6a-2008. Appareils
pour la Cuisson à l’Exterieur Seulement. Si
l’appareil est gardé à l’interieur,détachez et
laissez le cylindre à gaz à l’extérieur.
Fermez l’alimentation de gaz au niveau du
cylindre quand l’appereil n’estpas utilisé .
ANSZ21.58a-2008, CSA 1.6a-2008.
Outdoor Cooking Gas Appliances. For Outdoor
Use Only. If stored indoors, detach and leave
at cylinder when appliance is not in use.
Turn controls and gas or tank OFF when not in
use.
Do not store a spare LP-gas cylinder under or
nearthis appliance.
WARNING AVERTISSEMENT ADVERTENCIA
Flammable gas under pressure.
ifignited.
Contact LP-gas supplier for repairs or disposal
ofcylinder or unused LP-gas.
Do not store cylinder in a building, garage
orenclosed area.
Failure to follow these instructions could result
Do not u se this a ppliance under overhead
combustible surf aces.
DANGER DANGER PELIGRO
Equipado para ser usado con
Gas Propano Líquido solamente.
Equipé pur utilisation avec du
Gaz Propane Liquide seulement.
Le gaz propane s’échappantd’une fuite peut
provoquer un incendie ou une explosion s’il
est allumé.
Communiq uer avec le fournisseur de gaz
propane à propos des réparations ou de
l’élimination de cette bouteille ou du gaz
propane non utilisé.
Ne pas entreposer cette bouteille dans un
Le non-respect de ces instructions pourrait
entraîner des BLESSURES GRAVES ou la
MORT.
Ne pas utiliser cet appareil sous une surface
combustible.
La pérdida del gas LP puede ocasionar un
incendio o una explosión si se enciende.
Comuníquese con el proveedor de gas LP para
reparar o eliminar este cilindro o gas LP sin
usar.
oespacios cerrados.
La inobservancia de estas instrucciones puede
provocar un incendio que resulte en la
MUERTEo en LESIONES GRAVES.
N
combustibles.
Éteindre les commandes et le gaz ou le réser voir
lorsquel’appareil est inutilisé.
Ne pas entreposer de bouteille de propane
liquidede rechange à proximité de l’appareil
ouen-dessous d e celui-ci.
Gire los controles para apagar el gas o el
tanquecuando no estén en uso.
No a lmacene un cilindro de gas LP de repuesto
debajoo cerca de este aparato.
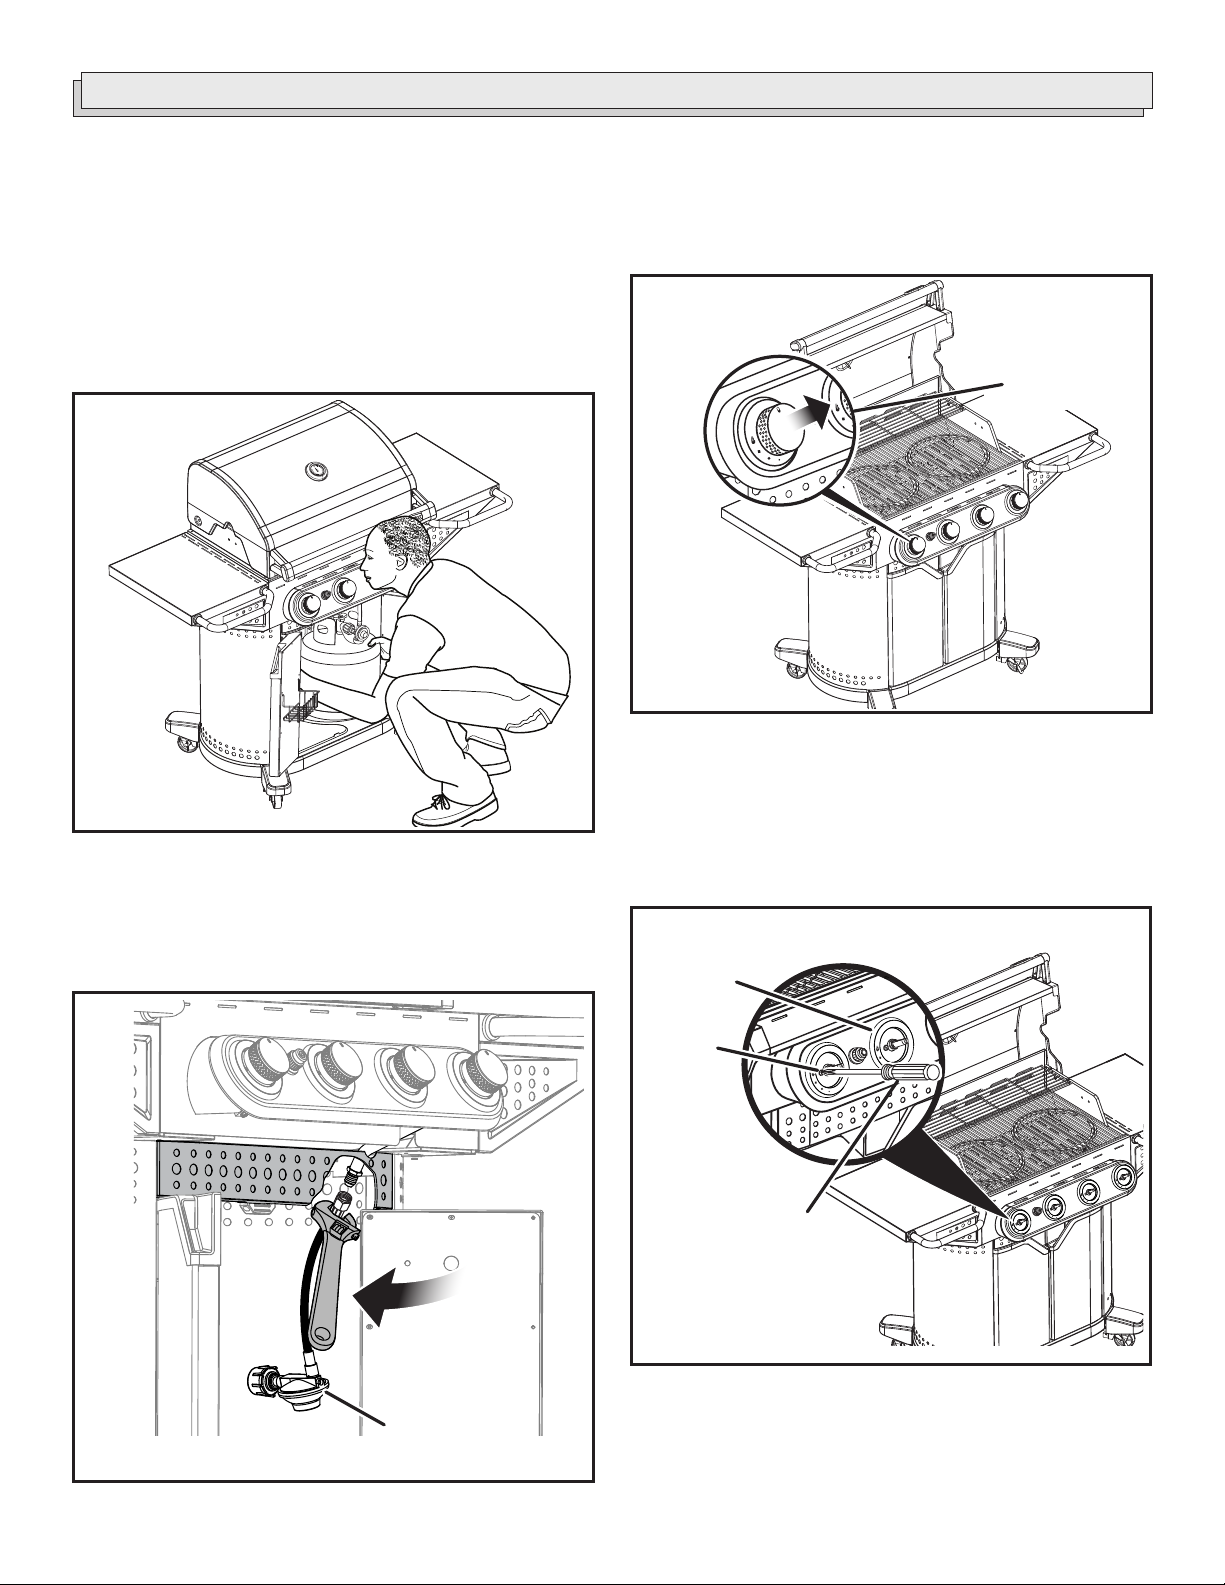
Nunca llene el cilindro más allá del 80 por
Fig. 1
Fig. 2