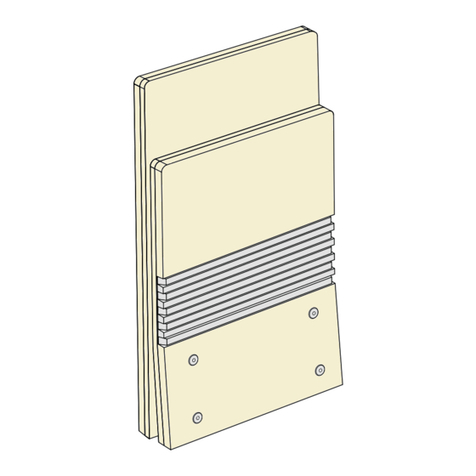
OPEN-VU FILE ASSEMBLY INSTRUCTIONS
Open Boxes and check to make sure you have all pieces needed before starting to assemble.
INST0037 REV3 4-1-03 RLS
TOP AND BASE - These two pieces are packed together in one carton.
Hardware included: (5) Drive Rivets, (1) “L” Bracket, (1) Connecting
Bracket, & (1) Molly bolt
TIERS - Standard packaging is 2 tiers per carton.
Hardware included: (10) Drive Rivets
A)
1. Place BASE on floor with flange with holes up. As you face the
BASE, make sure the flange with no holes is facing front (this is the
front of the BASE).
2. Position a tier on top of BASE. Align all holes and make sure sides
are flush. Insert a Drive Rivet in each hole.
3. With hammer, strike pin until flush with Drive Rivet top.
B)
4. Position next TIER over previous Tier and align all holes and make
sure sides are flush.
5. Insert a Drive Rivet in each hole.
6. With hammer, strike pin until flush with Drive Rivet top.
7. Repeat above procedure until all TIERS are assembled.
C)
8. If you are installing a single stack of tiers, it is recommended that the
unit be attached to a wall. An “L” Bracket and Molly bolt are included
for this purpose. Install the “L” Bracket on the rear lip of the top tier
and place the Top Cover on the top tier and install rivets as shown to
secure. Use the Molly bolt to attach the unit to the wall.
9. If you are installing stacks of tiers either side to side or back to back,
they must be attached to one another (CONNECTING BRACKETS
ARE INCLUDED). Place the brackets in joining positions between the
tiers before adding the Top Cover. When brackets and Top Cover are in
place, attach with rivets.
ADDITIONAL TIERS CAN BE ADDED BY REMOVING TOP AND
REPEATING STEPS 5 THROUGH 9
Open boxes and check to make sure you have all pieces needed before starting to assemble.
TOOLS NEEDED FOR ASSEMBLY: Hammer and Screwdriver

