USING THE HOB
USING THE HOTPLATE
• Commercial simmering aids should
not be used as they create excessive
temperatures that can damage the
surface and may cause a hazard.
• Do not place aluminium foil or plastic
utensils on the ceramic glass, as they
may melt and damage the surface.
• Do not use the ceramic glass hotplate
surface for storage.
• When cooking with fat or oil, never
leave unattended.
• Turn pan handles to a safe position,
so they are out of reach of children,
not overhanging the appliance, and
cannot be caught accidentally.
• Position pans over the centre of the
hotplate elements.
• Do not use the hob as a chopping
board or a storage area, as this
increases the likelihood of it be-
ing damaged - e.g.; plastic utensils
placed on a warm hob may melt onto
it, and damage the ceramic glass
surface.
• Be careful when cooking foods in
salted water, or foods containing
large amounts of sugar, syrup or jam
- if they are spilled onto hot areas of
the hob they may damage it.
• Lift pans onto and off the surface,
rather than sliding them across the
surface, to avoid marks and scratch-
es.
• If you use a wet paper towel to
remove spills from a warm heating
area of the hob, be careful to avoid
steam burns.
• Do not use abrasive powder cleaners,
metal wire wool pads, impregnated
plastic pads, detergents, bleaches,
bath stain removers, or chemical
oven cleaners; all these types of
products will damage the ceramic
glass.
The functions of the hob comply with
the applicable standards on electro-
magnetic interference
Your induction cooking hob thus com-
plies fully with the statutory require-
ments(Directive2004/108/EC).It
is designed to not interfere with the
functioning of other electrical equip-
ment as long as these also comply
with the same regulations.
Your induction hob generates magnetic
eldsinitsimmediatevicinity.
So that there is no interference
between your cooking hob and a
pacemaker, the pacemaker must be
designed in compliance with the ap-
propriate regulations.
In this respect we can only guarantee
the compliance of our own product.
You can ask the manufacturer or your
doctor about the compliance or any
incompatibilities of your pacemaker.
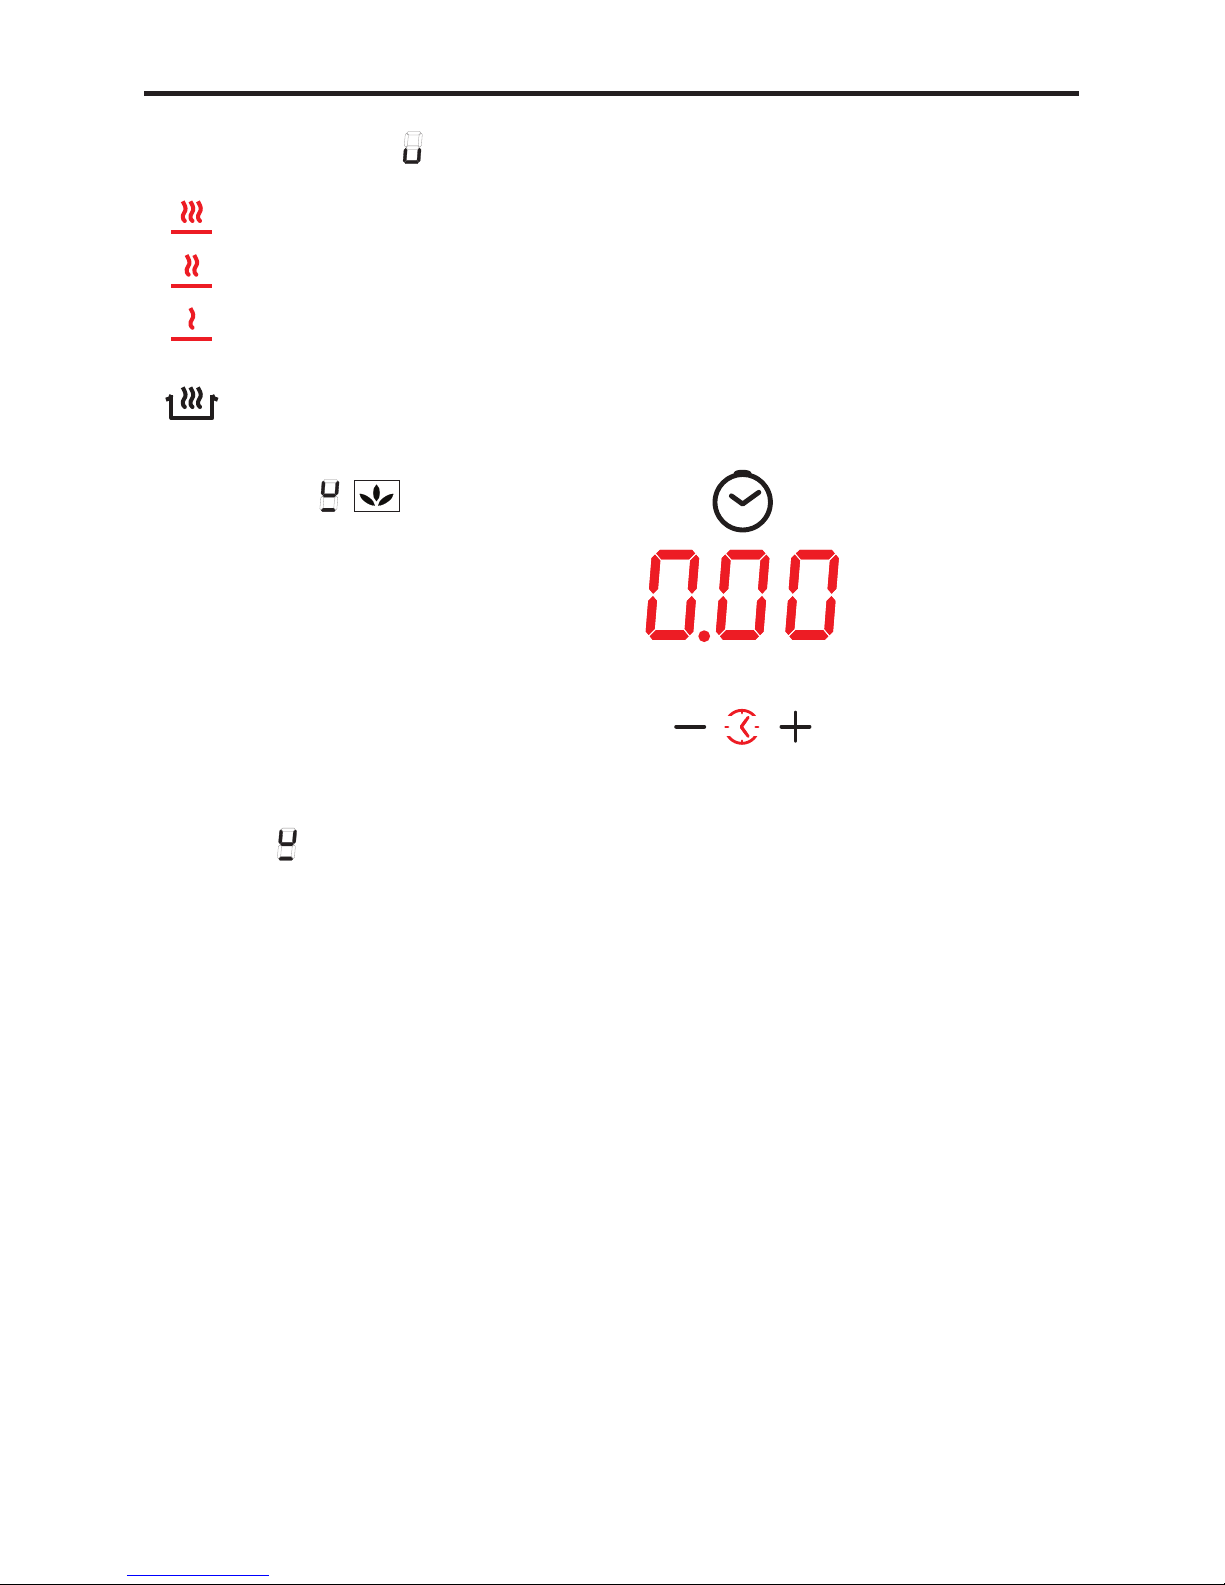
Once you have powered on the
induction hob, you have 10 sec-
onds to set the power or use the
timer, before the induction hob is
automatically switched off.