Straumann 3Shape TRIOS 4 User manual

3Shape TRIOS Info Pack
TRIOS 4
Let’s change dentistry together

Table of Contents
1 General Information
1 Introduction
1 New benefits with the
TRIOS 4 intraoral scanner
1 TRIOS 4 wireless setup quick facts
1 Order details, delivery time and price
2 Getting Started
2 Preparing the scanner for the first time?
2 Wired Setup
2 Connecting the smart cord to TRIOS 4 wired setup
2 Turning the scanner On/Off
3 Starting up for the first time
(connect/pair the scanner to POD & PC)
5 One scanner and multiple PC’s
5 To use the TRIOS 4 wired setup
on a second PC
6 Wireless Setup
6 Charging batteries
6 Inserting the battery
6 Taking out the battery
7 Turning on and shutting down the scanner
7 Automatic shutdown of the scanner
7 Inserting the WI-FI adapter into the PC
(POD systems)
8 General recommendations for
a stable wireless connection
8 Wireless interference/noise
8 Starting up the first time
(connecting/pairing the scanner to the PC)
9 If a connection to the scanner is lost
9 One scanner vs multiple scanners
10 One scanner and multiple PC’s
11 General Use - once the scanner is set up
11 Scanner status light signals
12 The TRIOS 4 battery charger
13 How long will the battery last before
I need to recharge it?
13 Changing batteries when power runs out
14 Keep batteries in the charger when not in use
14 How many cycles can the battery last?
14 Smart tips
15 Calibrate the tip and the scanner
15 List of Symbols
16 Tech Specs

General Information
Introduction
In this document you will find answers to about common questions regarding the 3Shape TRIOS
® 4 intraoral scanner.
Please refer to the Safety and Setup guide, the Manual, the Product Catalogue and Price List for more information.
New benefits with the TRIOS 4 intraoral scanner
The main improvements in the TRIOS 4 scanner include:
• A smart tip for 3D color scan
• Instant-heat technology for immediate scanning
• 30% longer battery lifetime
• Smart cord
TRIOS 4 wireless setup quick facts
How long does one battery last?
Instant-heating + 45 minutes of continuous scanning
How long does it take to recharge a battery?
3-6 hours depending on battery charge level when charging is initiated
What is the battery lifetime?
Approximately 80% after 300 cycles and 70% after 500 cycles
How long does it take to connect a wireless scanner to the PC/MOVE+?
Approximately 10 seconds
Does TRIOS 4 come as two separate wired and wireless configurations like TRIOS 3?
TRIOS 4 generation scanner has been improved and comes as one combined wired and wireless setup in the same
scanner. TRIOS 4 Pod comes with 2 individual pods for wireless and wired options to choose.
Order details, delivery time and price
Please refer to the TRIOS Product Catalog. Please contact your 3Shape Sales Manager for availability and pricing.
Supported software versions
The TRIOS 4 scanner requires TRIOS Software 19.2 (Dental Desktop® 1.6.9.1 + TRIOS Module 1.18.3.7) or later versions.
It will not run on earlier versions.
1
Getting Started
Preparing the scanner for the first time?
Before using the TRIOS® 4 scanner for the first time, please follow the steps below:
Wired Setup Wireless Setup
1. Connect the smart cord to the scanner
and POD/MOVE+*
1. Charge the batteries
2. Connect the POD to the PC* 2. Insert a battery*
3. Connect the POD to the power supply 3. Turn on the scanner*
4. Turn on the scanner* 4. Pair the scanner to the PC/MOVE+
*See section below
Please refer to subsequent section for detailed instructions.
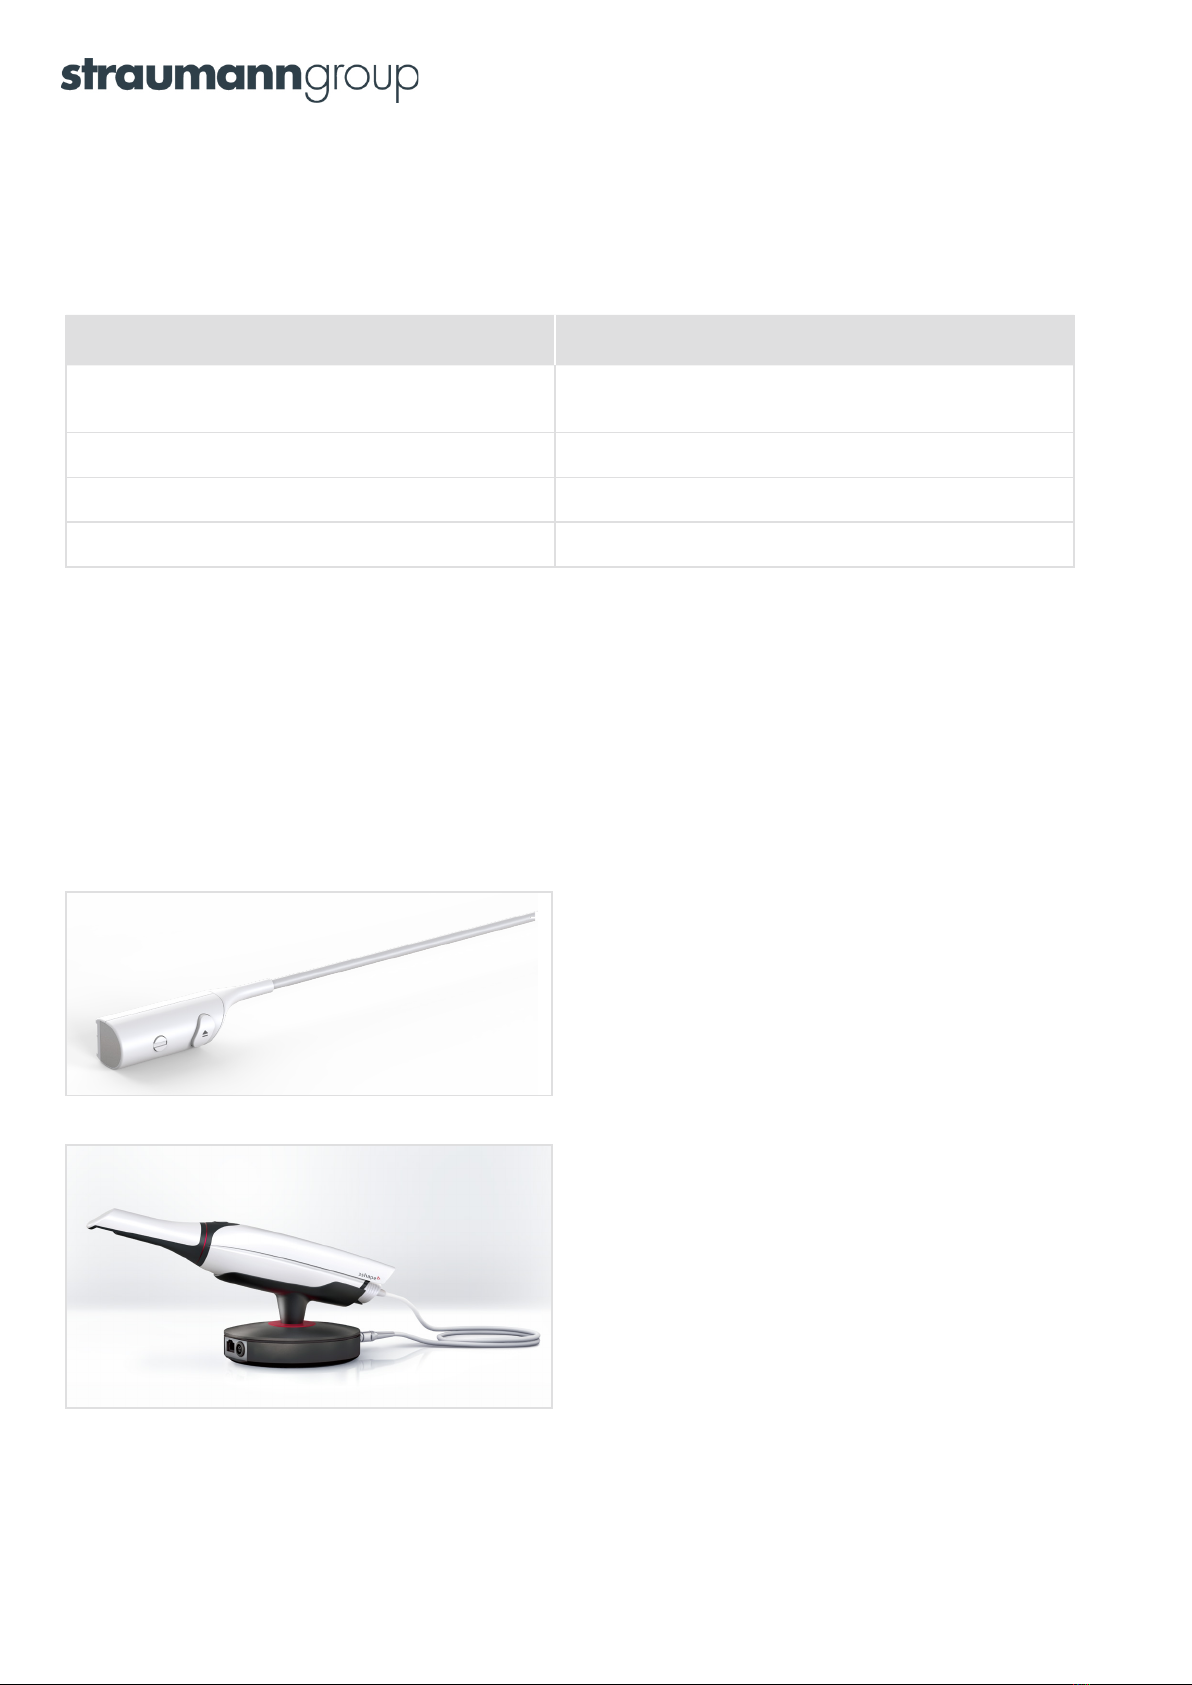
Wired setup
Connecting the smart cord to TRIOS 4 wired setup
Step 1: Make sure that the smart cord edge is aligned as
shown in the picture above.
Step 2: Gently press the smart cord into the back of the scan-
ner until it clicks and thereby locked in the correct position.
Connect the other end of the smart cord to the pod as shown
in the picture above.
Turning the scanner On/Off
Turn the scanner on by pressing the button on the scanner. The indicator light at the back of the scanner will turn
to a blue. The scanner will always remain on while it is connected to the system. To turn it off, disconnect the
smart cord from the scanner. 2
Starting up for the first time
(connect/pair the scanner to POD & PC)
To start up the scanner for the first time, you will first need to connect and pair the scanner with both the POD and
the PC. Follow the procedure below.
Before you start: Set the pod on a flat and horizontal surface,
optimally placed in relation to the patient chair and your work
position. Attach the protection tip to the scanner if not already
in place. It is easiest not to place the scanner onto the pod at
this time yet, because you may find it easier to lift the pod while
connecting cables in the following.
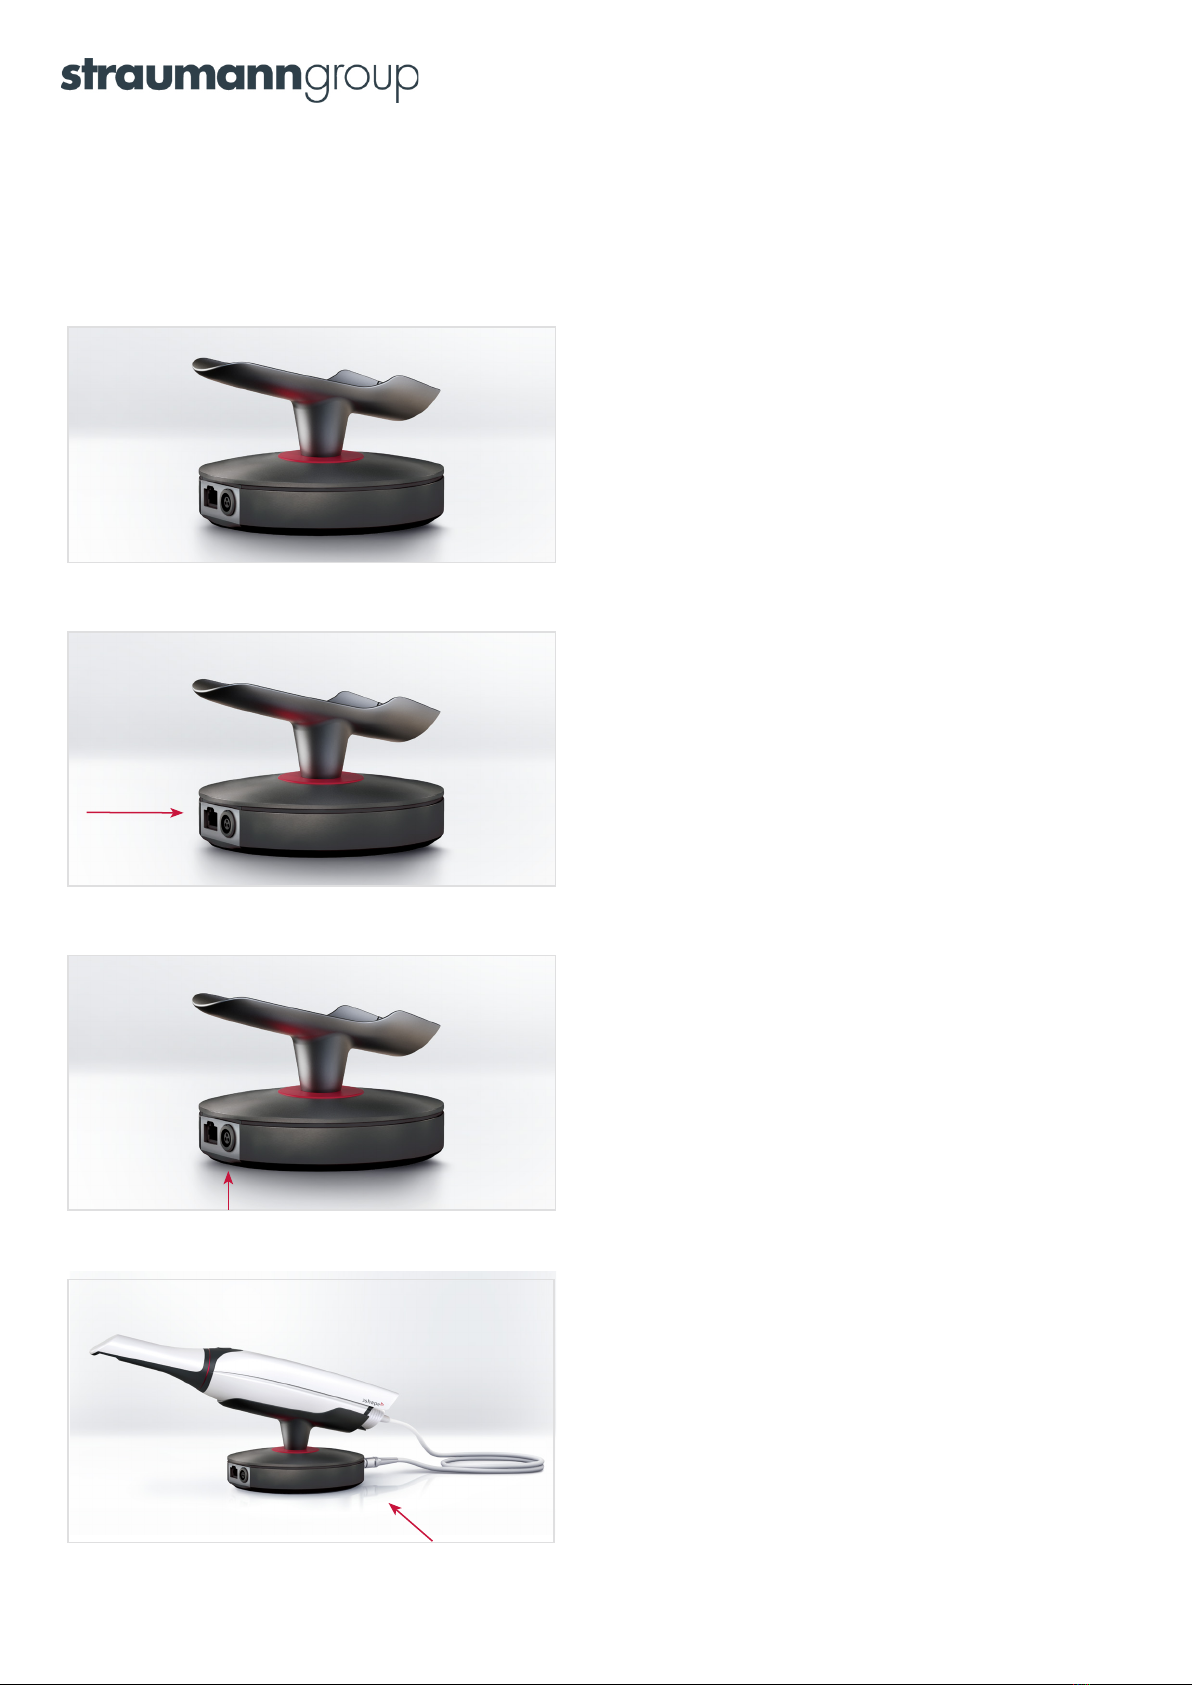
Step 1: Connect the Ethernet cable to the pod. The cable goes into
the left connection socket on the back side of the pod (the side
that has two connection sockets). If you need to release the
Ethernet cable, press on the small tab on the top of the
connector.
Step 2: Connect the power supply cable to the pod. This cable
goes into the connection socket next to the Ethernet cable
described in the previous step.
• To connect - Align the red orientation dots marked on the
socket and the plug, and then push the plug into the socket.
• To disconnect - Pull on the outer release sleeve.
• The indicator light next to the scanner connection socket will
light green.
Step 3: Gently press the smart cord into the back of the scanner
until it clicks and thereby locked in the correct position. Connect
the other end of the smart cord to the pod as shown in the
picture.
3
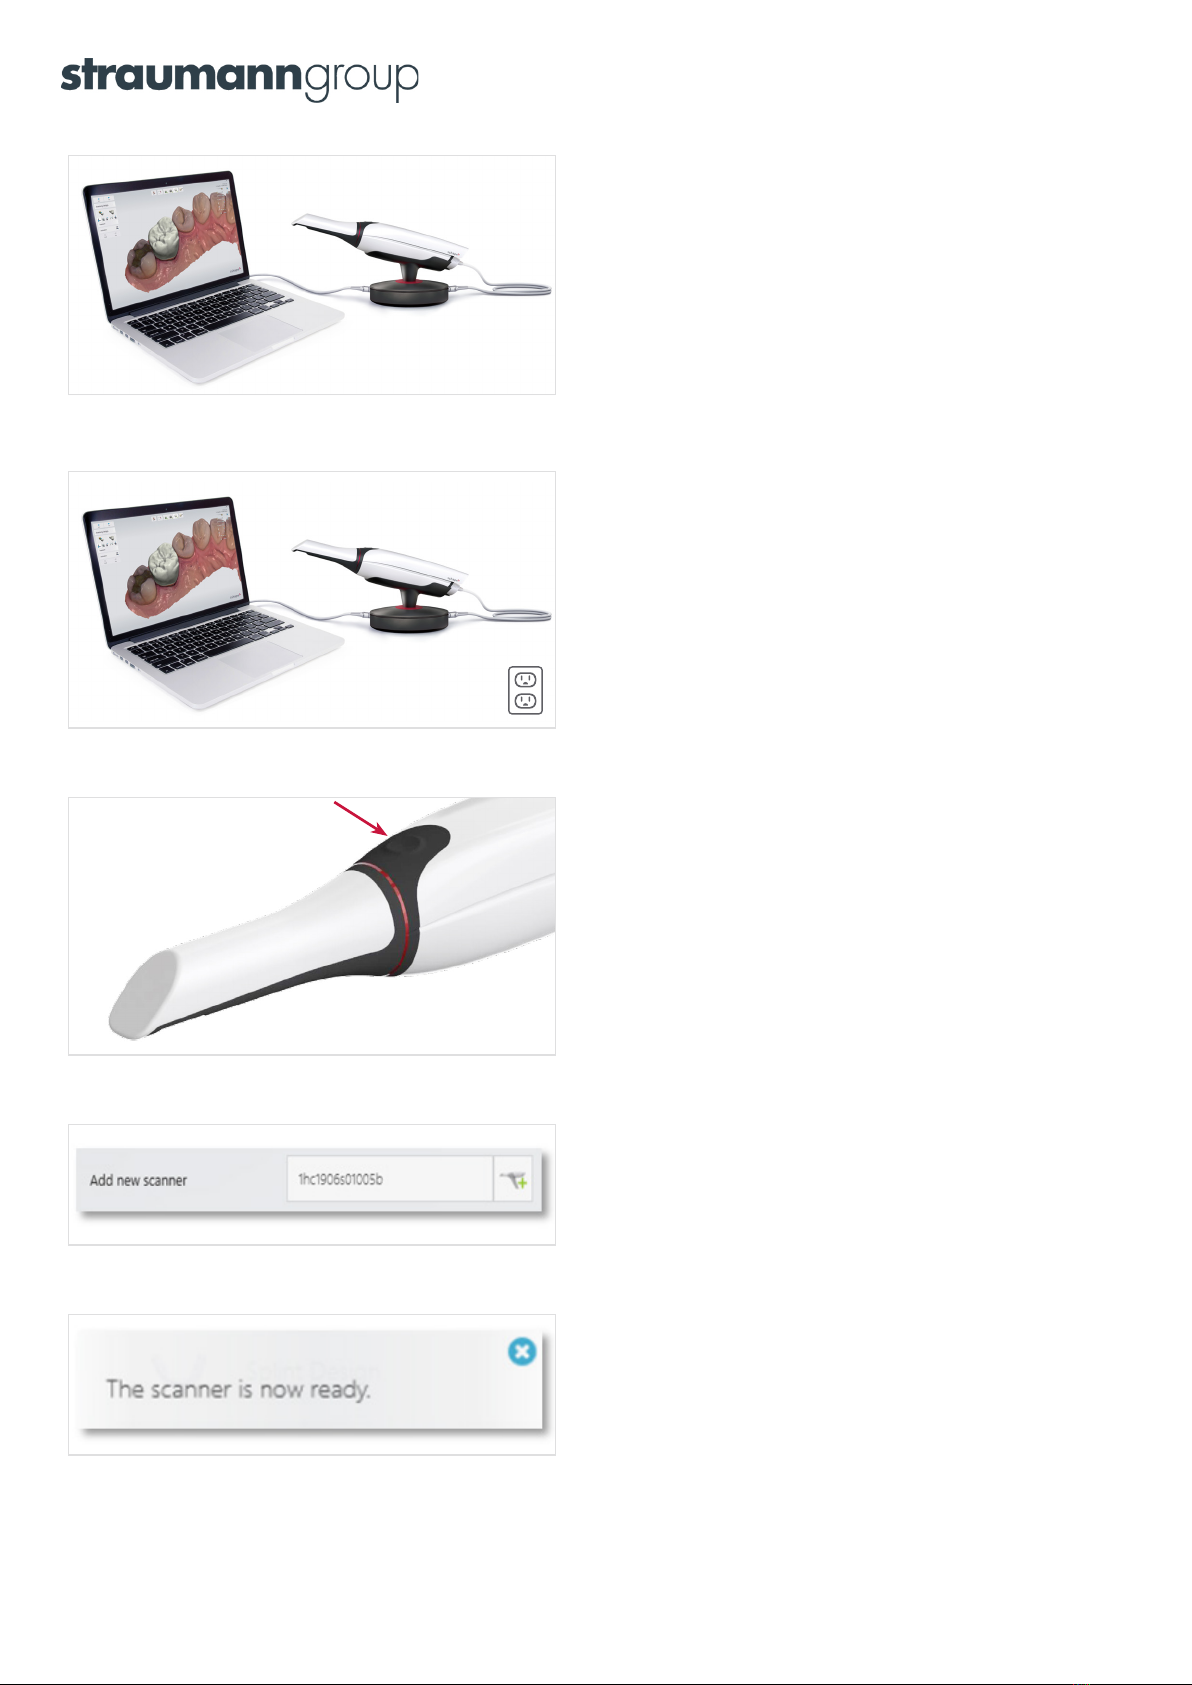
Step 4: Connect the free end of the Ethernet cable to the PC
(if no Ethernet ports are available on the PC, use an Ethernet-to-
USB adapter).
Step 5: Connect the power (mains) cord to the power supply.
The other end of the power (mains) cable goes into a grounded
power outlet.
Step 6: Gently press the smart cord into the back of the scanner
until it clicks and thereby locked in the correct position.
Connect the other end of the smart cord to the pod as shown
in the picture above.
Step 7: On the PC screen, type in the scanner’s serial number in
the Add new scanner field and then press the green plus icon/
button.
Hint: The serial number is located on the front tube.
It is the number written in the largest font, starting with 1HC.
Step 8: The indicator light on the tail of the scanner will turn
green when the scanner is paired and ready to scan.
NOTE: While you are using the 3Shape TRIOS® system, messages will be displayed on your PC screen to guide you. You need to calibrate
your TRIOS 4 scanner before using it for the first time. You should also calibrate every 8 days during normal use. Calibration is also
effective if you need to compensate for thermal variations or aging effects due to wear.
For a detailed description of the calibration process, please refer to the TRIOS Safety and Setup guide.
4

One scanner and multiple PC’s
One 3Shape TRIOS® 4 wired setup can be used with multiple PC’s in the same clinic. A copy of the license dongle is
required in all the PC’s using the TRIOS 4 wired setup. The dongle copies can be ordered from your reseller.
To use the TRIOS 4 wired setup on a second PC
The first-time you use the wired setup on the second PC:
1. Switch o˜ the scanner, take the POD and smart cord and go to the second PC.
2. Make sure a copy license dongle is inserted in the second PC.
3. Follow the steps “Starting up for the first time” to use the scanner on the second PC.
If the wired setup has previously been used on the second PC:
4. Shut down the scanner, take the POD and smart cord and go to second PC.
5. Make sure a copy license dongle is inserted in the second PC number 2.
6. Connect the POD to the scanner and the PC.
7. Start up the TRIOS software on the second PC.
8. When the TRIOS software is ready, press the button to switch on the scanner.
9. Start scanning when the indicator light on the scanner turns green.
There is no maximum requirement on the number of PC’s that can be used.
The only requirement is that a copy of the license dongle is inserted in each one.
5

Wireless Setup
Charging batteries
Connect power to the battery charger. Then insert all 3 batteries and leave them to charge fully. Batteries are fully
charged when the charge indicators on the charger are steady and green.
Inserting the battery
Batteries are delivered in a semi-charged state. Please charge fully before first use. Once fully charged, insert
a battery in the 3Shape TRIOS® 4 wireless setup. Make sure to rotate the battery correctly before inserting.
No excessive force is required when inserting correctly. Attempting to insert incorrectly may cause permanent
damage to the scanner.
Please refer to the Safety & Setup Guide for full instructions on how to install the batteries. The information below
is for guidance only. If in doubt, follow the instructions in the Safety & Setup Guide.
Step 1: Make sure that the battery edge is aligned as shown in
the picture above.
Step 2: Gently press the battery into the back of the scanner until
it clicks and thereby is locked into the correct position.
Taking out the battery
Remove the battery by gently pulling the battery in a straight line from the scanner. Take out the battery to turn
the scanner off or because you wish to replace it with a fresh battery.
6
Turning on and shutting down the scanner
Turn the scanner on by pressing the scanner button. The indicator light at the back of the scanner will turn blue.
After a short while, the scanner will connect to the MOVE+/POD and the indicator light will turn green.
Action desired What to do Notes
Wake up the scanner Press the scanner button The Indicator light at back of scanner
turns on (blue, then green when connected to PC)
Turn the scanner off Press the shut-down button
on the user interface or take out
the battery.
Click the scanner icon in the top right corner and the
shut-down button will appear on the screen, or follow
the menu bar steps: More > Settings > TRIOS > Scanner
Management > Turn off scanner
Automatic shutdown of the scanner
The scanner will shut down automatically after approx. 10 minutes when not connected to a 3Shape TRIOS® system i.e.,
the status light at the back of the scanner is blue. If the scanner shuts down unintentionally, you can turn it back on
by pressing the scanner’s button. The scanner will reconnect to the PC after approx. 10-20 seconds. Once the scanner
has been reconnected, instant-heat technology enables the system to be scan-ready in seconds.
If the scanner is connected to a TRIOS system, the scanner will not power down in order to keep the tip warm and
ready (i.e., the status light at the back of the scanner is green). Please note that the scanner will consume battery
while in stand-by mode.
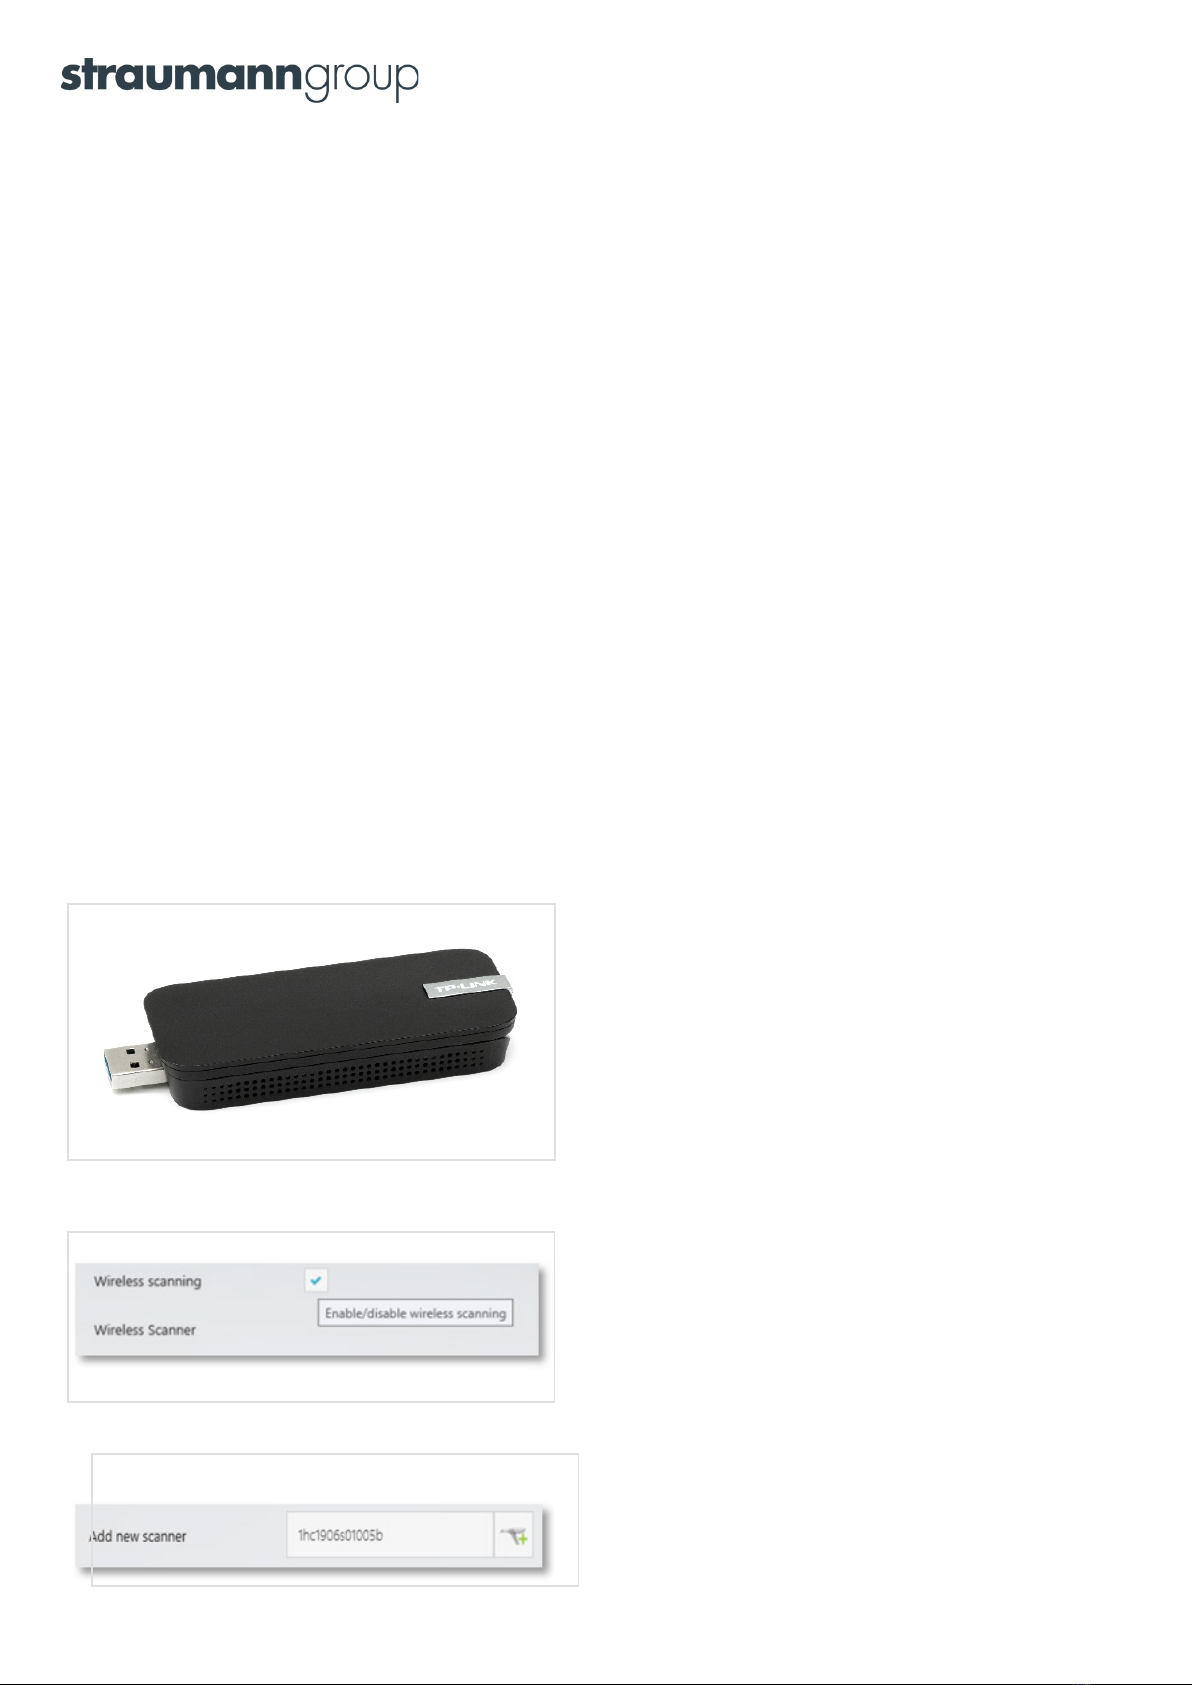
Inserting the WI-FI adapter into the PC (POD systems)
Insert the Wi-Fi USB adapter delivered with the scanner into a free USB slot on the PC.
The Wi-Fi adapter (that goes into the USB port) must be connected directly to one of the USB ports on the PC. Do not
insert any form for hub or similar hardware between the adapter and the PC, as this can make the connection unstable.
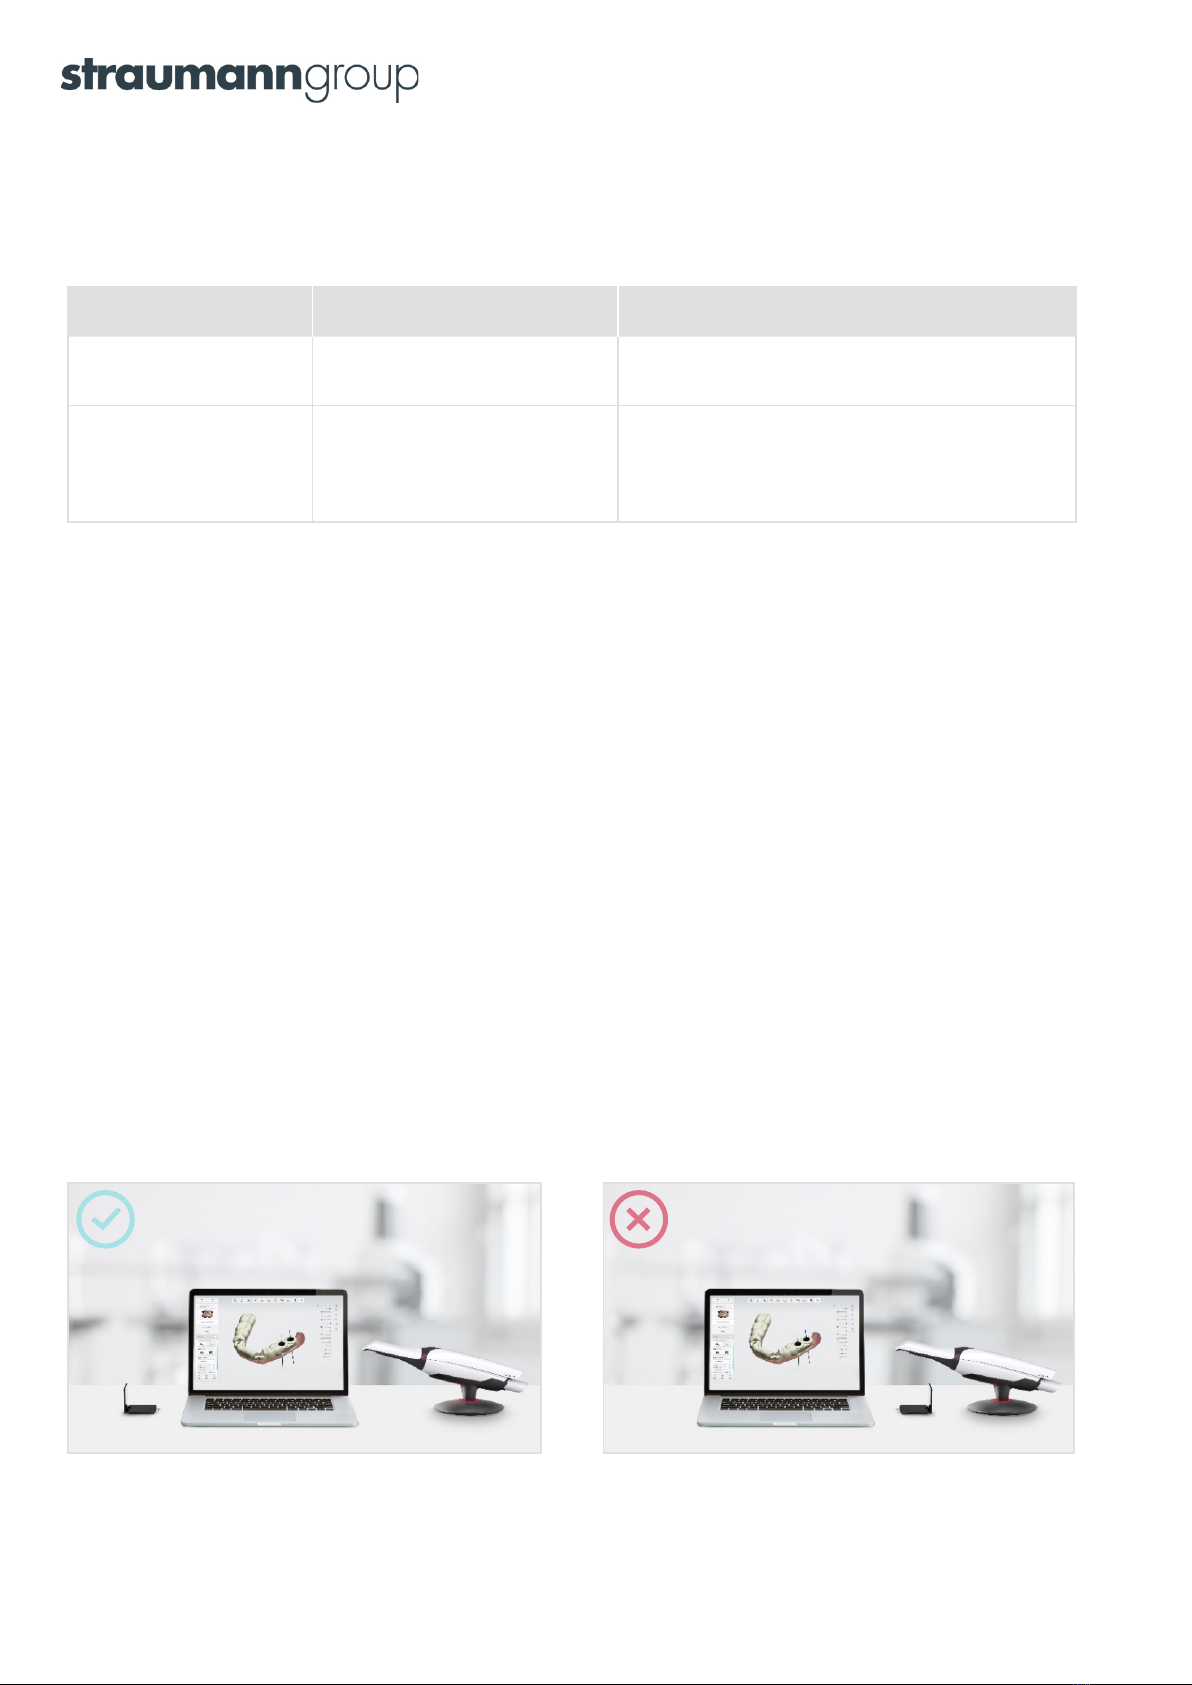
Important note: Use the USB slot furthest away from the position of the scanner mounted in the POD (as shown in
the picture below). If the Wi-Fi adapter is too close to the scanner (approx. 30cm/12” or less), then the wireless signal
may b too strong and cause temporary loss of the connection to the scanner.
Make sure that you do not apply mechanical stress (bend) to the WI-FI adapter. This may accidentally happen
when moving e.g. a laptop.
7
General recommendations for a stable wireless connection
To get an optimal user experience when scanning, it’s important to ensure a fast and stable wireless connection.
To help you achieve this we recommend that:
• the scanner and the PC are in the same room.
• the PC is positioned no more than 5 meters from the scanner.
Wireless interference/noise
In general, wireless interference/noise from other wireless devices in a clinic will not affect the usability of the 3Shape
TRIOS® 4 wireless setup. Most wireless devices (smartphones etc.) run on the 2.4 GHz frequency band, while the
TRIOS 4 wireless scanner runs on the 5 GHz frequency band. This greatly reduces the risk of interference with the
most common wireless devices.
However, in some cases, interference in the 5 GHz frequency band could occur from, for example, special wireless
headphones or other individual devices. If you experience disturbances that affect scanning, try to move or turn off
the equipment that could be causing the issue. In some cases, it may not be possible to remove the cause of critical
the noise. In such cases, a wired scanner may be a better choice for your practice.
Many clinics have x-ray protective measures installed in the walls. This will help achieve a good connection from the
scanner to the PC as the effect of all external wireless traffic is greatly reduced.
Starting up the first time (connecting/pairing the scanner to the PC)
When you start the scanner up the first time, you will need to pair the scanner with the PC. See the procedure below.
Step 1: Make sure that the WI-FI adapter is inserted into a USB
port.
The WI-FI adapter must be connected directly to one of the
USB ports on the PC. No hub or similar hardware may be
inserted between the adapter and the PC, as this can cause
an unstable connection.
Restart the PC after attaching the WI-FI adapter.
The adapter will not appear in the list of adapters until the PC
has been restarted.
Step 2: Enable wireless scanning in
More → Settings → TRIOS → Scanner Management
Step 3: Type in the scanner’s serial number in the Add new
scanner field and press the button with the green plus.
Hint: The serial number is located on the front tube.
It is the number written in the largest font, starting with 1HC.
8

Step 4: Turn the scanner on so that the software can detect it.
Do this by inserting a fresh battery, then press the button on
the scanner.
Step 5: Once the scanner is connected, a green icon with the battery
charge level will be displayed. The scanner is now ready to scan.
NOTE: While you are using the 3Shape TRIOS® system, messages will be displayed on your PC screen to guide you. You need to calibrate
your TRIOS 4 scanner before using it for the first time. You should also calibrate every 8 days during normal use. Calibration is also
effective if you need to compensate for thermal variations or aging effects due to wear.
For a detailed description of the calibration process, please refer to the TRIOS Safety and Setup guide.
If a connection to the scanner is lost
If the connection to the scanner is lost (e.g. after you changed the battery or due to bad wireless conditions),
the software will automatically attempt to reconnect to the scanner.
The scanner will reconnect after approximately 15 – 45 seconds.
One scanner vs multiple scanners
One or more wireless scanners can be added to the same PC using the same procedure as described in the table
above. The number displayed in the message box is the serial number of the scanner which can be found on the front
tube. Only one scanner can be connected to the computer at a time.
9

One scanner and multiple PC’s
One 3Shape TRIOS® 4 wireless setup can be used with multiple PC’s in the same clinic. A copy of the license dongle
and a WI-FI adapter must be installed in all PC’s that use the TRIOS 4 wireless setup. These can be ordered from your
local reseller.
You can move the WI-FI adapter from one PC to another. Make sure to restart the PC as a first step, if the WI-FI
adapter is moved to the second PC together with the scanner.
The first-time you use the wireless setup on a second PC:
1. Switch off the scanner, and go to the second PC.
2. Make sure WI-FI adapter and a copy license dongle are inserted in the second PC.
3. Follow the steps “Starting up for the first time” to use the scanner on the second PC.
If the wireless setup scanner has previously been used on the second PC:
1. Shut down the scanner, and go to second PC.
2. Make sure the WI-FI adapter and a copy license dongle are inserted in second PC
3. Connect the POD to the scanner and the PC.
4. Start up the TRIOS software on the second PC.
5. When the TRIOS software is ready, press the trigger button to wake up the scanner.
6. Start scanning when the indicator light on the scanner turns green.
There is no maximum requirement on the number of PC’s that can be used. The only requirement is that a copy
of the license dongle and Wi-Fi adaptor are inserted in each one.
10
General Use -
once the scanner is set up
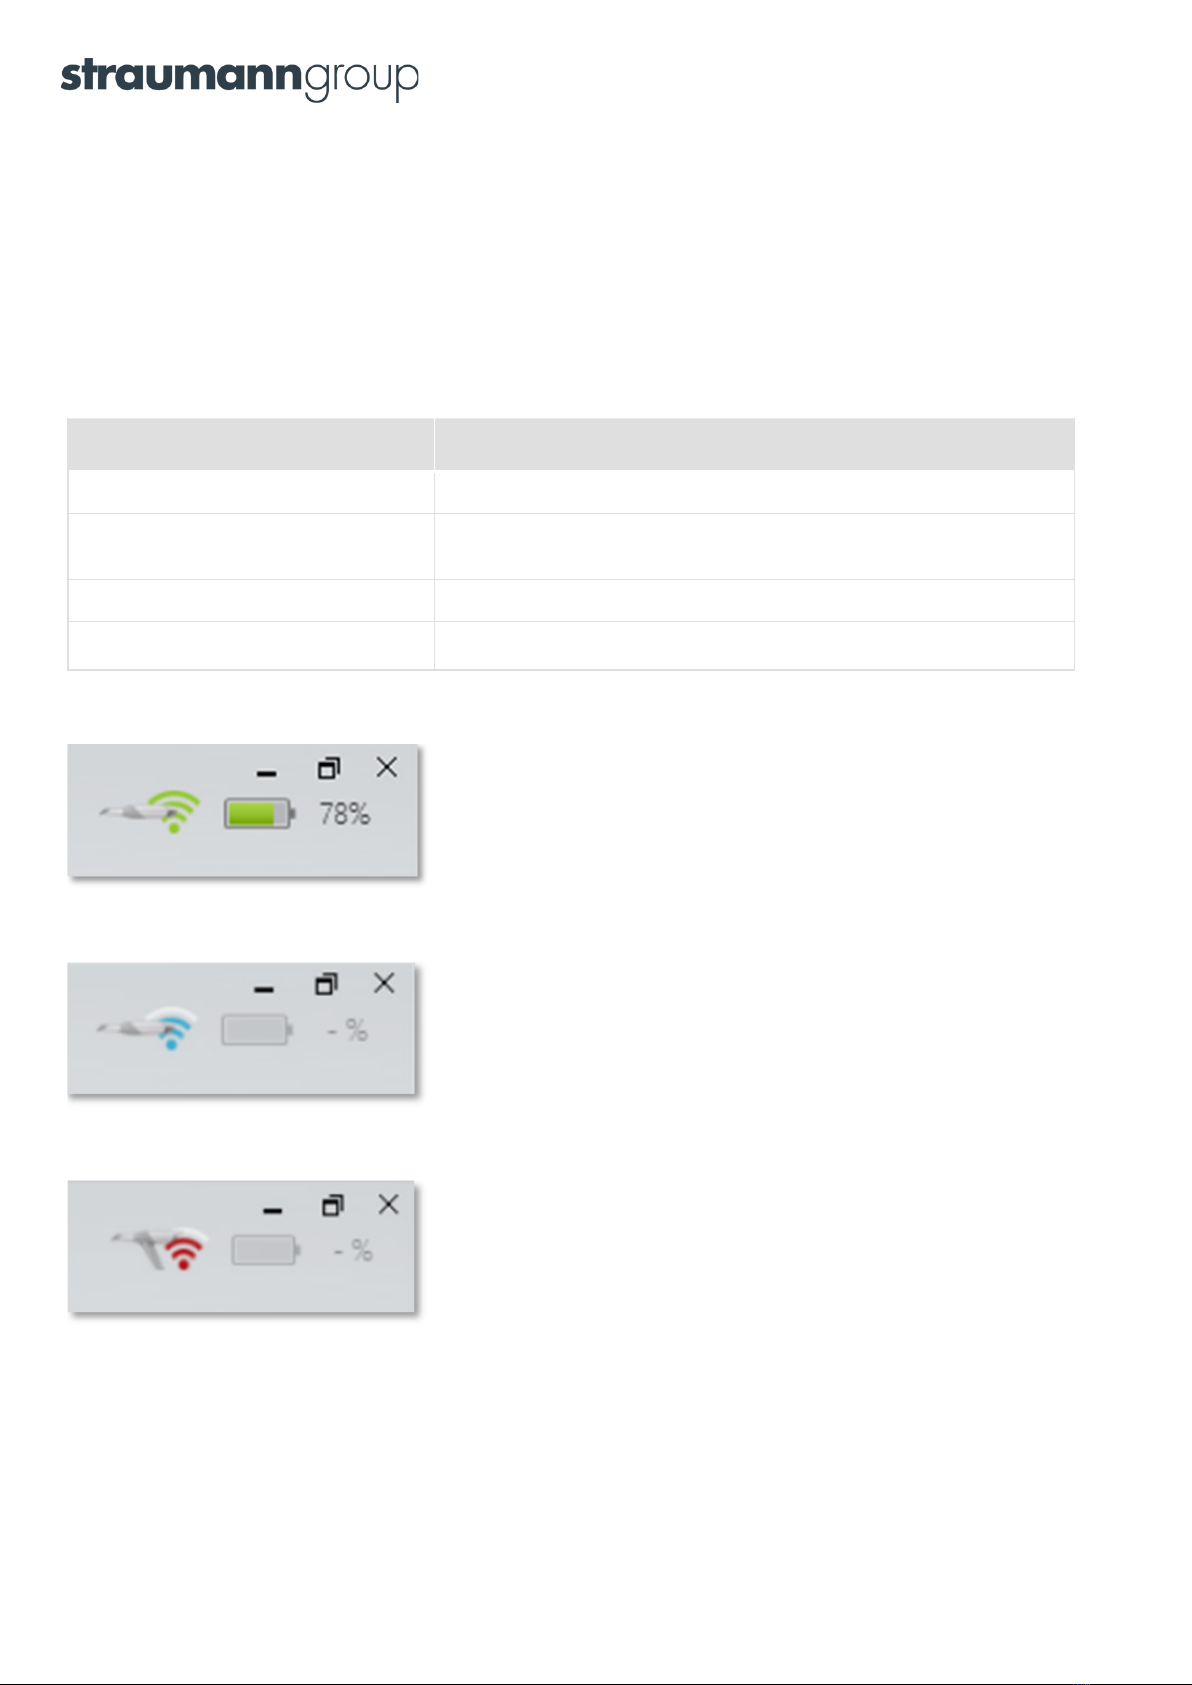
Scanner status light signals
The status light at the back of the scanner keeps you informed about the state of the scanner. For more detailed
information regarding the scanner and its status, please refer to the user interface on the screen.
Scanner status light What it means - scanner state
Blue Scanner is on and attempting to connect
Yellow Battery is 5% or lower. Change the battery now. The scanner will continue
to scan until the battery is completely exhausted
Green Scanner is on, connected to the PC and ready to scan
No light Scanner is off
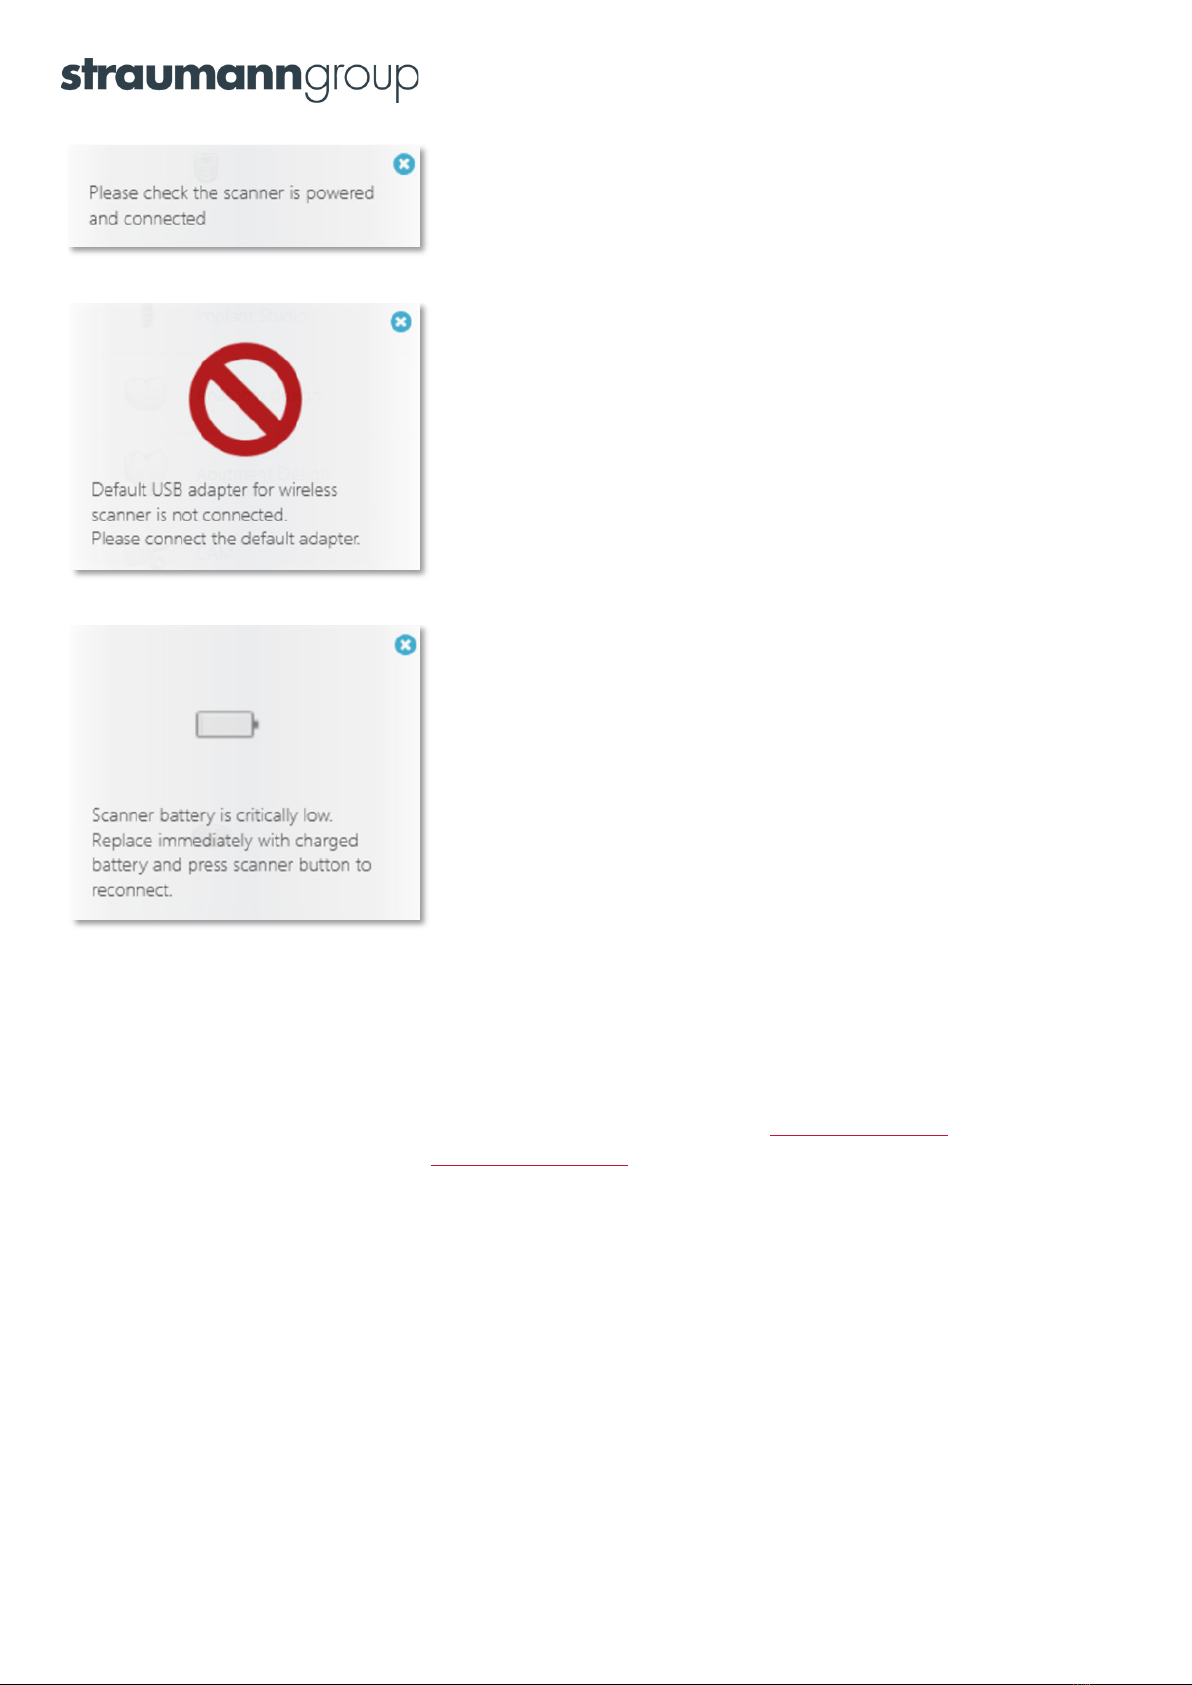
The scanner is ready to scan when you see the
battery level icon in the upper right corner of the screen.
The following image will be displayed
If there is no connection to the scanner.
If no scanner has been paired to the PC,
the following image will be displayed.
11
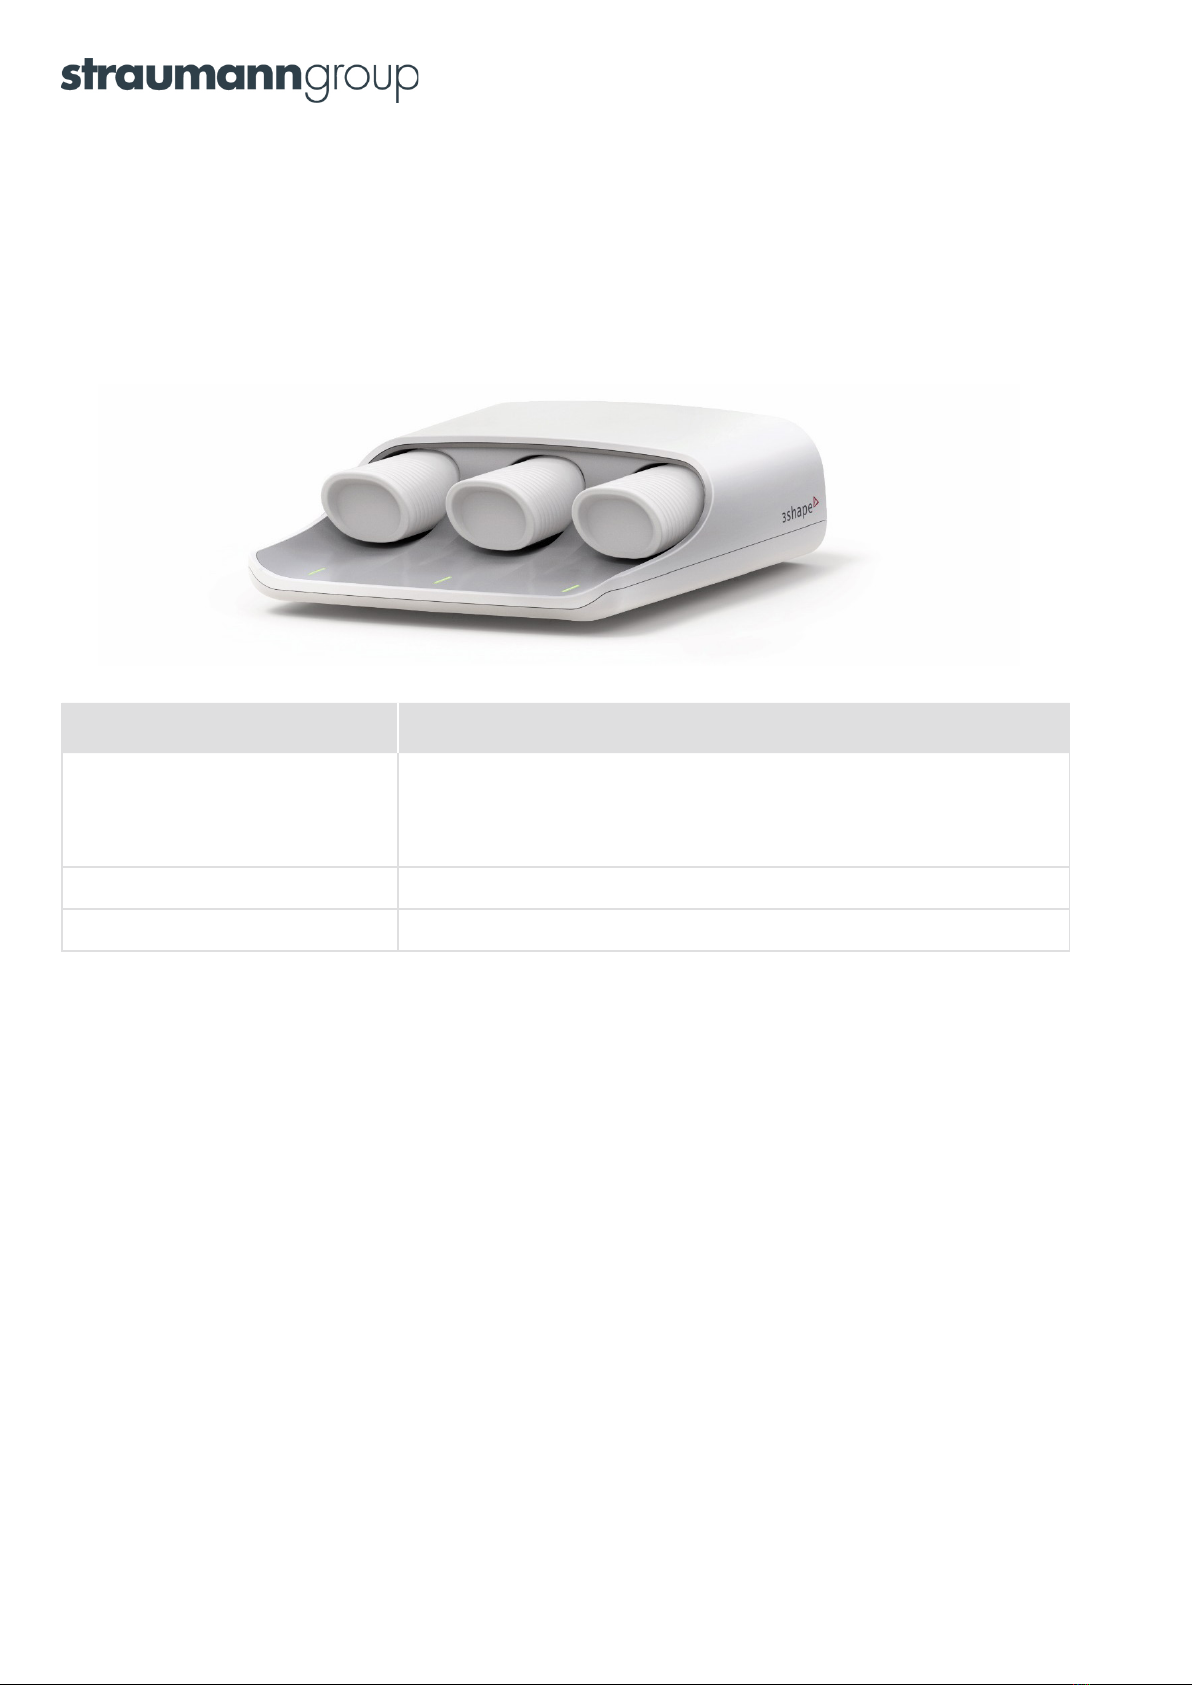
The TRIOS 4 battery charger
The charger has 3 charging ports, which all charge independently of each other. Each port checks for a connected
battery once every 1.5 seconds.
Each port has a battery status indicator light. The meaning of the lights’ signals are as follows:
Charge indicator light What it means - State of battery
Yellow The port is identifying the battery. Charging will begin shortly after which the
indicator light will turn green. Note that right after scanning, a battery may need
to cool down before charging can start. Contact support if the Yellow state stays
on for more than 15 minutes.
Pulsing green The battery is charging
Steady green The battery is fully charged
Charging begins automatically when a battery’s temperature is between 0 and 45 degrees Celsius. During charging,
the battery’s temperature can go up to 52 degrees Celsius.
Charging time for the 3Shape TRIOS® 4 batteries is 3-6 hours depending on the battery’s initial power level.
You can acquire an extra charger if required.
Always keep the batteries in the charger. This way you will always have full batteries. The batteries will not deteriorate
when left in the charger.
Be sure to insert the battery correctly. The battery can only be inserted correctly one way. Do not apply excessive
force as this may cause damage to the charger. If inserting the battery feels tight and not smooth, most likely
it is not inserted correctly. Rotate the battery until it slips into the charger without force.
12
How long will the battery last before I need to recharge it?
With 3Shape TRIOS® 4, you can continuously for 45 min before recharging. The TRIOS 4 smart tips enable instant
heating and thereby low consumption of battery power.
Note that the battery’s power management uses a computation (memory) of their capacity. A new battery will
have a somewhat conservative computation of its capacity. After the first few charges/discharges the battery
indicator will ‘learn’ its true capacity. The scanner will learn its true capacity faster if you allow it to run until it
stops by itself.
Important note: The scanner will consume battery if it is turned on and connected to the PC/MOVE+.
Changing batteries when power runs out
If the battery runs out, simply remove the discharged battery and replace it with a fully charged battery.
Press the scanner’s button and the scanner will automatically reconnect with the POD/PC/MOVE+.
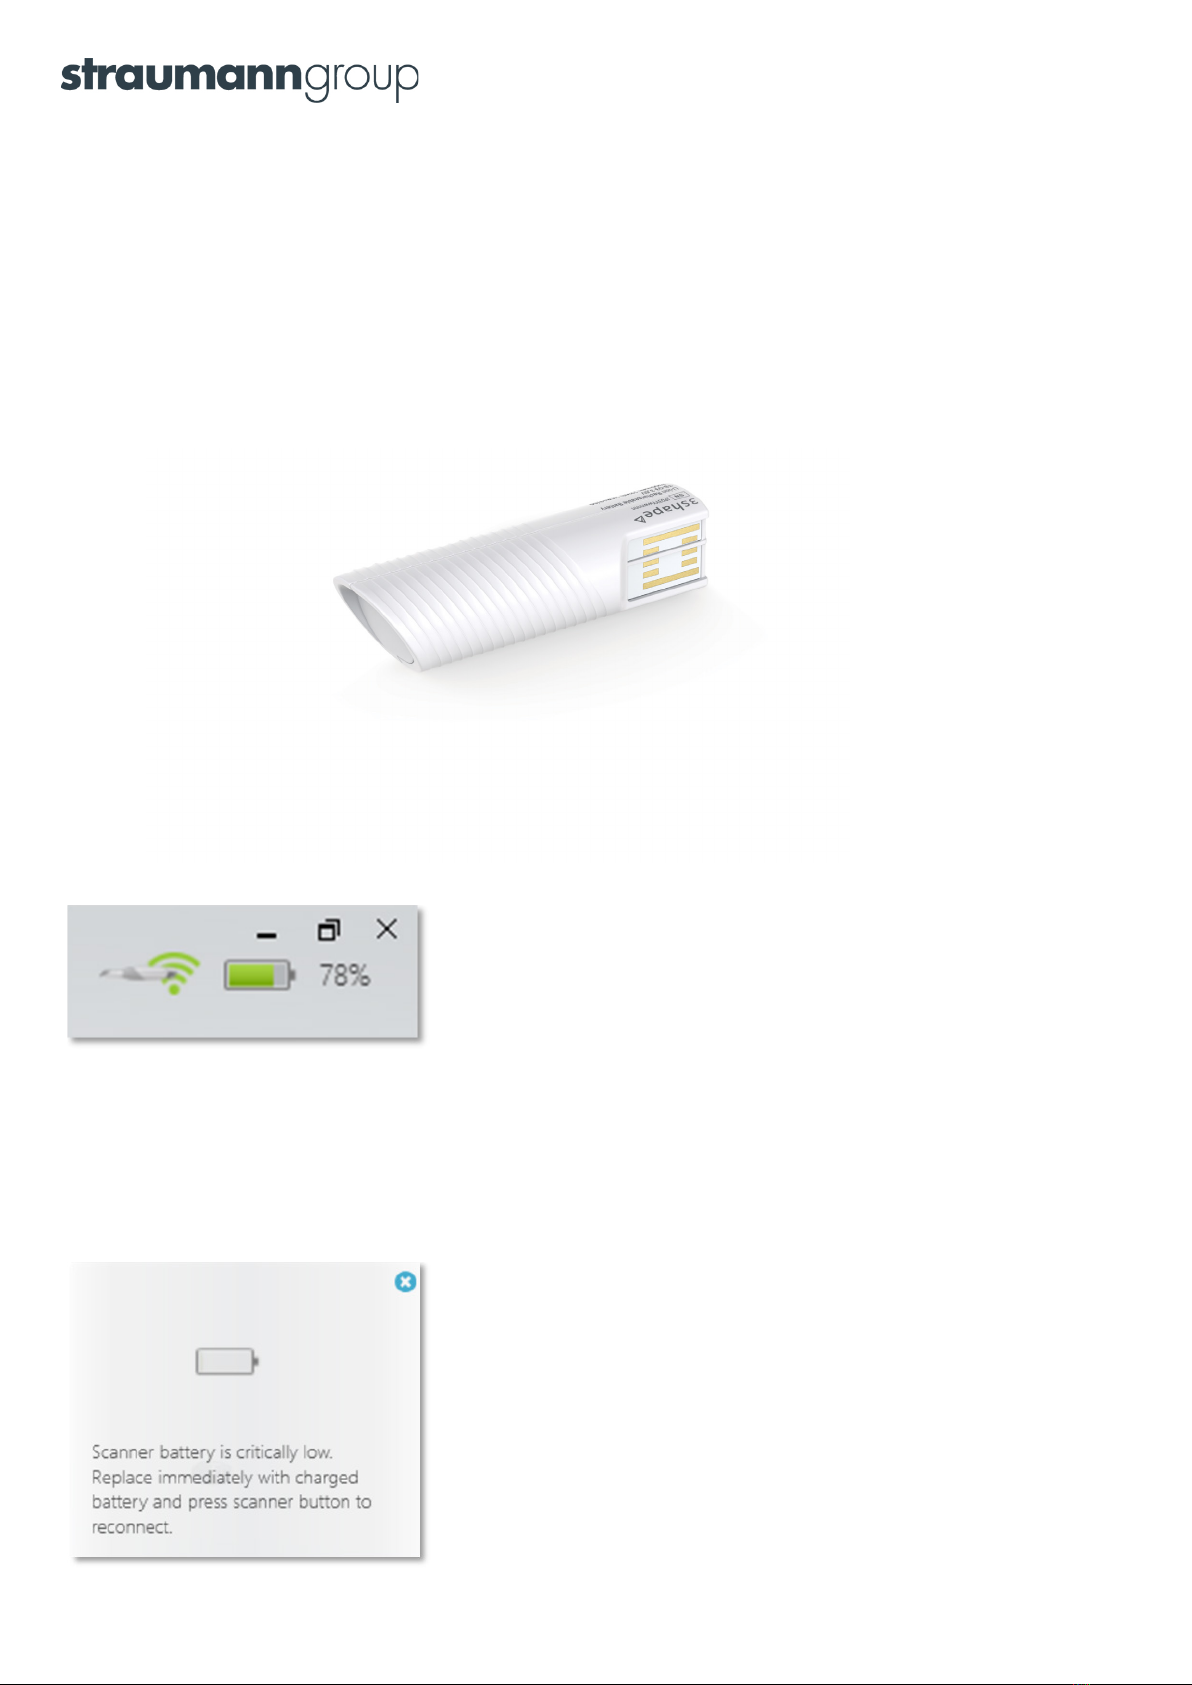
You can at any time see the current capacity (%)
of the battery in the upper right corner of the screen
The battery icon will turn yellow if power drops below 20%. You can continue scanning until the scanner stops
by itself, even when the battery gauge shows 0%. No harm comes to the scanner by running until it stops by itself.
When battery capacity drops to a very low level, warning messages prompting you to exchange the battery will
appear on the left side of your screen:
Battery level drops to 1%
13
Keep batteries in the charger when not in use
The charger is the best place to keep your batteries and this will keep all your batteries fully powered and ready to use.
How many cycles can the battery last?
The capacity of the battery is expected to be approximately 80% after 300 cycles and approximately 70% after 500
cycles. 3Shape suggests replacing the battery pack after 500 cycles.
A battery cycle is defined as discharging from fully charged down to 10% capacity. If you only discharge half of the
battery capacity each time before recharging, you will consequently have approximately 1000 of these ‘half’-cycles.
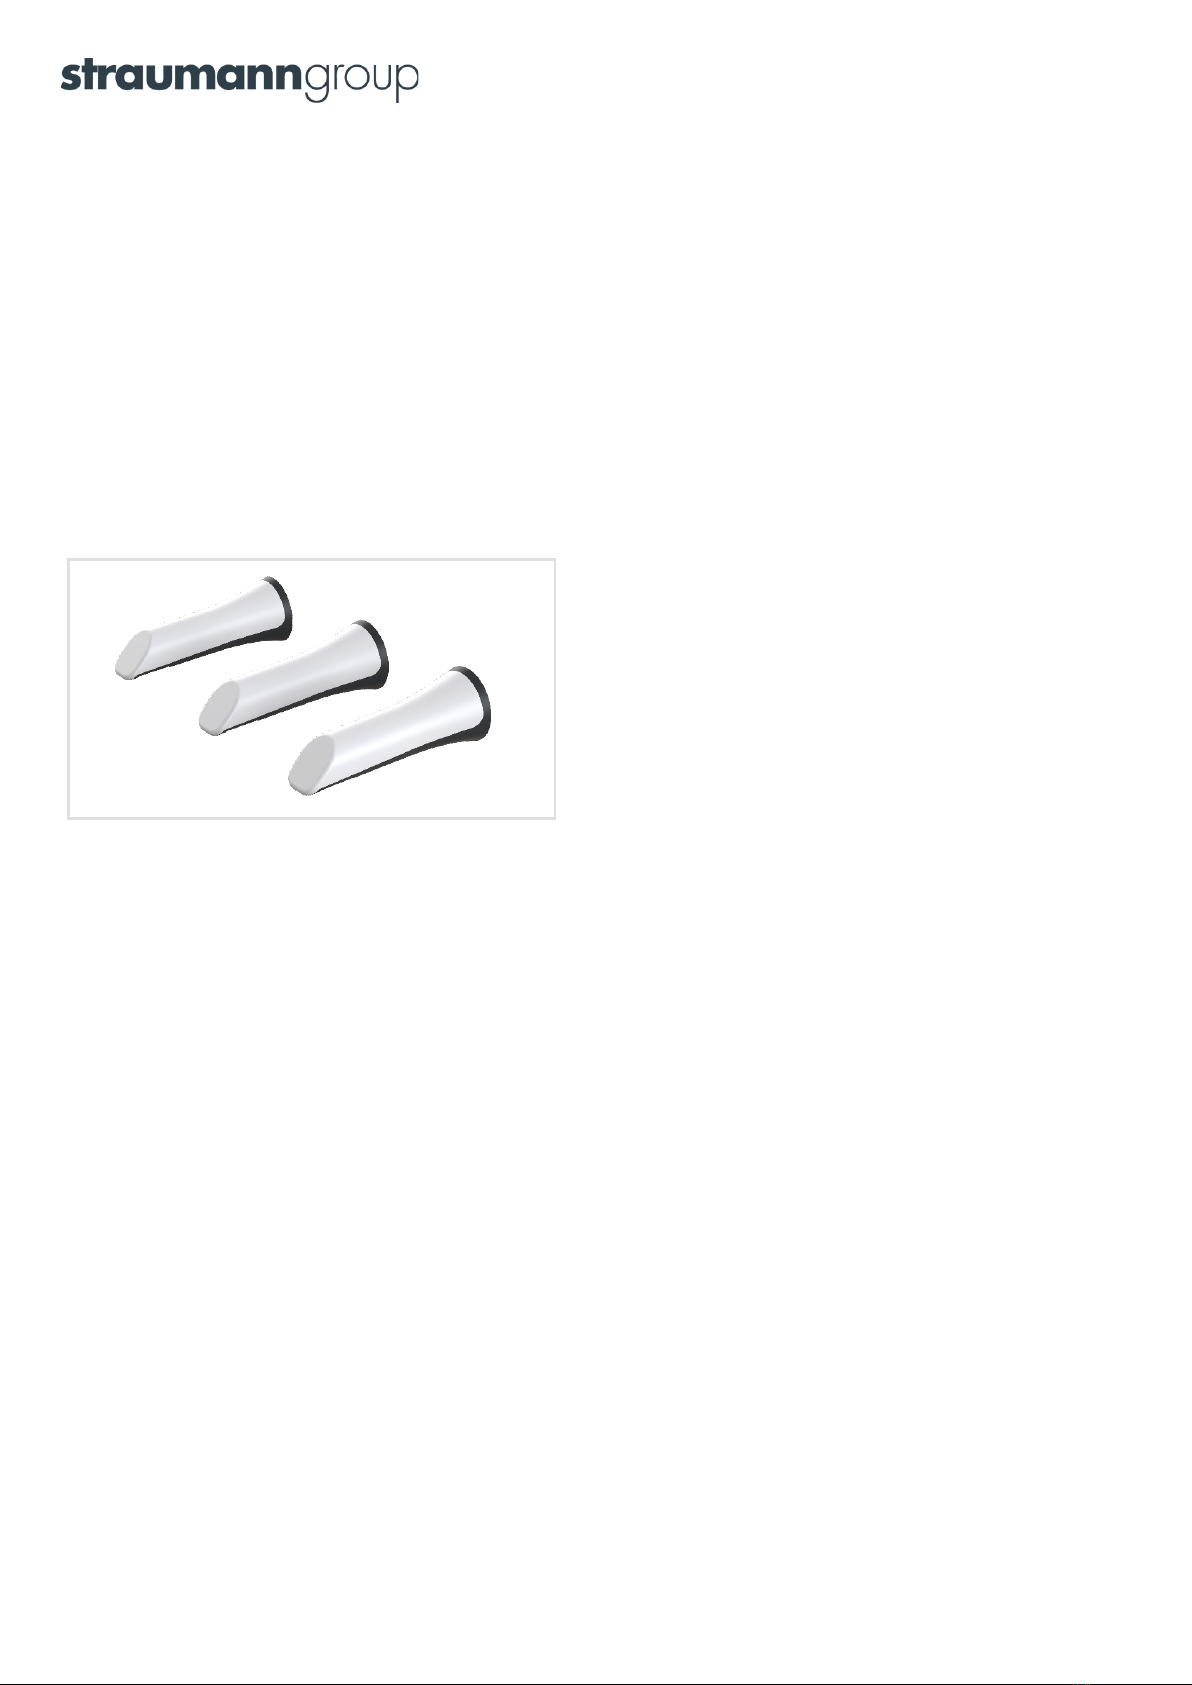
Smart tips
Smart tip for 3D color scans
The 3Shape TRIOS® 4 tips use a “twist-to-lock” mounting principle: to mount the smart tip, slide the tip onto
the scanner and twist clockwise to lock it in place; to remove the smart tip, twist it counterclockwise. All tips are
reus-able and autoclavable.
The TRIOS 4 smart tips feature:
• Instant-heat technology for immediate scanning
• Intelligent usage counter for tracking the tip usage automatically
The TRIOS 4 smart tips can be high-level-disinfected/autoclaved up to 150 times after which they must be disposed of.
14

Calibrate the tip and the scanner
A calibration of the handheld 3Shape TRIOS® 4 scanner and smart tips is required before using it for the first time, or
to compensate for thermal variation and aging effects due to wear. During regular use the TRIOS software will prompt
the user when calibration is due. Calibration process works for both the scanner and the tip as each smart tip has
an integrated mirror. The optical system that is responsible for the scan quality must be calibrated to each mirror
of separate smart tips.
For a more detailed description of the color calibration, please refer to the TRIOS 4 Safety and Setup Guide
or TRIOS online help.
List of Symbols
Scanner has not been paired to the PC
Scanner is paired to the PC but not connected
Scanner is connected
Scanner has been disconnected. PC is re-connecting to the scanner.
Scanner is paired to the PC but not connected.
Press the scanner’s button to turn it on and connect.
15
Press scanner button to wake it up and start connecting to PC.
The Wi-Fi adapter is not inserted into a USB port on the PC.
Insert the Wi-Fi adapter into the USB port.
Battery level has dropped to 5% or less.
Tech Specs
Please refer to the product catalog, which may be found on the partner portal: partner.3shape.com
If you don’t have a login, please contact: [email protected]
Cleaning instructions:
Please refer to the Safety & Setup Guide delivered with the equipment.
16

About 3Shape
3Shape is changing dentistry together with dental
professionals across the world by developing innovations
that provide superior dental care for patients. Our
portfolio of 3D scanners and CAD/CAM software
solutions for the dental industry includes the multiple
award-winning 3Shape TRIOS intraoral scanner,
the upcoming 3Shape X1®CBCT scanner, as well as
market leading scanning and design software
solutions for both dental practices and labs.
Two graduate students founded 3Shape in Denmark’s
capital in the year 2000. Today, 3Shape has over 1,500
employees serving customers in over 100 countries
from 3Shape offices around the world. 3Shape’s prod-
ucts and innovations continue to challenge traditional
methods, enabling dental professionals to treat more
patients more effectively.
Let’s change dentistry together
© 3Shape A/S, 2020. All rights reserved.
The 3Shape name and logo and/or other trademarks mentioned herein
are trademarks of 3Shape A/S, registered in the US and other countries.
Let’s change dentistry together
Table of contents
Popular Medical Equipment manuals by other brands


Datex-Ohmeda
Datex-Ohmeda S/5 M-NSAT Technical Reference Manual Slot

FujiFilm
FujiFilm EN-580T Operation manual

GE
GE Versana Balance Basic service manual

Otto Bock
Otto Bock 5R2 Instructions for use

Acutus Medical
Acutus Medical AcQMap 900100 Operator's manual

Accu-Chek
Accu-Chek Rapid-D Link Instructions for use


