Studer A812 User manual
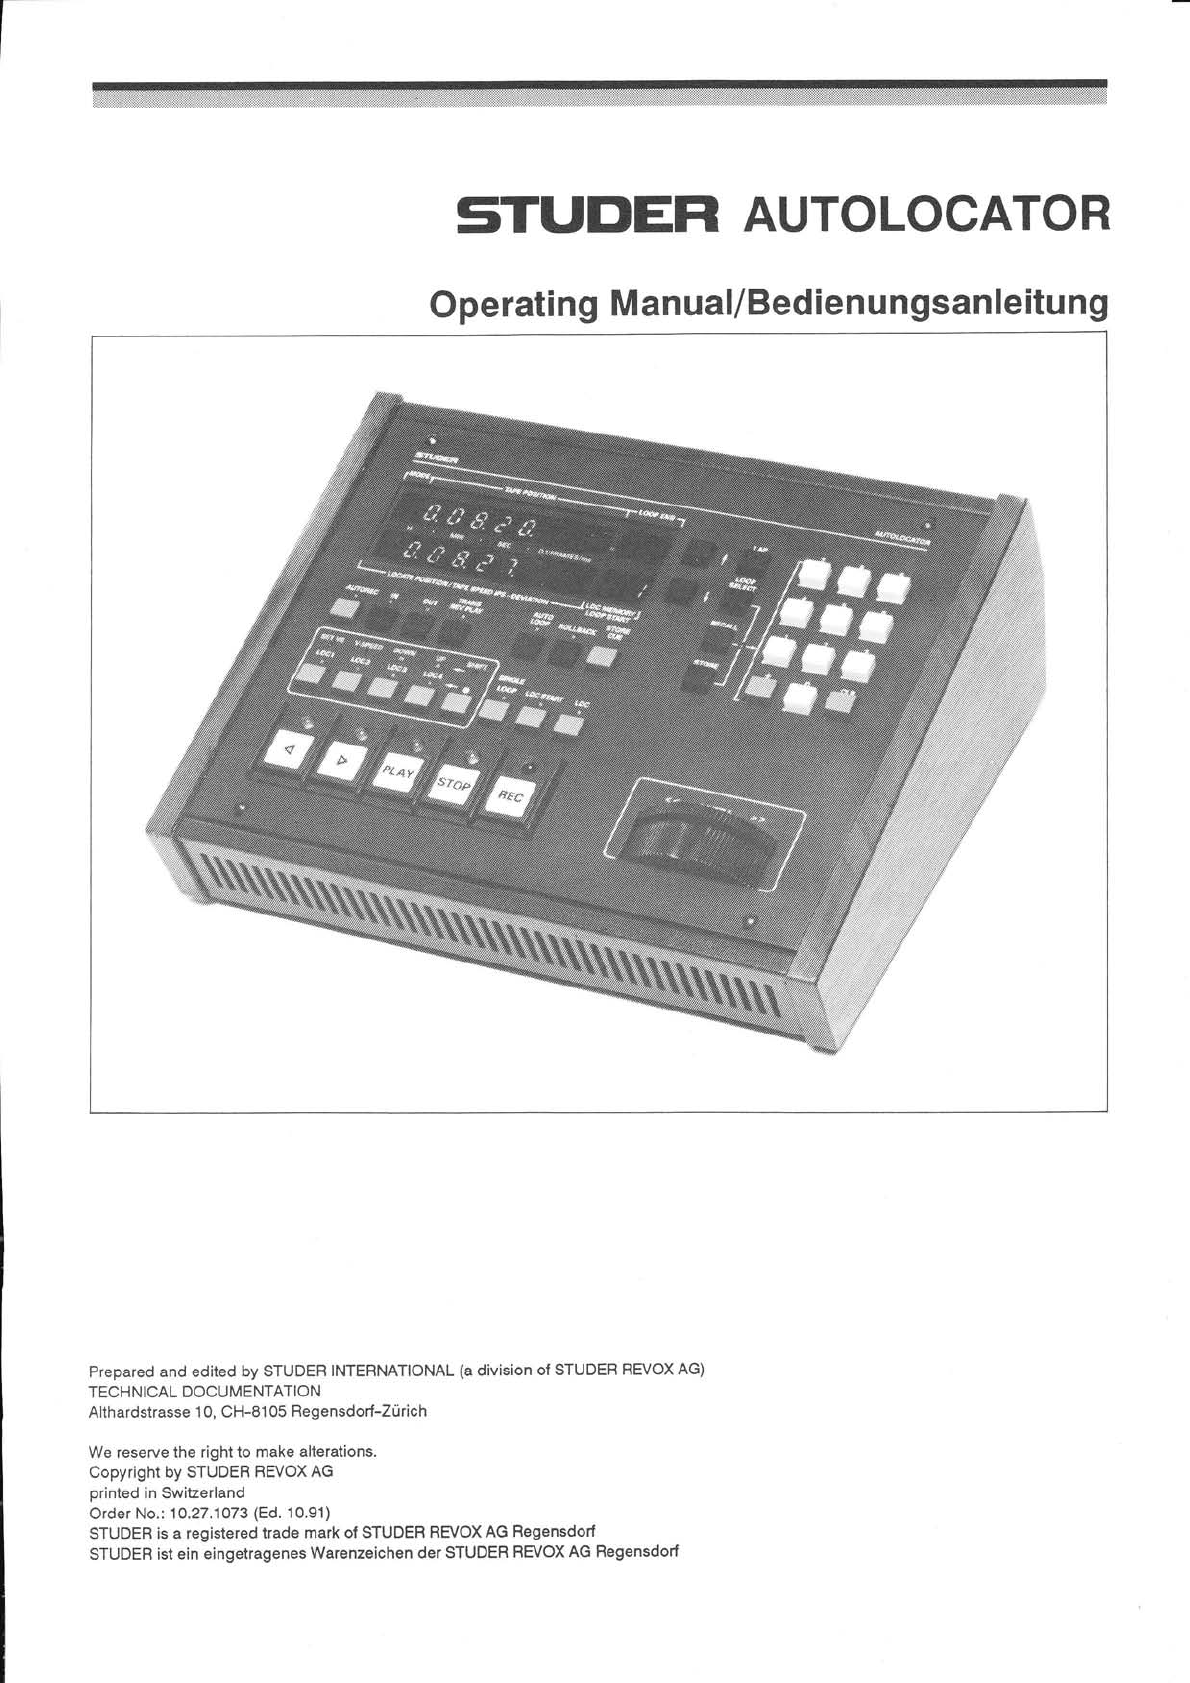
STUDEFI AUTOLOCATOR
Operating Manual/Bedienungsanleitung
Prepared and edited by STUDER INTERNATIONAL (a division o{ STUDER REVOX AG)
TECHNICAL DOCUMENTATION
Althardstrasse 1 0, CH-81 05 Begensdorl-Zürich
We reserve the right to make alterations.
Copyright by STUDEB BEVOX AG
printed in SwiEerland
Order No.: 10.271073 (Ed. 10.91)
STUDER is a registered trade mark of STUDER BEVOX AG Regensdorf
STUDER ist ein eingetragenes Warenzeichen der STUDER BEVOX AG Regensdorf

STUDER AUTOLOCATOH
lnhaltsverzeichnis
lnbetrlebnahme
1.1 Einleitung ..............1
1.2 Ausführungsvarianten.. ............1
'1.3 lnstallation des Autolocators an die Tonbandmaschine................... 'l
2 Bedlenung des Autolocators......... .............".........2
2.1 Laufwerk-Grundfunktionen ............. ............ 3
2.2 Tastenfeld für numerische Eingaben............... ............... 3
2.3 IAP-Zähler ............4
2.4 Speicher-Betehlstasten ...........4
2.5 Locate-Betehlstasten.... ...........5
2.6 LOCl...4 und VARISPEED-Befehlstasten ......................6
2] Schleifen-Befehlstasten (LOOP) .................7
2.8 AUTO RECORD Modus........ ........................8
2.8.1 Auto Load ......................9
D

STUDER AUTOLOCATOR
lnbetriebnahme
1.1 Einleitung
1.2
Für die STUDER Tonbandmaschinen A812t, A816, A820t, AS2oMCH und A827
ist derselbe Autolocator von STUDER verwendbar.
Mit dem Autolocator lassen sich 20 Cue-Speicherplätze eingeben und komfor-
tabel verwalten. Stufenloses Vor- und Rückspulen ist mit dem eingebauten
Shuttle Control kein Problem, jede Stellung des Shuttle Rades ist zudem
:l3i::'flä;#,",i5',:3$:'l*:ä:i1?:11J,::il,1ä"T':?X!ä"':'"H'Hl',ffi""1
Ausführungsvarianten
Autolocator 4820
Tischausführung:
Autolocator A820 Einbau-
ausführung:
(Abmessung: 6 Module)
Bestehend aus:
1 Autolocator
1 Kabel 15m
1 Bedienungsanleitung
Bestehend aus:
1 Autolocator
1 Kabel 15m
1 Bedienungsanleitung
1.328.240.82
1.862.421.00
10.27.1073
1.328.230.82
1.862.421.00
10.27.1073
1.3 lnstallation des Autolocators an die Tonbandmaschine
I
I
I
I
Das Tonbandgerät ausschalten.
Das Verbindungskabel (15m) des Autolocator in die "AUTO
LOCATOR/REMOTE TIMER' Buchse der Tonbandmaschine einstecken
(A81 6: AUTOLOC Buchse).
Das Tonbandgerät einschalten.
Für die Tonbandgeräte A812, A816, A820, AS2OMCH: Die REMOTE-Taste2
drücken für die A827 ist die TD REM-Tastez zu drücken.
Der AUTOLOCATOR ist nun betriebsbereit.
Ab Softwareversion U89 MKll
2Die REMOTE Funhion ist im Software-Menü der Tonbandmaschine spezifhisrbat
ED|T|ON: 1 1. November 1991 Dl1

STUDER AUTOLOCATOR
2 Bedienung des Autolocators
11l Laufwerk-Grundfunktionen, sieheAbschnitt2.l.
r PLAY
r REC
r STOP
r WIND
r SHUTTLE-Rad und SHUTTLE-Bar (MultifunKionale Anwendungen)
l2l Numerisches Tastenfeld, siehe Abschnitt 2.2.
13] Zweiter unabhängiger Bandzähler, siehe Abschnitt 2.3.
14] Speicher- und Rückholtasten für die Speicherverwaltung, siehe Abschnilt2.4.
t5] Speichern und Anfahren von Band-Adressen, siehe Abschnitt 2.5.
16] Tastenfeld zum direkten Anfahren der ersten vier Speicheradressen und zur Be-
dienung der variablen Bandgeschwindigkeit (VARISPEED), siehe Abschnitt 2.6.
l7l Tastenfeld zur Bedienung der Schleifen- (LOOP-) und LOCATE-Funktionen,
siehe Abschnill2.T
l8l Tastenfeld zur Bedienung des Schleifen-Betriebes (LOOP) mit automatischem
Aufnahmeein- und -Ausstieg, siehe Abschnit 2.8.
tgl Tasten zum Kopieren des Bandzählerstandes in das LOCATE POSITION-D|s-
play und umgekehrt, siehe Abschnitt 2.8.
[10] MultifunktionalesAnzeigedisplay.
D12 ED|T|ON: 12. November 1991

STUDER AUTOLOCATOR
2.1 La ufwe rk-G ru n df u n ktione n
Taste:
E
tI
Fll^'].g.[:]
r
FRAlrs-l
IREVPL Y l+lPuY I
@
[ -Ec .l.ltuT
liRArJ-l.s -l
liäüY l.[PuY l.[REcl
2.2 Tastenfeld für numerische Eingaben
Funktlon:
Umspulen rückwärts
(Umspulgeschwindigkeit im Tonbandgerät programmierbar)
Umspulen vorwärts
(Umspulgeschwindigkeit im Tonbandgerät programmierbar)
Library wind (Die im Tonbandgerät programmierte Archiviergeschwindigkeit wird
angewählt)
Wiedergabe voruärts
Wiedergabe rückwärts
Die Stop-Funhion hat Priorität über alle Laufwerkbedientasten und bricht den
Schleifenbetrieb ab.
Die Aufnahmetaste, ist nur zusammen mit PLAY wirksam (Voraussetzung:
mindestens ein Kanal ist auf READY geschaltet). lm Wiedergabebetrieb kann
durch Drücken von REC direkt auf Aufnahme geschattet werden, oder es muss
REC+PI-AY gedrückt werden je nach Programmierung des Tonbandgerätes.
Aufnahme rückwäfts (Löschkopf abgeschahet)
SHUTTLE Bar: Ein Druck auf den SHUTTLE Bar (Iaste oberhatb des SHUTTLE-
Rades) speichert die vorgewähhe SHUTTLE-Geschwindigkeit. Erneutes
Drricken oder Eingreifen über das SHUTTLE-Rad hebt die Funktion auf.
SHUTTLE Rad: Drehen des Rades in die eine oder andere Richtung ermöglicht
ein stufenloses umspulen und exaktes Positionieren des Bandes, Mittelstellung
= STOP.
Taste:
r
tr
Funktlon:
Mit den Tasten können Adressen in das LOCATE POSITION-Display (unteres
Anzeigefeld) geschrieben werden.
Dient zur Eingabe von negativen Adressen oder zur Adressierung von negativen
Speicherplätzen. Bei der Eingabe von Adressen kann das Vozeichen jedezeit
gewechselt werden. Bei der Adressierung eines Speicherplatzes muss das
Vozeichen vor der Speichernummer eingegeben werden.
Setzt die Anzeige LOCATE POSITION (unteres Anzeigefeld) auf Nult.
EDIflON: 22. November 1991 D/3
STUDER AUTOLOCATOR
2.3 IAP-Zähler
Taste:
E
2.4
Funktlon:
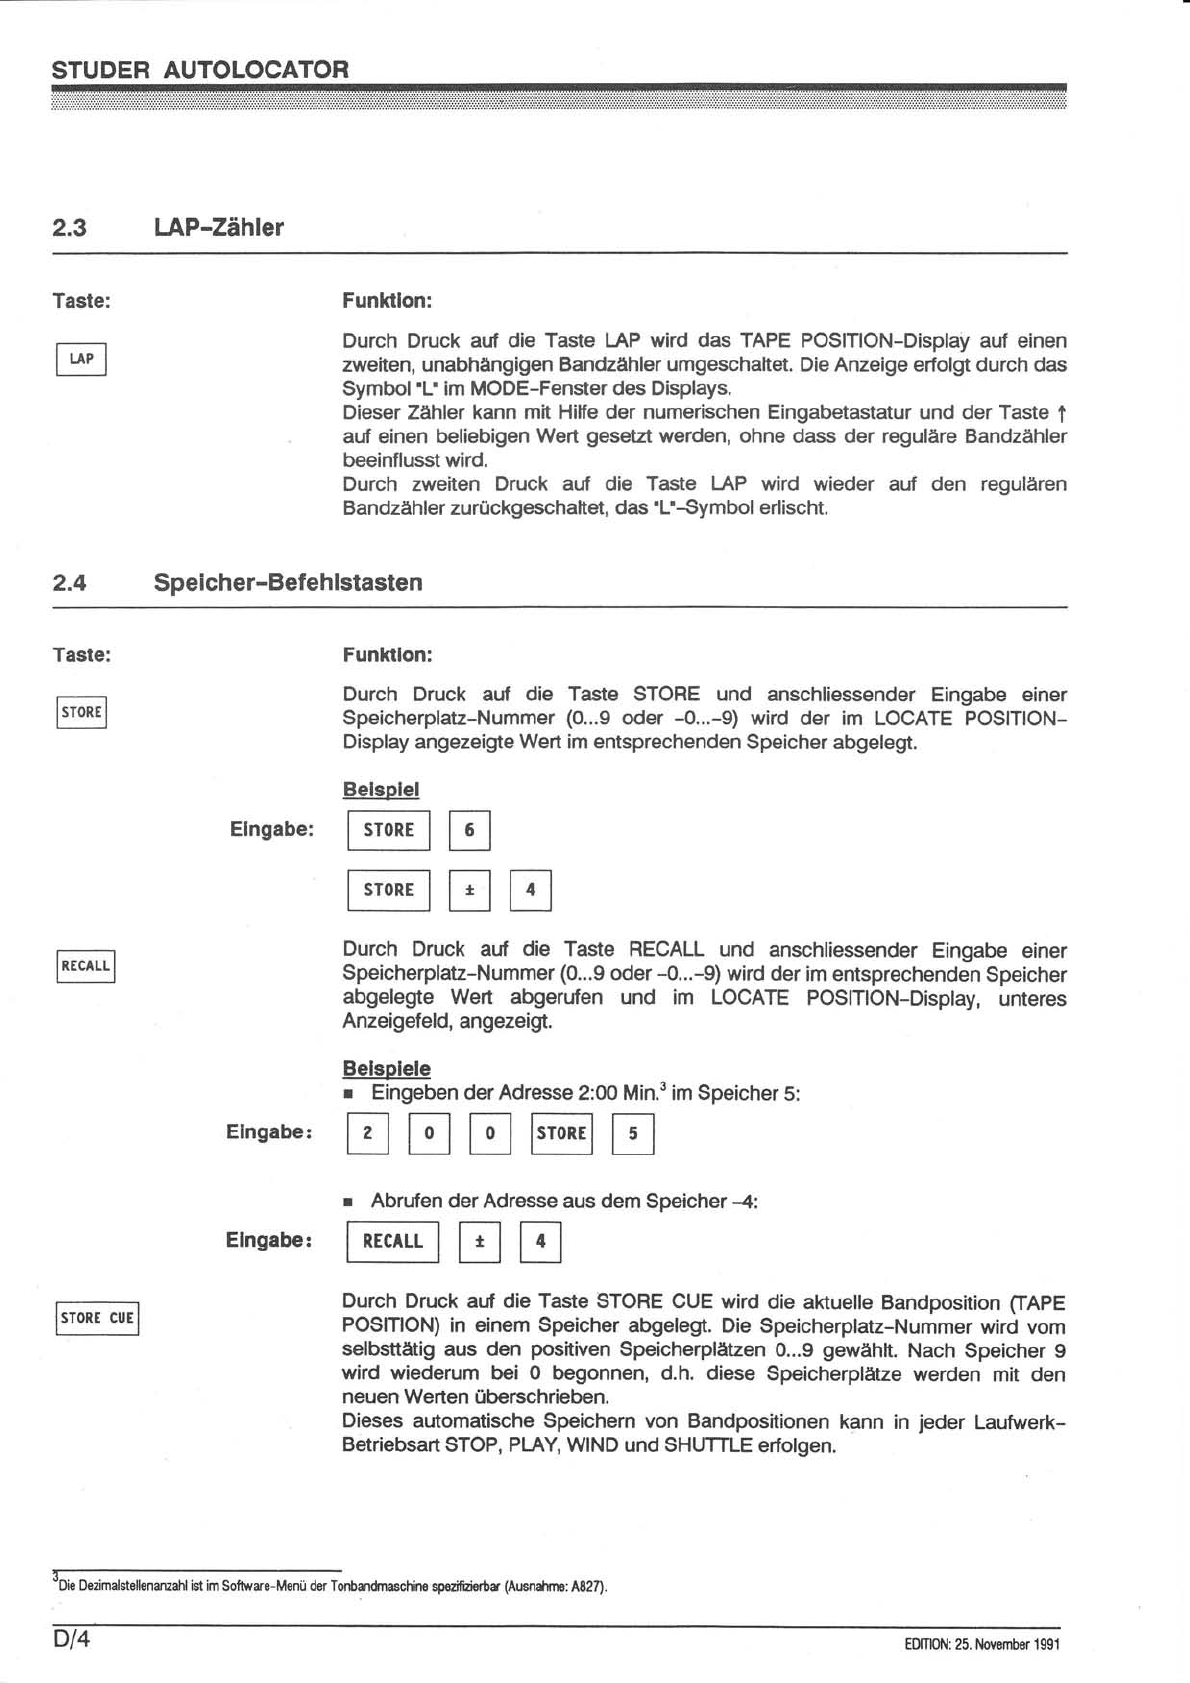
Durch Druck auf die Taste LAP wird das TAPE POSITION-Display auf einen
zweiten, unabhängigen Bandzähler umgeschaltet. Die Anzeige erfolgt durch das
Symbol 'L' im MODE-Fenster des Displays.
Dieser Zähler kann mit Hilfe der numerischen Eingabetastatur und der Taste f
. auf einen beliebigen Wert gesetzt werden, ohne dass der reguläre Bandzähler
beeinflusst wird.
Durch zweiten Druck auf die Taste LAP wird wieder auf den regulären
Bandzähler zurückgeschaltet, das'L'-Symbol erlischt.
Speicher-Befehlstasten
Taste:
@Funktlon:
Durch Druck auf die Taste STORE und anschliessender Eingabe einer
Speicherplatz-Nummer (0...9 oder -0...-9) wird der im LOCATE POSITION-
Display angezeigte Wert im entsprechenden Speicher abgeleg.
Durch Druck auf die Taste RECALL und anschliessender Eingabe einer
Speicherplatz-Nummer (0...9 oder -0...-9) wird der im entsprechenden Speicher
abgelegite Wert abgerufen und im LOCATE POSITION-Display, unteres
Anzeigefeld, angezeigrt.
Belsplele
r Eingeben der Adresse 2:00 Min.3 im Speicher 5:
Elngabe: tr
tr
Belsplel
F--E I
froRf
Ernsabe: trtrtr@tr
r Abrufen der Adresse aus dem Speicher -4:
Etnsabe: IlEr^Ll tr tr
Durch Druck auf die Taste STORE CUE wird die aktuelle Bandposition CIApE
POSITION) in einem Speicher abgelegt. Die Speicherplatz-Nummer wird vom
selbsttätig aus den positiven Speicherplätzen 0...9 gewählt. Nach Speicher 9
wird wiederum bei 0 begonnen, d.h. diese Speicherplätze werden mit den
neuen Werten überschrieben.
Dieses automatische Speichern von Bandpositionen kann in jeder Laufwerk-
Betriebsart STOP, PLAY, WND und SHUTTLE erfolgen.
dDie Dezimalstellenaruahl ist im Software-Monü der Torüadmccfine spzifrierüa (Ausn*rme: A827).
Dl4 EDITI0N: 25. November 1991
STUDER AUTOLOCATOR
2.5 Locate-Befehlstasten
Taste: Funktion:
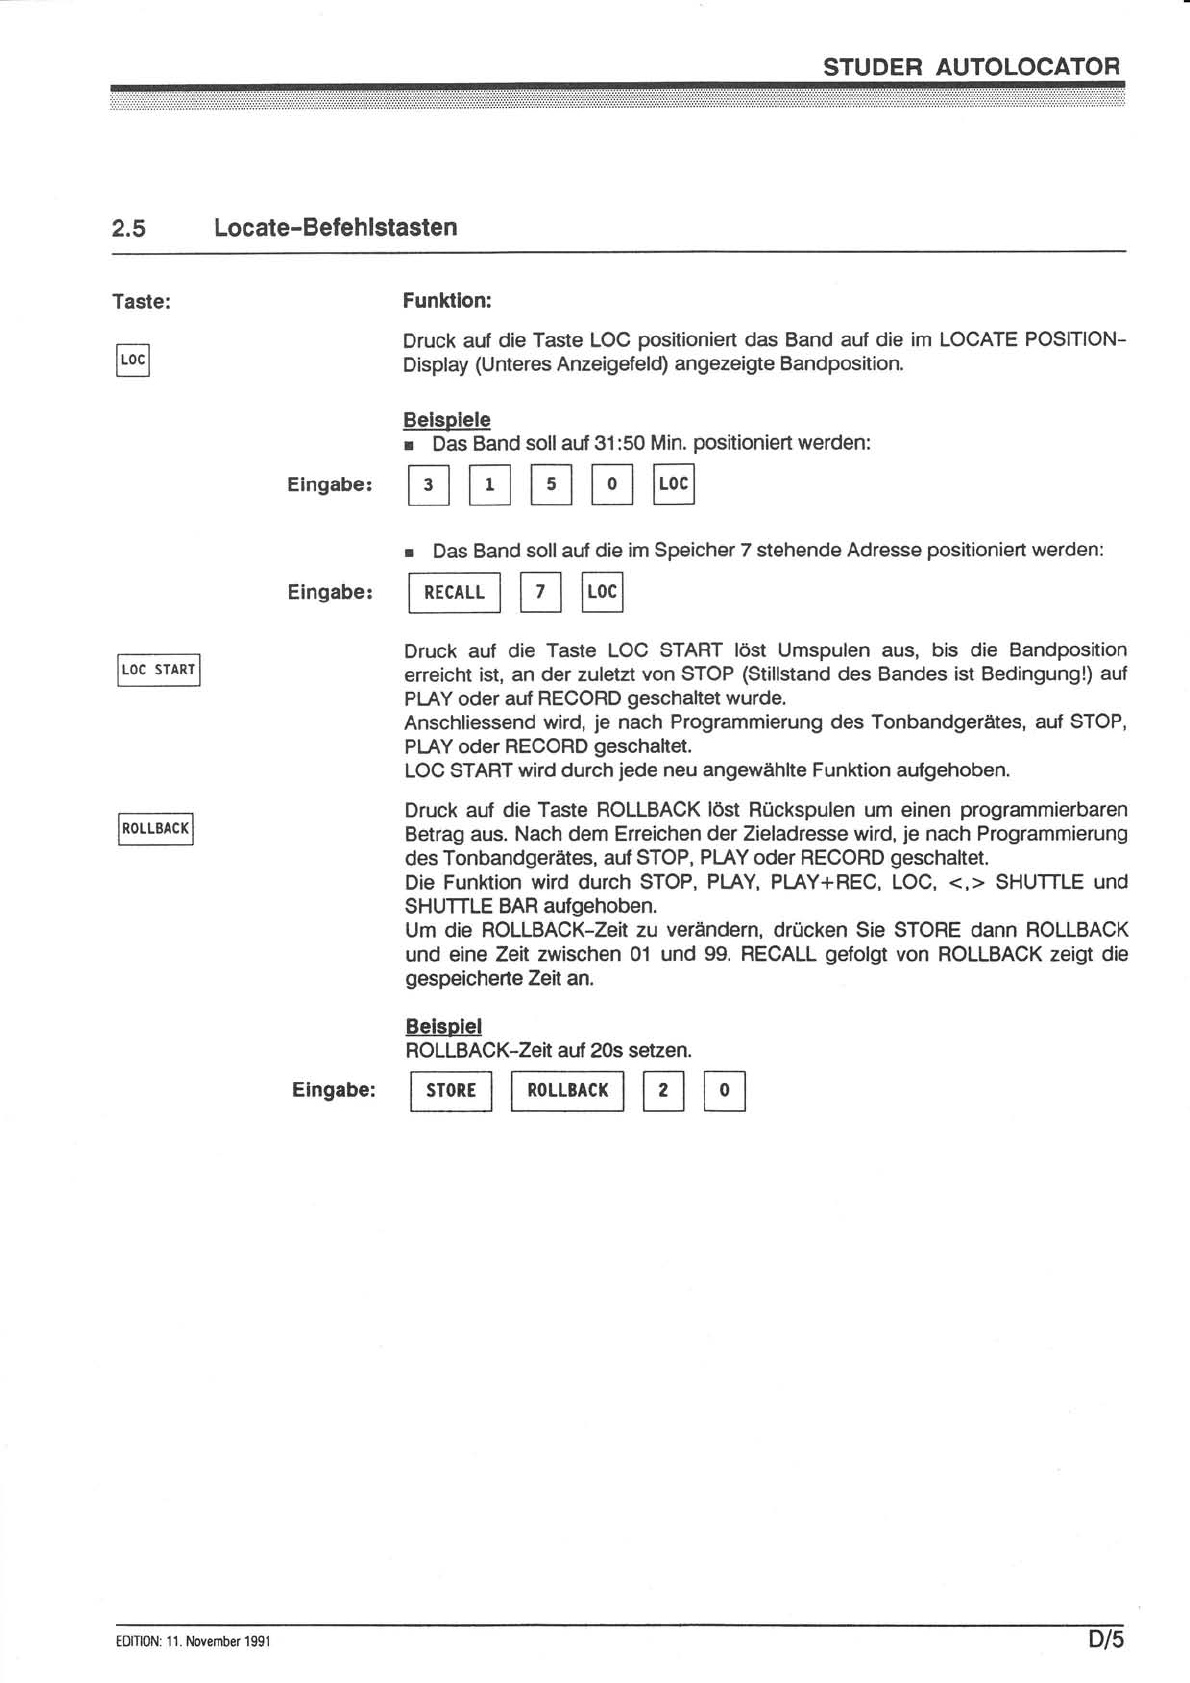
Druck auf die Taste LOC positioniert das Band auf die im LOCATE POSITION-
Display (Unteres Anzeigefeld) angezeigte Bandposition.
Belspiele
r Das Band soll auf 31:50 Min. positioniert werden:
Einsabe: f*[-] tr tr
Einsabe: @tloLLBAqtrtr
Ernsabe: trtrtrtrtr
r Das Band sollauf die im Speicher 7 stehende Adresse positioniert werden:
Druck auf die Taste LOC START löst Umspulen aus, bis die Bandposition
erreicht ist, an der zuletzt von STOP (Stillstand des Bandes ist Bedingung!) auf
PI-AY oder auf RECORD geschaltet wurde.
Anschliessend wird, je nach Programmierung des Tonbandgerätes, auf STOP,
PI-AY oder RECORD geschaltet.
LOC START wird durch jede neu angewählte Funktion aufgehoben.
Druck auf die Taste ROLLBACK löst Rückspulen um einen programmierbaren
Betrag aus. Nach dem Erreichen der Zieladresse wird, je nach Programmierung
des Tonbandgerätes, auf STOP, PI-AY oder RECORD geschaltet.
Die Funktion wird durch STOP, PI-AY, PI-AY+REC, LOC, <,> SHUTTLE und
SHUTTLE BAR aufgehoben.
Um die ROLLBACK-Ze\| zu verändern, drücken Sie STORE dann ROLLBACK
und eine Zeit zwischen 01 und 99. RECALL gefolgt von ROLLBACK zeigt die
gespeicherte Zeit an.
Belsplel
ROLLBACK-ZeII auf 20s setzen.
EDlTl0N: 11. November 1991 D/5

STUDER AUTOLOCATOR
2.6 LOCl ...4 und VARISPEED-Befehlstasten
Taste:
F.1...4 I
Funktlon:
Durch Druck auf eine der Tasten LOC1...LOC4 fährt das Tonbandgerät direkt die
Bandposition an, die im entsprechenden Speicher abgelegt ist. Die
Bandposition und die zugehörige Speicher-Nummer wird im LOCATE
POSITION-DlSPl-AY angezeigt.
Eingabe:
Die SHIFT-Taste ordnet den oben beschriebenen Tasten LOCl...LOC4
Funktionen zur Bedienung der variablen Bandgeschwindigkeit (VARISPEED) zu.
Die rote LED über der SHIFT-Taste zeigt den SHIFT-Modus an. lm LOCATE
POSITION-Display wird die Bandgeschwindigkeit des Gerätes in ips (inches per
second) angezeigt.
Durch Drücken der TRANS/REV Pl-AY-Taste und einer LOC-Taste kann eine
Bandadressee abgespeichert werden. Als mögliche Bandadressen kommen die
im unteren Display angezeigten werte in Frage.
Hinweis: LOC 1...4 sind dieselben Speicherplätze aut die auch über das numerische
Tastenfeld zugegriff en wird.
Diese Taste aktiviert die Einstellung der variablen Bandgeschwindigkeit. Wenn
die rote LED über der Taste leuchtet, kann mit den Tasten UP> > DOWN< < die
Bandgeschwindigkeh variiert werden. Dass LOCATE POSITION-Display zeigt in
dieser Betriebsart die eingestelhe Abweichung von der Nominalgeschwindigkeit
in Halbtönen (HT) oder in Prozent (PC) an, abhängig vom Anzeigeformat, das
auf dem Tonbandgerät eingesteltt ist. Nach dem Einstellen der gewünschten
Abweichung wird die Funktion durch nochmaligen Druck auf die Taste SET VS
ausgeschaltet, die SET VS-LED über der Taste erlischt.
Diese Taste aktiviert die variable Bandgeschwindigkeit. Wenn die Taste
gedrückt wird, blinkt die rote LED über der Taste, das Tonbandgerät ist auf die
mit Hilfe von SET VS gewählte Geschwindigkeit umgeschaltet. lm LOCATE
POSITION-Display steht die aktuelle Bandgeschwindigeit des Tonbangerätes in
ips.
Hinweis: Auch bei aktiver VARISPEED-Funhion kann der SHIFT-Modus durch Druck auf
die SHIFT-Taste verlassen werden; die rote LED über der SHIFT-Taste erlischt,
die gelbe LED leuchtet. Die rote V-SPEED-LED blinkt weiterhin, um den
VARISPEED-Modus anzuzeigen. lm LOCATE POSITION-Display steht jedoch
wieder die zuletzt gewähhe LOCATE POSITION.
Die Taste SINGLE LOOP kann durch einfaches Umprogrammieren im Menü der
Tonbandmaschine (F259: SINGLE LOOP MODE A) auf INSTANT LOOP gesetzt
werden.
Durch Drücken von INSTANT LOOP wird der Schleifenbetrieb unmittelbar
aktivieft. Die Endlosschleife wird zwischen dem Wert im unteren Anzeigefeld und
dem, zur Zeit des Drückens der INSTANT LOOP Taste aktuell gewesenen
Zählerstand gefahren.
r 'lL' im rechten Teil des Displays leuchtet, wenn die INSTANT LOOP Funhion
ahiviert ist.
r Der kleinere Wewrt ist immer die Startadresse.
r Die Schleife kann im P[-AY oder RECORD Betrieb gefahren werden.
r Durch Drücken einer neuen Funktion wird der Schleifenbetrieb aufgehoben.
Belsplel
E
D/6 ED|IION: 25. November'1991

STUDER AUTOLOCATOR
2.7 Sch leifen-Befehlstasten (LOOP)
Taste:
t,d;L'E
Funktion:
LOOP SELECT gefolgrt von zwei Nummern der entsprechenden Speicher, wählt
die Start- sowie Stopadresse für den Schleifenbetrieb an.
Beispiel:
r Eine Schleife zwischen den Bandpositionen im Speicher 3 und -7 soll
angewählt werden:
Eingabe: LOOP SELECT trtrtr
Sind zwei Adressen nach obigem Beispiel mit LOOP SELECT bestimmt, so
muss nur noch AUTO LOOP gedrückt werden, um den Schleifenbetrieb zu
aktivieren. Die Schleife wird endlos entweder in PLAY oder RECORD gefahren.
Durch Drücken einer neuen Funktion wird der Schleifenbetrieb aufgehoben.
Funktion wie AUTO LOOP, jedoch nur mit einmaligem Durchlauf der Schleife.
E0lTloN: 11. November 1991 D17
STUDER AUTOLOCATOR
2.8 AUTO RECORD Modus
Taste:
M
Funktlon:
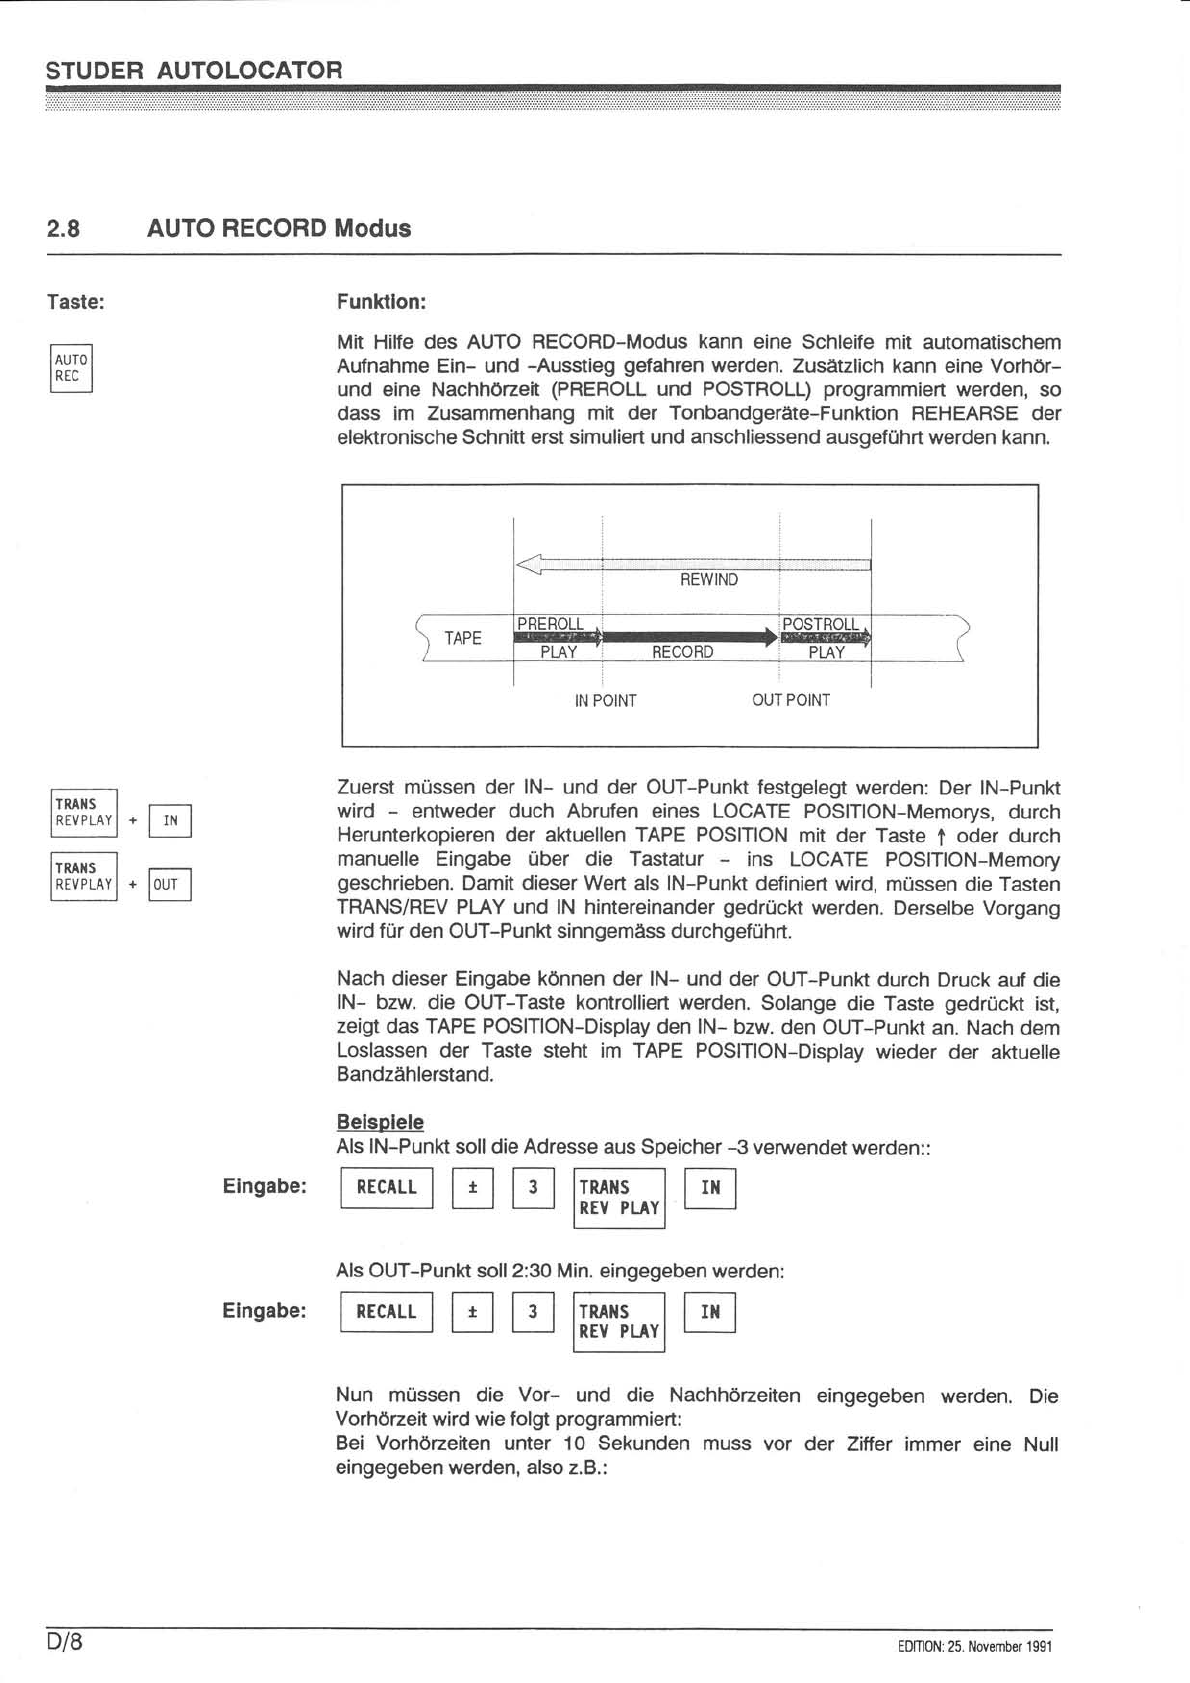
Mit Hilfe des AUTO RECORD-Modus kann eine Schleife mit automatischem
Aufnahme Ein- und -Ausstieg gefahren werden, Zusätzlich kann eine Vorhör-
und eine Nachhözeit (PREROLL und POSTROLL) programmiert werden, so
dass im Zusammenhang mit der Tonbandgeräte-Funktion REHEARSE der
elektronische Schnitt erst simuliert und anschliessend ausgeführt werden kann.
OUT POINT
Zuerst müssen der lN- und der OUT-Punkt festgelegt werden: Der lN-Punkt
wird - entweder duch Abrufen eines LOCATE POSITION-Memorys, durch
Herunterkopieren der aktuellen TAPE POSITION mit der Taste I oder durch
manuelle Eingabe über die Tastatur - ins LOCATE POSITION-Memory
geschrieben. Damit dieser Wert als lN-Punk definiert wird, müssen die Tasten
TRANS/REV PLAY und lN hintereinander gedrückt werden. Derselbe Vorgang
wird für den OUT-Punkt sinngemäss durchgeführt.
Nach dieser Eingabe können der lN- und der OUT-Punkt durch Druck auf die
lN- bzw. die OUT-Taste kontrolliert werden. Solange die Taste gedrückt ist,
zeigt das TAPE POSITION-Display den lN- bzw. den OUT-Punkt an. Nach dem
Loslassen der Taste steht im TAPE POSITION-Display wieder der aktuelle
Bandzählerstand.
Belsplele
Als lN-Punh soll die Adresse aus Speicher -3 venrendet werden::
F**-l
lnrveLnvl.lrnl
F**-l
lnrvpLnvl . lour I
Ernsabe: tlEcALf trtrNE
Als OUT-Punkt soll2:30 Min. eingegeben werden:
Einsabe: tl"[f trtrWf
Nun müssen die Vor- und die Nachhözeiten eingegeben werden, Die
Vorhözeit wird wie folgt programmiert:
Bei Vorhörzeiten unter 10 Sekunden muss vor der Ziffer immer eine Null
eingegeben werden, also z.B.:
D/8 EDfT|ON: 25. November 1991

STUDER AUTOLOCATOR
Eingabe:
2.8.1 Auto Load
@8trtr
Die Nachhözeit wird sinngemäss gleich programmiert.
Jetzt sind alle Parameter für den AUTO RECORD-Modus definiert, Druck auf die
Taste AUTO REC befiehh dem Tonbandgerät, zum Startpunkt umzuspulen. Die
gelbe AUTO REC-LED blinkt. Nachdem das Band am Parkpunkt positioniert ist,
blinkt diese LED noch für ca. 5 Sekunden, anschliessend erlischt sie. Während
diesen 5 Sekunden muss PI-AY + REC gedrückt werden, damit das Gerät im
AUTO RECORD-Modus startet.
Das Tonbandgerät schaltet auf PI-AY, die REC-LED blinkt. Am lN-Punkt geht die
Maschine auf Aufnahme, die REC-LED leuchtet konstant. Am OUT-Punkt
schaltet das Tonbandgerät zurück auf Wiedergabe, die Nachhörzeit wird bis
zum Umkehrpunkt durchlaufen. Von dort aus wird das Band wieder beim
Parkpunkt positioniert.
Der Vorgang kann, falls erwünscht, durch Druck auf PIAY und REC erneut
gestartet werden.
Vorgehensweise:
1. F265Yes
2.@
3. l**l
ltLt
4.8
s.@
Funktlon:
Auto Load dient zur automatischen Programmierung der Drop-ln und Drop-Out
Punhe durch drücken von REC bzw. PI-AY.
Wenn in der Tonbandmaschine F265: Auto Load Enable auf YES gesetzt wird,
wird der TRANS/REV PI-AY Taste automatisch die AUTO LOAD Funktion
zugewiesen.
lm Software Zweig Tape Deck, Keys Only die F265 auf Yes programmieren.
Play Taste drücken.
Taste Drücken, die LED blinh.
Bei der gewünschten Bandposition REC aktivieren, um die Drop-ln Adresse zu
definieren.
Bei der gewünschten Bandposition PLAY drücken um die Drop-Out Adresse zu
definieren.
Die Drop-ln/Drop-Out Adressen sind gespeichert.
ED|T|ON: 25. November 1991 D/e


STUDER AUTOLOCATOR
Table of contents
First time operation ...................1
EDlTlON: 12. November'1991 E
STUDER AUTOLOCATOR
First time operation
1.1 lntroduction
For the STUDER A812t, A816, A82ot, A820MCH and A827 the same STUDER
autolocator can be used.
with the autolocator you can enter and conveniently manage 20 cue memory
locations. Thanks to the buitt-in shuttle control, stepless forward and backward
spooling is no problem; in addition any position of the shuttle wheel can be
stored. The autolocator is also equipped with remote control functions for
varispeed and tape deck commands, as well as with two programmable
counters and several loop functions.
1.2 Models
Autolocalor 4820
desktop version:
Autolocator 4820
chassis version:
(dimension: 6 modules)
1.3
Comprising:
1 Autolocator
1 Cable 15 m
1 Operatinginstructions
Comprising:
1 Autolocator
1 Cable 15 m
1 Operatinginstructions
1.328.240.82
1.862.421,00
10.27.1073
1.328.230.U
1.862.421.00
10.27.1073
Connecting the autolocator to the tape recorder
t
I
I
I
Switch off the tape recorder.
Plug the connection cable (15 m) of the autolocator into the "AUTO
LOCATOR/REMOTE TIMER' socket of the tape recorder (4816: AUTOLOC
socket).
Switch on the tape recorder.
On the tape recorder A812, A816, A820, A820MCH: Press the REMOTE key
2; on the 4827 press the TD REM key2.
The AUTOLOCATOR is now ready for operation.
rFrom software version 6/89 MKll on
zThe REMOTE function can be specified on the soltware menu of the tape recorder.
ED|T|ON: 11. November 1991 Ell

STUDER AUTOLOCATOR
2Operating the autolocator
11l Basic tape deck functions, see Section 2.1.
r PI-AY
r REC
r STOP
r WIND
r SHUTTLE wheel and SHUTTLE bar (multifunctional application)
Numeric keypad, see Section 2.2.
Second, independent tape timer, see Section 2.3
Store and readout keys for the memories, see Section 2.4.
Storing and searching tape addresses, see Section 2.5.
Keypad for direct searching of the first four memory addresses and for operating
the variable tape speed (VARISPEED), see Section 2.6.
Keypad for operating the LOOP and LOCATE functions, see Section 2.7.
Keypad for operating the LOOP mode with automatic drop-in/out,
see section 2.8.
Keys for copying the tape timer content into the LOCATE display and vice versa,
see Section 2.8
[10] Multifunctionaldisplay
l2l
t3l
t4l
tsl
l6I
17l
t8l
Isl
El2 EDlTloN: 12. November 1991
STUDER AUTOLOCATOR
2.1 Basic tape deck functions
Key:
E
tI
[lltn^,,].g.[:]
r
FR^nrs _l
lnrveuY l*lpuv I
@
F*-j.lPLAil
lllln^,-l.q.l R,.l
2.2 Numeric keypad
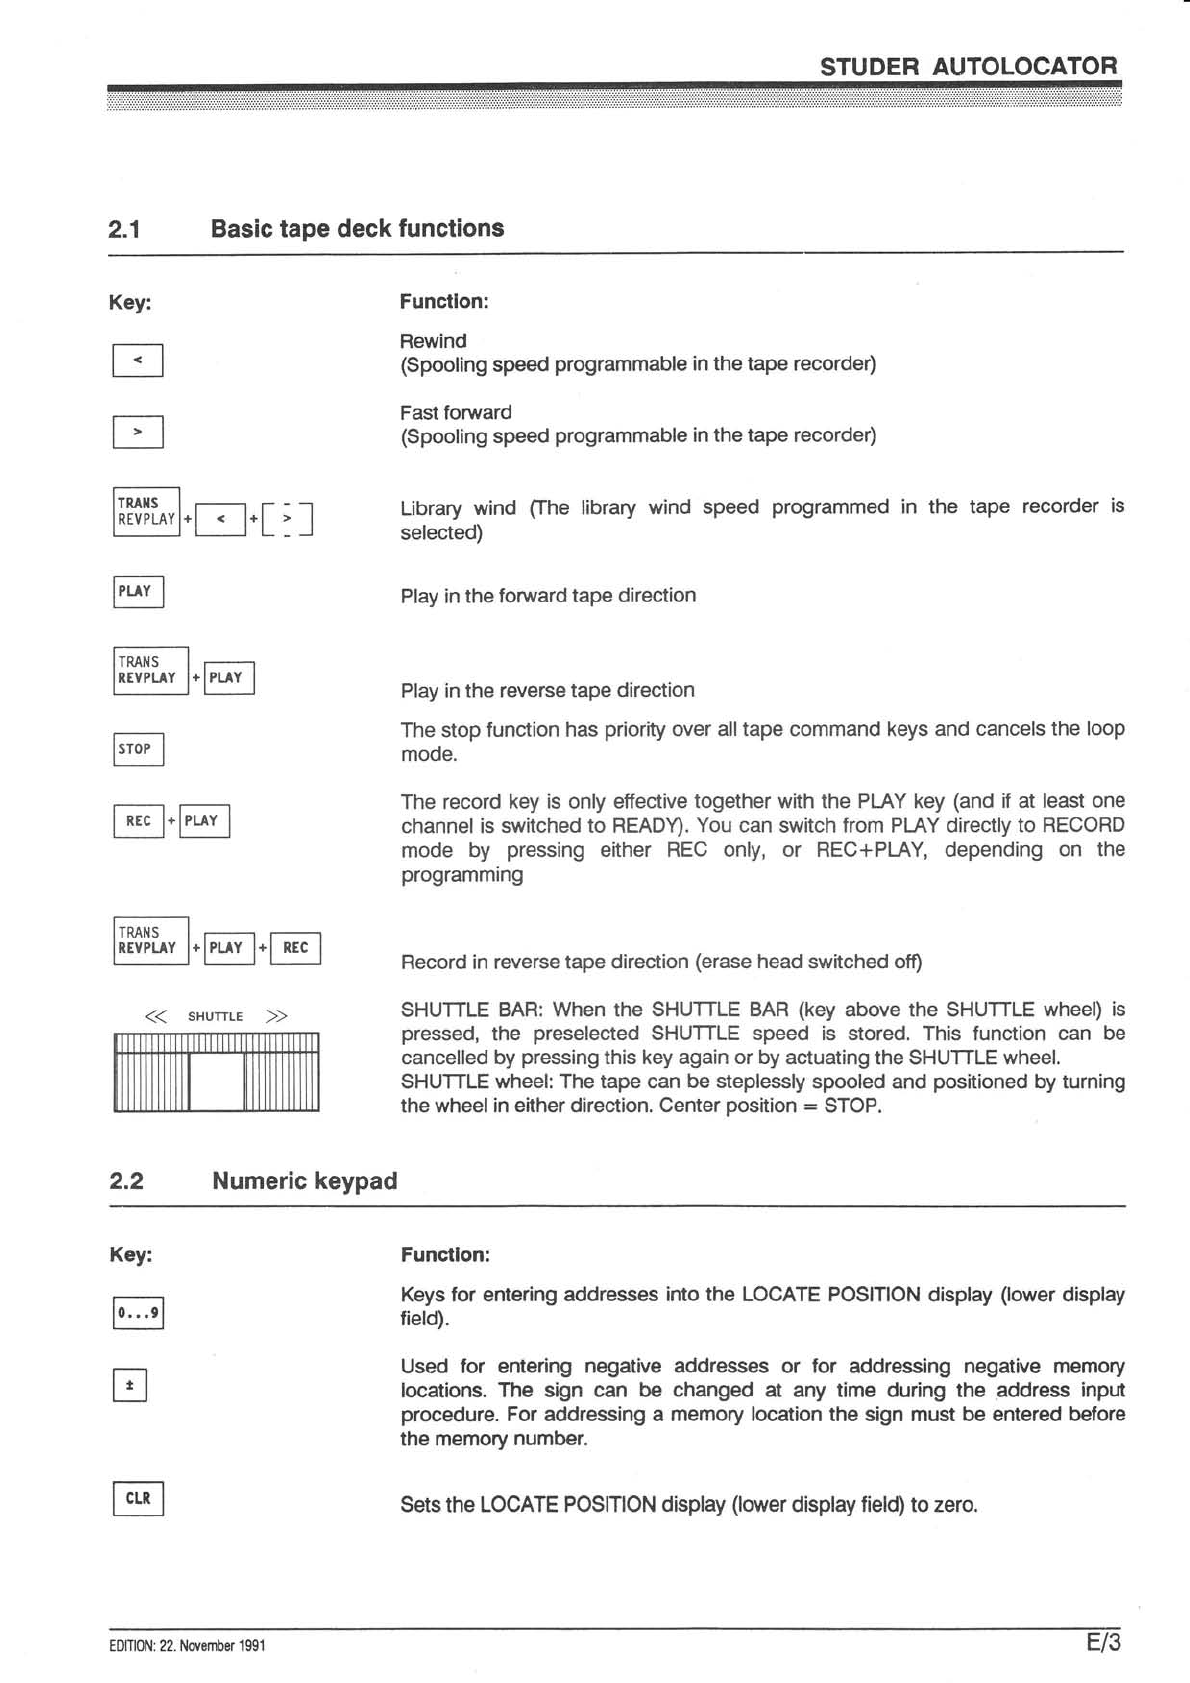
Function:
Rewind
(Spooling speed programmable in the tape recorder)
Fast fonrvard
(Spooling speed programmable in the tape recorder)
Library wind (l'he library wind speed
selected)
Play in the foruard tape direaion
programmed in the tape recorder is
Play in the reverse tape direction
The stop function has priority over alltape command keys and cancels the loop
mode.
The record key is only effective together with the P[-AY key (and if at least one
channel is switched to READY). You can switch from Pl-{Y directly to RECORD
mode by pressing either REC only, or REC+PIAY, depending on the
programming
Record in reverse tape direction (erase head switched off)
SHUTTLE BAR: When the SHUTTLE BAR (key above the SHUTTLE wheel) is
pressed, the preselected SHUTTLE speed is stored. This function can be
cancelled by pressing this key again or by actuating the SHUTTLE wheel.
SHUTTLE wheel: The tape can be steplessly spooled and positioned by turning
the wheel in either direction. Center position = STOP.
Key:
r
tr
Functlon:
Keys for entering addresses into the LOCATE POSITION display (lower display
field).
Used for entering negative addresses or for addressing negative memory
locations. The sign can be changed at any time during the address input
procedure. For addressing a memory bcaion the sign must be entered belore
the memory number.
Setsthe LOCATE POSITION display (lower display field) to zero.
ED|T|ON: 22. November 1991 El3
STUDER AUTOLOCATOR '.üf :ümü:nit!ffi :+iinii:i:ifl iääääffi .ätää:#:ää:äiffi
2.3 LAP counter
Key:
r
2.4 Memory reset keys
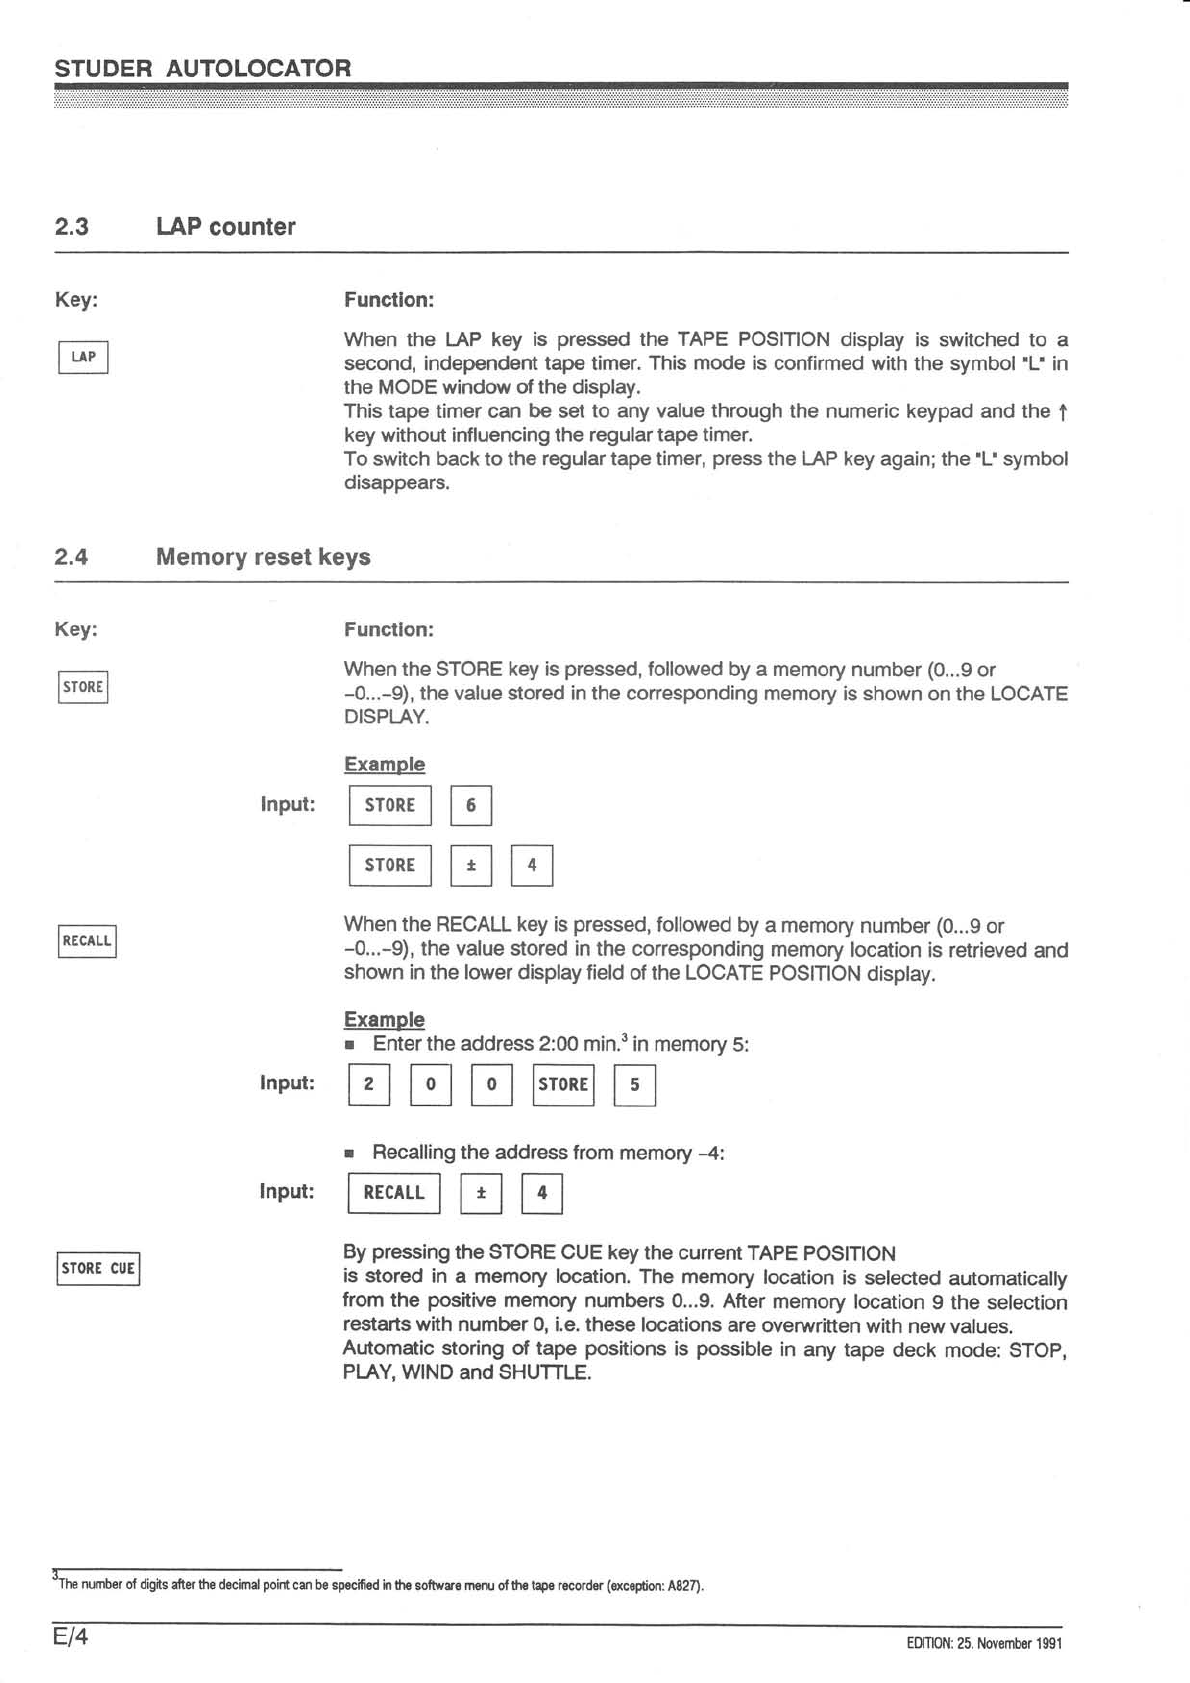
Function:
When the LAP key is pressed the TAPE POSITION display is switched to a
second, independent tape timer. This mode is confirmed with the symbol 'L' in
the MoDE window of the display.
This tape timer can be set to any value through the numeric keypad and the t
key without influencing the regular tape timer.
To switch back to the regular tape timer, press the l-AP key again; the'L' symbol
disappears.
Key:
@
Example
@
I 'r--1
Function:
When the STORE key is pressed, followed by a memory number (0.,.9 or
-0...-9), the value stored in the corresponding memory is shown on the LOCATE
DISPLAY.
When the RECALL key is pressed, followed by a memory number (0...9 or
-0...-9), the value stored in the corresponding memory location is retrieved and
shown in the lower display field of the LOCATE POSITION disptay.
Example
r Enter the address 2:00 min.3 in memory 5:
tr
tr
lnput:
rnpur: trtrtr@tr
r Recalling the address from memory -4:
rnput: FE.^"] tr tr
By pressing the STORE CUE key the current TAPE POSIT|ON
is stored in a memory location. The memory location is selected automatically
from the positive memory numbers 0...9. After memory location g the selection
restarts with number 0, i.e. these locations are ovenrritten with new values.
Automatic storing of tape positions is possible in any tape deck mode: STOP,
PI4Y, WIND and SHUTTLE.
lThe number of digits after tre docimal point can be specifiod h the softraro monr of tho tape rocordor (o<ception: A827).
El4 EDlTl0N: 25. ltlovenüer 1991
STUDER AUTOLOCATOR
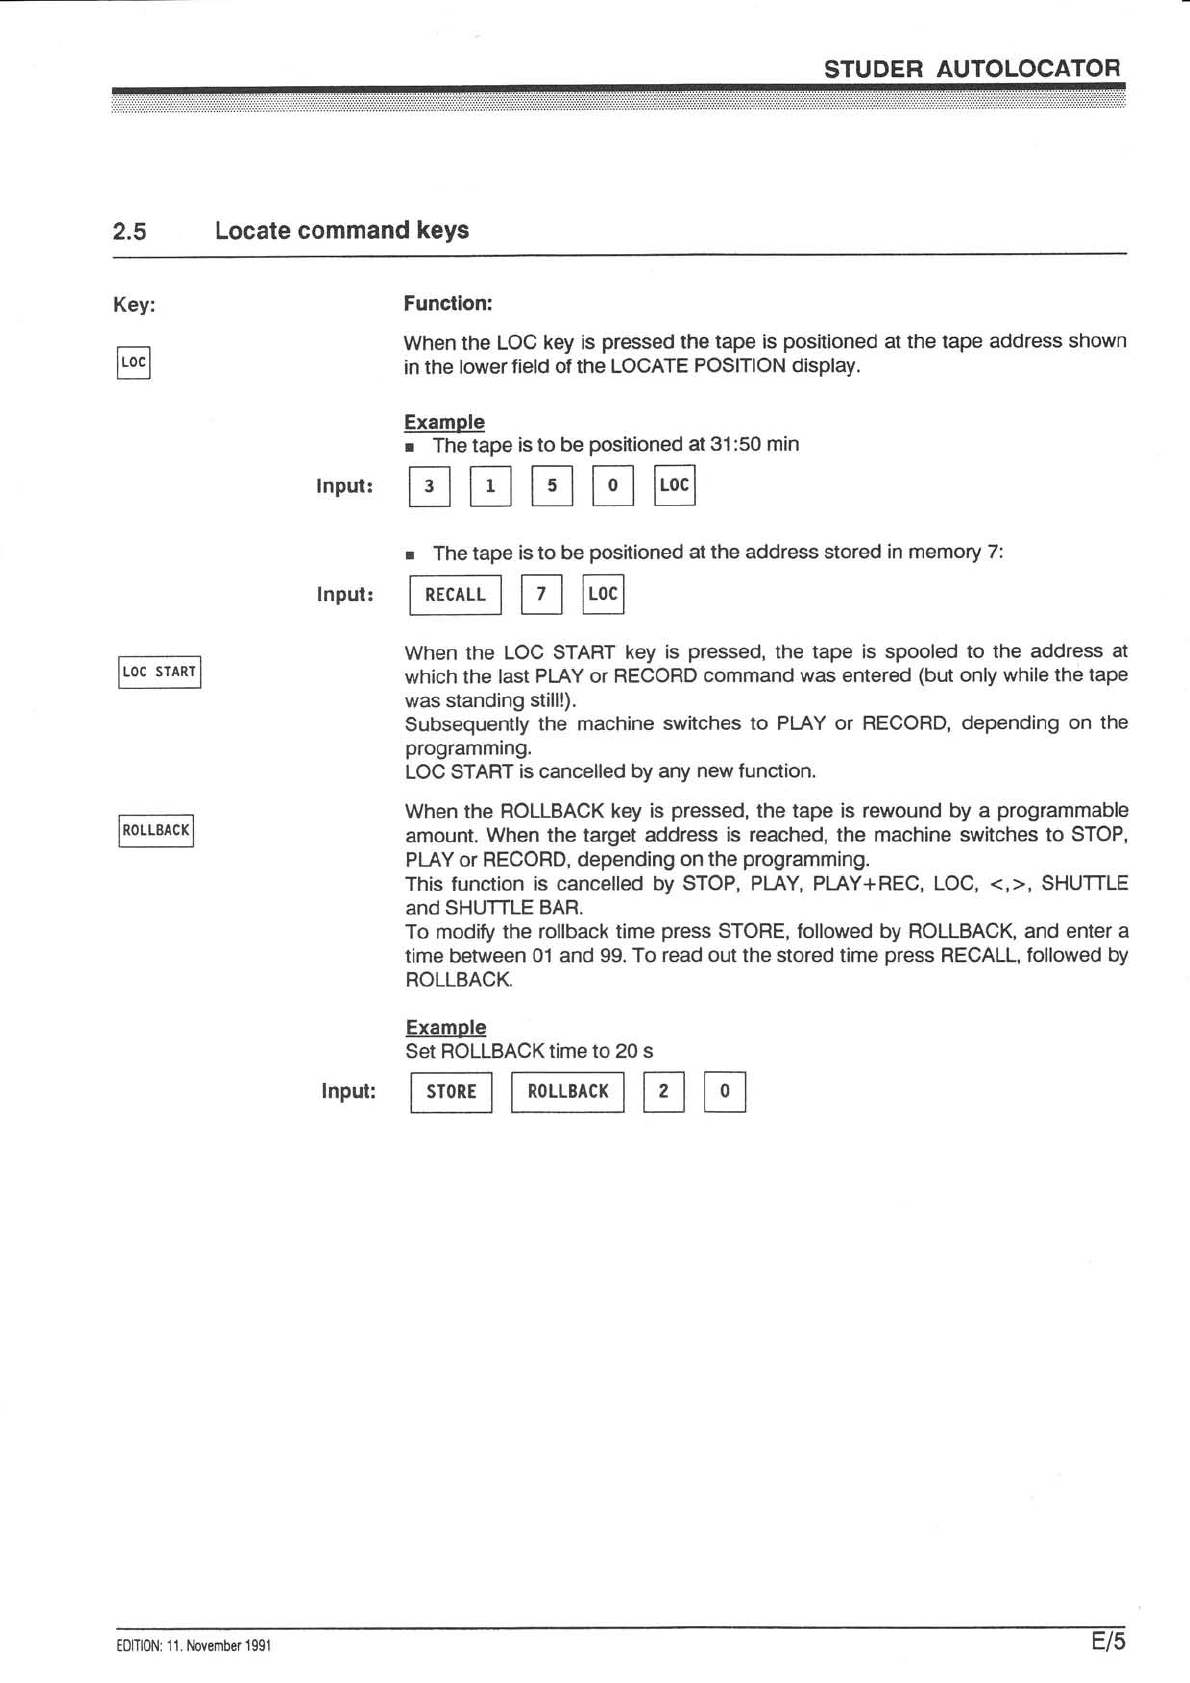
2.5 Locate command keys
Key:
tr Function:
When the LOC key is pressed the tape is positioned at the tape address shown
in the lowerfield of the LOCATE POSITION display.
Example
r The tape is to be positioned at 31:50 min
Input: [*ü"-l tr E
rnput: EF-"-Etrtr
rnput: trtrtrtrtr
r The tape is to be positioned at the address stored in memory 7:
When the LOC START key is pressed, the tape is spooled to the address at
which the last PI-AY or RECORD command was entered (but only while the tape
was standing still!).
Subsequently the machine switches to PI-AY or RECORD, depending on the
programming.
LOC START is cancelled by any new function.
When the ROLLBACK key is pressed, the tape is rewound by a programmable
amount. When the target address is reached, the machine switches to STOP,
PISY or RECORD, depending on the programming.
This function is cancelled by STOP, PI-AY, PI,AY+REC, LOC, <,>, SHUTTLE
and SHUTTLE BAR.
To modify the rollback time press STORE, followed by ROLLBACK, and enter a
time between 01 and 99. To read out the stored time press RECALL, followed by
ROLLBACK.
Example
Set ROLLBACK time to 20 s
EDlTl0N: 11. November 1991 Et5

STUDER AUTOLOCATOR
2.6 LOCl...4 and VARISPEED command keys
Key: Functlon:
When this key is pressed, the tape recorder searches the tape position that is
stored in the corresponding memory. The tape position and the corresponding
memory number are shown on the LOCATE POSITION display.
lnput:
The SHIFT key assigns to the LOC1.,.LOC4 keys the functions for controlling the
variable tape speed (VARISPEED). The red LED above the SHIFT key indicates
the SHIFT state. On the LOCATE POSITION display the tape speed of the
machine is shown in ips (inches per second).
Each of these 4 LOC memories is loaded by pressing the TRANS/REV PIAY key
and the corresponding LOC key. Possible values are those shown in the lower
display.
Note: LOC 1 ...4 are the same memory locations that can also be accessed via the
numeric keypad.
This key activates the variable tape speed adjustment. When the red LED above
the key is light, you can vary the tape speed by means of the UP > > DOWN < <
keys. ln this mode the LOCATE POSITION display shows the set deviation from
the nominal speed in semitones (HT) or percent (PC), depending on the display
format selected on the tape recorder. After the desired speed deviation has
been set you can terminate this function by pressing the SET VS key again, the
SET VS LED above the key switches off.
This key activates the variable tape speed operation. After this key has been
pressed the red LED above the key flashes, the tape recorder is now switched to
the speed preselected with the SET VS function. The LOCATE POSITION
display shows the current tape speed of the tape recorder in ips.
Note: Also while the VARISPEED function is active the SHIFT mode can be cancelled
by pressing the SHIFT key; the red LED above the SHIFT key switches off, the
yellow LED lights up. The red V SPEED LED continues to flash to indicate the
VARISPEED mode. However, the LOCATE POSITION display now shows again
the last selected LocATE PoslTloN.
The SINGLE LOOP key can be set to INSTANT LOOP by simple reprogramming
in the menu of the tape recorder (F259: SINGLE LOOP MODE A).
When the INSTANT LOOP key is pressed, the loop mode is activated
immediately. The loop is executed between the value in the lower display field
and the value in effect at the time the INSTANT LOOP key was pressed.
r 'lL' in the right-hand section of the display is light when the INSTANT LOOP
function is active.
r The smaller of the two values is always taken as the loop starting address.
r The loop can be executed in PLAY or RECORD mode,
r The loop is cancelled as soon as any new function is entered.
Example
r;Tl
E/6 EDfT|ON: 25. November .l991
This manual suits for next models
4
Table of contents
Languages:
Other Studer Music Equipment manuals


