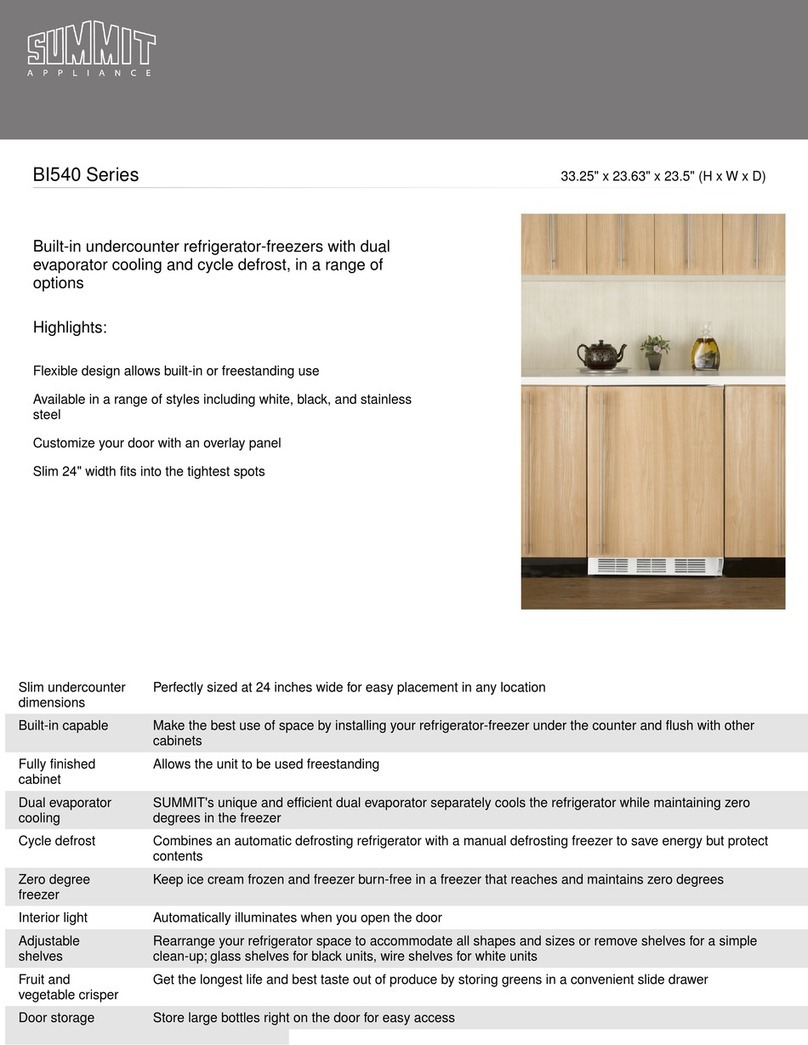
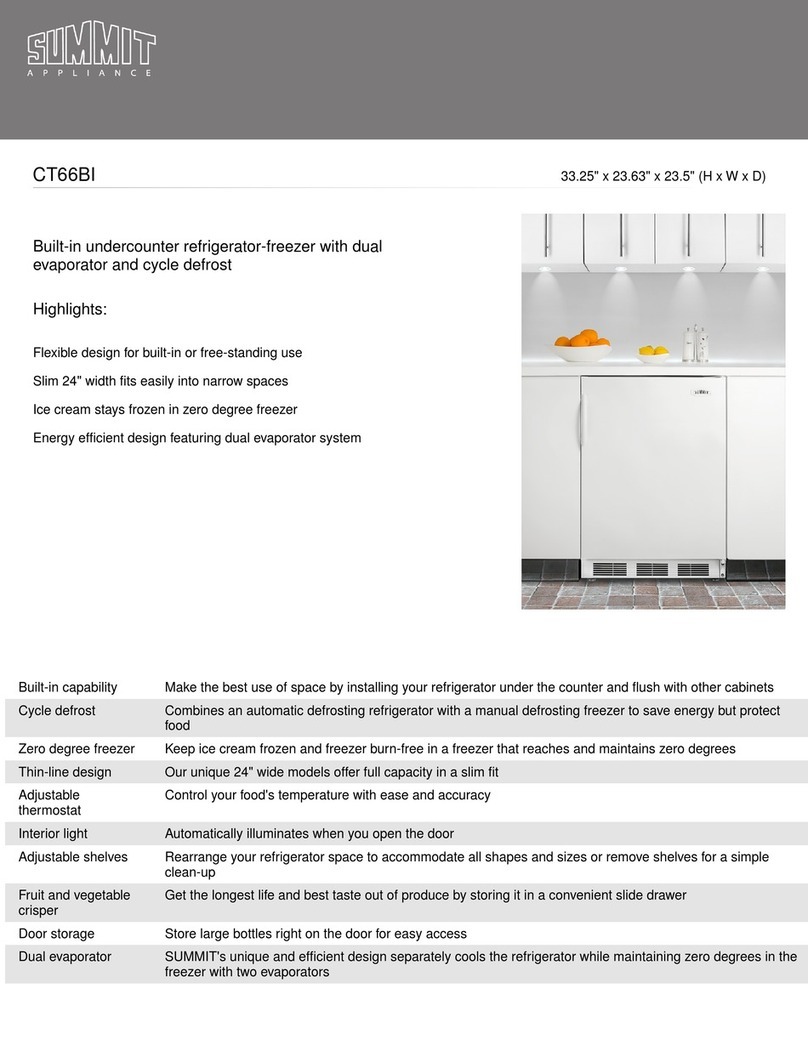
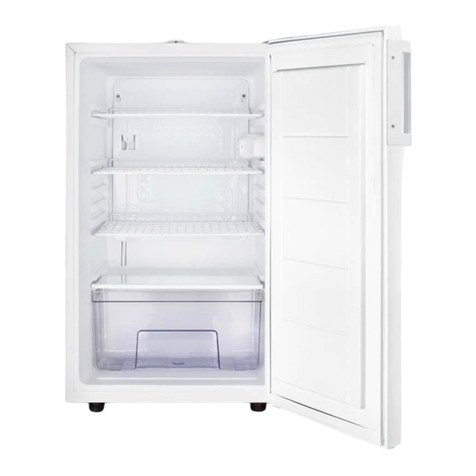
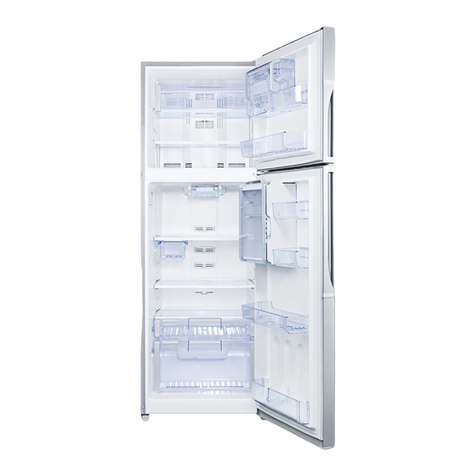
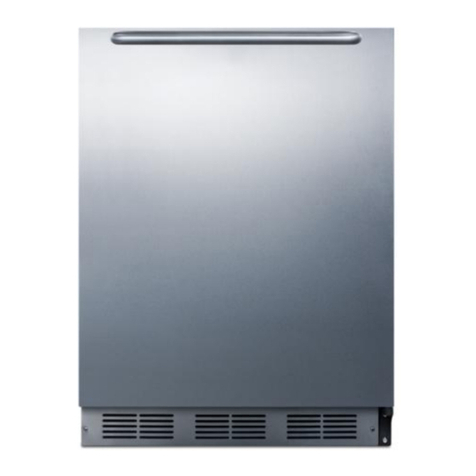
Summit FF1091WIM User manual

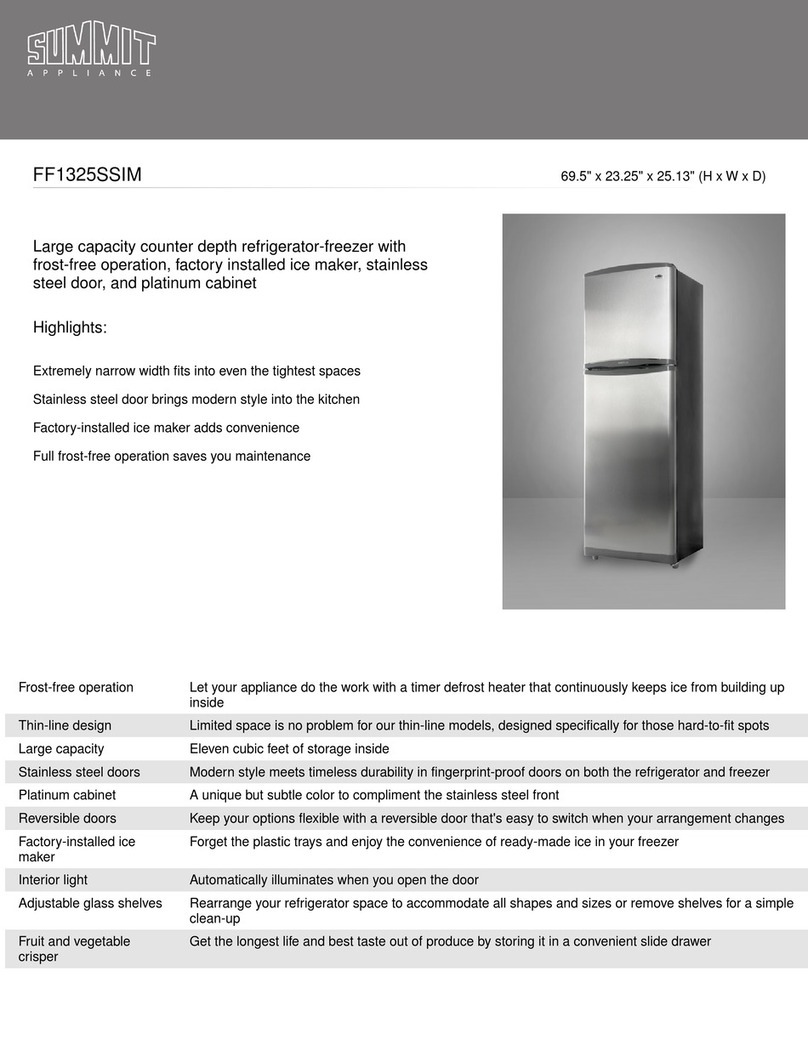
FF1293SSIM
65" x 23.5" x 27.63" (H x W x D)
24" wide 12 cu.ft. frost-free refrigerator-freezer in a
stainless steel look with factory installed icemaker
Highlights:
True frost-free operation saves you maintenance by
preventing icy buildup
Keep a constant supply of ice with a factory installed
icemaker in the freezer
Includes adjustable glass shelves
Product Features:
Frost-free operation No-frost convenience for reduced user maintenance
Large capacity 12 cu.ft. interior to meet all your storage needs
Thin-line design Limited space is no problem for our thin-line models, designed specifically for those hard-to-fit
spots
Factory installed icemaker Forget the plastic trays and enjoy the convenience of ready-made ice in your freezer
Adjustable glass shelves Rearrange your refrigerator space to accommodate all shapes and sizes or remove shelves
for a simple clean-up
Door storage Store tall bottles and condiments right on the door for convenient access
Gallon door storage Door shelf can hold a gallon container
Crisper drawer Get the longest life and best taste out of produce by storing it in a convenient slide drawer
Humidity gauge Allows you to manage the humidity in the crisper drawer for optimum produce storage
SUMMIT APPLIANCE DIVISION, FELIX STORCH, INC. | ISO 9001:2015 Certified
770 Garrison Avenue Bronx, NY 10474 USA TEL 718-893-3900 FAX 844-478-8799 info@summitappliance.com www.summitappliance.com

FF1293SSIM Specifications:
Overview
Height of Cabinet 64.5" (164 cm)
Height to Hinge Cap 65.0" (165 cm)
Width 23.5" (60 cm)
Width with Door Open 24.25" (62 cm)
Depth 27.63" (70 cm)
Depth with door at 90° 49.38" (125 cm)
Capacity 12.0 cu.ft. (340
L)
Defrost Type Frost-Free
Door Stainless Look
Cabinet Black
US Electrical Safety UL
Canadian Electrical Safety ULC
Energy Usage/Year 428.0kWh/year
Amps 1.2
Voltage/Frequency 115 V AC/60 Hz
Weight 146.0 lbs. (66
kg)
Shipping Weight 156.0 lbs. (71
kg)
Parts & Labor Warranty 1 Year
Compressor Warranty 5 Years
UPC 761101078557
Refrigerator-Freezer
Door Swing RHD
Reversible Yes
Adjustable Shelves Yes
Crisper Qty 1
Crisper Finish Transparent
Crisper Cover Glass
Interior Light Yes
Refrigerator - Interior
Height 41.75" (106 cm)
Refrigerator - Interior Width 19.75" (50 cm)
Refrigerator - Interior Depth 22.5" (57 cm)
Refrigerator - Shelf Type Glass
Refrigerator - Shelf Qty 3
Refrigerator - Full Door
Shelves 1
Refrigerator - Half Door
Shelves 3
Can Storage Yes
Freezer - Interior Height 14.0" (36 cm)
Freezer - Interior Width 18.25" (46 cm)
Freezer - Interior Depth 19.0" (48 cm)
Freezer - Shelf Type Wire
Freezer - Shelf Qty 1
Freezer - Full Door Shelves 2
Gallon Door Storage Yes
Thermostat Type Digital + Dial
Fan Type Interior
Refrigerant Type R600a
Refrigerant Amount 1.41 oz.
High Side PSI 320.0
Low Side PSI 120.0
Level Legs 2
Compressor Step Height 9.5" (24 cm)
Compressor Step Width 19.75" (50 cm)
Compressor Step Depth 7.0" (18 cm)
SUMMIT APPLIANCE DIVISION, FELIX STORCH, INC. | ISO 9001:2015 Certified
770 Garrison Avenue Bronx, NY 10474 USA TEL 718-893-3900 FAX 844-478-8799 info@summitappliance.com www.summitappliance.com

U.S. Government Federal law prohibits removal of this label before consumer purchase.
Refrigerator-Freezer
• Automatic Defrost
• Top-Mounted Freezer
• Automatic Icemaker
• No through-the-door ice
Felix Storch, Inc.
Model FF1293SSIM
Capacity: 12.0 Cubic Feet
Compare ONLY to other labels with yellow numbers.
Labels with yellow numbers are based on the same test procedures.
Estimated Yearly Energy Cost
$55
Cost Ranges
Models with
similar features
All models
Cost range not available
$30 $63
428kWh
Estimated Yearly Electricity Use
•Your cost will depend on your utility rates and use.
•Both cost ranges based on models of similar size capacity.
•Models with similar features have automatic defrost, top-mounted freezer, automatic
icemaker, and no through-the-door ice.
•Estimated energy cost based on a national average electricity cost of 12.9 cents per kWh.
ftc.gov/energy


HOUSEHOLD REFRIGERATOR
Models:
FF1091WIM
LRF101WIM
FF1093SSIM
LRF103SIM
FF1293SSIM
LRF129SIM
User Manual
BEFORE USE, PLEASE READ AND FOLLOW ALL SAFETY RULES AND OPERATING INSTRUCTIONS.
Write Model and Serial Nos. (on lower left
corner of inside cabinet) here:
Model No.: _______________________
Serial No.: _______________________
Felix Storch, Inc.
An ISO 9001:2015 registered company
770 Garrison Ave
Bronx, New York 10474
www.summitappliance.com

2
TABLE OF CONTENTS
Equipment Safety 3
Important Safeguards 3-4
Installation Instructions 6-9
Before Using your Appliance 6
Installing your Appliance 6
Electrical Connection 6
Connecting the Water Line 7
Reversing the Door Swing 8-9
Operating your Appliance 10
Setting the Refrigerator Temperature 10
Setting the Freezer Temperature 10
Using the Ice Maker 10
Defrosting 10
Care and Maintenance 11
Cleaning your Appliance 11
Power Failure 11
Vacations 11
Troubleshooting 12
Limited Warranty 14

3
EQUIPMENT SAFETY
Your safety and the safety of others are very important.
We have provided many important safety messages in this manual and on your unit. Always
read and obey all safety messages.
This is the Safety Alert Symbol. The symbol alerts you to potential hazards that can
kill or injure you and others. All safety messages will follow the Safety Alert Symbol
and either the words "DANGER" or "WARNING".
DANGER means that failure to heed
this safety statement may result in
severe personal injury or death.
WARNING means that failure to heed
this safety statement may result in
extensive product damage, serious
personal injury, or death.
All safety messages will alert you about the potential hazard, tell you how to reduce the
chance of injury, and let you know what can happen if the instructions are not followed.
IMPORTANT SAFEGUARDS
Before the equipment is used, it must be properly positioned and installed as
described in thismanual, so read the manual carefully. To reduce the risk of fire,
electrical shock or injury when using this equipment, follow basic precautions,
including the following:
•Plug into a grounded 3-prong outlet, do not remove grounding prong, do not use an adapter, and do
not use an extension cord.
•Replace all panels before operating.
•It is recommended that a separate circuit serving only your unit be provided. Use receptacles
that cannot be turned off by a switch or pull chain.
•Never clean the equipment parts with flammable fluids. These fumes can create a fire hazard or
explosion. And do not store or use gasoline or other flammable vapors and liquids in the vicinity of
this or any other pieces of equipment. The fumes can create a fire hazard orexplosion.
•Before proceeding with cleaning and maintenance operations, make sure the power line of the
unit is disconnected.
•Do not connect or disconnect the electric plug when your hands are wet.
•Unplug the unit or disconnect power before cleaning or servicing. Failure to do so can result in
electrical shock or death.
•Do not attempt to repair or replace any part of your unit unless it is specifically recommended in
this manual. All other servicing should be referred to a qualifiedtechnician.
•This unit is CFC- and HFC-free and contains a small quantity of Isobutane (R600a), which is
environmentally friendly but flammable. It does not damage the ozone layer, nor does it increase the
greenhouse effect. care must be taken during transportation and setting up of the unit that no parts of
the cooling system are damaged. leaking coolant can ignite and may damage theeyes.

4
•In the event of any damage:
oAvoid open flames and anything that creates a spark,
oDisconnect from the electrical power line,
oAir the room in which the unit isolated for several minutes,and
oContact the Service Department for advice.
•The more coolant there is in a unit, the larger the room it should be installed in. In the event of a
leakage, if the unit is in a small room, there is the danger of combustible gases building up. For every
ounce of coolant, at least 325 cubic feet of room space is required. The amount of coolant in the unit
is stated on the data plate inside the unit. It is hazardous for anyone other than an Authorized Service
Person to carry out servicing or repairs to this piece of equipment.
•Take serious care when handling, moving, and using the unit to avoid either damaging the refrigerant
tubing or increasing the risk of a leak.
•Replacing component parts and servicing shall be done by factory authorized service personnel so as
to minimize the risk of possible ignition due to incorrect parts or improperservice.
•FOLLOW WARNING CALLOUTS BELOW ONLY
WHEN APPLICABLE TO YOUR MODEL
•Use two or more people to move and install unit. Failure to do so can result in back or other injury.
•To ensure proper ventilation for your unit, the front of the unit must be completely unobstructed.
Choose a well-ventilated area with temperatures above 60°F (16°C) and below 90°F (32°C). [For
optimal performance, install the unit where the ambient temperature is between 72º and 78ºF (23º-
26ºC).] This unit must be installed in an area protected from the elements, such as wind, rain, water
spray or drips.
•The unit should not be located next to ovens, grills or other sources of high heat.
•The unit must be installed with all electrical, water and drain connections in accordance with state and
local codes. A standard electrical supply (115 V AC only, 60 Hz), properly groundedin accordance
with the National Electrical Code and local codes and ordinances, is required.
•Do not kink or pinch the power supply cord of the unit.
•The size of the fuse (or circuit breaker) should be 15 amperes.
•It is important that the equipment be leveled in order to work properly. You may need to make several
adjustments to level it.
•All installations must be in accordance with local plumbing code requirements.
•Make certain that the pipes are not pinched, kinked or damaged during installation.
•Check for leaks after connection.
•Never allow children to operate, play with or crawl inside the unit.
•Do not use solvent-based cleaning agents or abrasives on the interior. These cleaners may damage
or discolor the interior.
•Use this equipment only for its intended purpose as described in this InstructionManual.
•Keep fingers out of the “pinch point” areas. Clearances between the door and cabinet are necessarily
small. Be careful closing the door when children are in thearea.
Risk of child entrapment!
Child entrapment and suffocation are not problems of
the past. Junked or abandoned appliances are still dangerous, even if they will “just sit in the
garage a few days.”
Before discarding your old refrigerator:
o
Take off the doors
o
Leave the shelves in place so that children may not easily climbinside
- SAVE THESE INSTRUCTIONS –
5
LOCATION OF PARTS
FF1091WIM/LRF101WIM
FF1293SSIM/LRF129SIM
FF1093SSIM/LRF103SIM
1. Ice maker (on some models)
6. Crisper cover
2. Ice bucket (on some models)
7. Crisper drawer
3. Shelves
8. Door rack
4. Freezer control
9. Can rack
5. Lamp and Refrigerator control
10. Door shelves
NOTE: The refrigerator you purchased may differ slightly with the model depicted in this manual.
However, the functions and operating methods will not change.

6
INSTALLATION INSTRUCTIONS
Before Using Your Appliance
•Remove the exterior and interior packing.
•Before connecting the freezer to the power source, let it stand upright for approximately 2 hours.
This will reduce the possibility of a malfunction in the cooling system from handling during
transportation.
•Clean the interior surface with lukewarm water using a soft cloth.
Installing Your Appliance
•This appliance is designed to be free standing only, and should not be recessed or built-in.
•Place your freezer on a surface that is strong enough to support it when it is fully loaded. To level
your appliance, adjust the leveling leg at the bottom of the freezer.
•Allow about 4” (10cm) of space at the back and sides of the appliance and 4” at the top. This will
allow proper air circulation to cool the compressor.
•Locate the appliance away from direct sunlight and sources of heat (oven, heater, radiator, etc.).
Direct sunlight may affect the acrylic coating and heat sources may increase electrical
consumption. Extremely cold ambient temperatures may also cause the freezer not to perform
properly.
•Avoid locating the appliance in moist areas.
•Plug the appliance into an exclusive, properly installed and grounded wall outlet. Do not under
any circumstances cut or remove the third (ground) prong from the power cord. Any questions
concerning power and/or grounding should be directed toward a certified electrician or an
authorized service center.
•After plugging the appliance into a wall outlet, allow the unit to cool down for 2-3 hours before
placing items inside the cabinet.
Electrical Connection
•This appliance should be properly grounded for your safety. The power cord is equipped with a
three-pin plug that mates with standard three-prong wall outlets to minimize the possibility of
electrical shock.
•Do not under any circumstances cut or remove the third ground prong from the power cord
supplied.
•This freezer requires a standard 115Volts AC ~ 60Hz electrical outlet with three-prong grounded
receptacle.
•To prevent accidental injury, the cord should be secured behind the appliance and not left
exposed or dangling.
•Never unplug the freezer by pulling the power cord. Always grip the plug firmly and pull straight
out from the receptacle.
•Do not use an extension cord with this appliance. If the power cord is too short, have a qualified
electrician or service technician install an outlet near the appliance.

7
Connecting the Water Line
•Connecting your unit to a water line will require:
oAdjustable flat wrench
oFlat head screwdriver
oPhillips head screwdriver
oShutoff valve (DO NOT use a self-piercing shutoff valve)
oCompression nut and ferrule (sleeve)
•You will also require access to a household cold water line with water pressure between 20 and
120psi.
•A ¼” (6.4mm) water supply line, made of copper tubing, is preferred. To determine the length of
the copper tubing, measure the distance from the ice maker inlet valve at the back of the
refrigerator to your cold-water pipe. Then, add approximately 7’ (2.1 meters), to allow for the
refrigerator to be moved when cleaning.
NOTE: Before connecting the water line to the unit, be sure the unit is not connected to a power
source.
1. Place the end of the water supply line
into a sink or bucket. Turn the water
supply ON and flush supply line until the
water is clear.
2. Turn the water supply OFF at shut off valve.
3. Remove the plastic flexible cap from the
water valve inlet.
4. Place the compression nut and
ferrule(sleeve) onto the end of the tubing.
5. Insert the end of the copper tubing into
the connection as far as possible. While
holding the tubing, tighten the fitting.
6. Turn the water supply ON at shutoff
valve, and tighten any connections that
leak.

8
Reversing the Door Swing
NOTE: For safety, it is recommended at least two people are present when reversing the direction of
the door swing.
You may choose to open your unit from the right or the left side. To reverse the direction of your
door opening, follow the steps below.
CAUTION: Before reversing the direction of the door swing, disconnect the unit from the power
source.
In addition to the accessories packed with the unit, you will need:
•Medium-sized Phillips head screwdriver
•Small, flathead screwdriver
1. Remove the hinge cover with a Phillips head screwdriver, approaching the cover from the back.
Save the hinge covers.
2. Remove the three hinge screws, and save them for later use.
3. Push the top hinge forward, carefully remove the door, and set aside.
NOTE: Set the upper door on a soft cloth to prevent any scratching or damage when not installed on
the unit.
4. Pry the screw cover cap off of the opposite side of the door hinge to uncover the screw hinge
holes.
5. Replace the screw cover cap to cover the holes created by removing the door hinge. This will
require some force.

9
6. Open the bottom door.
7. Remove the two screws from the middle hinge,
and save these screws.
8. Remove the middle hinge.
9. Lift the bottom door off of the lower hinge, and
set it aside.
NOTE: Set the lower door on a soft cloth to prevent
any scratching or damage when not installed
on the unit.
10. Pry the screw cover caps off of the opposite screw holes, and replace them into the holes
created by removing the middle door hinge. This will require some force.
11. Carefully tip the unit backward slightly. Remove the two front feet, and then remove the bottom
hinge.
12. Move the bottom hinge to the opposite side of the unit, then reinstall the front feet.
13. Flip the two bottom hinge bolts.
14. Remove the fixed plate hinge from the bottom of the
door, and reinstall it on the opposite side.
15. Set the bottom door onto the outside bolts of the lower
hinge.
16. Holding the bottom door, flip the middle hinge and
attach it onto the bottom door. Secure it with screws.
17. Remove the door closer from the bottom of the upper door, and reattach it to the opposite side.
18. Set the upper door onto the middle hinge.
19. Holding the upper door closed, attach the upper hinge to the top of the upper door and cabinet,
securing it with screws.
20. Install the hinge cover.

10
OPERATING YOUR APPLIANCE
Setting the Refrigerator Temperature
•The temperature of refrigerator can be controlled manually. However, the number shown on the
display does not directly represent the temperature. The larger the set number, the lower the
interior temperature will be.
•Initially set the refrigerator control on the middle setting (number 3). Press the SET button to
increase the set number. The set number will increase by one setting each time it is pressed and
will cycle 1 through 5.
Setting the Freezer Temperature
The freezer uses a dial thermostat to set the temperature. It will not show an
exact temperature. Turning the dial to the right (COLDER) will yield the coldest
temperature, and turning the dial to the left (COLD) will a less cold temperature.
Using the Ice Maker
Ice will start being produced between 12 and 24 hours after turning on your unit.
NOTE: Throw away the first batch of ice
The ice maker produces approximately 3 ½ pounds of ice per day, depending on the temperature of
the freezer, how often the freezer door is opened, and how many items are being stored in the
cabinet.
•Press the power button and hold for two seconds to turn the ice maker on or off.
•Make sure nothing interferes with or blocks the sensor on the ice maker.
•It is normal for some ice to get stuck. Carefully remove any stuck ice cubes. If not removed, old
ice can become opaque in color, and possibly pick up a strange flavor.
Defrosting
Your unit is equipped with an automatic defrost feature, which will be performed during normal
operation. The defrost water flows into the vaporization plate and will be vaporized by the heat of the
compressor. Make sure the unit’s drain tube is cleaned regularly.
CAUTION: Do not use mechanical devices or other means to accelerate the defrosting process.

11
CARE AND MAINTENANCE
NOTE: Be sure to unplug your unit before performing any cleaning or maintenance to prevent the
risk of electric shock.
Cleaning your Appliance
CAUTION: Cleansers such as soap powder, abrasive cleaning powder, alkali cleansers, chemical
cloth, thinner, alcohol, acid petroleum product and hot water should NOT be used for
cleaning, as they may damage the appliance.
To Clean the Interior:
1. Unplug the unit and remove the food, shelves and crisper.
2. Wash the inside surfaces with a solution of warm water and baking soda. The solution should
contain about 2 tablespoons of baking soda to a quart of water. Rinse and dry thoroughly with a
clean soft cloth.
3. Wash the shelves and crisper with a mild detergent solution. Rinse and dry.
4. Wash the outside cabinet with warm water and mild liquid detergent. Rinse well and wipe dry
with a clean soft cloth.
5. Wring excess water out of the sponge or cloth before cleaning the area of the controls, or any
electrical parts.
To Clean the Exterior:
Wipe any accumulated dust with a dry cloth. If necessary, spray warm water onto a clean cloth
instead of spraying directly onto the surface of the appliance. This helps ensure an even distribution
of moisture to the surface.
NOTE: Do not use sharp objects to clean, as it may scratch or damage the exterior.
Cleaning the Door Gasket
It is important to regularly clean the door gaskets to prevent them from becoming soiled with oils,
sauces or similar impediments, which may prevent a good seal when the doors are closed.
Power Failure
In the event of a power failure, your appliance can store food for several hours.
•Do not put additional items in the appliance
•Reduce the frequency of door openings.
Vacations
•Short vacations: Leave the freezer operating during vacations of less than three weeks, but be
sure to remove any foods which may rot during this time.
•Long vacations: If the appliance will not be used for several months, remove all food and
unplug the power cord. Clean and dry the interior thoroughly. To prevent odor and mold growth,
leave the door open slightly, blocking it open if necessary, or have the door removed. Use
extreme caution in the case of children. The unit should not be accessible to children at play.

12
TROUBLESHOOTING
You can solve many common freezer problems easily, saving you the cost of a possible service call.
Try the suggestions below to see if you can solve the problem before calling the service agent.
PROBLEM
POSSIBLE SOLUTION
The appliance does not work
It may not be connected to the power supply.
Voltage is too low.
The appliance does not work
efficiently as expected
It may be caused by heavy frost, or by a warm temperature
setting, or by frequently opening and closing the door.
The appliance makes an
unusual noise.
It may be caused by an imbalance or lose ground locating the
appliance, or by resonation between the appliance and other
ambient objects.
The compressor keeps working
for a long period of time.
The environment temperature may be too high.
The doors may be opened frequently or even they are left
open. The temperature control knob setting in (4-5)
state may increase the working time of compressor.
There is a noticeable odor
Food with strong odor should be packed tightly before being
put inside the appliance. Please check whether there is
any deteriorated item or whether the liners are left dirty for
a long time.
Water leaks from the bottom of
the appliance
The drain tube is jammed. Please use a proper tool to solve it.
Heavy frost occurs on the rear of
the appliance
Putting humid or hot food into the appliance may cause this
problem. Or it may be caused by the heavy environment
moisture.
The ice maker is not producing
ice or it is not producing
enoughice.
If it is new installation, wait 12 to 24 hours after icemaker installation
for ice production to begin. It will take 72 hours for full ice
production.
Check if the appliance is connected to a water supply or if the supply
shut off valve is turned on.
Reverse osmosis filtration systems can reduce the water pressure
below the minimum amount and result in icemaker issues.
A kink in the water line can reduce water flow. Straighten the water
source line.
Confirm the ice maker is in the ON position.
The recommended temperature for the freezer compartment for
normal ice production is 0°F. If the freezer temperature is
warmer, ice production will be affected.
If the doors are not properly closed, ice production will be affected.
If you've checked the table above and find that you still need help with your appliance, call our
Customer Service facility at 800-932-4267 between 9:00AM and 5:00PM ET. We will do our best to
answer your questions.

13
NOTES

14
LIMITED WARRANTY
ONE-YEAR LIMITED WARRANTY
Within the 48 contiguous United States, for one year from the date of purchase, when this appliance is
operated and maintained according to instructions attached to or furnished with the product, warrantor will
pay for factory-specified parts and repair labor to correct defects in materials or workmanship. Service must
be provided by a designated service company. Outside the 48 states, all parts are warranted for one year
from manufacturing defects. Plastic parts, shelves and cabinets are warranted to be manufactured to
commercially acceptable standards, and are not covered from damage during handling or breakage.
5-YEAR COMPRESSOR WARRANTY
1. The compressor is covered for 5 years.
2. Replacement does not include labor.
ITEMS WARRANTOR WILL NOT PAY FOR:
1. Service calls to correct the installation of your appliance, to instruct you how to use your appliance, to
replace or repair fuses or to correct wiring or plumbing.
2. Service calls to repair or replace appliance light bulbs or broken shelves. Consumable parts (such as
filters) are excluded from warranty coverage.
3. Damage resulting from accident, alteration, misuse, abuse, fire, flood, acts of God, improper
installation, installation not in accordance with electrical or plumbing codes, or use of products not
approved by warrantor.
4. Replacement parts or repair labor costs for units operated outside the United States.
5. Repairs to parts or systems resulting from unauthorized modifications made to the appliance.
6. The removal and reinstallation of your appliance if it is installed in an inaccessible location or is not
installed in accordance with published installation instructions.
DISCLAIMER OF IMPLIED WARRANTIES –LIMITATION OF REMEDIES
CUSTOMER'S SOLE AND EXCLUSIVE REMEDY UNDER THIS LIMITED WARRANTY SHALL BE PRODUCT REPAIR
AS PROVIDED HEREIN. IMPLIED WARRANTIES, INCLUDING WARRANTIES OF MERCHANTABILITY OR FITNESS
FOR A PARTICULAR PURPOSE, ARE LIMITED TO ONE YEAR. WARRANTOR SHALL NOT BE LIABLE FOR
INCIDENTAL OR CONSEQUENTIAL DAMAGES. SOME STATES DO NOT ALLOW THE EXCLUSION OR LIMITATION
OF INCIDENTAL OR CONSEQUENTIAL DAMAGES, OR LIMITATIONS ON THE DURATION OF IMPLIED
WARRANTIES OF MERCHANTABILITY OR FITNESS, SO THESE EXCLUSIONS OR LIMITATIONS MAY NOT APPLY
TO YOU. THIS WARRANTY GIVES YOU SPECIFIC LEGAL RIGHTS AND YOU MAY ALSO HAVE OTHER RIGHTS,
WHICH VARY FROM STATE TO STATE.
For parts and accessory ordering,
troubleshooting and helpful hints, visit:
www.summitappliance.com/support
WARNING: This product can expose you to chemicals including Nickel
(Metallic) which is known to the State of California to cause cancer.
For more information go to www.P65Warnings.ca.gov
Note: Nickel is a component in all stainless steel and some other metal compositions.
Felix Storch, Inc.
Summit Appliance Division
An ISO 9001:2015 registered company
770 Garrison Avenue
Bronx, NY 10474
www.summitappliance.com
This manual suits for next models
5
Table of contents
Other Summit Refrigerator manuals

Summit
Summit Accucold FF7LBIVAC User manual

Summit
Summit ALR47B User manual

Summit
Summit SUM-603 User manual

Summit
Summit FFBF287SSIM User manual

Summit
Summit CT66BADACSS User manual

Summit
Summit FF511LBI User manual

Summit
Summit FDRD15SS User manual

Summit
Summit X-Series User manual

Summit
Summit FF1118W Series User manual

Summit
Summit FF6L Guide
Popular Refrigerator manuals by other brands

KitchenAid
KitchenAid KBFS25EWMS Energy guide

Lamona
Lamona LAM6300 User instructions

Whirlpool
Whirlpool 2210718 Use & care guide

Bosch
Bosch B22CS50SNB - 22.0 cu. ft Use and care guide

Miele
Miele KFN 9755 IDE Operating and installation instructions

Hotpoint Ariston
Hotpoint Ariston SDS 1711 operating instructions