B
How To Replace Ozone Plates
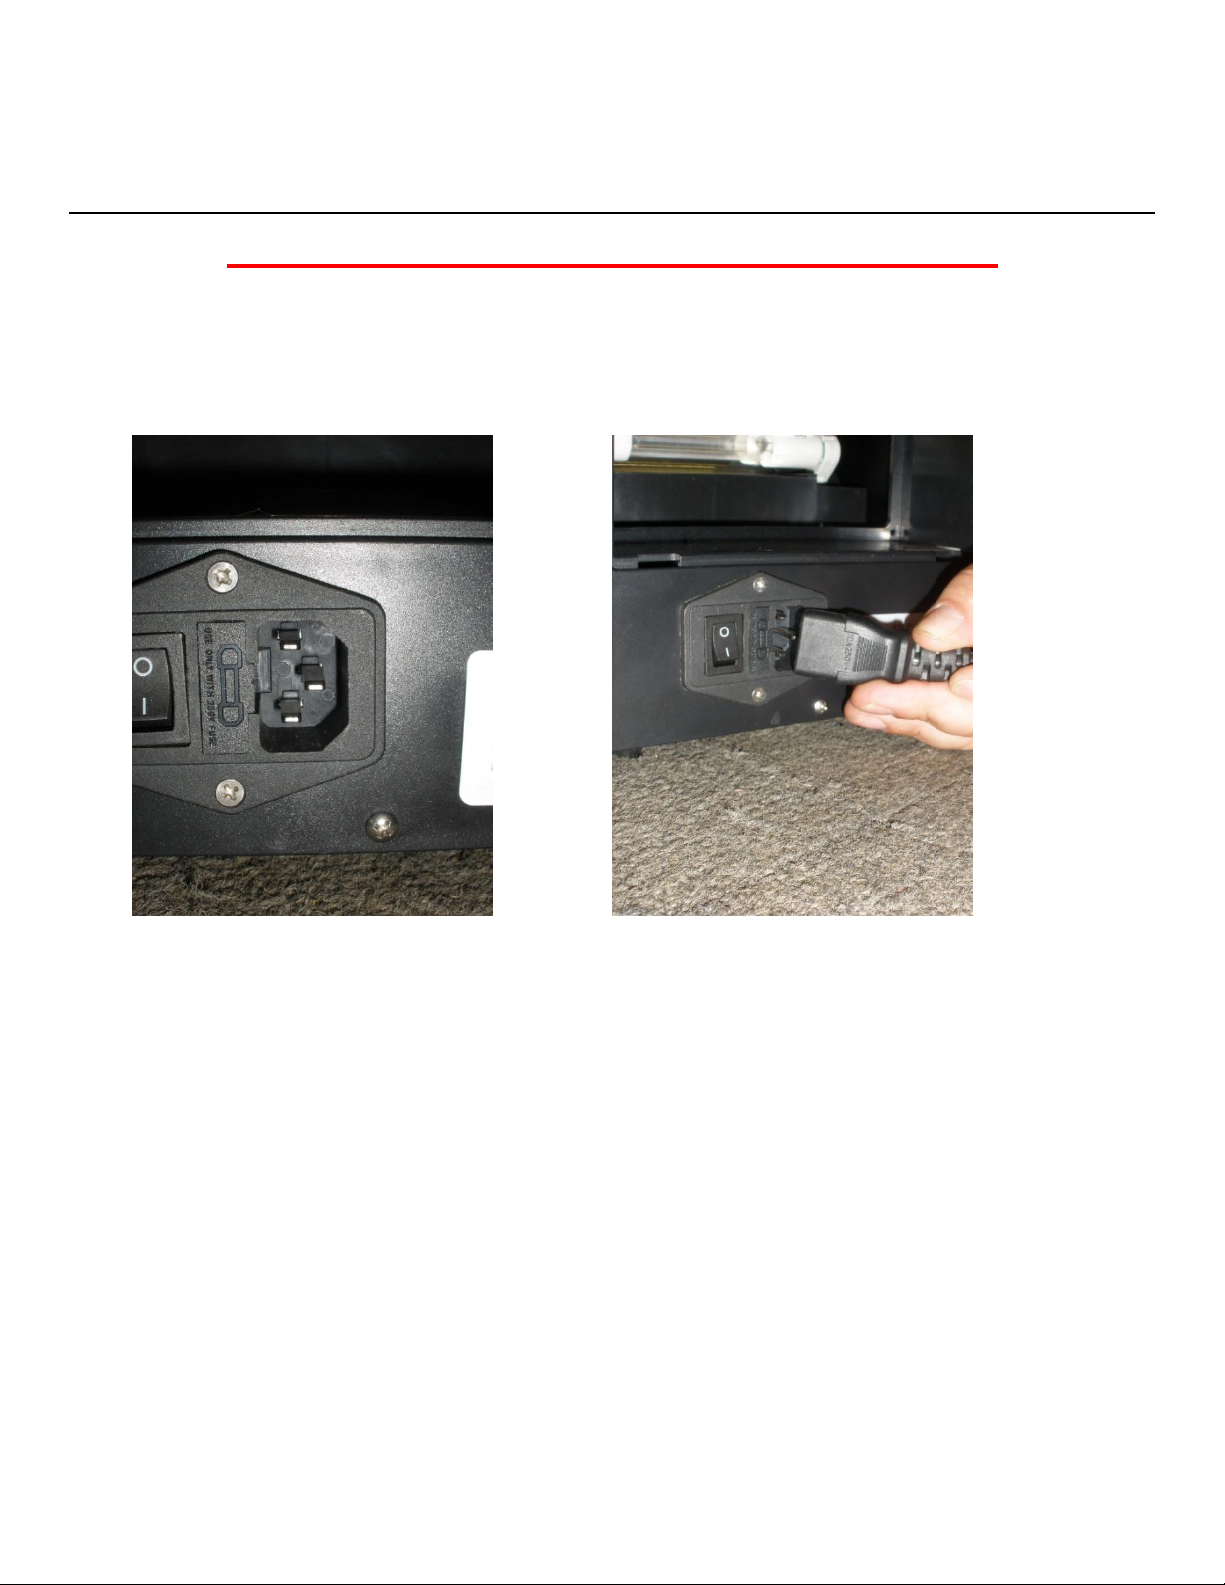
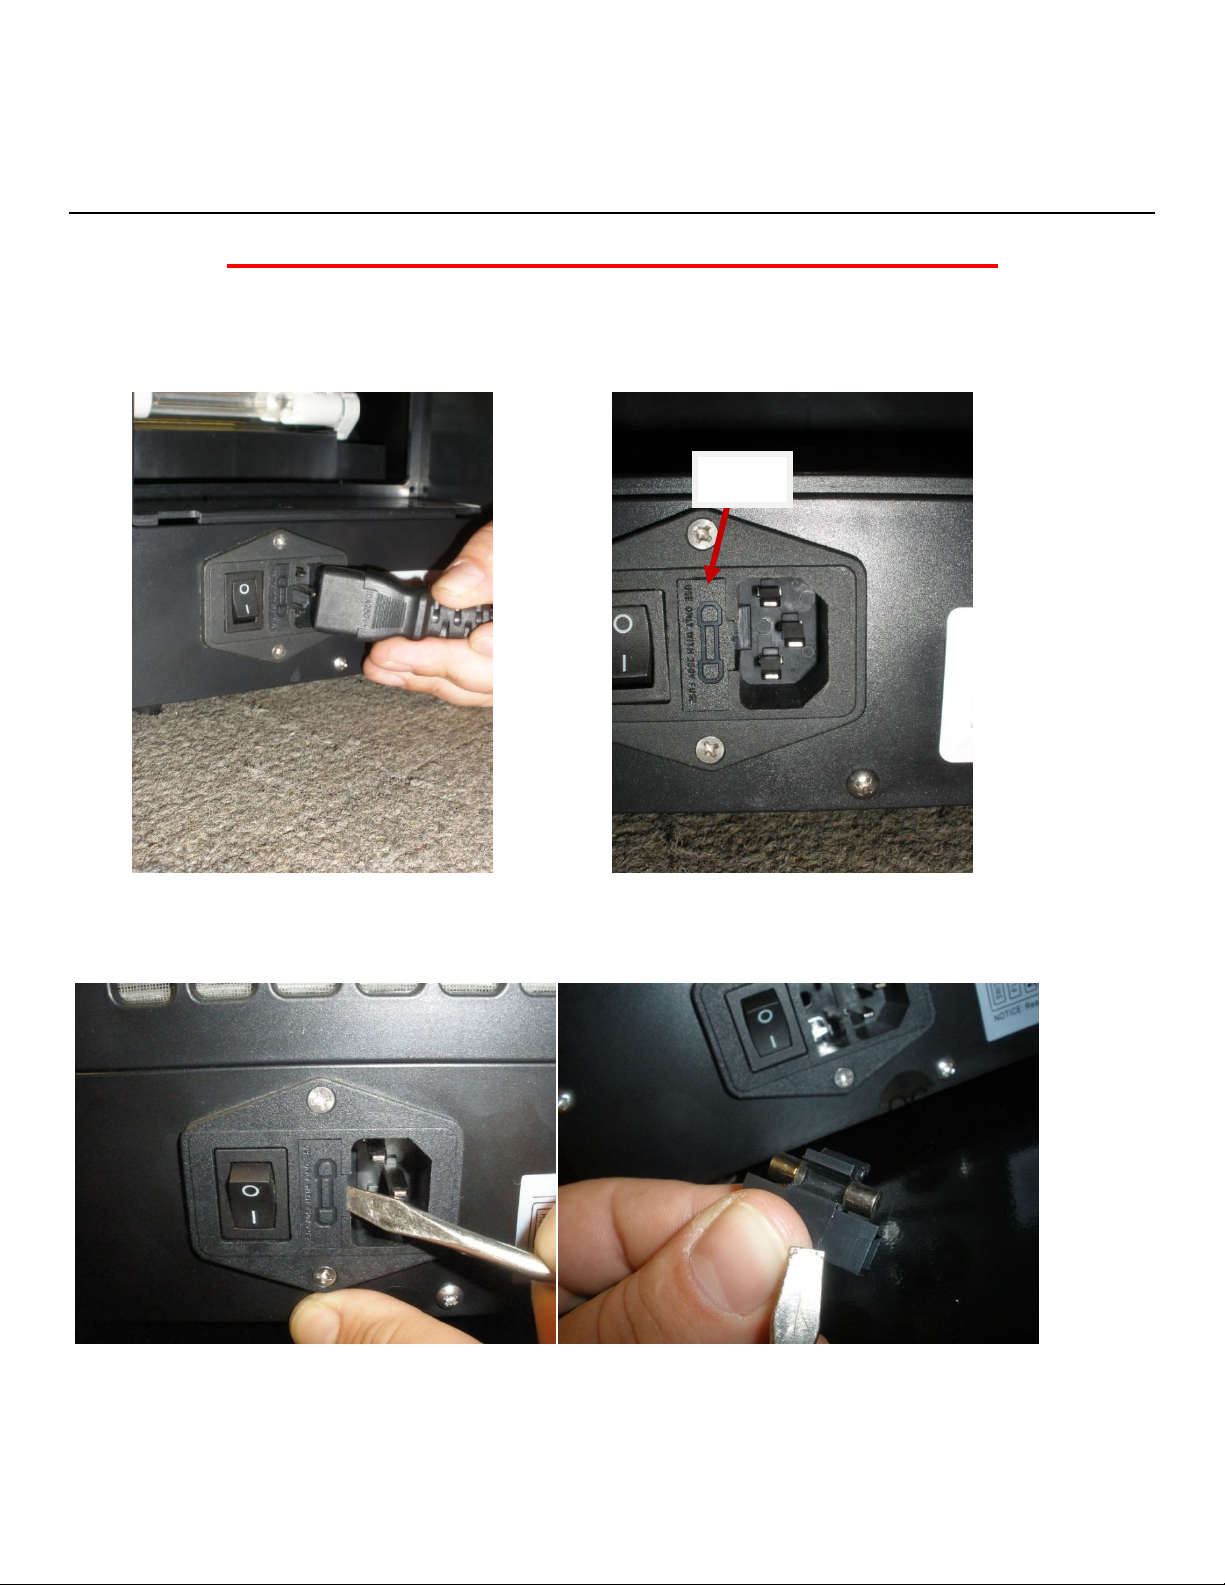
!!Unplug The Purifier Before Servicing!!
Please inspect Ozone Plates for cracks before and after washing. Each plate should be washed
in warm water before installation. Always allow the plates to properly dry before installing.
You are able to clean lightly with a soft brush and warm water as needed. Usually clean plates
once a month.
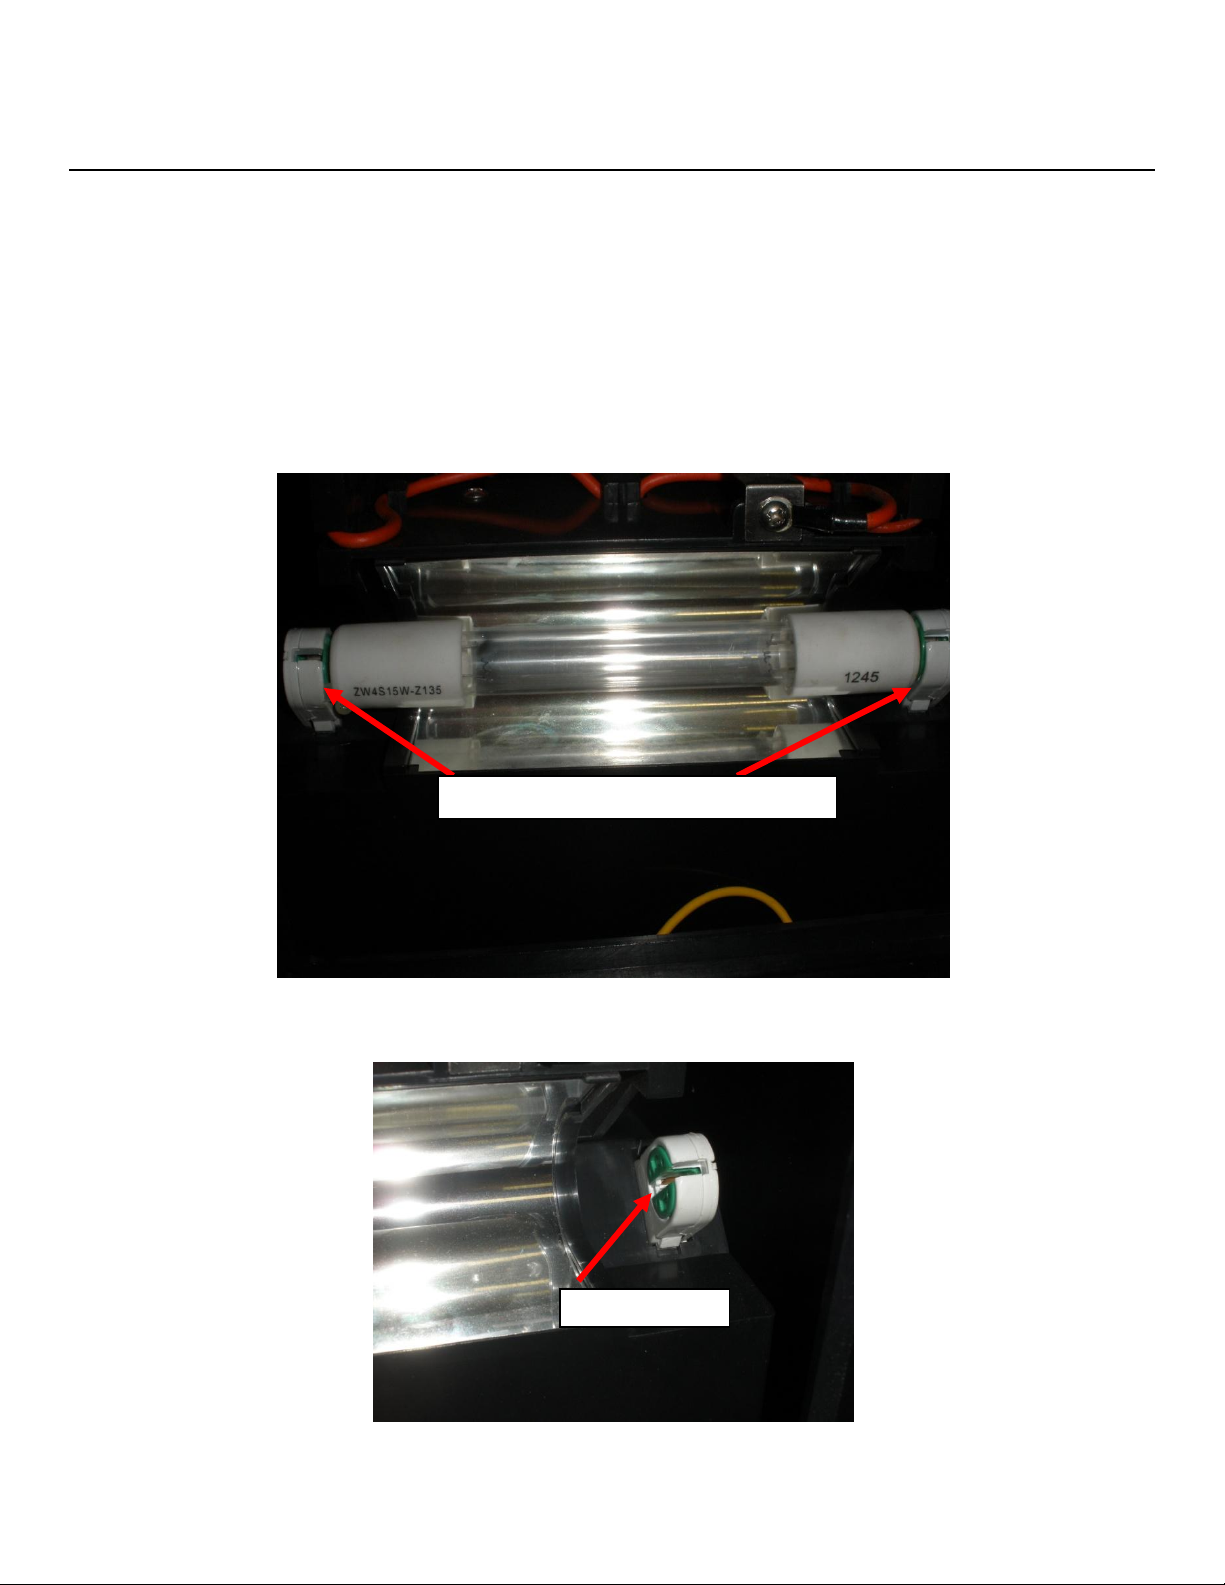
There are 2 Ozone Plates inside the Center Housing. Slide the plate out of its channel and
replace with new dry plate.
NOTE: If Ozone Plate is broken or cracked, replace before running Ozone setting.