manuals.online logo
Brands
  1. Home
  2. •
  3. Brands
  4. •
  5. Sunpak
  6. •
  7. Camera Accessories
  8. •
  9. Sunpak 6200PG User manual

Sunpak 6200PG User manual

This manual suits for next models

1

Other Sunpak Camera Accessories manuals

Sunpak Sunpak PRO 624P User manual

Sunpak

Sunpak Sunpak PRO 624P User manual

Sunpak PZ42X Flash User manual

Sunpak

Sunpak PZ42X Flash User manual

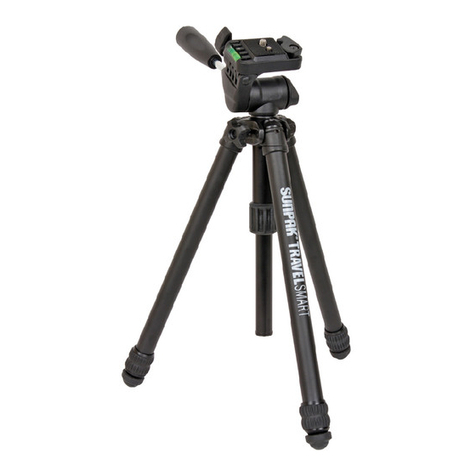
Sunpak TravelSmart User manual

Sunpak

Sunpak TravelSmart User manual

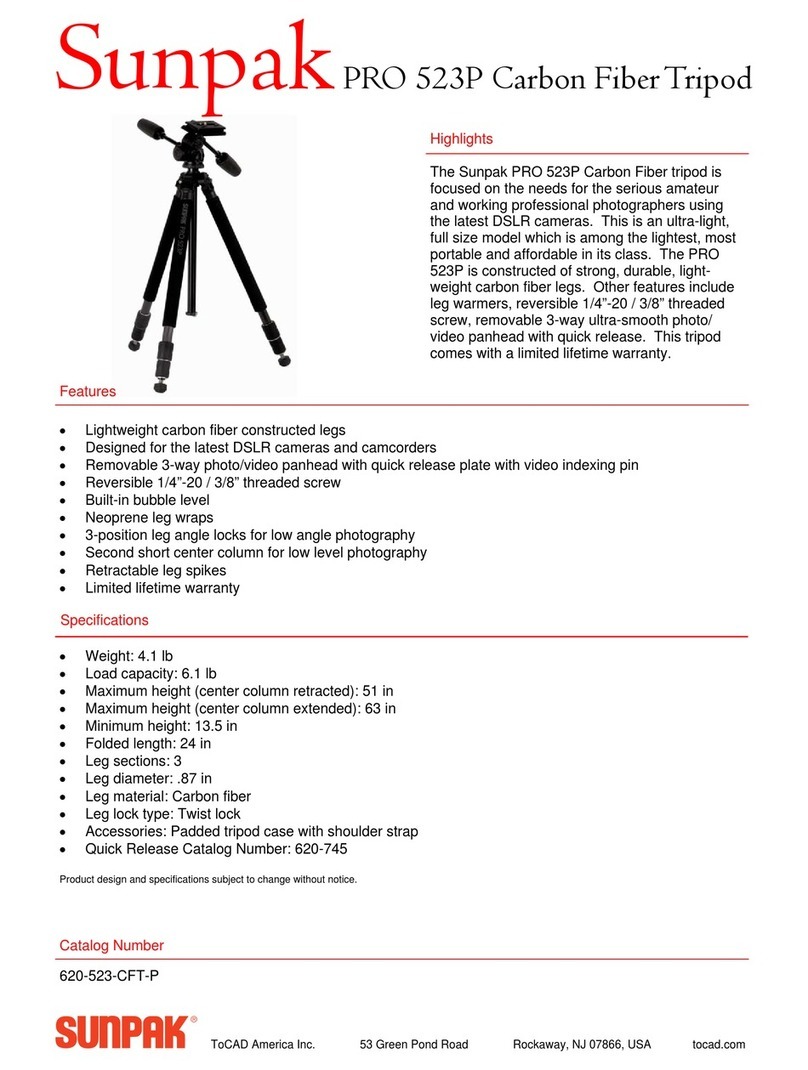
Sunpak SunpakPRO 523P Carbon FiberTripod CFT-P User manual

Sunpak

Sunpak SunpakPRO 523P Carbon FiberTripod CFT-P User manual

Sunpak 6600PG User manual

Sunpak

Sunpak 6600PG User manual

Sunpak 6601TM User manual

Sunpak

Sunpak 6601TM User manual

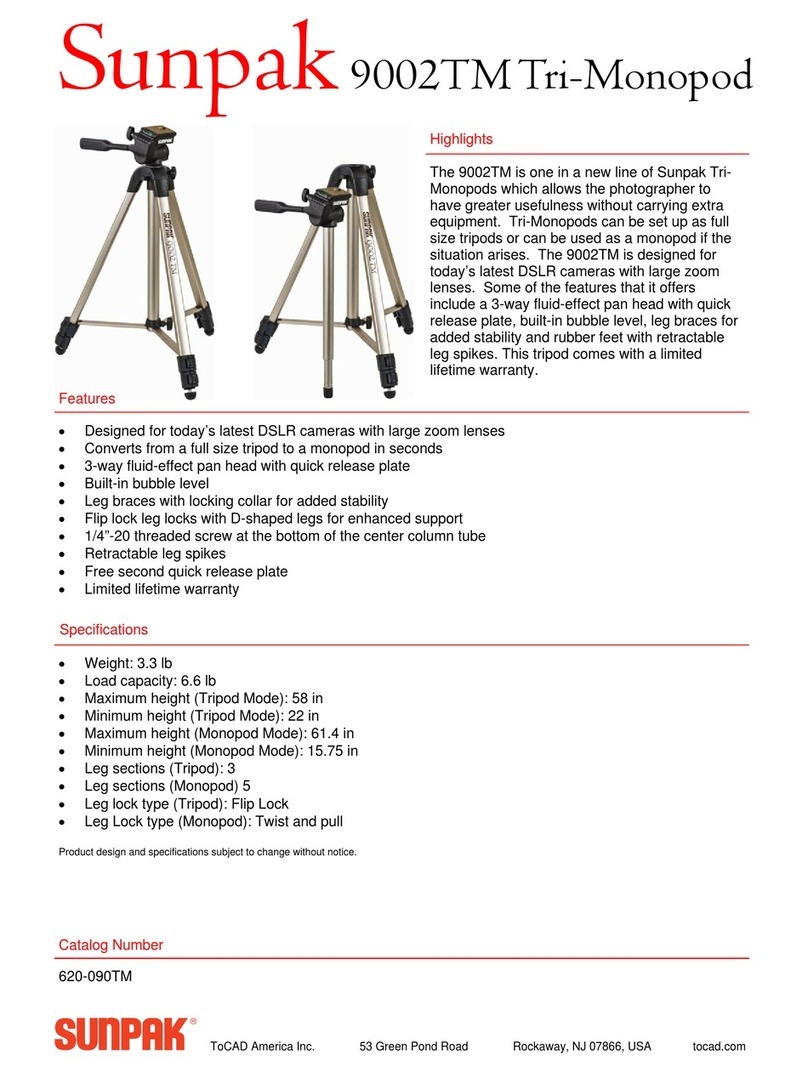
Sunpak 9002TM User manual

Sunpak

Sunpak 9002TM User manual

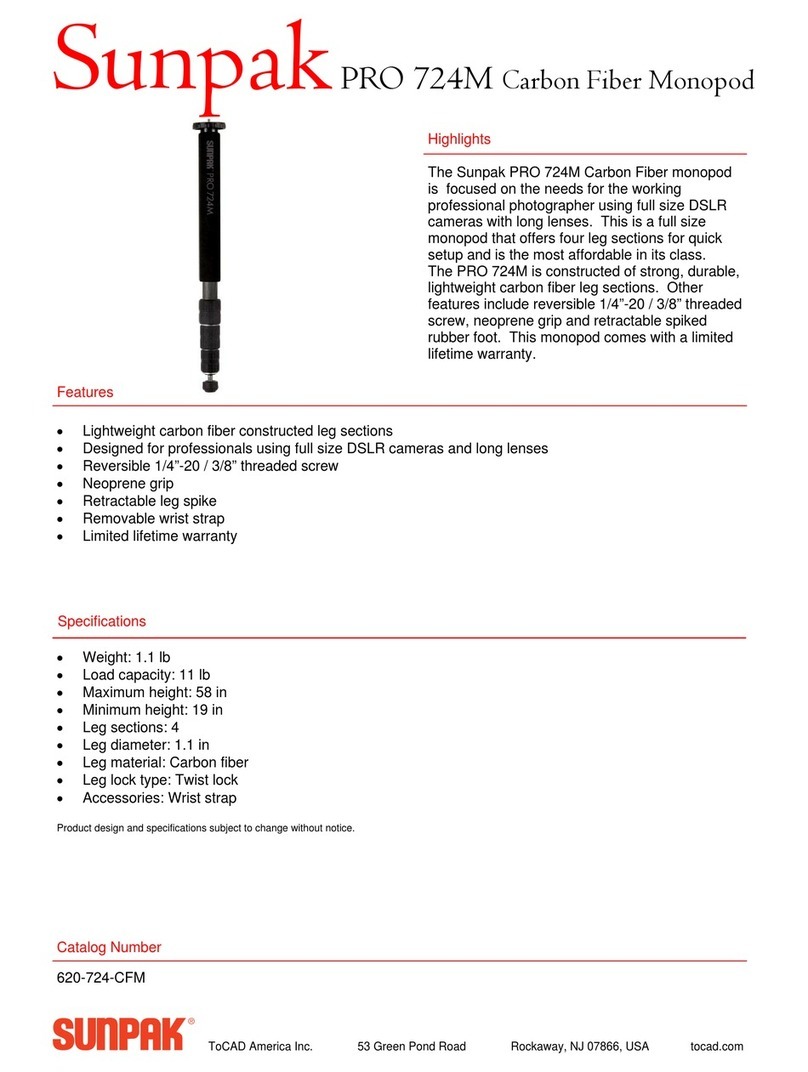
Sunpak Carbon Fiber Monopod SunpakPRO 724M User manual

Sunpak

Sunpak Carbon Fiber Monopod SunpakPRO 724M User manual

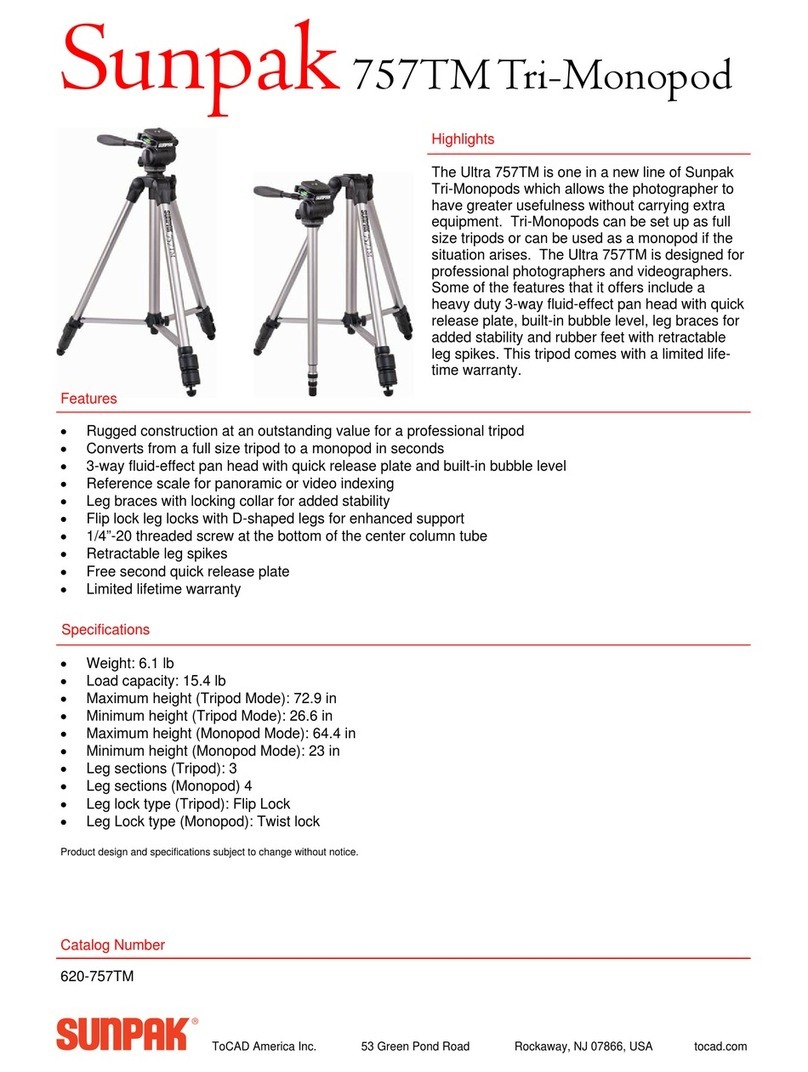
Sunpak Tri-Monopod 757TM User manual

Sunpak

Sunpak Tri-Monopod 757TM User manual

Sunpak Ultra 63 User manual

Sunpak

Sunpak Ultra 63 User manual

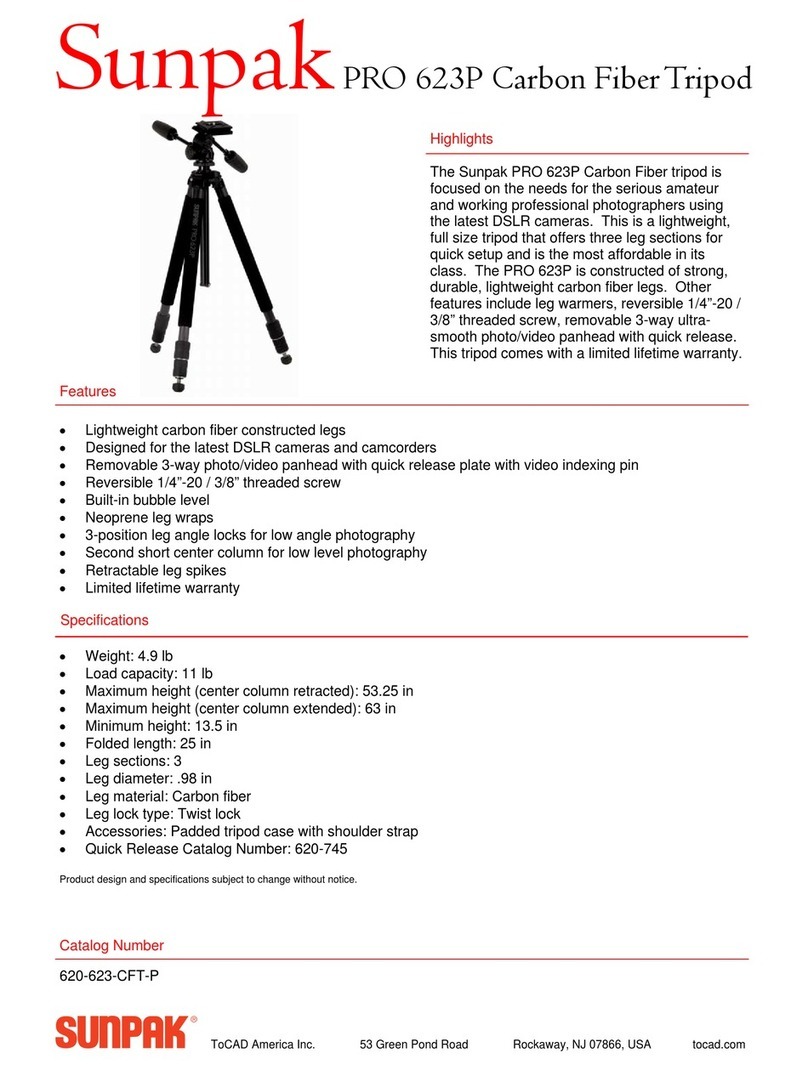
Sunpak PRO 623P User manual

Sunpak

Sunpak PRO 623P User manual

Sunpak FL-VL User manual

Sunpak

Sunpak FL-VL User manual

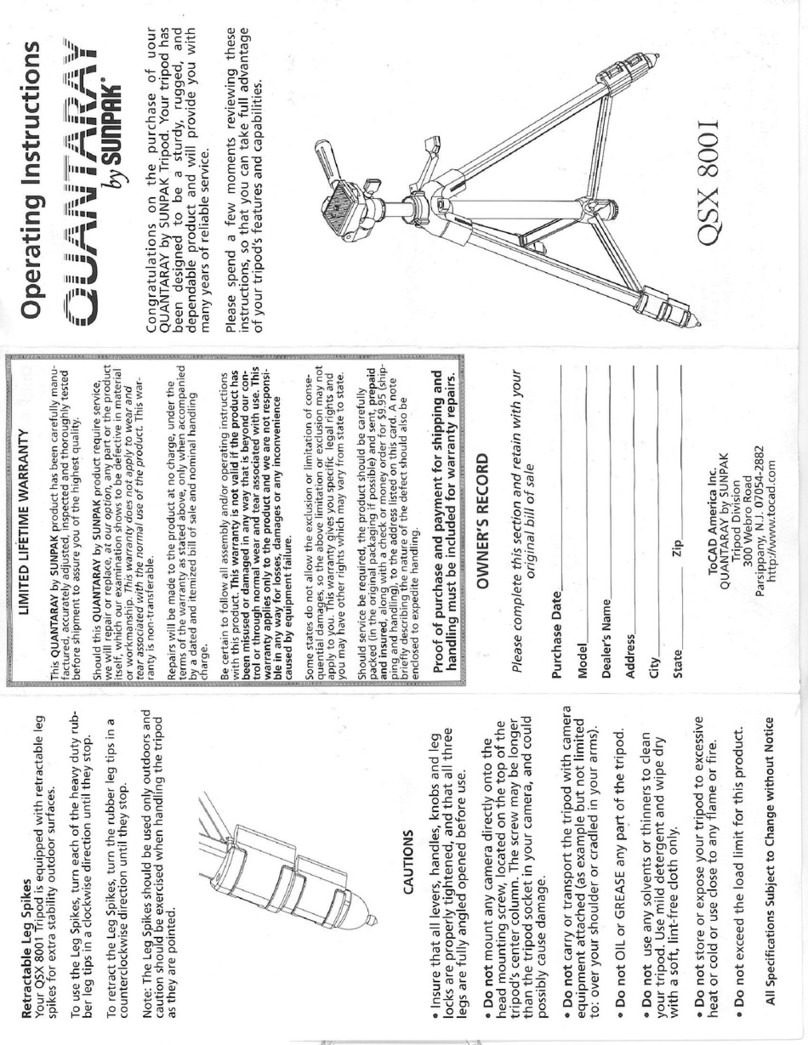
Sunpak Quantaray QSX 8001 User manual

Sunpak

Sunpak Quantaray QSX 8001 User manual

Sunpak Sunpak PRO 723PX User manual

Sunpak

Sunpak Sunpak PRO 723PX User manual

Sunpak PRO 723P User manual

Sunpak

Sunpak PRO 723P User manual

Sunpak PRO 723B User manual

Sunpak

Sunpak PRO 723B User manual

Sunpak Sunpak FlexPod Plus the FlexibleTripod User manual

Sunpak

Sunpak Sunpak FlexPod Plus the FlexibleTripod User manual

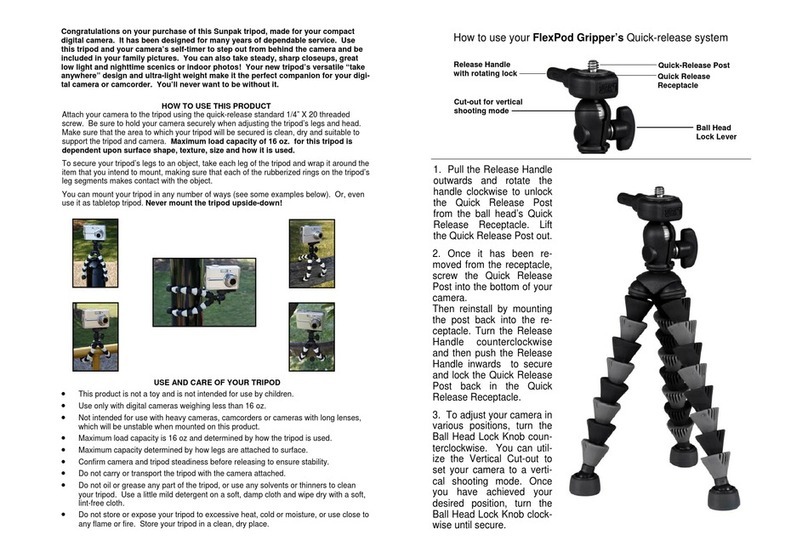
Sunpak flexPod gripper User manual

Sunpak

Sunpak flexPod gripper User manual

Popular Camera Accessories manuals by other brands

CamRanger CamRanger user manual

CamRanger

CamRanger CamRanger user manual

Custom Brackets HDV CAGE KIT Instructions for use

Custom Brackets

Custom Brackets HDV CAGE KIT Instructions for use

Aegis ABL052010P user manual

Aegis

Aegis ABL052010P user manual

Saft SRA Series Installation and operating instructions

Saft

Saft SRA Series Installation and operating instructions

Kodak TIB5200 technical information

Kodak

Kodak TIB5200 technical information

Videotec HEG instruction manual

Videotec

Videotec HEG instruction manual

Ikelite 6171.11 manual

Ikelite

Ikelite 6171.11 manual

Pentax Auto Bellows Slide Copier K user manual

Pentax

Pentax Auto Bellows Slide Copier K user manual

Nikon UT-1 user manual

Nikon

Nikon UT-1 user manual

dji RONIN 4D quick start guide

dji

dji RONIN 4D quick start guide

SLIK ABLE 300DX user manual

SLIK

SLIK ABLE 300DX user manual

Rebelcell 36V70 user manual

Rebelcell

Rebelcell 36V70 user manual

Trojan GC2 48V quick start guide

Trojan

Trojan GC2 48V quick start guide

Calumet 7100 Series CK7114 operating instructions

Calumet

Calumet 7100 Series CK7114 operating instructions

Ropox 4Single Series User manual and installation instructions

Ropox

Ropox 4Single Series User manual and installation instructions

Cambo Wide DS Digital Series Main operating instructions

Cambo

Cambo Wide DS Digital Series Main operating instructions

Samsung SHG-120 Specification sheet

Samsung

Samsung SHG-120 Specification sheet

Ryobi BPL-1820 Owner's operating manual

Ryobi

Ryobi BPL-1820 Owner's operating manual

manuals.online logo
manuals.online logoBrands
  • About & Mission
  • Contact us
  • Privacy Policy
  • Terms and Conditions

Copyright 2025 Manuals.Online. All Rights Reserved.

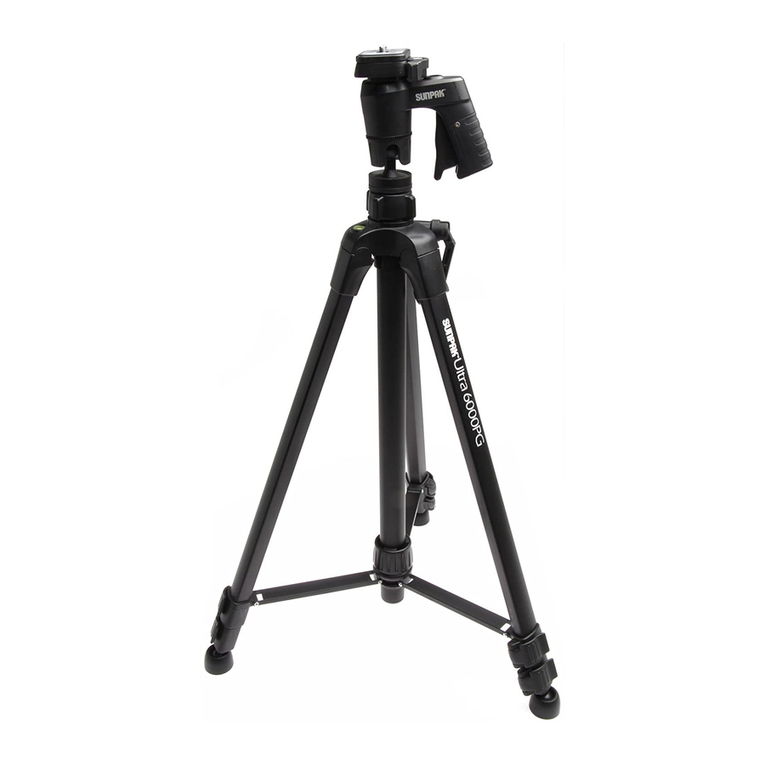
6200PG
with compact pistol grip ball head
Sunpak Lifetime Limited Warranty
This Sunpak product has been carefully manufactured, accu-
rately adjusted, inspected and thoroughly tested before shipment
to assure you of the highest quality.
Should this product require service, we will repair or replace, at
our option, any part or the product itself, which our examination
shows to be defective in material or workmanship. This warranty
does not apply to wear and tear associated with the normal use
of the product. This warranty is non-transferable.
Repairs will be made to the product at no charge, under the
terms of the warranty as stated above, only when accompanied
by a dated and itemized bill of sale and nominal handling charge.
Be certain to follow all assembly and/or operating instructions
with this product. This warranty is not valid if the product has
been misused or damaged in any way that is beyond our control
or through normal wear and tear associated with use. This war-
ranty applies only to the product and we are not responsible in
any way for losses, damages or any inconvenience caused by
equipment failure.
Some states do not allow the exclusion or limitation of conse-
quential damages, so the above limitation or exclusion may not
apply to you. This warranty gives you specific legal rights and
you may have other rights which may vary from state to state.
Should service be required, the product should be carefully
packed (in the original packaging if possible ) and sent, prepaid
and insured, along with a check or money order for $9.95
(shipping and handling), to the address listed below. A note
briefly describing the nature of the defect should also be en-
closed to expedite handling.
Proof of purchase and payment for shipping and handling
must be included for warranty repairs.
OWNER’S RECORD
Please complete this section and retain with your original
bill of sale for your records.
Model: Sunpak 6200PG Tripod
Purchase Date: ___________________________________
Address: ___________________________________
City: __________________________________
State: ___________________
Zip Code: ___________________
Sunpak
ToCAD America Inc.
53 Green Pond Road
Rockaway, NJ 07866
tocad.com
Precautions
 Insure that all levers, handles, knobs and leg
locks are properly tightened, and that all three
legs are fully angled opened before use.
 Do not mount any camera directly onto the
head mount screw located on the top of the
tripod’s center column. The screw may be
longer than the tripod socket in your
camera, and could possibly cause damage.
 Do not carry or transport the tripod with the
camera equipment attached (as example but
not limited to: over your shoulder or
cradled in your arms).
 Do not Oil or Grease any part of the tripod.
 Do not use any solvents or thinners to clean
your tripod. Use mild detergent and wipe dry
with a soft, lint-free cloth only.
 Do not store or expose your tripod to
excessive heat or cold or use close to any
flame or fire.
 Do not exceed the load limit for this product. Cat. no. 620-620-CPG
Opening and Closing
Your Sunpak 6200PG tripod is equipped with metal
Center Leg Braces for maximum stability and strength.
Extend the leg
sections to
the desired
length and
secure each
section using
the Leg
Locks. Pull
each leg out-
ward until all
three braces
are fully ex-
tended and
gently press
down on any
brace until it
stops and secure with the Lock Knob.
When closing the tripod, gently push up on any Leg
Brace.
Sunpak
Height Adjustments
Your Sunpak 6200PG tripod is equipped with a
Geared Center Column and Elevator Crank Assembly
for precise height adjustments.
To raise or lower the Center Column, loosen the
Center Column Lock Knob (1). Turn the Elevator
Crank Assembly Knob (2) clockwise until you reach
the desired height. Retighten the Center Column
Lock Knob
to secure.
Note: Never
release your
camera until
the Center
Column
Lock Knob is
securely
retightened.
Specifications
Maximum Height: 61 in.
Minimum Height: 23.25 in.
Folded Length: 24.5 in.
Weight: 3.3 lb.
Load Capacity: 6.6 lb.
Leg Diameter: 0.85”
Leg Sections: 3
Using the Pistol Grip Ball Head
For movement in any direction, simply loosen the
Pistol Grip Ball Head, by squeezing the Trigger
Control Lock. When you have reached your de-
sired position, simply release the trigger lock and
the Pistol Grip Ball Head will lock into place. The
Pistol Grip Ball Head can rotate to 360° in any
direction.
Extending the Legs
To extend, flip open the Flip Lever Leg Locks and
gently pull on the leg segment to the desired length.
To secure in position, press the leg lock lever until it is
locked. Not properly securing a leg lock may cause
the tripod leg to retract unexpectedly and result in
damage to your
camera and tri-
pod).
Leg Spikes
For indoor use,
rotate the rubber
feet to retract the
leg spikes. For
outdoor use and
surfaces where
leg movement is
a problem, rotate
the rubber feet
clockwise to expose the leg spikes. Be sure to retract
the leg spikes when used indoors or on surfaces that
can be damaged.
Tripod Components
1. Quick Release Plate
2. Quick Release Lock Lever
3. Pistol Grip Ball Head with Quick Release
4. Trigger Control Lock
5. Elevator Crank Assembly
6. Geared Center Column
7. Flip Lever Leg Lock
8. Leg Brace
9. Rubber Foot with Retractable Spike
9
8
6
1
2
1
4
3
2
5
7
Quick Release Plate
Push forward the Locking Mechanism located just
below the Quick Release Lock Lever. Move the
Quick Release Lock Lever outward and remove
the Quick Release Plate by lifting upward. The
platform has a threaded ¼ x 20 camera mounting
screw for camera attachment.
Position the Quick Release Plate so that the cam-
era mounting screw aligns with the matching
receptacle on your camera or camcorder and
attach, using the camera mounting screw. Move
and hold open the Quick Release Lock Lever and
with the camera tilted slightly down, slide the
Quick Release Plate back into position. After doing
so, secure the Quick Release Plate using the
Quick Release Lock Lever by pressing firmly until
it stops. Note: Do not attempt to open the
Quick Release Lock Lever without pressing
the Locking Mechanism first.
Locking
Mechanism