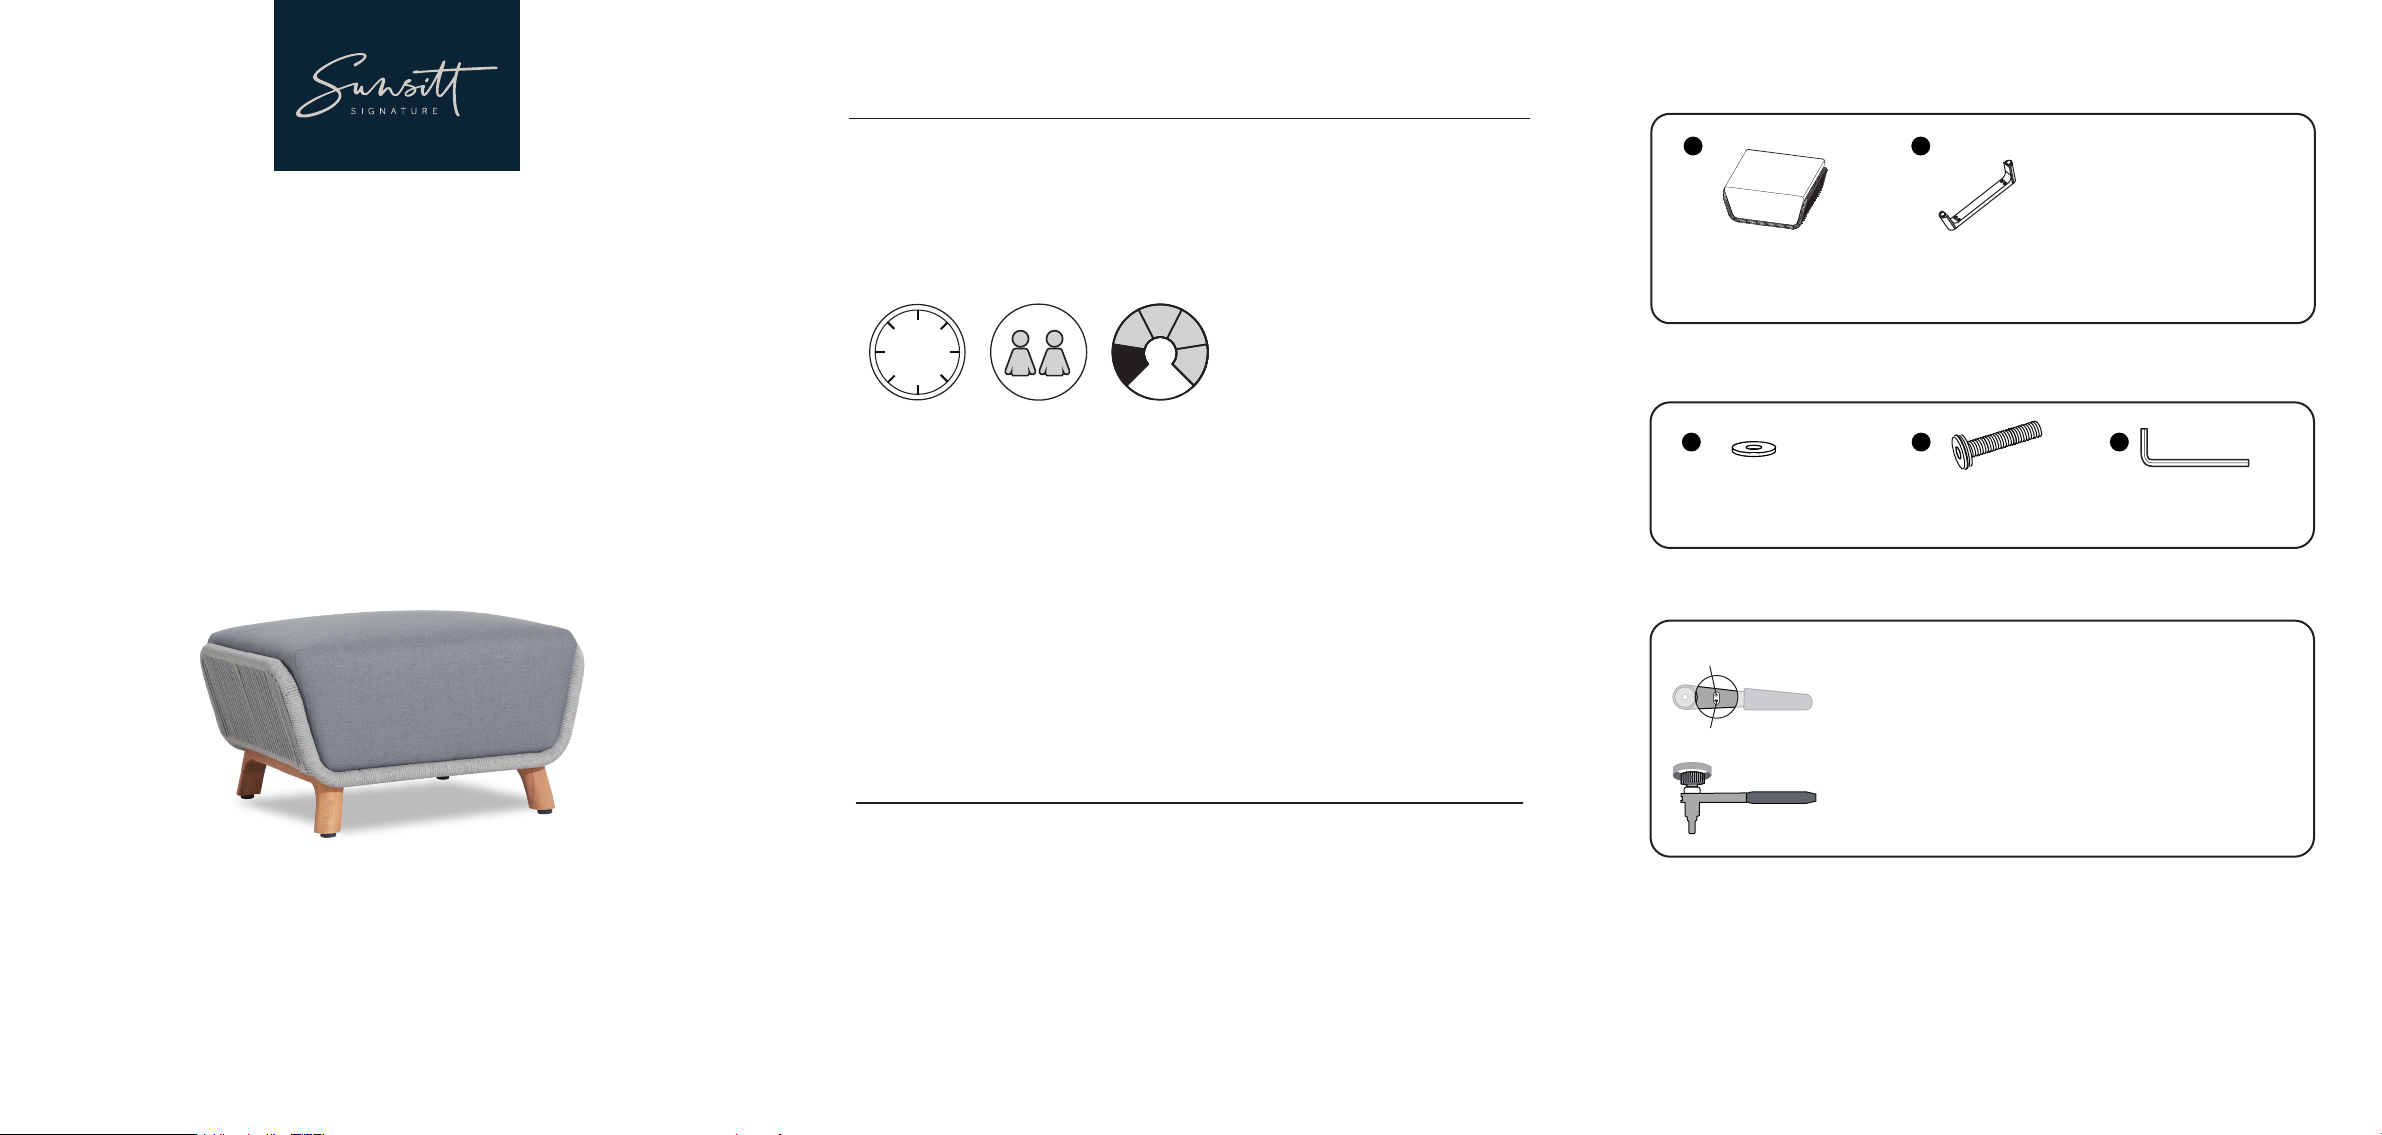
Components
3
Fittings
Seat x 1 Teak Leg x 2
A B
www.sunsitt.com
Assembly Instructions
2
ASSEMBLY AND CARE INSTRUCTIONS
BEFORE YOU BEGIN: FOR YOUR SAFETY
CARING FOR SUNSITT SIGNATURE
Product Details
SKU: ST23007-006
PLEASE READ BEFORE ASSEMBLING FURNITURE.
RETAIN THESE INSTRUCTIONS FOR FUTURE REFERENCE.
• Keep children and animals away from the work area, small parts could cause
choking if swallowed.
• Two-person assembly is recommended.
• Make sure you have enough space to lay out the parts before starting.
• Check that you have all the components and tools listed in this booklet before
starting assembly.
• Remove all fittings from their plastic bags and separate them into their groups.
• Assemble on a soft, level surface to avoid damaging the unit or your floor.
• Do not stand or put weight on the component parts during assembly, as this
could cause damage.
• Assemble the item as close to its final position as possible.
• Dispose of all packaging materials carefully and responsibly.
• Sunsitt Signature cleans quickly and easily. Simply use a damp cloth and mild
detergent; do not use bleach or abrasive cleaners.
• To prolong the life of Sunsitt Signature patio furniture, we recommend storing
it inside during winter or extended periods of bad weather.
Locate the lever as shown.
Slide the lever to the Position A (Left) to tighten the screws.
Slide the lever to the right Position B (Right) to loosen the screws.
Tip:
The ratchet head can be used as a finger ratchet.
Finger tighten by turning clockwise to speed up the process.
Washer x 8
C
35mm Screw
x 8
DE
Allen key x 1
Position B (Right)
Ratcheting Allen tool instructions
Position A (Left)
Ottoman
10
mins
1
TIME PEOPLE DIFFICULTY


