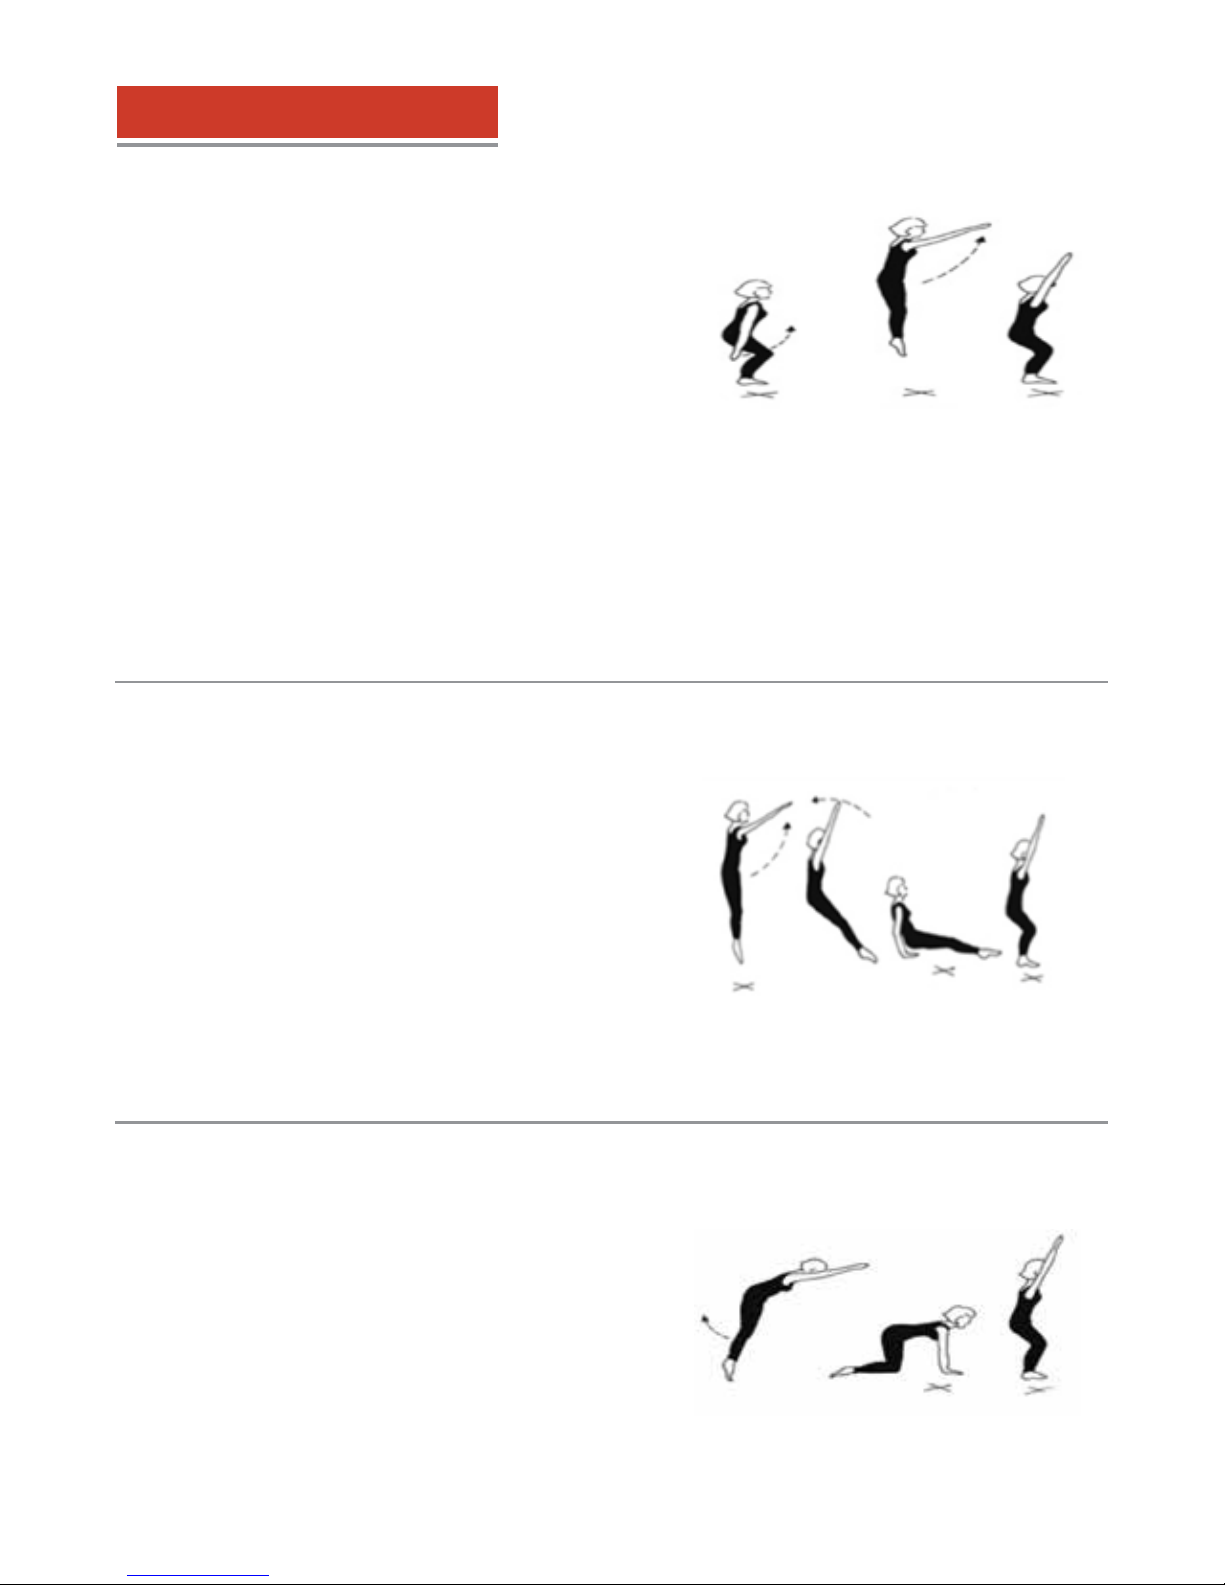
Use the basic“feet to feet” standing bounce to warm up
and get the feel of the trampoline.
Try to keep the body straight.Your legs should be slightly
apart when landing on the bed and together in the air
with toes pointed.
Keep your eyes fixed on the frame pads in front of you.
As you jump up from the trampoline bed, push down
hard on the balls of your feet and toes. Stretch your body
upwards and swing your arms forwards and upwards.
As you come down on to the bed, bring your arms down
to your sides, part your legs slightly and land with your
feet flat whilst flexing your knees.
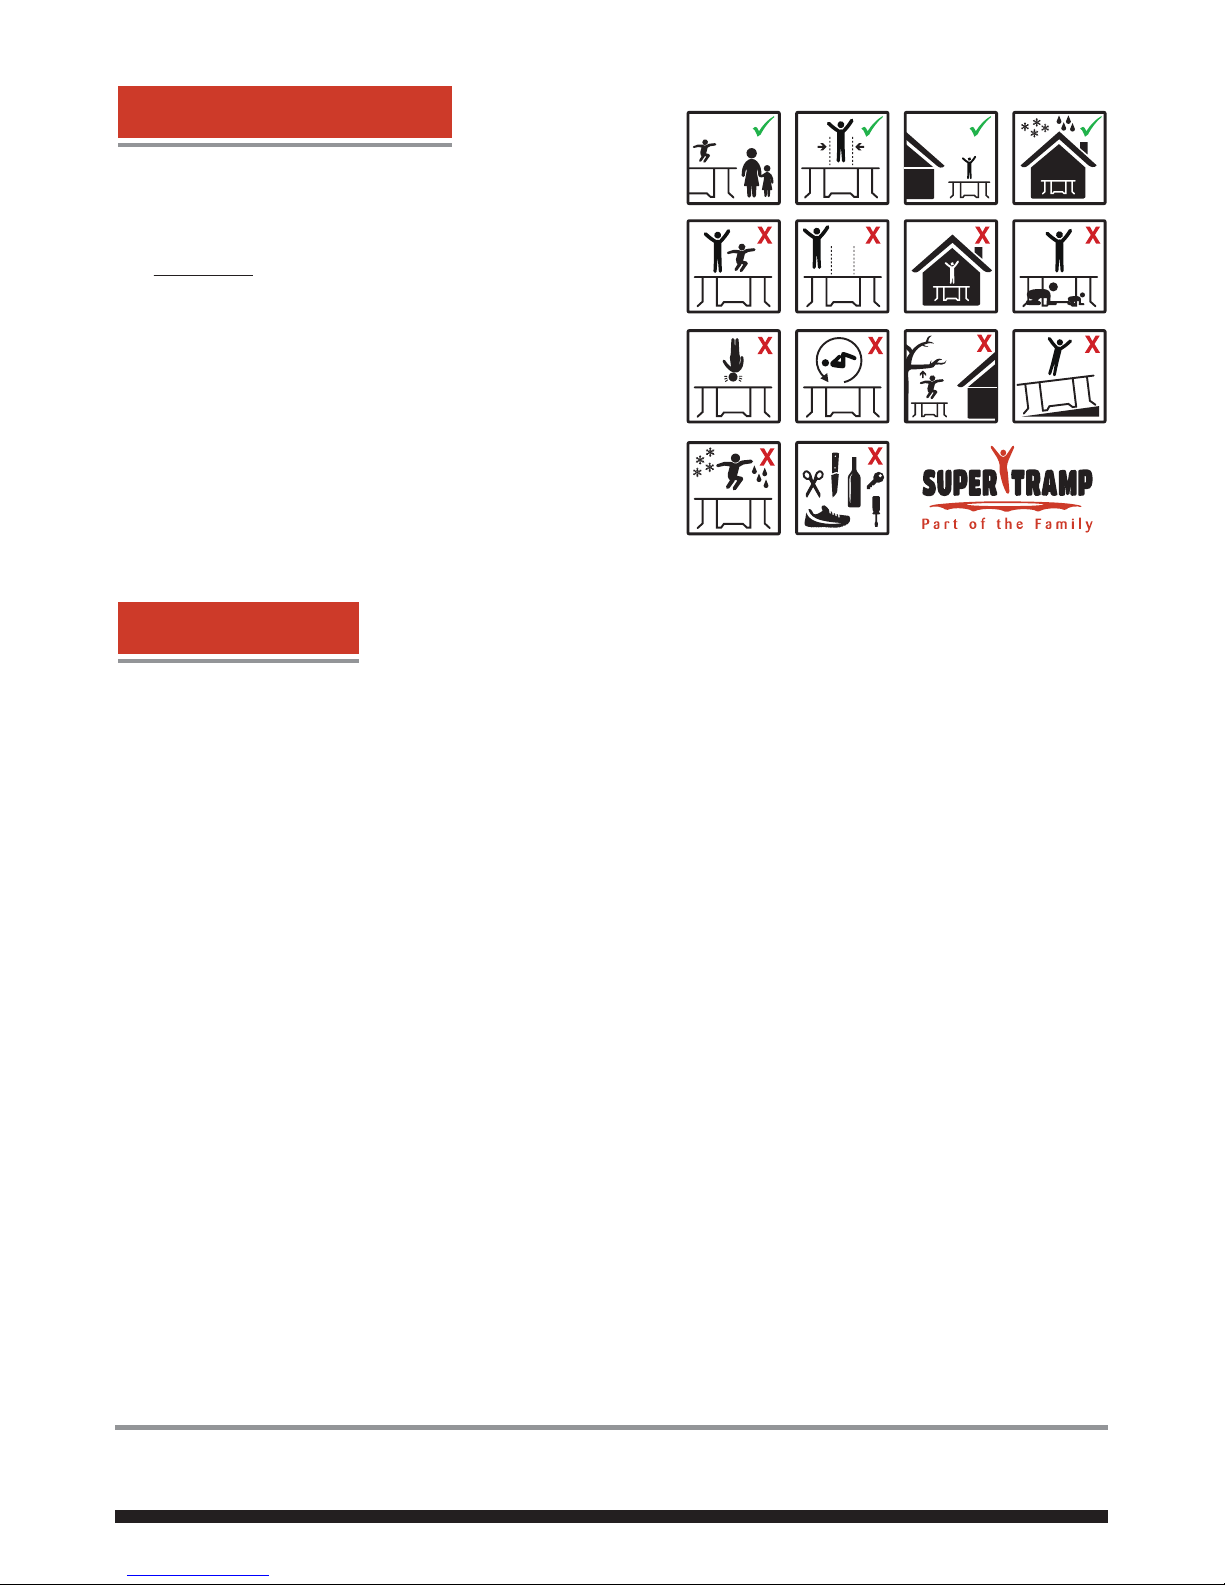
Safe Bouncing Guide
Standing Bounce
Without bouncing, adopt the hands and knees position as
shown below, keeping your eyes on the edge of the
trampoline.
Return to standing position and with a small bounce, shift
your hips back and upwards and drop to the hands and
knees position.
Your hands and knees must hit the bed at exactly the same time. Push up slightly with your arms to return
to the standing position.
Hands and Knees
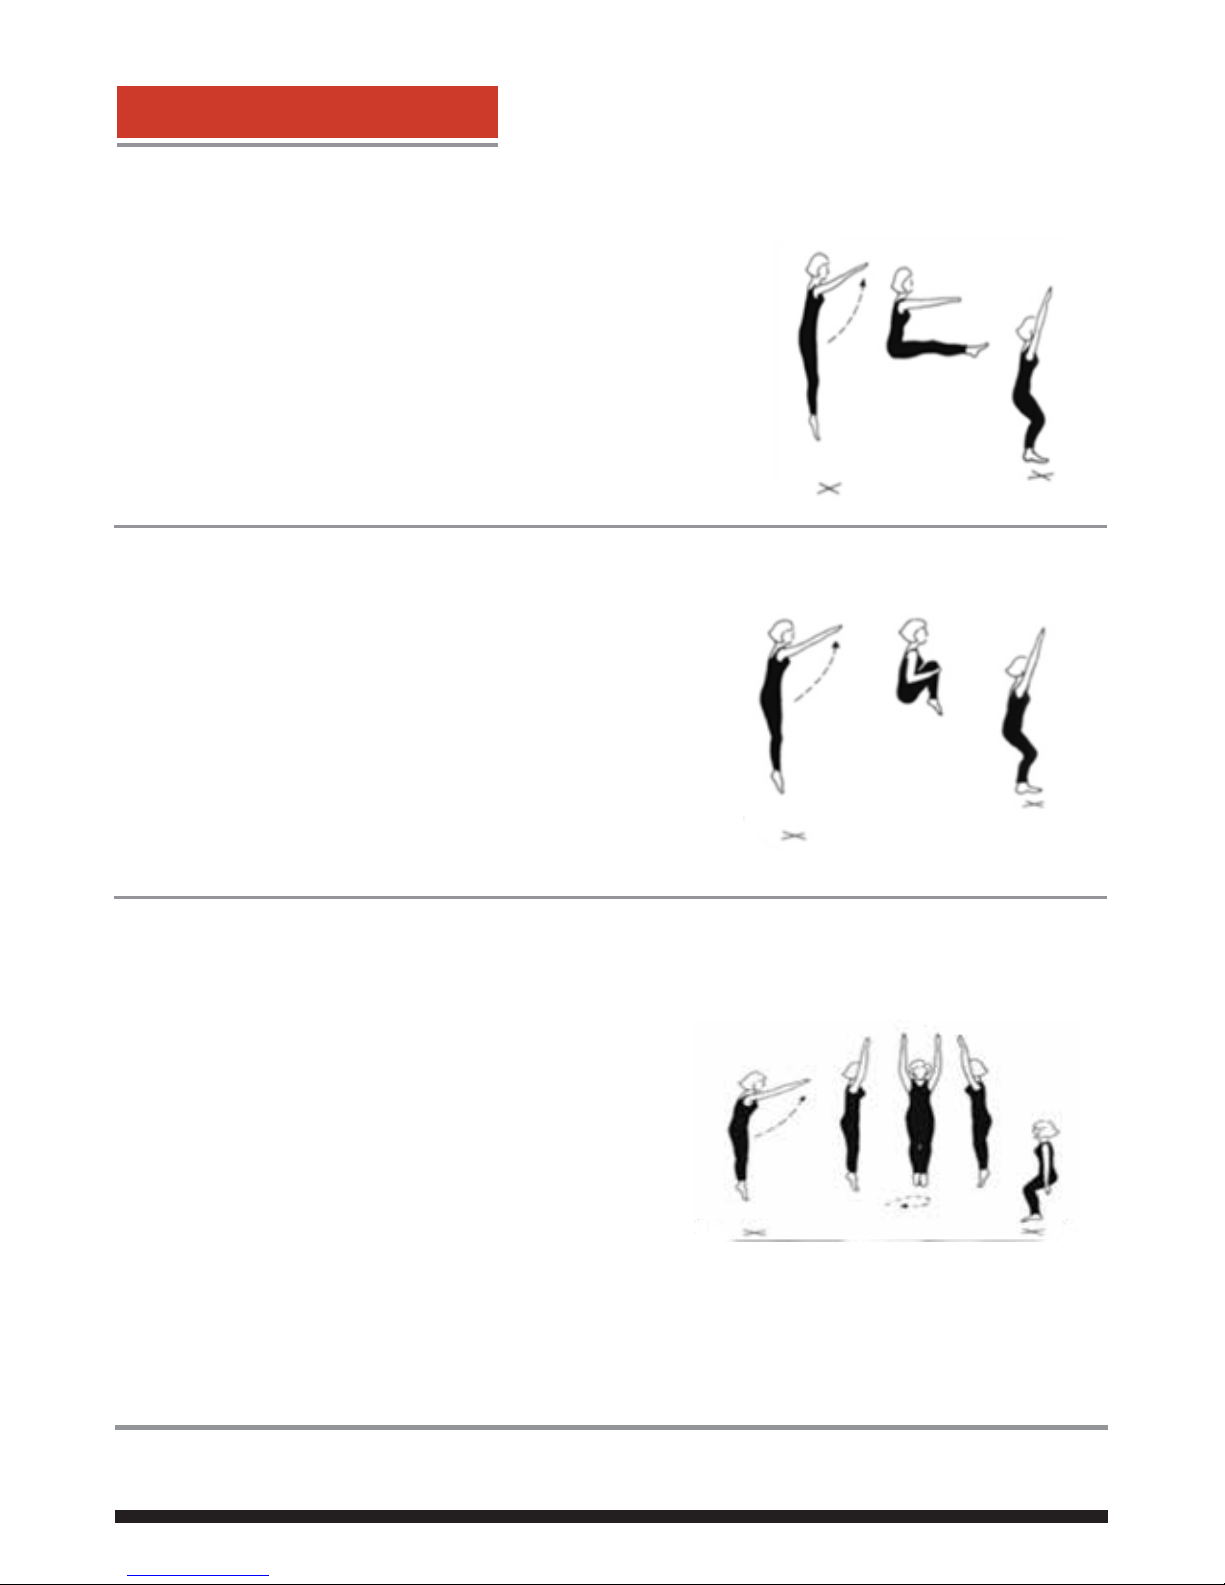
IMPORTANT:
To stop your bounce, bend your knees as your
feet touch the bed and resist the momentum
which will try to force you up again. Practice
this move so that you are confident that you
can stop if you find you are getting out of
control or going away from the centre of the
bed.
First, without bouncing, sit in the middle of the bed in
the correct landing position.
This should be with your legs together and straight out
in front of you. Lean slightly backwards whilst keeping
your back straight. Keep your arms beside and slightly
behind you with fingers together and pointing forward.
Next, stand up and drop to the seat drop position,
without bouncing.Then try the move from a little
bounce.To bounce back onto your feet, shift your hips
forward and push up with your hands.
Seat Drop
Make sure that you drop to the seat drop
position in the middle of the bed and land back
on your feet in the middle of the bed.