Installation Manual
Page 6of 9
If the Door sensor is not able to send status due to low battery level, the error code will be
shown again by the LED.
Testing the Door Sensor
When the Door sensor is installed and activated in the Alarm system, the function of the Door
sensor must be tested.
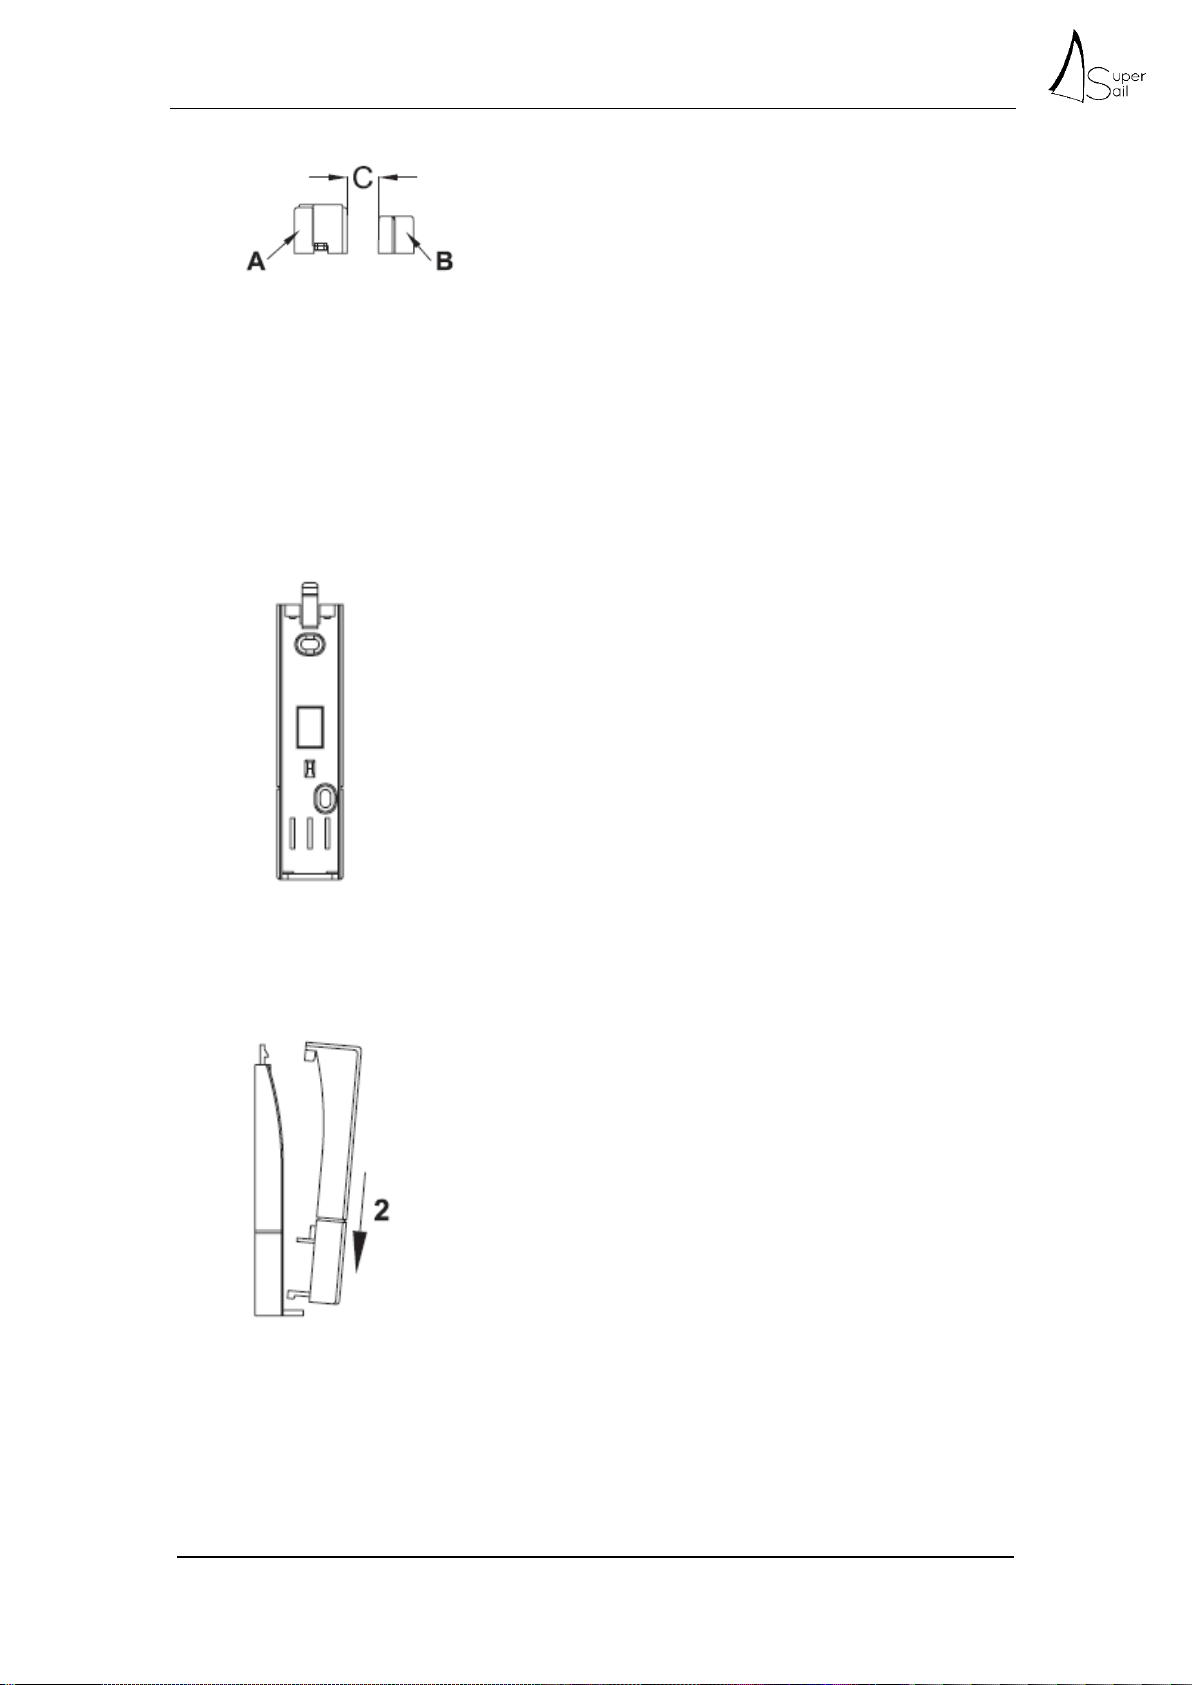
Open the door/window where the Door sensor is installed. Notice that the LED at the Control
unit is turned on shortly.
After some seconds (depending on the time for SMS transfer), an Alarm SMS must be
received indicating alarm from the Door sensor.
Fault search:
The yellow light is not turned on when the door/window is opened
Remove the batteries and re-insert them –verify that they are aligned correctly.
Self-test as described above under “After Installation of Batteries”, will verify if there
are any faults on the Door sensor.
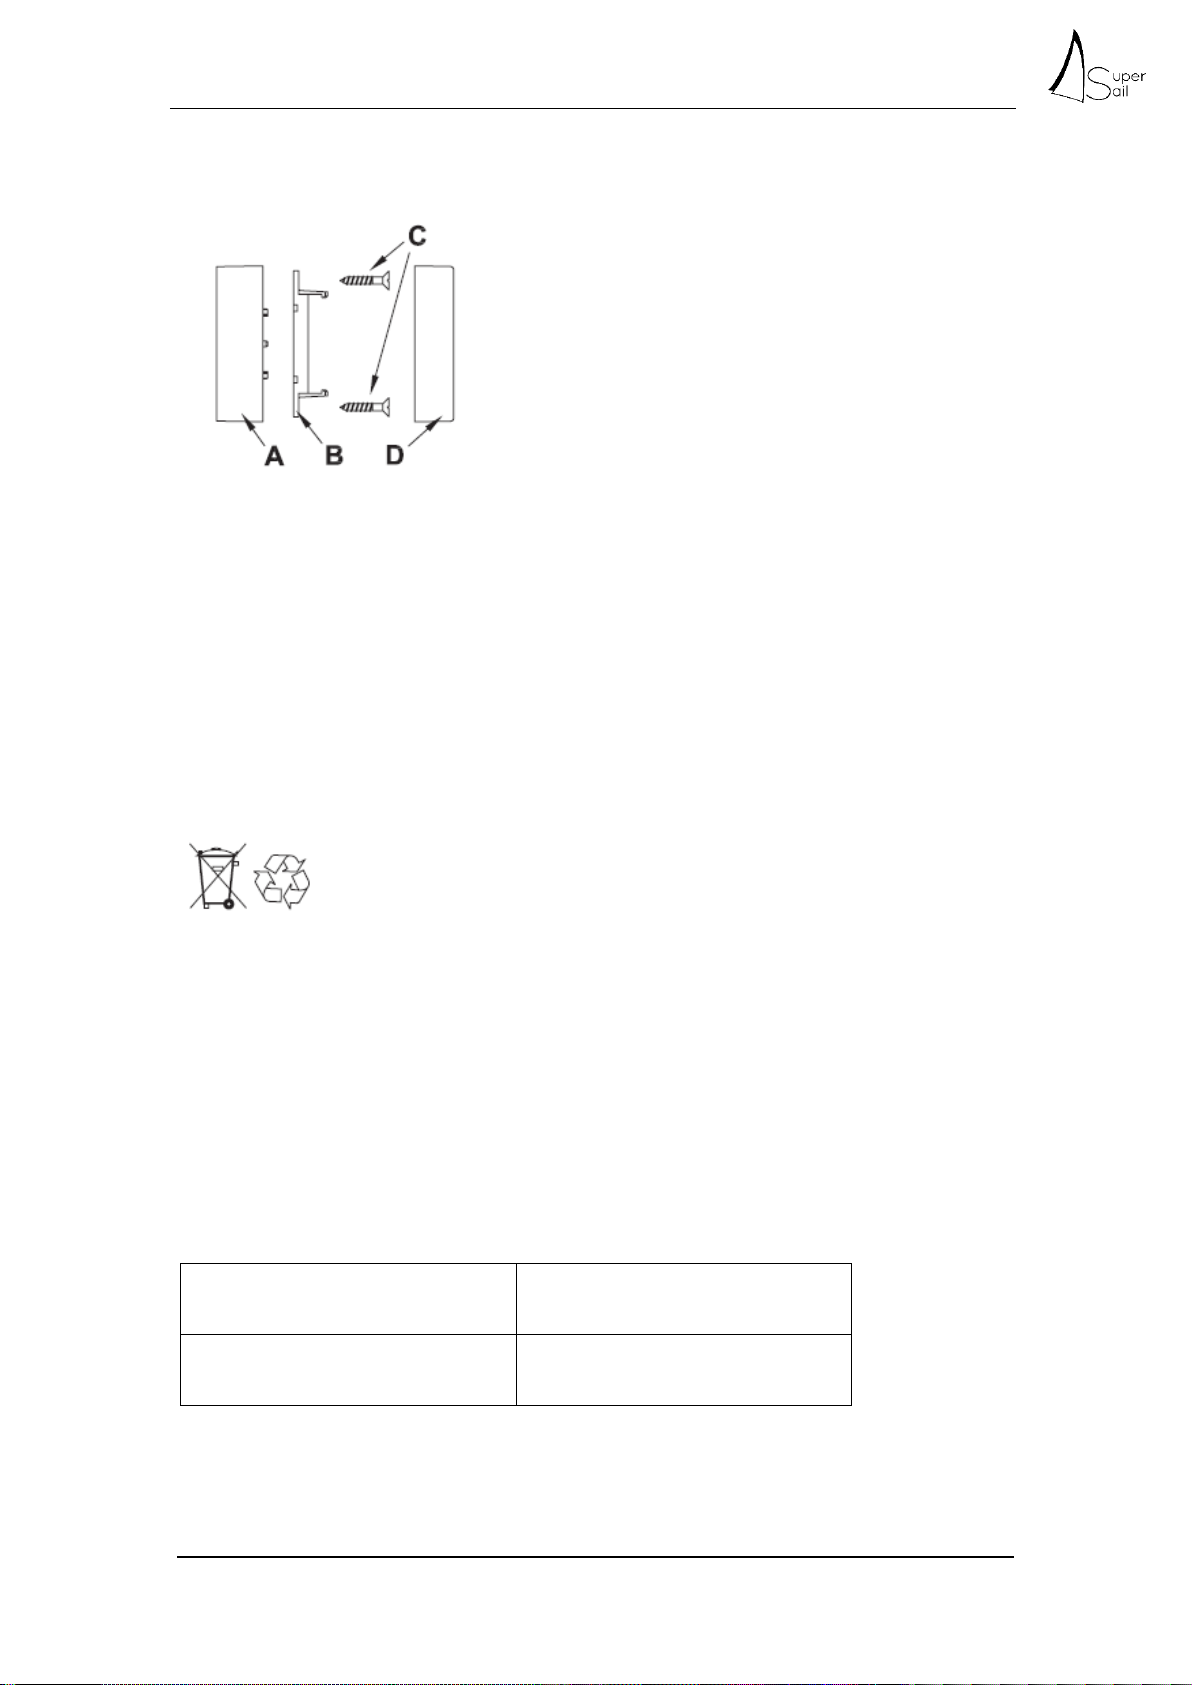
Verify that the Door sensor is installed correct, as described above under “Mounting”
Light is turned on, but SMS is not received.
Verify if the Door sensor is activated correctly in the Alarm system, as described
below under “Activation in the Alarm system”
Verify that the Door sensor ID is keyed in correctly.
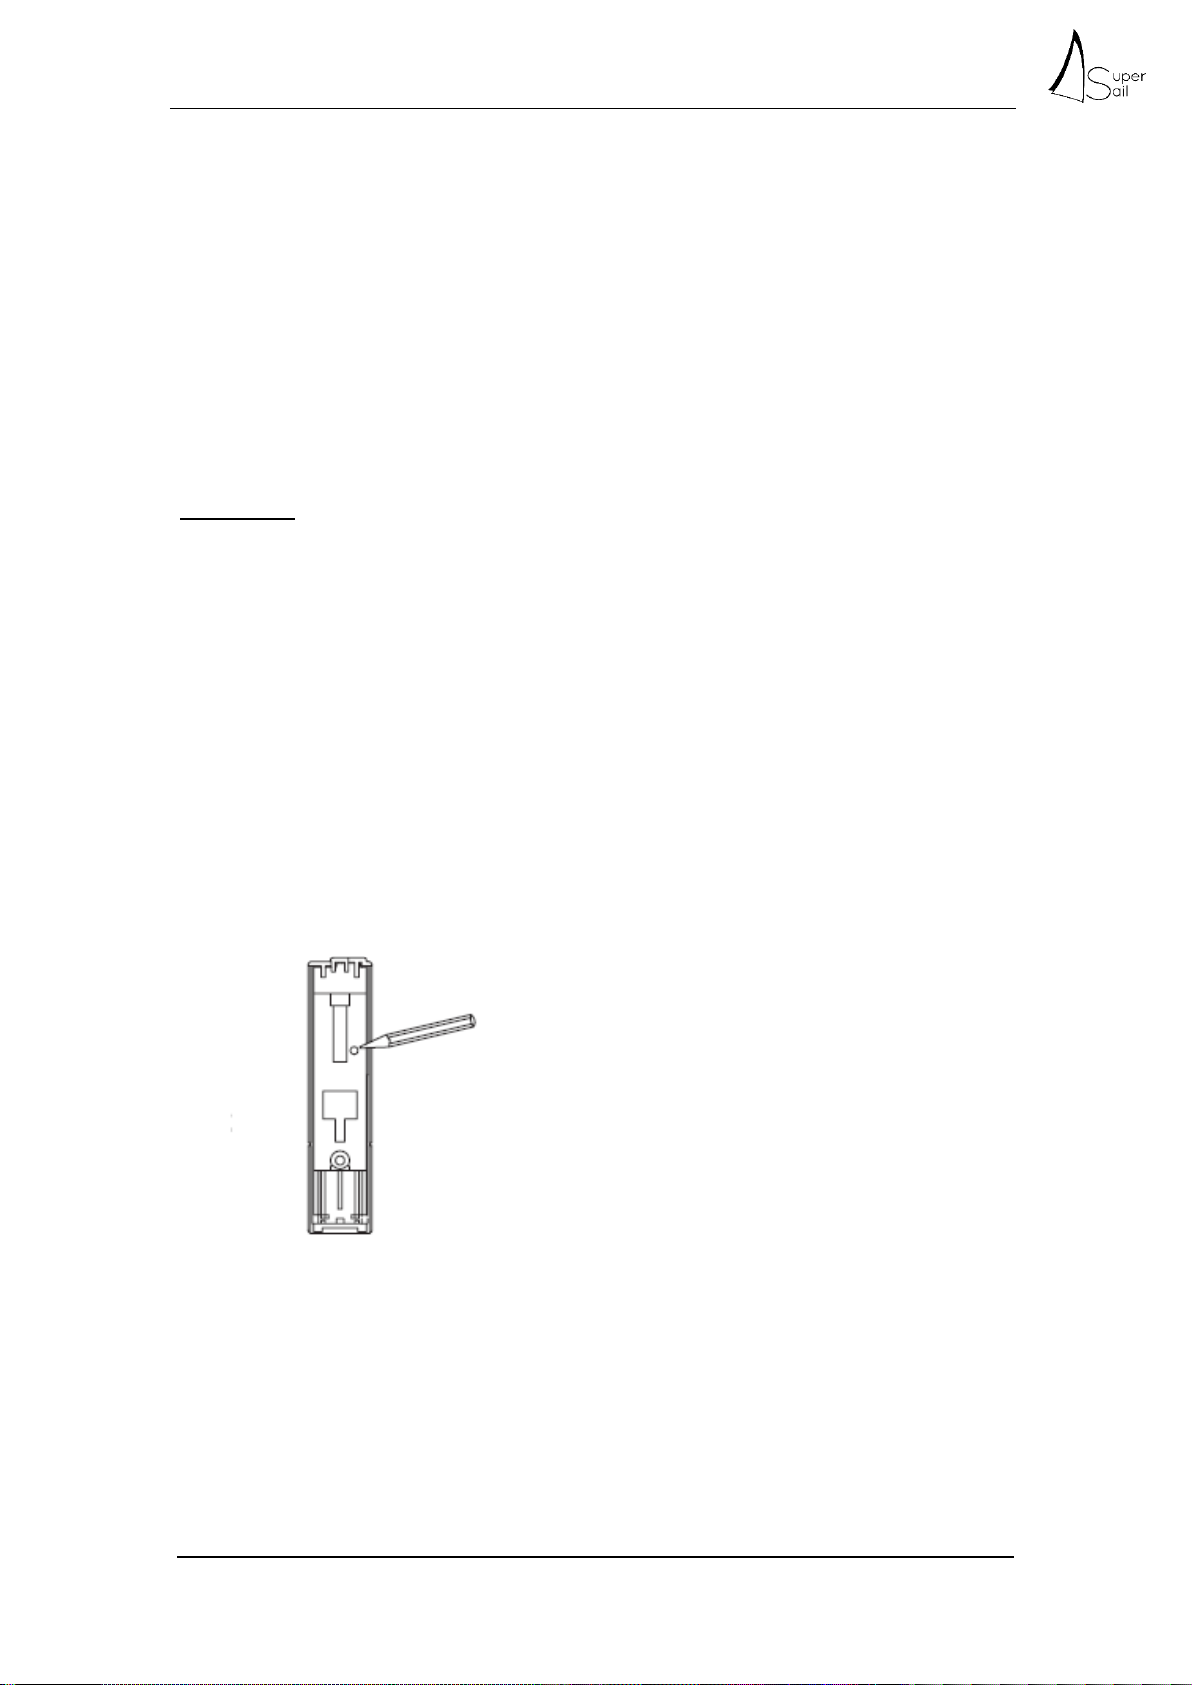
Reset to Factory settings
If the Door sensor for some reason does not function and the batteries have been changed
without solving the problem, reset to Factory settings can be a solution to fix the problem.
Press and hold the button for 5 seconds, until the LED starts blinking slowly with red light (use
a tip pen).
Release the button and push shortly again after 1 second. The LED will stop blinking red.
The Door sensor is reset to Factory settings.