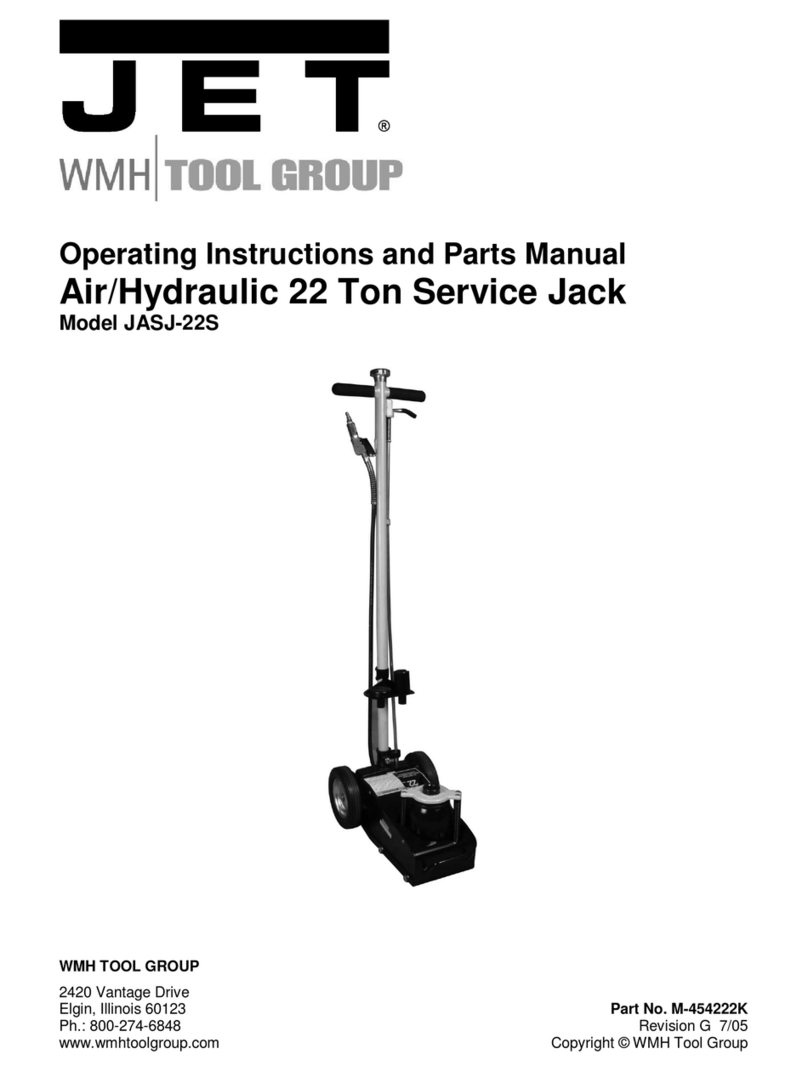
Surewerx Strongarm 806B User manual

M20-SA030546-FA
PROD. NO. 030546
MOD. NO. 806B
OPERATOR’S MANUAL
1 Ton Heavy-Duty Hydraulic
Low-Profile Transmission Jack
!
!
IMPORTANT
For your safety, read, understand, and follow the information provided with and on this jack.
The owner and operator of this equipment should understand this jack and the safe operating
procedures before attempting to use. The owner and operator should be aware that use and
repair of this product may require special skills and knowledge.
Inspect before each use. Do not use if broken, bent, cracked, or damaged parts are noted.
Any jack that appears damaged in any way or operates abnormally should be removed from
service immediately. If the jack has been or suspected to have been subjected to a shock load
(a load dropped suddenly or unexpectedly on it), immediately discontinue use until the jack
has been checked by a factory authorized service center. It is recommended that an annual
inspection be performed by qualified personnel.

2
1. SAFETY INSTRUCTIONS AND WARNINGS
1.1 Read and understand all operating instructions before use.
1.2 The vehicle must be properly supported and blocked before starting repairs.
1.3 Use a transmission jack of the proper size and capacity to handle the anticipated load.
1.4 This jack is tarred for a maximum load of 2,000 lb. Do not overload beyond the jack’s
rated capacity. Overloading may cause damage to or failure of the jack.
1.5 Keep hands, fingers, and arms away from moving parts of the jack.
1.6 Secure the load with the safety chain before lowering or moving the load.
1.7 Lower the load slowly and avoid sudden starts or stops that may cause the load to shift.
1.8 This jack is designed for use on hard, level surfaces capable of sustaining the load. Use
on other than hard level surfaces can result in jack instability and possible loss of load.
1.9 Do not use the transmission jack if under the influence of alcohol or drugs.
1.10 This transmission jack is designed and intended for use by properly trained and
experienced personnel only. If you are not familiar with the proper and safe operation of
a transmission jack, do not use until proper training and knowledge have been obtained.
1.11 The use of this jack is limited to the removal, installation, and transportation in the
lowered position, of transmission and differentials.
1.12 Failure to comply with all warnings may cause loss of load, damage to the jack, and/or
failure of the jack resulting in serious injury and/or property damage.
2. SPECIFICATIONS
Capacity 2,000 lb
Minimum Height 8.03"
Maximum Height 30.5"
Sideways Adjustment L/R 10°/15°
Saddle Size 7.87" x 7.08"
Base Size (L*W) 36.6" x 22.75"
Net weight 149.91 lb
Shipping Weight 165.35 lb

3
4. OPERATING INSTRUCTIONS
4.1 Lift the vehicle to the desired work height and support the vehicle in accordance with
the lift manufacturer’s lifting and support procedure.
4.2 Position the transmission jack directly under the transmission.
4.3 Locate and close the release valve by turning the knob clockwise firmly.
4.4 Pump the handle until the center of the saddle reaches the to the center balance point
of the transmission without touching the transmission.
4.5 Follow the vehicle manufacturer’s recommended procedure for removing the load as
outlined in the vehicle service manual or repair guide.
4.6 Position the transmission on the saddle plate, resting against the angle plates
4.7 Secure the load with the chains provided while ensuring the load’s center of gravity is
centered on the saddle and the load is stable before lowering the jack
4.8 Once the transmission has been secured and is stable slowly turn the jack’s release valve
knob counterclockwise, never more than 1/2 full turn until the load is completely lowered.
4.9 Immediately transfer the load to an appropriate repair fixture.
Note: When not in use, store the equipment in a dry location with the jack fully retracted.
3. ASSEMBLY
Refer to the exploded view drawing in the manual to identify part numbers in brackets.
3.1 Loosely assemble the finger bases (#95) to the saddle plate (#92) with
the hardware provided
3.2 Secure the end link of the chains (#91) to the fingers (#92). Connect the bolt (#87) to
the saddle plate (#92) with the hardware (#86 & #87) provided.
3.3 Slide the hook (#100) through the bolts (#89) and secure it with the wing nut (#98).
Note: Air may have been trapped during transportation and handling of the jack.
Air may need to be purged from the system prior to use.
PURGING AIR FROM THE HYDRAULIC SYSTEM:
a. Rotate the release knob (#33) at the top of the hydraulic block in a clockwise direction until
tight. Now turn it in a counterclockwise direction two full turns.
b. Activate the pump handle about 15 times
c. Rotate the knob at the top of the hydraulic block in a clockwise direction until tight.
d. Activate the pump handle until the lift arm is raised to maximum height. You should
experience a full pump stroke with each incremental pump.
e. Repeat steps “a” through “d” until all air is purged from the system.

4
5. MAINTENANCE
Important: Use only high-grade hydraulic jack oil. Avoid mixing different types of fluid and
NEVER use brake fluid, turbine oil, transmission fluid, motor oil or glycerin. Improper fluid can
cause premature failure of the jack and the potential for sudden and immediate loss of load.
5.1 Adding Oil: With the saddle lowered, set the jack in its upright, level position. Remove oil
filler plug/screw. (The oil should be within 3/8" from the top of the filler plug hole).
5.2 Changing Oil: With the saddle fully lowered, set the jack in an upright level position.
Remove the oil filler plug/screw. Lay the jack on its side and drain the oil into a suitable
container. Set the jack in its level upright position. Fill oil until just below the rim of the filler
hole. Reinstall oil filler plug/screw.
5.3 Lubrication: A periodic coating of light lubricating oil to pivot points, axles and hinges
will help prevent rust and assure that wheels, casters and pump assemblies move freely
5.4 Cleaning: Periodically check the ram for signs of rust or corrosion. Clean as needed and
wipe with an oily cloth.
Note: Ensure the jack is inspected and maintained on an annual basis by a qualified
technician.
Symptom Possible Causes Corrective Action
Jack does not lift. 1. Release valve is open.
2. Low/no oil in reservoir.
3. Air-locked system.
4. Load is above capacity of jack.
5. Delivery valve and/or bypass.
6. Packing worn out or defective.
1. Close release valve.
2. Fill with oil and bleed system.
3. Bleed system.
4. Use correct equipment.
5. Clean to remove dirt or foreign matter.
Replace oil.
6. Replace power unit.
Jack lifts only partially. 1. Too much or not enough oil. 1. Check oil level.
Jack advances slowly. 1. Pump not working correctly.
2. Leaking seals.
1. Install seal kit or replace power unit.
2. Install seal kit or replace power unit.
Jack lifts load, but does
not hold. 1. Cylinder packing is leaking.
2. Valve not working correctly.
3. Air-locked system.
1. Install seal kit.
2. Inspect valves. Clean and
repair seat surfaces.
3. Bleed system.
Jack leaks oil. 1. Worn or damaged seals. 1. Install seal kit.
Jack will not retract. 1. Release valve is closed. 1. Open or clean release valve.
Jack retracts slowly. 1. Cylinder damaged internally.
2. Link section is binding.
1. Install seal kit.
2. Lubricate link section.
6. TROUBLESHOOTING

5
1 TON HEAVY-DUTY HYDRAULIC LOW-PROFILE
TRANSMISSION JACK
PROD. NO. 030546
MOD. NO. 806B

6
1 TON HEAVY-DUTY HYDRAULIC LOW-PROFILE
TRANSMISSION JACK PROD. NO. 030546 MOD. NO. 806B
REF PART NUMBER DESCRIPTION REQ
1PCN-806B-01 HANDLE GRIP 1
2PCN-806B-02 HANDLE, BLACK 1
3PCN-806B-03 BOLT M8*16 1
4PCN-806B-04 PIN 1
5PCN-806B-05 BRACKET 1
6PCN-806B-06 WASHER 9 1
7PCN-806B-07 PUMP PLUG 1
8PCN-806B-08 COPPER WASHER 1
9PCN-806B-09 WASHER 1
10 PCN-806B-10 O-RING 1
11 PCN-806B-11 PUMP 1
12 PCN-806B-12 BRACKET 1
13 PCN-806B-13 O-RING 1
14 PCN-806B-14 COPPER WASHER 1
15 PCN-806B-15 SCREW 1
16 PCN-806B-16 SPRING 1
17 PCN-806B-17 STEEL BALL 1
18 PCN-806B-18 SCREW 1
19 PCN-806B-19 O-RING 1
20 PCN-806B-20 SPRING 1
21 PCN-806B-21 SCREW 1
22 PCN-806B-22 WASHER 1
23 PCN-806B-23 LOW PRESSURE SPRING 1
24 PCN-806B-24 SCREW 1
25 PCN-806B-25 WASHER 1
26 PCN-806B-26 STEEL BALL 1
27 PCN-806B-27 SAFETY VALVE SCREW 1
28 PCN-806B-28 SAFETY VALVE O-RING 1
29 PCN-806B-29 REGULATE SCREW 1
30 PCN-806B-30 SAFETY VALVE SPRING 1
31 PCN-806B-31 BALL VALVE SEAT 1
32 PCN-806B-32 STEEL BALL 1
33 PCN-806B-33 HANDLE 1
34 PCN-806B-34 PIN 5X24 1
35 PCN-806B-35 RELEASE ROD 1
36 PCN-806B-36 VALVE BODY 1
37 PCN-806B-37 COVER 1
38 PCN-806B-38 O-RING 1
39 PCN-806B-39 FIXED PISTON ROD 1
40 PCN-806B-40 RETAINING RING 1
41 PCN-806B-41 O-RING 1
42 PCN-806B-42 Y-RING 1
43 PCN-806B-43 RETAINING RING 1
44 PCN-806B-44 WASHER 1
45 PCN-806B-45 O-RING 1
46 PCN-806B-46 WASHER 1
47 PCN-806B-47 O-RING 1
48 PCN-806B-48 PISTON ROD 1
49 PCN-806B-49 O-RING 1
50 PCN-806B-50 CYLINDER 1
51 PCN-806B-51 O-RING 1
REF PART NUMBER DESCRIPTION REQ
52 PCN-806B-52 TOP CAP 1
53 PCN-806B-53 O-RING 1
54 PCN-806B-54 PIN 5X45 1
55 PCN-806B-55 CONNECTING ROD 1
56 PCN-806B-56 OIL PLUG 1
57 PCN-806B-57 FRAME ASSEMBLY 1
58 PCN-806B-58 NUT M16 6
59 PCN-806B-59 WASHER M16 6
60 PCN-806B-60 WASHER M12 2
61 PCN-806B-61 SCREW M12X40 2
62 PCN-806B-62 UNIVERSAL WHEEL 4
63 PCN-806B-63 ROD PIN 2
64 PCN-806B-64 CONNECTING ROD 2
65 PCN-806B-65 WASHER M16 4
66 PCN-806B-66 SHAFT SLEEVE 2
67 PCN-806B-67 CONNECTING ROD 2
68 PCN-806B-68 NUT M10 2
69 PCN-806B-69 PIN 4
70 PCN-806B-70 CONNECTING ROD SHAFT 1
71 PCN-806B-71 WASHER 2
72 PCN-806B-72 HANDLE ASSEMBLY 1
73 PCN-806B-73 RETAINING RING 2
74 PCN-806B-74 RETAINING RING 2
75 PCN-806B-75 GREASE FITTING 1
76 PCN-806B-76 ARM SHAFT 1
77 PCN-806B-77 LIFT ARM 1
78 PCN-806B-78 RETAINING RING 2
79 PCN-806B-79 FRONT AND REAR NUT SHAFT 1
80 PCN-806B-80 ADJUSTING SHAFT 1
81 PCN-806B-81 ADJUSTING SEAT 1
82 PCN-806B-82 RETAINING RING 2
83 PCN-806B-83 LEFT AND RIGHT NUT SHAFT 1
84 PCN-806B-84 HANDLE ASSEMBLY 1
85 PCN-806B-85 ADJUSTING SHAFT 1
86 PCN-806B-86 RETAINING RING 4
87 PCN-806B-87 ADJUSTING SHAFT 1
88 PCN-806B-88 BOLT 1
89 PCN-806B-89 SCREW 2
90 PCN-806B-90 HOOK 4
91 PCN-806B-91 CHAIN 2
92 PCN-806B-92 PALLET ASSEMBLY 2
93 PCN-806B-93 BOLT M12X20 1
94 PCN-806B-94 WASHER M12 4
95 PCN-806B-95 BRACKET 4
96 PCN-806B-96 NUT M10 4
97 PCN-806B-97 WASHER M10 4
98 PCN-806B-98 NUT M8 4
99 PCN-806B-99 WASHER M8 4
100 PCN-806B-100 HOOK 4
101 PCN-806B-101 O-RING 2
This manual suits for next models
1
Table of contents
Other Surewerx Jack manuals
Popular Jack manuals by other brands

Sunex Tools
Sunex Tools 6603ASJPK owner's manual

Clarke
Clarke STRONG-ARM CTJ2GLC Instruction booklet

Sealey
Sealey 3000CXd.V2 instructions

Omega Lift Equipment
Omega Lift Equipment 18124C Operating instructions & parts manual

Sealey
Sealey AJS10000 instructions

Cattini Oleopneumatica
Cattini Oleopneumatica YAK 215/P Operating and maintenance manual

CLAS
CLAS OH 6035 manual

Omega Lift
Omega Lift 28045 Original instruction

Blitz
Blitz GHUSE Series Operating instructions and spare parts list

Napa
Napa Carlyle Tools 791-7160B operating manual

K Tool International
K Tool International KTI-63101A owner's manual

Tractel
Tractel tirfor TU-8 Operating and maintenance instruction