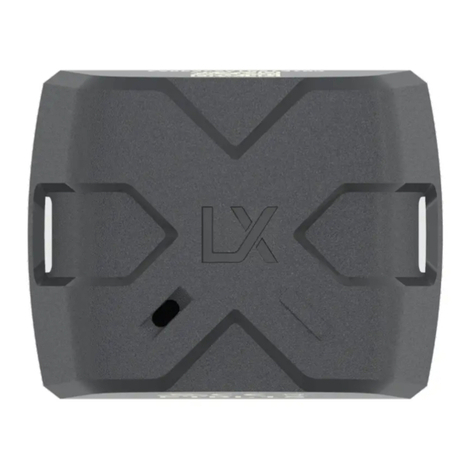
SweTrack Plus User manual

Instruction Manual
Plus
Issued by SweTrack Electronics AB
Version 2.1 2021-10-22

www.swetrack.com 2
Inledning
Thank you for purchasing a SweTrack Plus by SweTrack.
This instruction manual describes how to get started with your new product, as well
as getting acquainted with the product’s exterior features. Please read this instruction
manual carefully before commencing use of the product. More information can be found
in our Online Support Center, which is accessible at www.swetrack.com/support.

www.swetrack.com 3
Power Connection
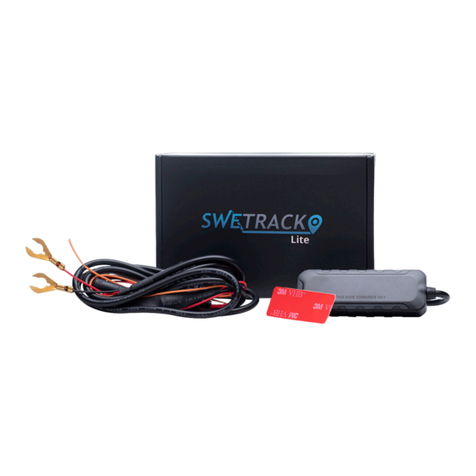
In the package you will nd, in addition to the product itself, a cable set and a power relay.
The relay can be used to control power supply to an external component of the vehicle,
such as the fuel pump. Using the relay is optional and its connection is described on
the next page. For the product to work, you need to connect the red cable to a positive
terminal and the black cable to a negative terminal. The orange cable can be connected
to the ignition switch to receive alarms when the vehicle’s ignition is turned on or off
(optional). The product requires a voltage between 9-90 V.
Positive
Negative
Ignition
To relay
You can use the supplied relay to control power supply to
external devices, such as the fuel pump in the vehicle. Using
the relay is optional. We strongly recommend that you let
a professional handle the relay connection if you choose to
use it. To connect the SweTrack unit’s relay, connect the
yellow cable on the product cable set to the yellow cable
on the SweTrack unit’s relay. Next, locate the control cable
on the relay belonging to the external equipment you want
to control. Cut the control cable in two places and bridge
the green and red cable from the SweTrack unit’s relay on
the control cable as shown in the illustration below. The
black cable on the SweTrack unit’s relay is connected to a
negative terminal on the external equipment
1Control Relay
BATTERY
RELAY

www.swetrack.com 4
Getting started with the app
SweTrack Plus is controlled through the SweTrack Live app. In the SweTrack Live app,
you can see the device’s current location, enable geofences, request location history, and
more.
Visit the App Store (iOS) or Google Play (Android) and search for SweTrack Live. The app is free of
charge.
Once you’ve started the app, select Sign up found at the bottom of the login screen. Then ll in your
name, your email address and choose a password. Finally, you need to enter the device’s IMEI number.
The easiest way to do this is to click the Scanner button and hold the phone’s camera against the IMEI
barcode on the back of the product. You can also select Text and enter the IMEI number manually.
Once you have lled in all elds, click the button Create Account. You then log in with your email
address and the password you chose.
SweTrack Live can also be used from the browser on a PC or Mac. To visit SweTrack Live from your
computer, go to www.swetrack.com/live in your browser. You use the same login information on the
computer version as in the mobile app.
1
2
3
Download the app
Create an account
Use SweTrack Live from a computer

www.swetrack.com 5
Activating a data plan
SweTrack Plus requires an active data plan for mobile data trafc to work. The data
plan includes unlimited tracking across Europe. Without mobile data, the product can not
communicate with the Internet and transfer its position data to you.
1. Go to the web app www.swetrack.com/live and log in to your account. If you do not have an account,
click on “Sign up”, follow the instructions and then log in.
2. Go to the “Data Plans” page and click on “My Cards”.
3. Click on “Add card” and then ll in your card details. Then click on the blue “Save” button.
4. Then click on the “Devices without data plan” tab.
5. Select the device or devices for which you want to create a data plan and then click on “Create a
data plan”.
1. Go to the web app www.swetrack.com/live and log in to your account.
2. Go to the “Data Plans” page and click on “Devices with data plan”
3. Select the devices you want to cancel a data plan, and then click “Cancel data plan”
The data plan / data plans will now be cancelled and not renewed until you choose to reactivate them
by going to the tab “Devices without data plan” and clicking “Activate data plan”.
1
2
How do I activate a data plan?
How do I cancel my data plan?
Important notice: Never perform unauthorized modications to the device, such as replacing the built-in SIM-
card with another SIM-card. The device only works with the factory installed SIM-card. Also, do not install the
built-in SIM-card into other equipment, the SIM-card will be permanently blocked and rendered unusable, even
if it is reinstalled in the SweTrack device. Unauthorized modications can damage the product and will cause the
one-year factory warranty to be permanently invalidated.

www.swetrack.com 6
Using the Mobile App
Once you have created an account and activated a subscription, the product will start to
work within about 20 minutes. You will then be able to see it on the map in the SweTrack
Live app or via a computer by going to www.swetrack.com/live.
The product’s position is automatically updated every 15 seconds when the product is
in motion. Keep in mind that the product is, by default, only active when the built-in
vibration sensor notes movements. lf you do not see the product on the map in the app,
you may therefore need to shake it a little so that it starts up.
In the app, in addition to displaying the current position, you can also change the device
settings and activate different types of alarms.

www.swetrack.com 7
Power saving mode
By default, the product is registered to only search and report position data to the app when it is in motion.
However, other functions, such as mobile antennas, are turned on. This setting is called standard power
saving mode. With this mode, you can change settings at any time as the product is always connected to the
network, but it only searches for new positions as it moves.
You can also activate an aggressive power saving mode, which means that all functions are switched off
when the product is stationary. This saves a lot of power, but it also means that any settings you change do
not take effect until the product wakes up. It is also possible to deactivate all energy saving functions. This
means that the product also reports position data when it is stationary. This suits you who need continuous
updating about the product’s position even when the object is stationary, but this consumes more battery.
Start by rst navigating to My Devices that you reach by tapping the icon on the far left in the lower
navigation menu.
Here you get a list of all the devices that you have added to your account. Select device by tapping the
arrow icon to the right of the device name. This will open the device settings.
By pressing Power Saving Mode, you open a pop-up with different options for Power Saving modes.
The switch that is activated will be marked blue.
Select an option by tapping the corresponding switch and then save by clicking on Save.
1Edit your power saving mode

www.swetrack.com 8
Warranty Terms
This page contains information about our warranty and service terms.
You’ll nd answers to the most common questions about our products and services in our Support
Center, located at www.swetrack.com/ support. lf you can not nd the answer to your question in this
We at SweTrack take the integrity of our customers seriously, and we never share personal data or
information about how the product is used with any third party. You can nd our full privacy policy by
going to the page privacy policy.
The product is covered by a one year limited hardware warranty. Full warranty terms can be found at
www.swetrack.com/support. EU consumer laws also provide a two- or three-year legal guarantee.
1
2
3
Support & service
Privacy Policy
Hardware warranty
Help & Support
lf you can not nd the answer to your question in this manual or in the support center, contact our customer
Table of contents
Other SweTrack GPS manuals

