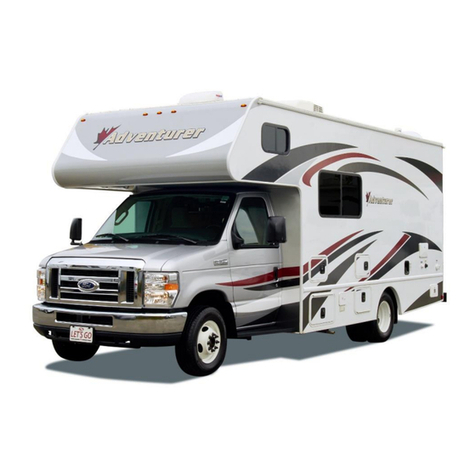
Swift Compact C404 User manual

Page of1 15
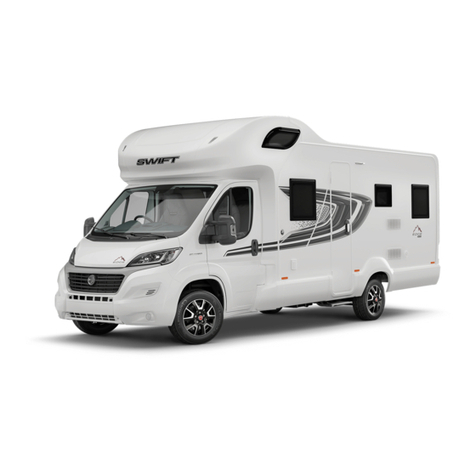
Swift Compact C404
MANUAL

Page of2 15
TECHNICAL DETAILS
Seat Belts: 4
Berths: 4
Length: 5.99 m (19' 8" Ft)
Width: 2.26 m (7' 5" Ft)
Height: 2.78 m (9’2” Ft)
Weight: 3300Kg
Bed Sizes
Rear Double: 1.93m x 1.20m / 6' 4'1 x 3' 11"
Drop Down Bed: 1.83m x 1.18m / 610" x 3' 10'1

Page of3 15
WATER PUMP
The command panel powers the Motorhome, on entering the Motorhome push the main
button, the LED panel will light up the touch screen.
The water pump is the tap sign on the panel. Press this it will turn blue and you will hear the
pump running. The pump is required for running the water and the shower.
Control the lights dim or bright
The water icon controls the water settings
Check the water levels and empty the
waste when full
Choose empty waste, tap confirm this will
open the valve automatically when the
tank is empty a yellow circle will flash, tap
the empty waste again and confirm stop
emptying waste, this will close the valve
THE COMMAND PANEL ALLOWS YOU TO CONTROL THE FOLLOWING:

Page of4 15
HEATING AND WATER INSTRUCTION
On entering the motorhome Turn on the power by pushing the main button on the command
Panel
In the Swift Motorhomes the LED panel will light up.
BEFORE OPERATING THE TRUMA PANEL select GAS or Electric and power up the Motorhome
The Trauma controls the power source to the Motorhome, the heating and water temperature
Motorhome Heating will work off the 240 v Electric or the Gas (YOU DO NOT NEED THE WATER
PUMP ON FOR THE HEATING)
Decide first if you are running the heating off Gas or Electric (if in a campsite preferably use the
240v supply)
If Gast Turn on the Gas Bottle If Electric plug in the 240V supply
With the Gas or Electric now on, you can turn on the Truma panel by pushing the main
button until the panel lights up.
The first screen you will see is this ➡
Scroll to the third icon (Gas bottle or
Electric) push the button and scroll to the
icon you are running the heating on. If
running on Gas scroll to the gas bottle and
push the button the gas bottle will appear
above the line.
If running on Electric 240V select EL2 and
push the button the electric sign will
appear above the line.
These are the only two choices you will
Require
NOW
Scroll back to the motorhome icon, this controls the heating in the motorhome, push the
button and the icon flashes, turn the dial to the desired temperature, then push the button
again.
The heating sign will appear above the line and will flash until the motorhome has reached the
desired temperature.
NEXT
Scroll to the next icon: this is for the water temperature, on the icon push the button the icon
flashes, turn the button you have the option of ECO, HOT and BOOST select one and push the
Button the Temp icon will flash above the line until the water has reached the temperature
required.
The 4th Icon is the fan scroll to this push the button and select fan speed push the button
again.
These are the only controls you will require on the Truma Panel
Before you decide to move, turn off the heating and the Gas on the Truma panel by
scrolling to the motorhome and temperature icons push the button and turn until you see
OFF and push the button then leave the system to cool down for 5 minutes before
switching off the Gas or disconnecting the 240v supply.

Page of5 15
OPERATING INSTRUCTIONS
Display and operating elements
1. Display
2. Status line
3. Menu line (top)
4. Menu line (bottom)
5. Power supply
display 120 VAC
(mains supply)
Rotary push button
The rotary push button (8) is used to select
and change set points and parameters; it is
then tapped to save the values. Selected
menu items flash.
Turn clockwise
•The menu is scrolled
through from left to right .
•Increase values (+).
Turn counterclockwise
•The menu is scrolled
through from right to left.
•Reduce values (-).
Tap
•Save a selected value.
•Select a menu item, go to
the setting level.
Press (3 seconds)
•Main switching function -
control panel on/off.
Description
•A rotary push button(8) is used to select menu
items in the menu lines (3 + 4) and to adjust
settings.
•Information is shown on a backlit display (1).
•The Back button (9) is used to go back to a
previous menu.
6. Time switch display
7. Settings/values
8. Rotary push button
9. Back button
Back button
Press the Back button (9) to go back to a
previous menu and cancel settings. This
means that the previous values remain
unchanged.
Instructions for use
•If there is an interruption to the power supply, the clock has to be reset.
•If a new furnace is connected to the bus system of the control panel, repeat the procedure
described in "Initial start-up".

Page of6 15
Start-up
Start/Stand-by screen
When the control panel is connected to the
power supply, after a few seconds a start screen
is displayed.
Select setting level
•Tap the rotary push button (8).
The display shows the setting level. The first icon
flashes.
•Use the rotary push button (8) to select the
icon in the menu line (3).
•Tap the button to go to the setting level.
•Select the desired temperature with the rotary
push button (8).
•Tap the rotary push button (8) to confirm the
value.
Change room temperature
•Use the rotary push button to select the icon in
the menu line.
•Tap the button to go to the setting level.
•Select the desired energy mode with the rotary
push button.
•Tap the rotary push button to confirm the
value.
•Only 2 Options will ever be used (a) GAS €
Ele2
Select energy mode
Change hot water level
•Use the rotary push button (8) to select the
icon in the menu line (3).
•Tap the button to go to the setting level.
•Select the desired hot water level with the
rotary push button (8).
•Tap the rotary push button (8) to confirm the
value.

Page of7 15
MOTORHOME FRIDGE OPERATION
The fridge will not run off the motorhome leisure battery, this would drain the battery very
quickly.
The fridge will Operate in 3 modes
•Engine Battery: this is used to keep the fridge cool while traveling if the gas is turned off
•Gas: The fridge will run in gas mode while traveling and while wild camping or at sites with
no 240v electric supply
•Electric 240v mains supply: when plugged into campsite power supply
The fridge has an Electronic control panel that can be used in 2 modes, Auto and by manually
selecting a source.
If set to AUTO the fridge will automatically find the source that is on, Battery if driving, Gas as
above, Electric if plugged in.
If selecting the source manually just press the top right button to scroll the blue dot to the
source, you want.
Push the temperature button to set the fridge temperature.

Page of8 15
Example
If the engine is turned on and the fridge is in Auto it will move to the battery sign
If the gas is left on for traveling push the button from Auto to Gas. This will stop the fridge
looking for two sources, Battery, and Gas.
If on Battery once the Engine is switched off the fridge will give you 10 mins before detecting
an error, this time allows for refuelling etc,
After the 10 mins if the engine has not been restarted the fridge will start beeping a warning.
This beeping indicates there is no source feeding the fridge.
In the 10 mins from switching the Engine off if the engine is not to be restarted
If you are now camped up, make sure you either turn on the Gas or have plugged the 240v
supply into the Motorhome.
The LED panel is sensitive, If the warning triangle is flashing Blue and the fridge Beeps, there is
an Error in the fridge. This can be caused by the fridge trying to find a source i.e Gas 240v etc. If
you are running the fridge on the gas and it has been moved to electric it will beep re set to
gas and this should clear the error.
If the Error continues ,to clear the error, turn the fridge off by pressing the top left, on off
button, all the lights will go out. Connect the fridge to Gas or 240 Electric and switch the Fridge
on, this should clear the error.
If in campsites and hooked up to 240v its better to run the fridge off this and save the gas

Page of9 15
EXTERNAL EQUIPMENT
Diesel valve (Use ignition key)
Gas Bottle, gas bottle key, power cable,
water Hose
Toilet chemical for toilet cassette
Fresh water hose
Gas Bottle with on off valve and Safety trip
switches. If no gas supply to the
Motorhome make sure Main Valve Is Open,
then Press the Green Trip Button
Bicycle rack
Rear parking sensors

Page of10 15
Power connection for electric Hook up
Toilet cassette
Water filling cap for FRESH water 85 L tank
Fresh and waste tank drains both on the
drivers side
Fresh tank drain, controlled from the
command panel
Waste drain, controlled from the command
panel
Before removing the toilet, cassette make
sure the lever on the toilet is in the closed
position do not try to force the cassette
out. If the lever is in the correct position it
will slide out
Grip and pull to release
Turn the orange pipe to empty, once
cleaned add one cap of the toilet
chemical and 2L of water. Replace the cap
and re fit the cassette

Page of11 15
INTERNAL EQUIPMENT
Rear seating area converts to double bed
Storage under seats
Storage and fuse box
Drop down bed above seating area
Bed with steps
Slide out support to create bed, cushions
must be turned over for mattress affect
Lift slightly to take the weight push the
button to release, bed must be lowered
and raised slowly to stop potential to jump
pulleys

Page of12 15
Fly screens for every window
Blinds for every window
Gas cooker
A selection of pans
Toilet
Push igniter and turn selected burner if no
click from ignitor turn on command panel
Before using the toilet, slide the lever to
the right to open the cassette flap, slide
the lever to the left when done
Do not move Lever while sitting on the
toilet

Page of13 15
Wash hand basin and tap
Head from tap to create shower head
Microwave
Can only be used with 240V
Crockery storage
Locking drawers for cutlery and pans and
various cooking utensils

Page of14 15
USB sockets by bed
Mains sockets
TV and DVD
Cover for side windows stored above
windows
Fix with push on buttons
For nighttime privacy

Page of15 15
Pull to close windscreen blinds
Slide from both sides
Fully closed
Close all other window blinds
Table of contents
Other Swift Motorhome manuals

Swift
Swift Motorhome User guide

Swift
Swift Escape 664 Instruction manual

Swift
Swift Charisma 220 User manual

Swift
Swift Sundance 530LP User manual

Swift
Swift caravan User guide

Swift
Swift Motorhomes 2013 User manual

Swift
Swift Kon-tiki How to use

Swift
Swift Kon-tiki Dynamic 2019 User manual
Swift
Swift Escape 664 User manual

Swift
Swift Charisma 220 User manual