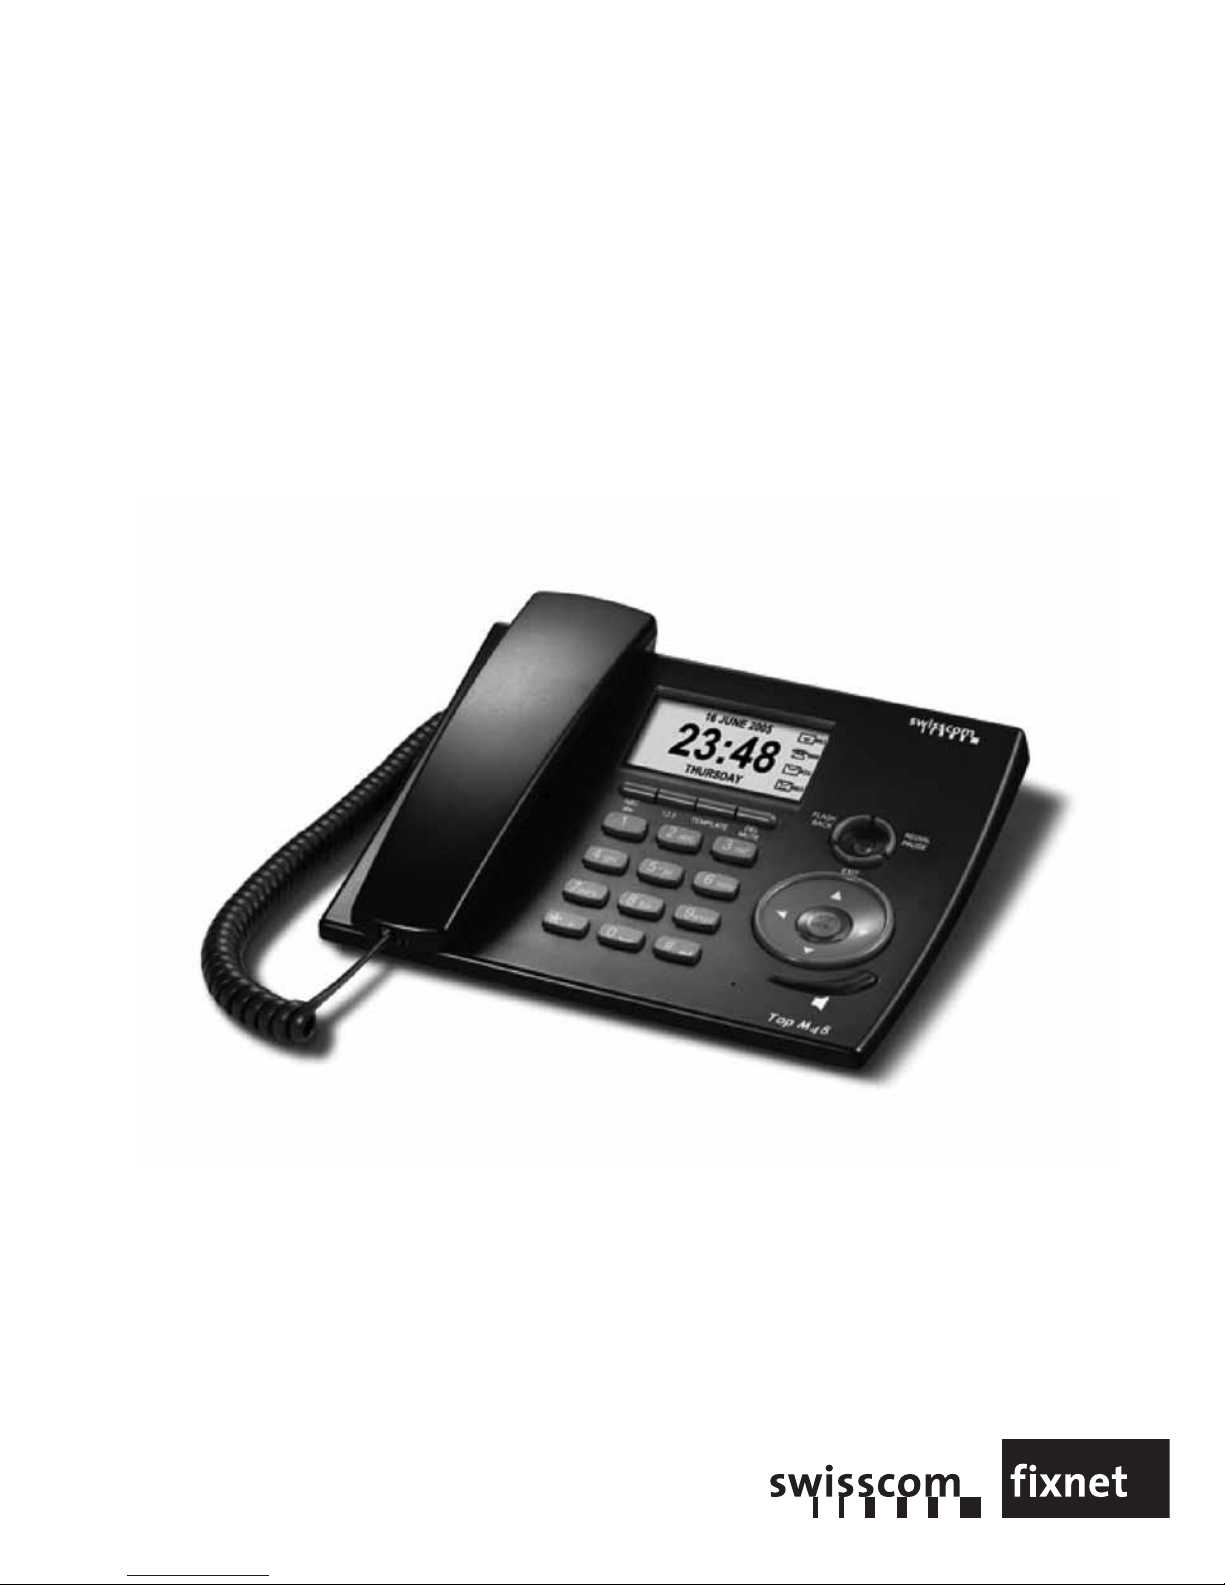
Key Function Description
1, 2abc, 3def …9wxyz 1 – 9 Number keys
abc … wxyz Letter keys
* + * Control key for activating for example call
diversion
+ Special character key for SMS messages and
phone book
+ ”Plus” key for the calculator
00 Number key
Space key for SMS messages
## Control key for validating call diversion,
for example
Return key for SMS messages
LED Description
Lights up if the hands-free function or the headset are in use
Top M58 only:
Flashes to indicate that a new message has been received
Flashes to signal the arrival of a new SMS
Flashes to signal a new incoming call
13
Key Function Description
Top M48: MENU óAccess to the menu in standby mode
ENTER óEnter/OK within a menu
óAccesses the SMS inbox, if pressed directly
óScrolls upwards through a menu
óIncreases the loudspeaker volume
óAccesses the phone book, if pressed directly
óScrolls downwards through a menu
óReduces the loudspeaker volume
Top M58: or óAccesses dialed numbers list, if pressed directly
óMoves left in a menu
óRewind once messages have been listened to
or óAccesses missed calls list, if pressed directly
óMoves right in a menu
óFast forward once messages have been
listened to
Top M48: ABC óToggles between capitals and small letters
abc óduring input
123 óToggles between letters and numbers during
input
TEMPLATE óAccesses templates during input.
Choose template using and
Top M58: DEL óDelete, if receiver on-hook
MUTE óTurns off the microphone, if receiver
off-hook
PLAY óFrom standby mode, press to listen to or
PAUSE ópause messages
OGM óFrom standby mode, press to listen to or record
messages (OGM) on the answering machine
MEMO óFrom standby mode, press to record a memo
REC óPress to record a conversation in progress
ON/OFF óFrom standby mode, press to switch the
answering machine on or off
12