Tack life GFP03 User manual

Model No.: GFP03
Supplier Model No.: GFWM41W
41

Table of Contents
Caution: Do not attempt to operate until you have read &
understand all General Safety Information in this manual and all
assembly is complete & leak checks have been performed.
Note: Before beginning assembly of product, make sure all parts
are present. Compare parts with packagecontentlist and
hardware contents. If any part is missing or damaged do not
attempt to assemble the unit. Contact customer service for
replacement parts.
Warnings ………….……………………………………………….2-5
Hardware and Tools............…………………..……………………6
Parts ..........................................................................................7
Assembly Instructions …….………………………………………8-13
Installation instructions .....………………………………………...14
Operation......................……………………………......................15-17
Locating fire pit for use ....................................................................................18
Maintenance and storage………………………….......................19-20
Trouble shooting and Limited one year warranty .......................21
1

Warnings
WARNING
FOR YOUR SAFETY
Read these instructions before using this appliance. The appliance must be installed in accordance with the
instructions and local regulations. The use of this appliance in enclosed areas can be dangerous and is
PROHIBITED.
Do the leak test after each changing of cylinder.
Never check for leaks with a match or open flame.
Do not store or use gasonline or other flammable vapors and liquids in the vicinity of this appliance.
IF YOU SMELL GAS
Close the valve of gas cylinder or regulator.
Extinguish all naked flames,do not operate any electrical appliances.
Check for leaks as detailed in these instructions.
WARNING
FOR YOUR SAFETY
Improper installation, adjustment, alteration, service or maintenance can cause injury or property damage.
Read the installation,operation and maintenance instructions thoroughly before installing or servicing this
eqipment. Failure to follow these instructions could result in fire or explosion, which could cause property
damage, personal injury or death.
D DANGER
CARBON MONOXIDE HAZARD
This appliance can produce carbon
monoxide which has no odor.
Using it in an enclosed space can kill,cause
injury or death.
Never use this appliance in an enclosed
space such as a camper, tent, car or home.
WARNING
FOR YOUR SAFETY
An LP cylinder not connected for use should not be stored in the vicinity of this or any other appliance.
WARNING
FOR YOUR SAFETY:
FOR OUTDOOR USE ONLY (outside any enclosure)
FILL METAL BASE WITH SAND (12.5 KG/27.5 lbs) BEFORE USE.
2

Warnings
3
DANGER
DANGER indicates an imminently
hazardous situation which, if not
avoided, will result in death or
serious injury.
WARNING
WARNING indicates an imminently
situation which, if not avoided,
could
hazardous
result in death or serious injury.
CAUTION
DANGER
CAUTION indicates an imminently
hazardous situation which, if not
avoided, may result in minor or
moderate personal injury or property
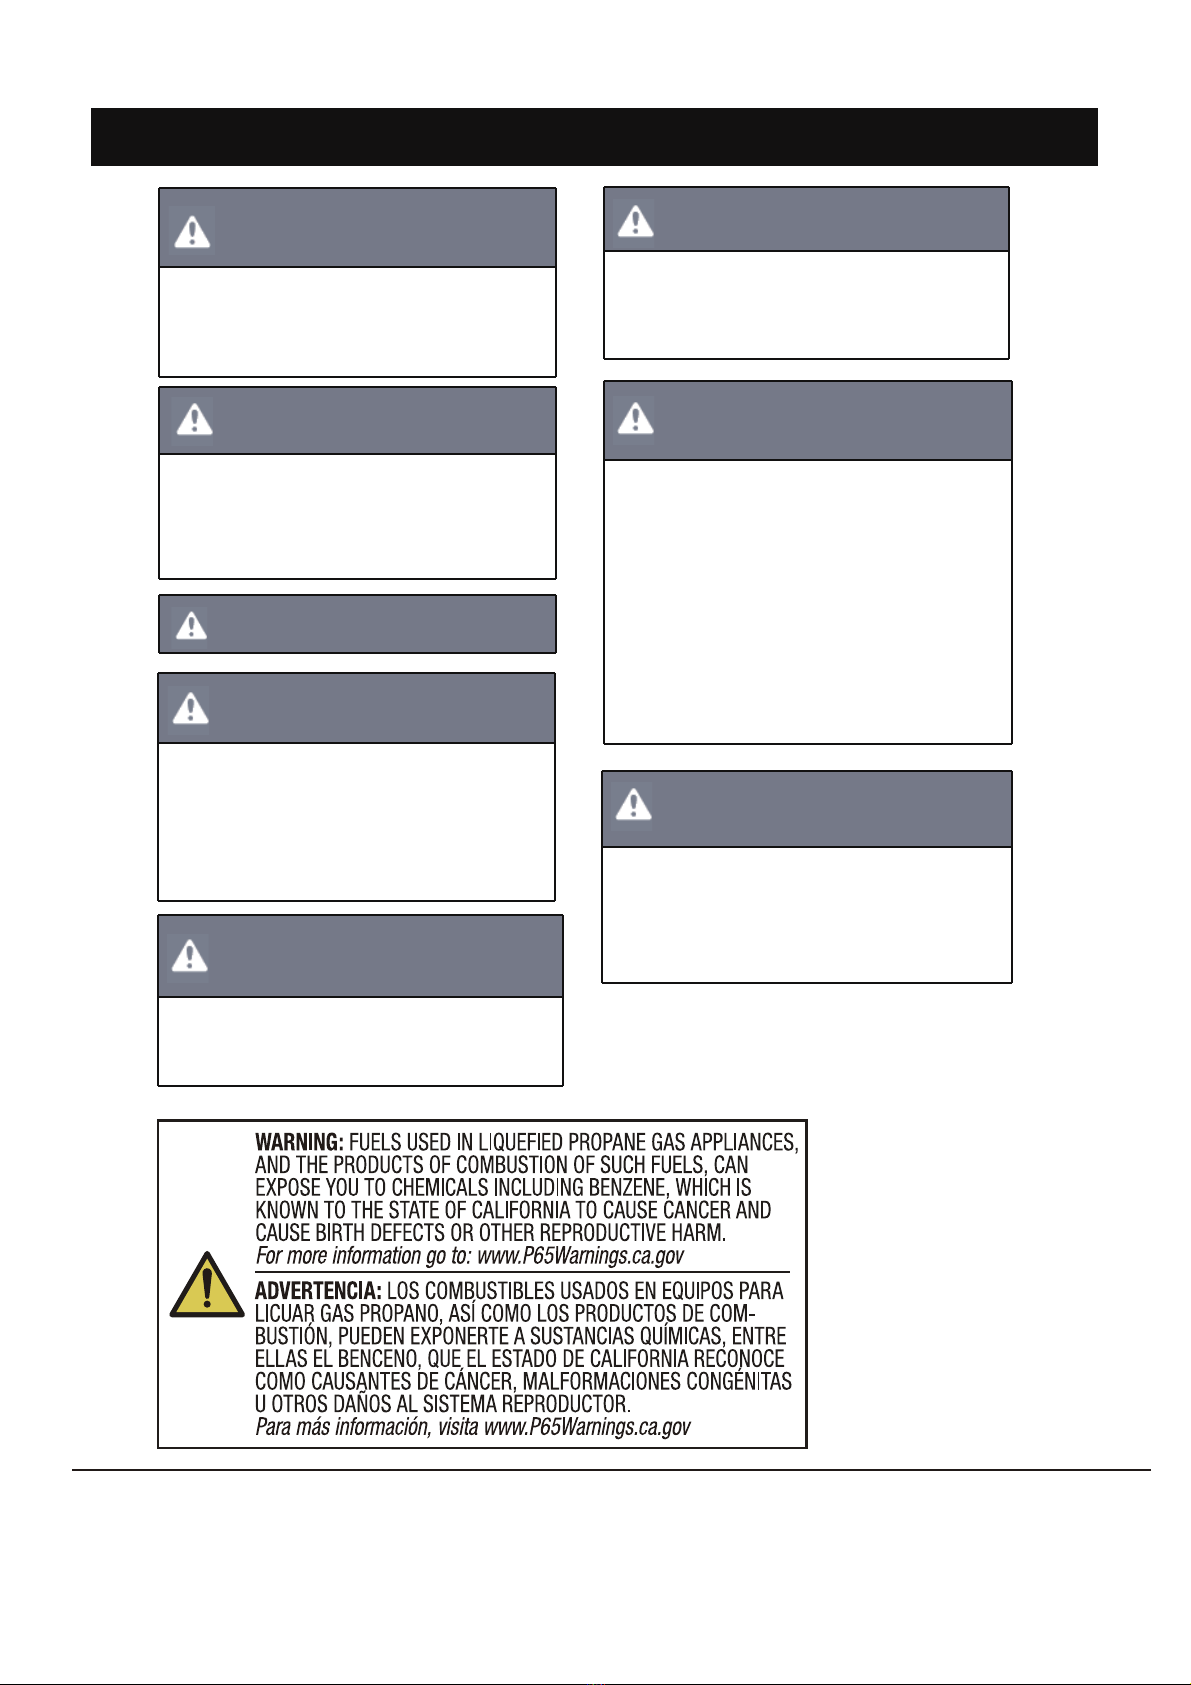
Do not store or use gasoline or
other flammable vapor and liquids
in the vicinity of this or any other
appliance.
WARNING: For Outdoor Use Only
FOR YOU SAFETY
WARNING
Improper installation, adjustment,
alteration, service or maintenance
can cause injury or property
damage. Read the instructions
thoro ughly before installing or
servicing this equipment.
Failure to comply with the
precautions and instr uct ions
provided with this heater can result
in death, serious bodily injury and
property loss or damage fro m
hazards of fire, explosion, burn,
asphyxiation, and/or carbon
monoxide poisoning.
Only pers ons who can understan d
and follow the instr uct ions should
use or service this heater.
damage.
WARNING
FOR YOUR SAFETY:Surfaces of
fire pit can remain extremely hot
for period after use.Allow 45
minutes to cool down before
touching or moving the fire pit.

Warnings
DANGER
CARBON MONOXIDE HAZARD
For outdoor use only. Never use inside house or other unventilated or enclosed
areas. This heater consumes air (oxygen). Do not use in unventilated or enclosed
areas to avoid endangering your life.
DANGER
Solid fuels shall not be burned in this appliance
DANGER
The maximum inlet gas supply pressure: Max . 250PSI . Min 5PSI
DANGER
“Do not use this appliance if any part has been under water.
Immediately call a qualified service technician to inspect the appliance and to replace
any part of the control system and any gas control that has been under water.”
DANGER
EXPLOSION - FIRE HAZARD
Never store propane near high heat, open flames, pilot lights, direct sunlight, other
ignition sources or where temperatures exceed 120 degrees F (49°C). Propane vapors
are heavier than air and can accumulate in low places. If you smell gas, leave the area
immediately.
Never install or remove propane cylinder while heater is lighted, near flame, pilot lights,
other ignition sources or while heater is hot to touch.
This heater is red hot during use and can ignite flammables too close to the burner. Keep
flammables at least from sides & 48" (121.92CM) from top. Keep gasoline
and other flammable liquids and vapors away from heater. The propane cylinder must
be stored outdoors in a well ventilated space. Never store propane cylinder in an
enclosed area (house, garage, etc.). If heater is to be stored indoors, disconnect the
propane cylinder for outdoor storage.
Caution: Do not attempt to operate until you have read & understand all General
Safety Information in this manual and all assembly is complete & leak checks have
been performed.
4
always
36" (91.44CM)

Warnings
You must provide propane gas and propane cylinder. Use a standard 20 lb. propane
cylinder only.
Use this heater only with a propane vapor withdrawal supply system. See Chapter 5 of the
Standard for Storage and Handling of Liquified Petroleum Gas, ANSI/NFPA 58. Your local
library or fire department should have this book.
The minimum permissible gas supply pressure of 10 W.C. is required for purpose of input
adjustment.
The minimum hourly of 50,000 Btu is required input rating for a heater for automatic
operation at ratings less than full input rating.
The pressure regulator and hose assembly supplied with the appliance must be used.
The installation must conform with local codes, or in the absence of local codes, with
National Fuel Gas Code, ANSI Z223.1.
A dented, rusted or damaged propane cylinder may be hazardous and should be checked
by your cylinder supplier. Never use a propane cylinder with a damaged valve connection.
The cylinder used must include a collar to protect the
cylinder valve.
Do not store a spare LP Gas cylinder under or near this
appliance.
Never fill the cylinder beyond 80 percent full.
For appliances designed to use a CGA No.791 connection:
Place the dust cap on the cylinder valve outlet whenever the
cylinder is not in use.
Only install the type of dust cap on the cylinder valve that is
provided with the cylinder valve.
Other types of caps or plugs may result in leakage of
propane.
Note: Gas supply pressure: 25 to 250
5

1 #2 Philips Head Screwdriver
(Not Included) 1pc
Tools Required
Hardware
PREPARATION
--Select an area where you will assemble this product. To protect components,
choose a smooth non abrasive surface that's free of cracks or openings.
--Spread out all parts.
--Tighten all hardware connections by hand first. Before completing each step,
go back and fully tighten all hardware. Be careful not to over- tighten, that could
damage surface or strip threads.
--For best results, complete each in the order presented.
To complete assembly you will need:
(1) Leak detection solution instruction on how to make the solution are included in the
“operating instructions” section of this manual).
(2) Precision-filled LP gas grill tank with Acme Type 1 external threaded valve connection
standard grill size .
Estimated Assembly Time : 30 minutes
6
M6 X25 Screw
Qty. 6PCS
M6 X 30 Screw
Qty. 4PCS
M6 X12 Screw
Qty. 2PCS
M8 X16 Bolt
Qty. 4PCS
M8 Washer
Qty. 4PCS
Wrench
Qty. 1PC
AA BB CC DD EE FF
II
GG HH
Propane Tank Strap
Qty. 1PC
Battery
Qty. 1PC
+-
Touch Up Paint
Qty. 1PC

Parts List
7
PART DESCRIPTION QUANTITY PART DESCRIPTION
1A
1
B
1
C
1D
E
F
G
1
1
1
Lid
Table Top
Side Panel
Door Bracket
Front Panel
Back Panel
Side Panel
H
1
Cylinder Holder
I
1
Lava Rock

Assembly
Step 1:
Attach Propane Tank Strap ( GG ) to the Bottom Plate ( H ) as show in Figure 1.
Step 2:
8
Fig.2
Fig.1
Assembled the Bottom Plate ( H ) to Side Panel ( C / G ). Please pay attention to the direction of panel.
Locate Side Panel ( C ) / Control Panel ( G ) with Bottom Plate (H) . Align all holes in panels and
insert M6 X 25 ( AA ), then tighten.
Note : Do not overtighten the Screws as you maybe need adjust the holes to ensure proper
alignment .
Hardware Used
AA M6 X25 Screw x 6

Assembly Instructions
Step 3:
Step 4:
Install the Door Bracket ( CC ) on Side Panel ( C / G ) as show in Figure 4 by using M6 X 12 Screw ( CC ).
Note : Do not overtighten the Screws as you maybe need adjust the holes to ensure proper
alignment .
9
Hardware Used
Hardware Used
Turn over the Bottom Plate ( H ) and assembled panel. Attach the Back Panel ( F ) to the asssembled
panel as show in Figure 3 by using M6 X 30 Screw ( BB ).
Note : Do not overtighten the Screws as you maybe need adjust the holes to ensure proper
alignment .
BB M6 X30 Screw x 4
2
CC

Assembly Instructions
Step 5:
Step 6:
Insert the Front Panel ( E ) to the assembled panel ( as Figure 6-1 ) and Close the Front Panel ( E ) .
10
Hardware Used
Attach the Table Top ( B ) to the assembled panel. Align the holes in the table top ( B ) with the holes
at the top of the assembled panel and insert M8 X 16 Bolts ( DD ) through M8 Washer ( EE ) and
through holes. Tighten with Wrench ( FF ) .Do not overtighten as you maybe need adjust the holes to
ensure proper alignment.
M8 X16 Bolt x 4
DD
M8 Washer x 4
EE

Assembly Instructions
Step 7
Step 8
11
Insert the Front Panel ( E ) to the assembled panel( as Figure 6-1 ) and Close the
Open the Burner Lid ( A ) and Pour the Lava rocks ( I ) around the burner.
Fig.8
Fig.7
Front Panel ( E ) .

Assembly Instructions
Step 9
Remove the rubber cap on the electronic igniter by unscrewing and slide Battery (HH) into the Battery
slot.
Make sure the positive side of the battery faces outwards. Screw the electronic ignitor cap over the
battery tightly.
12
Fig.9

INSTALLATION INSTRUCTIONS
14
Fig 10
Fig 11
Fig.10
Fig.11

WARNING: DO NOT ATTEMPT TO OPERATE THE APPLIANCE UNTIL YOU HAVE READ AND
UNDERSTAND ALL PRECAUTIONS. FAILURE TO DO SO CAN RESULT IN PROPERTY
DAMAGE, SERIOUS INJURY, OR DEATH.
WARNING
WARNING
WARNING
Before turning gas supply ON
WARNING!!!
NOTE:
OPERATION
15

Before Lighting
Lighting Instructions
Flame Characteristic
WARNING: DO NOT ATTEMPT TO OPERATE THE APPLIANCE UNTIL YOU HAVE READ AND
UNDERSTAND ALL PRECAUTIONS. FAILURE TO DO SO CAN RESULT IN PROPERTY
DAMAGE, SERIOUS INJURY, OR DEATH.
OPERATION
16
P
u
s
h
t
o
t
u
r
n
OFF

OPERATION
17
P
u
s
h
t
o
t
u
r
n
P
u
s
h
t
o
t
u
r
n
OFF
OFF

CAUTION: WHEN CERTAIN MATERIALS OR ITEMS ARE LEFT ABOVE, BESIDE OR UNDER
THIS APPLICANCE WHILE IN USE, THEY WILL BE SUBJECT TO RADIANT HEAT AND
COULD BE SERIOUSLY DAMAGED.
LOCATING FIRE PIT FOR USE
36"36"
48"
Fig. 12
18
12

NOTE:
NOTE:
CLEANING AND MAINTENANCE :
At least once a year, the unit should be inspected
MAINTENANCE AND STORAGE
19

NOTE:
STORAGE
It might be necessary to clean this fire pit frequently. You must
passageways clean.
MAINTENANCE AND STORAGE
keep the control compartment, burner and circulating air
20
This manual suits for next models
1
Table of contents
Popular Outdoor Fireplace manuals by other brands

Courtyard Creations
Courtyard Creations TRS60GW Assembly instructions

Costway
Costway NP10464FR-BK user manual

Bond
Bond Newcastle HYFP40205-87 owner's manual

Ashley
Ashley Signature P655-772 user guide

Bond
Bond HYFP50095-3 owner's manual

Prism Hardscapes
Prism Hardscapes Embarcadero 60 Installation, operation & maintenance manual

Costway
Costway NP10163 user manual

Craftsman
Craftsman CMXBHBB17004 instruction manual

Blue Sky Outdoor Living
Blue Sky Outdoor Living THE PIKE owner's manual

Direct Wicker
Direct Wicker PAG-1106R Installation and user instructions

Outdoor GreatRoom Company
Outdoor GreatRoom Company Providence Fire Pit installation instructions

Endless Summer
Endless Summer GAD1499M owner's manual