
5
Caution
Precautions for Use
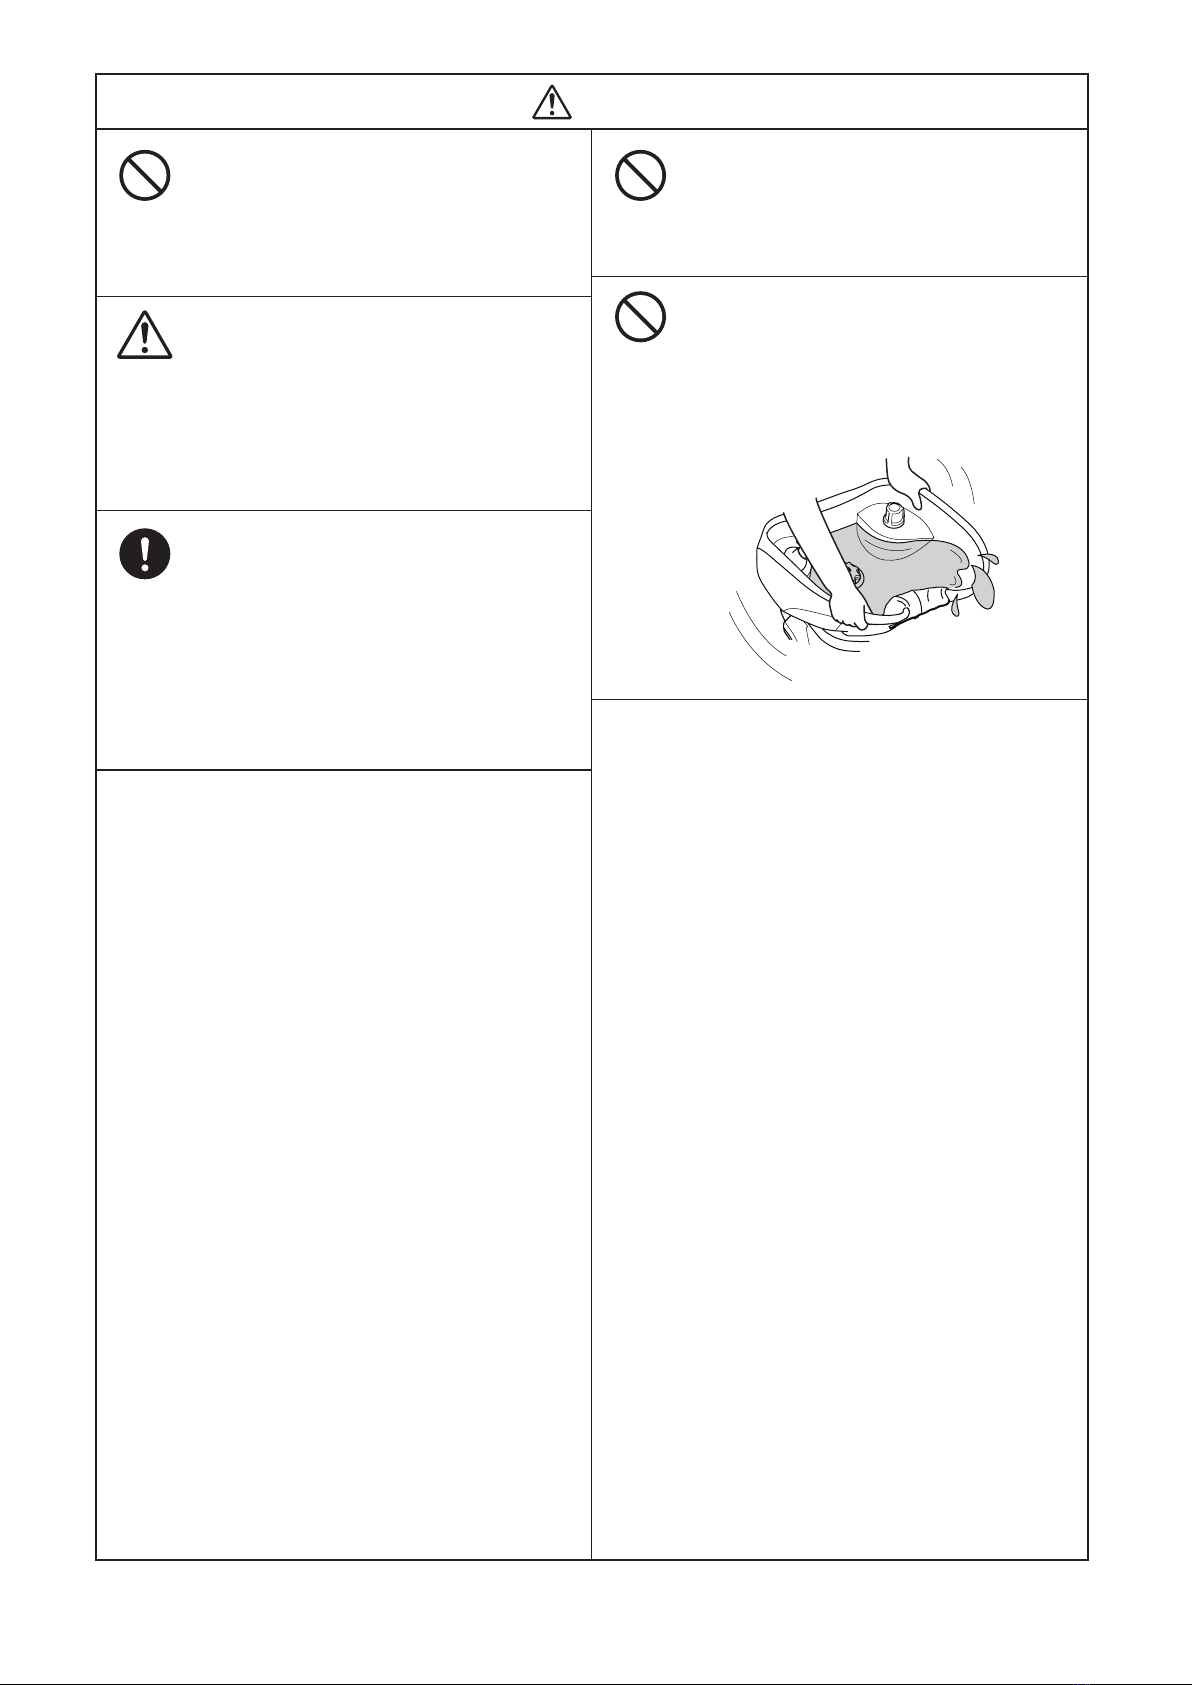
Pay attention to the handling of the
neck cushion.
Do not touch or scratch the neck cushion with a
cutting tool, such as scissors, or an edged tool
(including long nails). Failure to take this
precaution may result in scratches or damage to
the surface.
Do not use peppermint or aroma oil.
Do not use peppermint or aroma oil containing
menthol. Failure to take this precaution may
damage the resin parts, such as the
showerhead, showerhead receptacle,
shower hose, water stop knob,
temperature control knob, neck cushion,
hair catcher, and drain cap.
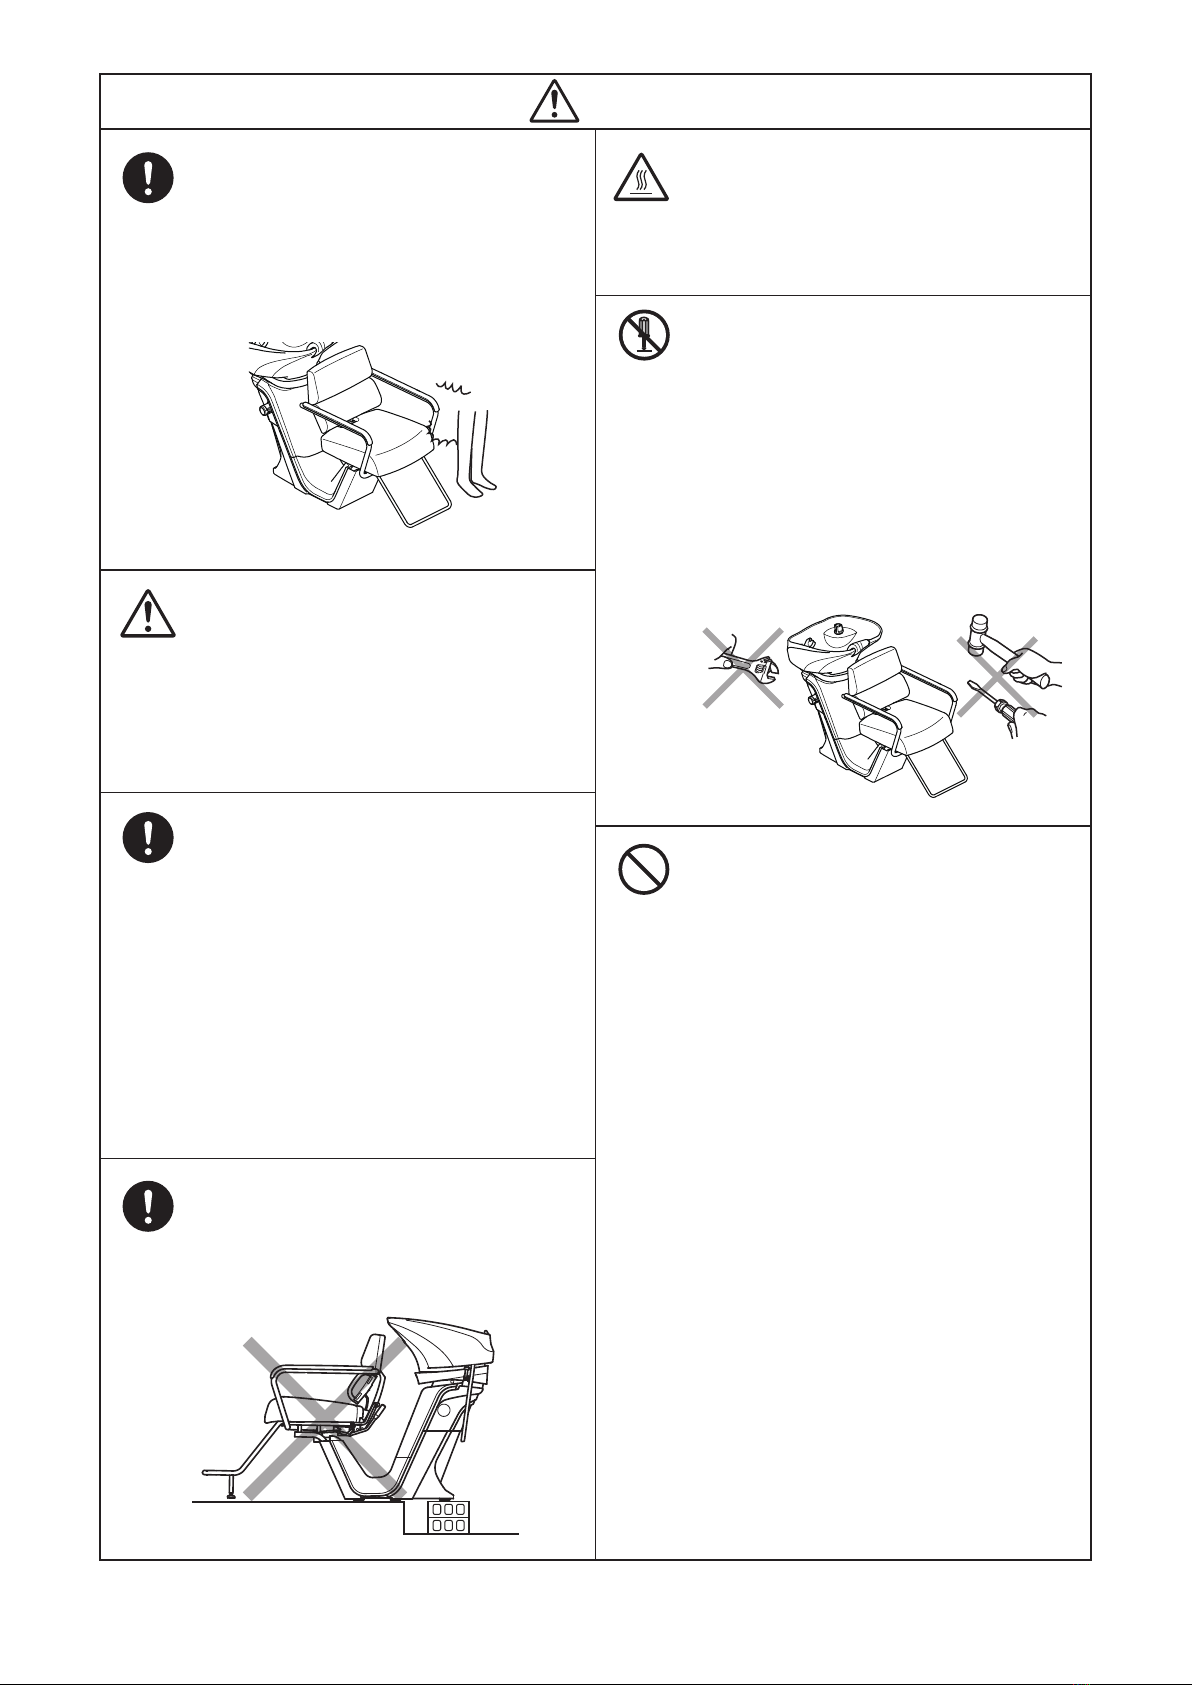
Set the water temperature for this
product to 80Υor less.
Failure to follow this instruction may cause malfunctions
or damage in parts such as the stop valve, check valve,
flexible pipe and thermostat water valve.
Do not use strongly acidic or
strongly alkaline cleaning solvents.
Do not use cleaning solvents containing mainly caustic
soda (NaOH) or caustic potash (KOH) to clean the drain
pipe. Never pour thinners, alcohol, nail polish remover,
gasoline or kerosene into the drain. Failure to follow this
instruction may cause damage to the drain hose.
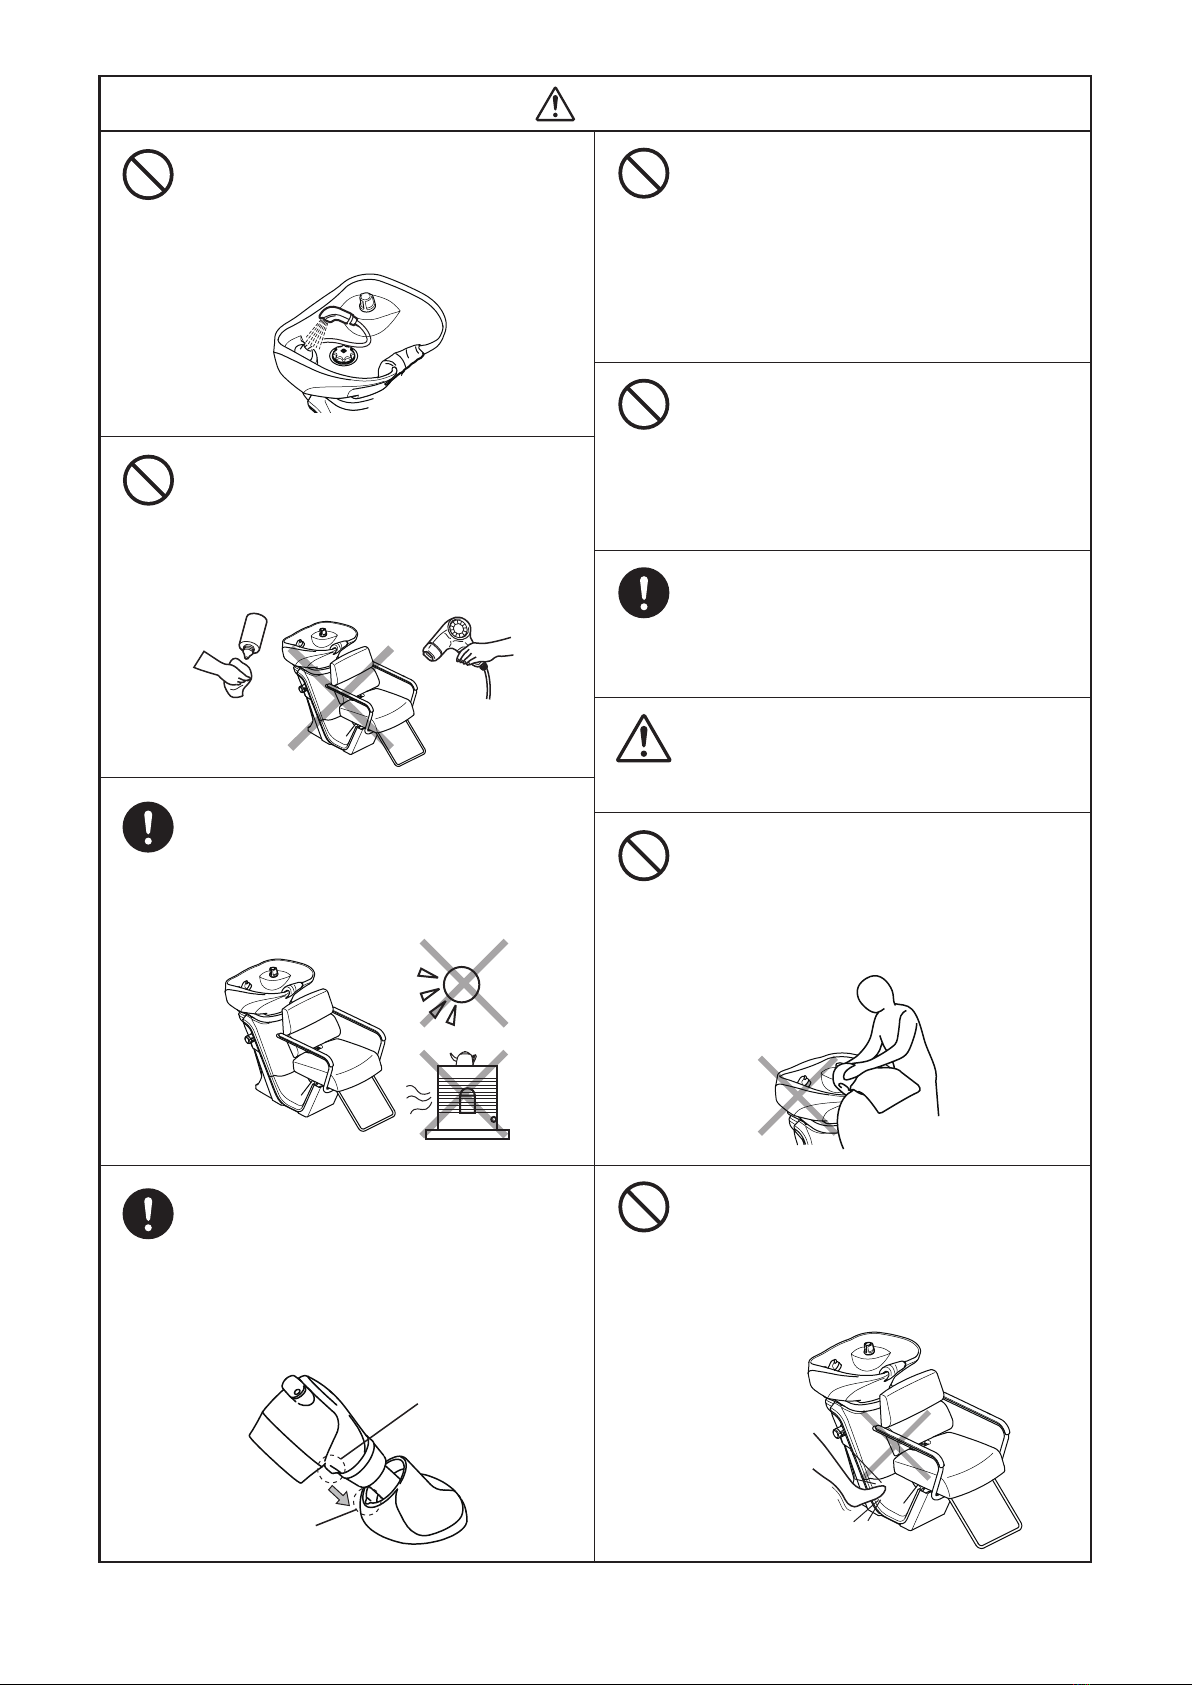
In cold regions, ensure that water is
removed.
When using this product in winter in cold regions,
open the maintenance cover and open the check
valve filter to remove water and prevent freezing.
Failure to follow this instruction may cause water
leakage.
Do not use an abrasive compound.
Do not use an abrasive compound to clean the
water faucet fixtures (showerhead, showerhead
receptacle, water stop knob, and temperature
control knob). Use of an abrasive compound,
sponge with abrasive compound, or hard
cleaning tools, such as wire wool or a nylon
scrubbing brush, may damage the fixture surface.
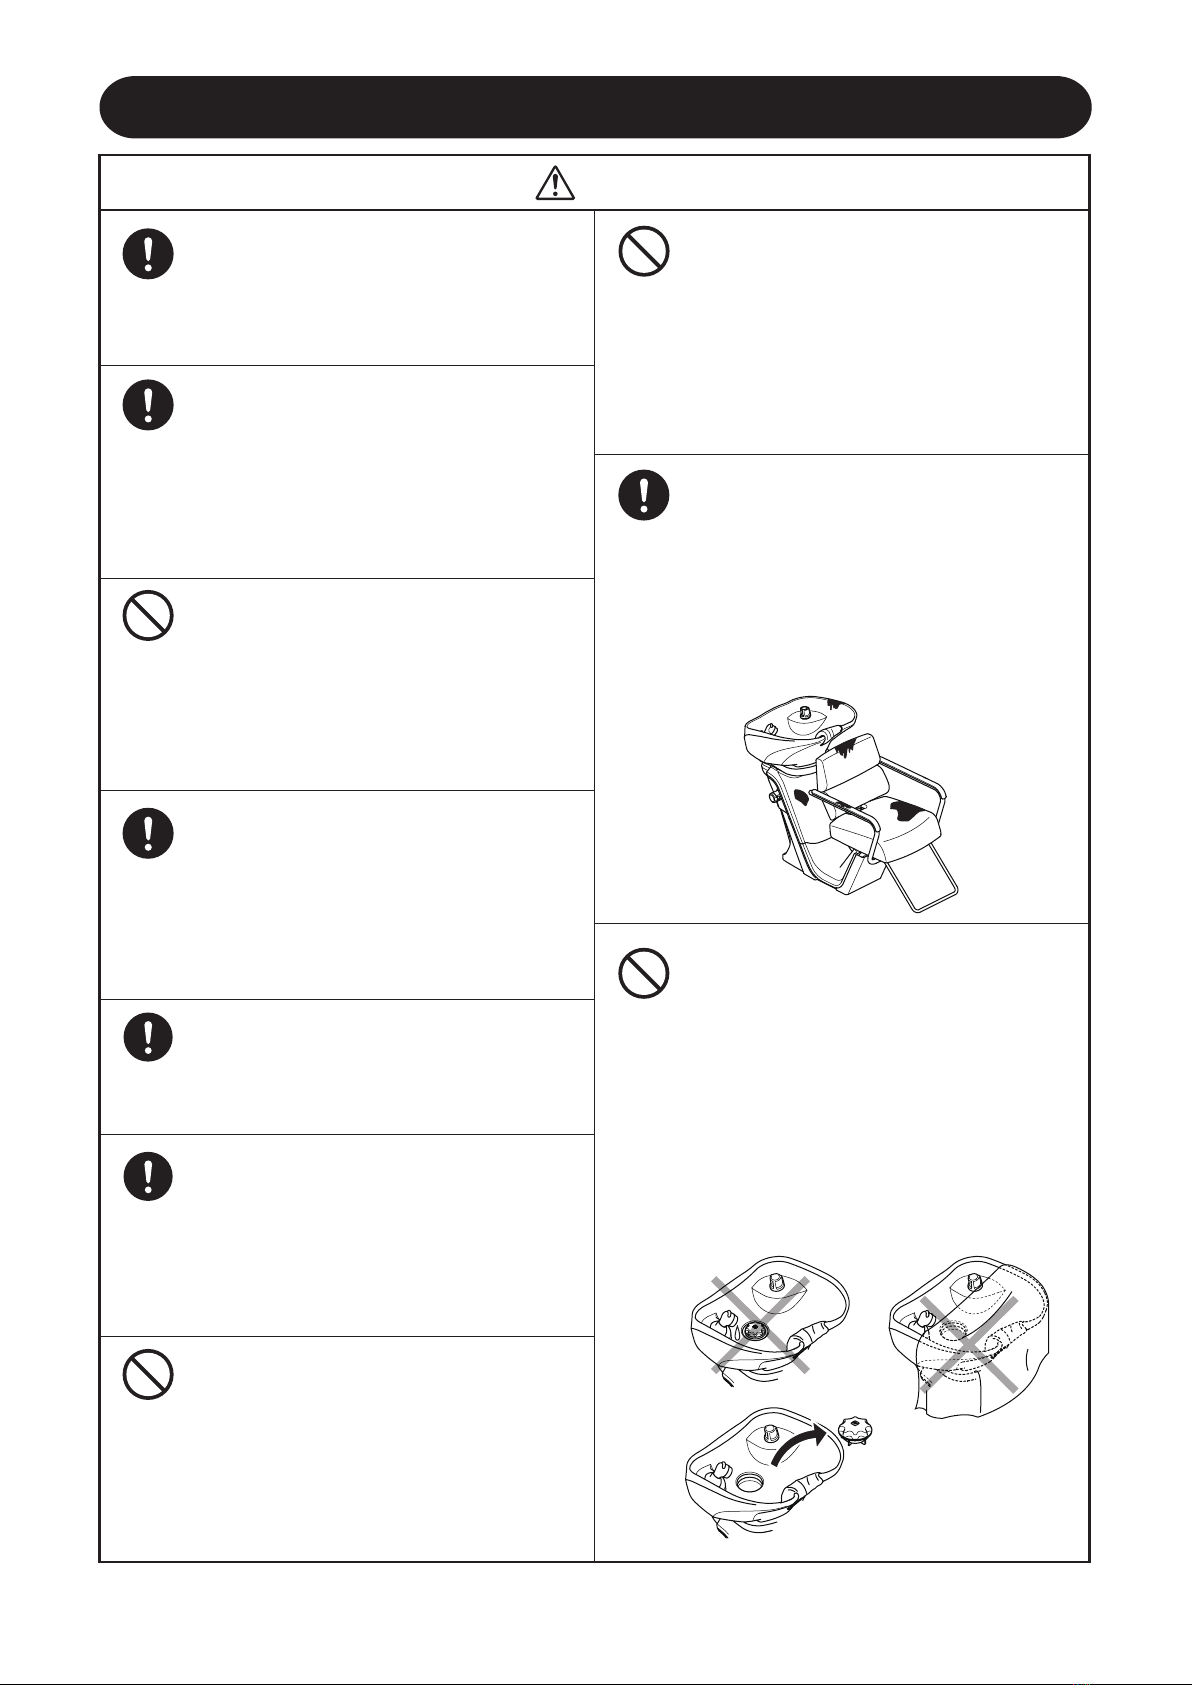
If chemicals spill on to this product,
wipe them dry as soon as possible.
If chemicals such as hair dyes spill on to this
product, wipe them dry as soon as possible.
Failure to follow this instruction may cause
discoloration, deterioration or deformation.
Also, if chemicals spill on to the floor, wipe them
dry as soon as possible.
Always wipe the floor clean if it is wet.
Wipe the floor as soon as possible if it is wet after
shampooing. Failure to follow this instruction may
damage the floor or cause degradation and
malfunctions to parts in contact with the floor or
the foot switch.Wet floor
may cause falling or
water
leakage to downstairs leading to an accident.
Do not cover the drain outlet when
this product is not going to be used.
Do not cover the drain outlet with the drain cap,
towel, or shampoo cloth after finishing the work.
Water may overflow the basin when water is
improperly discharged or a small amount of
hot water is discharged due to an increase in
water pressure during the night, resulting in
water leaks.
Be sure to remove the trap cover from the drain
outlet when the product is not in use.
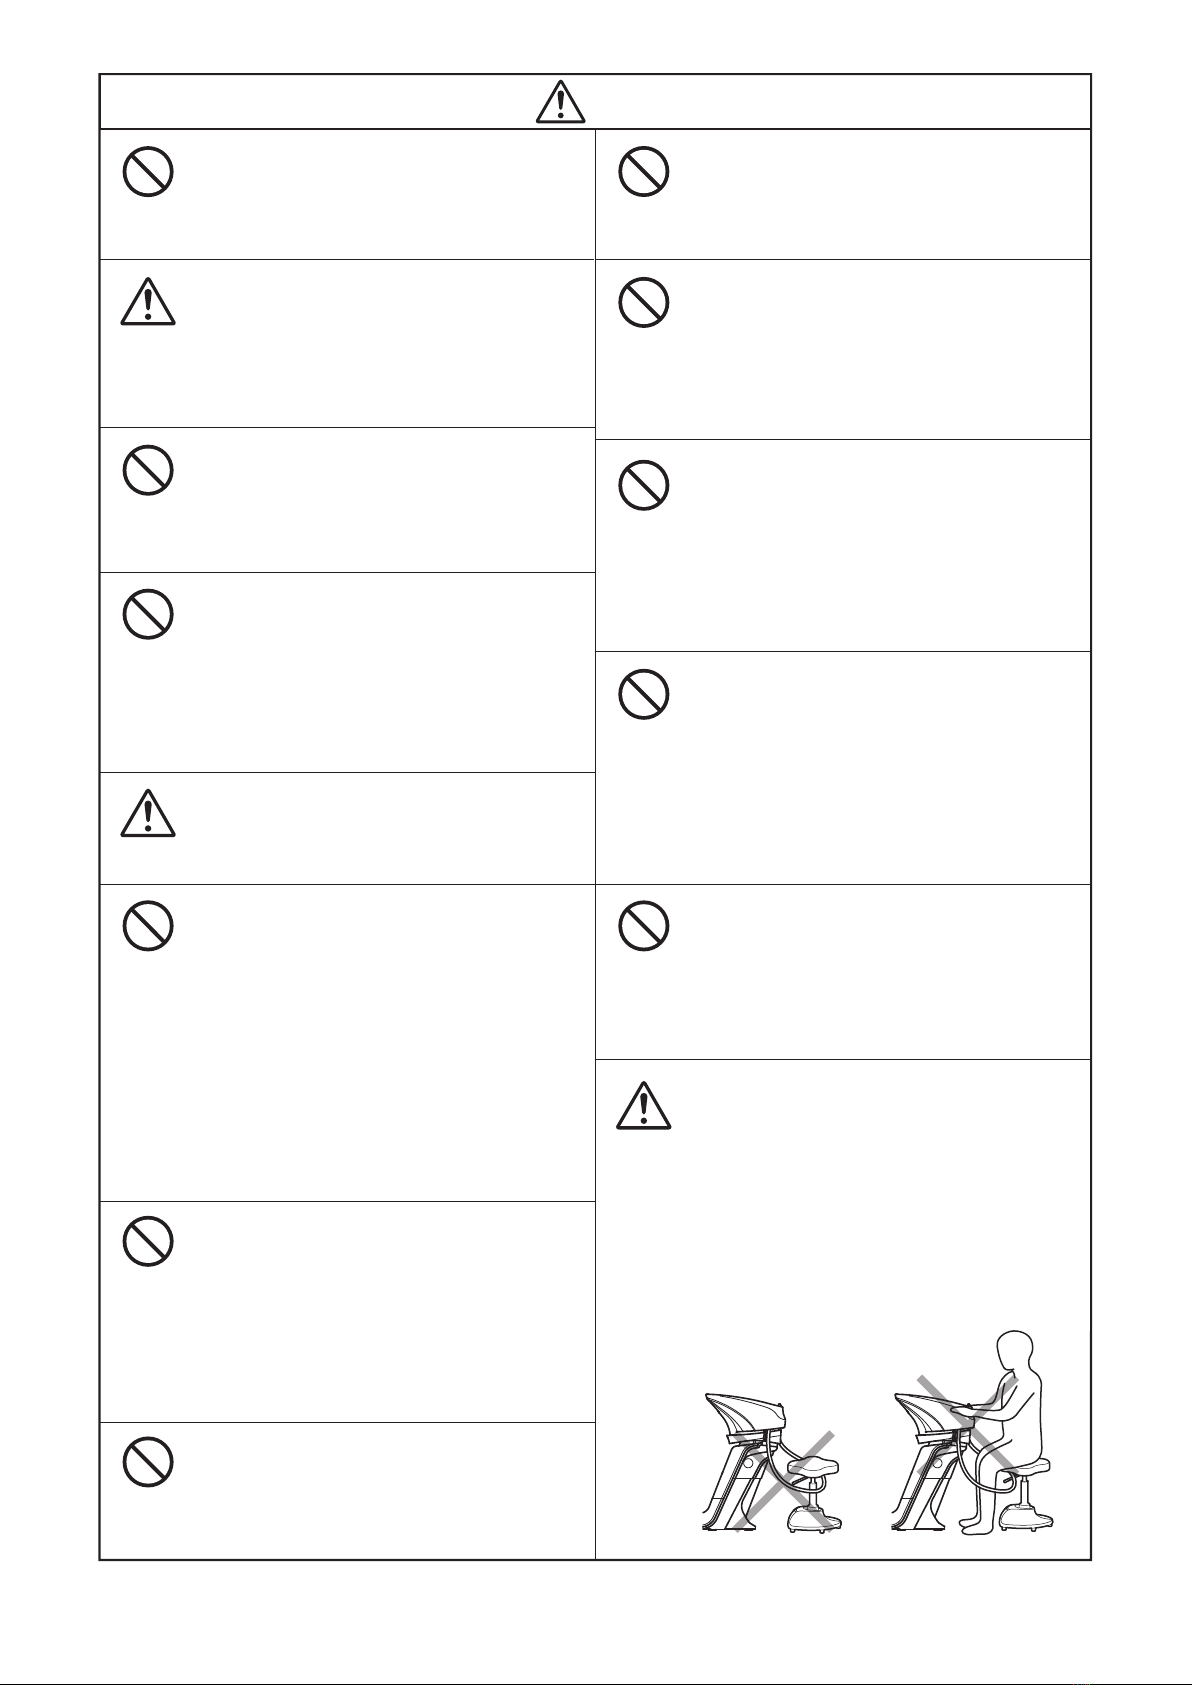
Always use the neck cushion.
Using this product without the neck cushion may
apply unnecessary load to the customer's neck,
causing injury. Always use the neck cushion.


 owner's manual")


