GENERAL SAFETY RULES AU
32. This appliance should be supplied via a residual cur-
rent device (RCD) with a tripping current of not more
than 30 mA.
33. The operator or user is responsible for accidents or
hazards occuring to other people or their property.
34. Always direct the cord to the rear away from the appli-
ance.
35. If a cord becomes damaged during use, disconnect the
supply cord from the mains immediately. DO NOT
TOUCH THE CORD BEFORE DISCONNECTING
THE SUPPLY.
EXTENSION CORDS
Make sure your extension cord set is in good condition.
When using an extension cord, be sure to use one heavy
enough to carry the current your product will draw. An
undersized cord will cause a drop in line voltage resulting
in loss of power and overheating. To reduce the likelihood
of disconnection of appliance cord from the extension
cord during operation, loop the extension cord through the
cord holder and secure on cord clip as shown in Figure A.
1. Always wear safety goggles or other suitable eye pro-
tection.
2. Always wear long pants, shoes and gloves. Do not
wear loose clothing, jewelry, short pants, sandals, or
go barefoot.
3. Always wear a respirator or face mask when working
with the blower in a dusty environment.
4. Always inspect the area before starting the appliance
to remove debris and hard or sharp objects that can
be blown or cause damage during operation.
5. Never operate this appliance when you are tired, ill or
under the influence of alcohol, drugs or medication.
6. Use only 240 A.C. voltage supply as shown on the
nameplate of the appliance.
7. Always run the appliance with the tubes attached to
the unit.
8. This appliance is intended for household use.
OPERATING INSTRUCTIONS
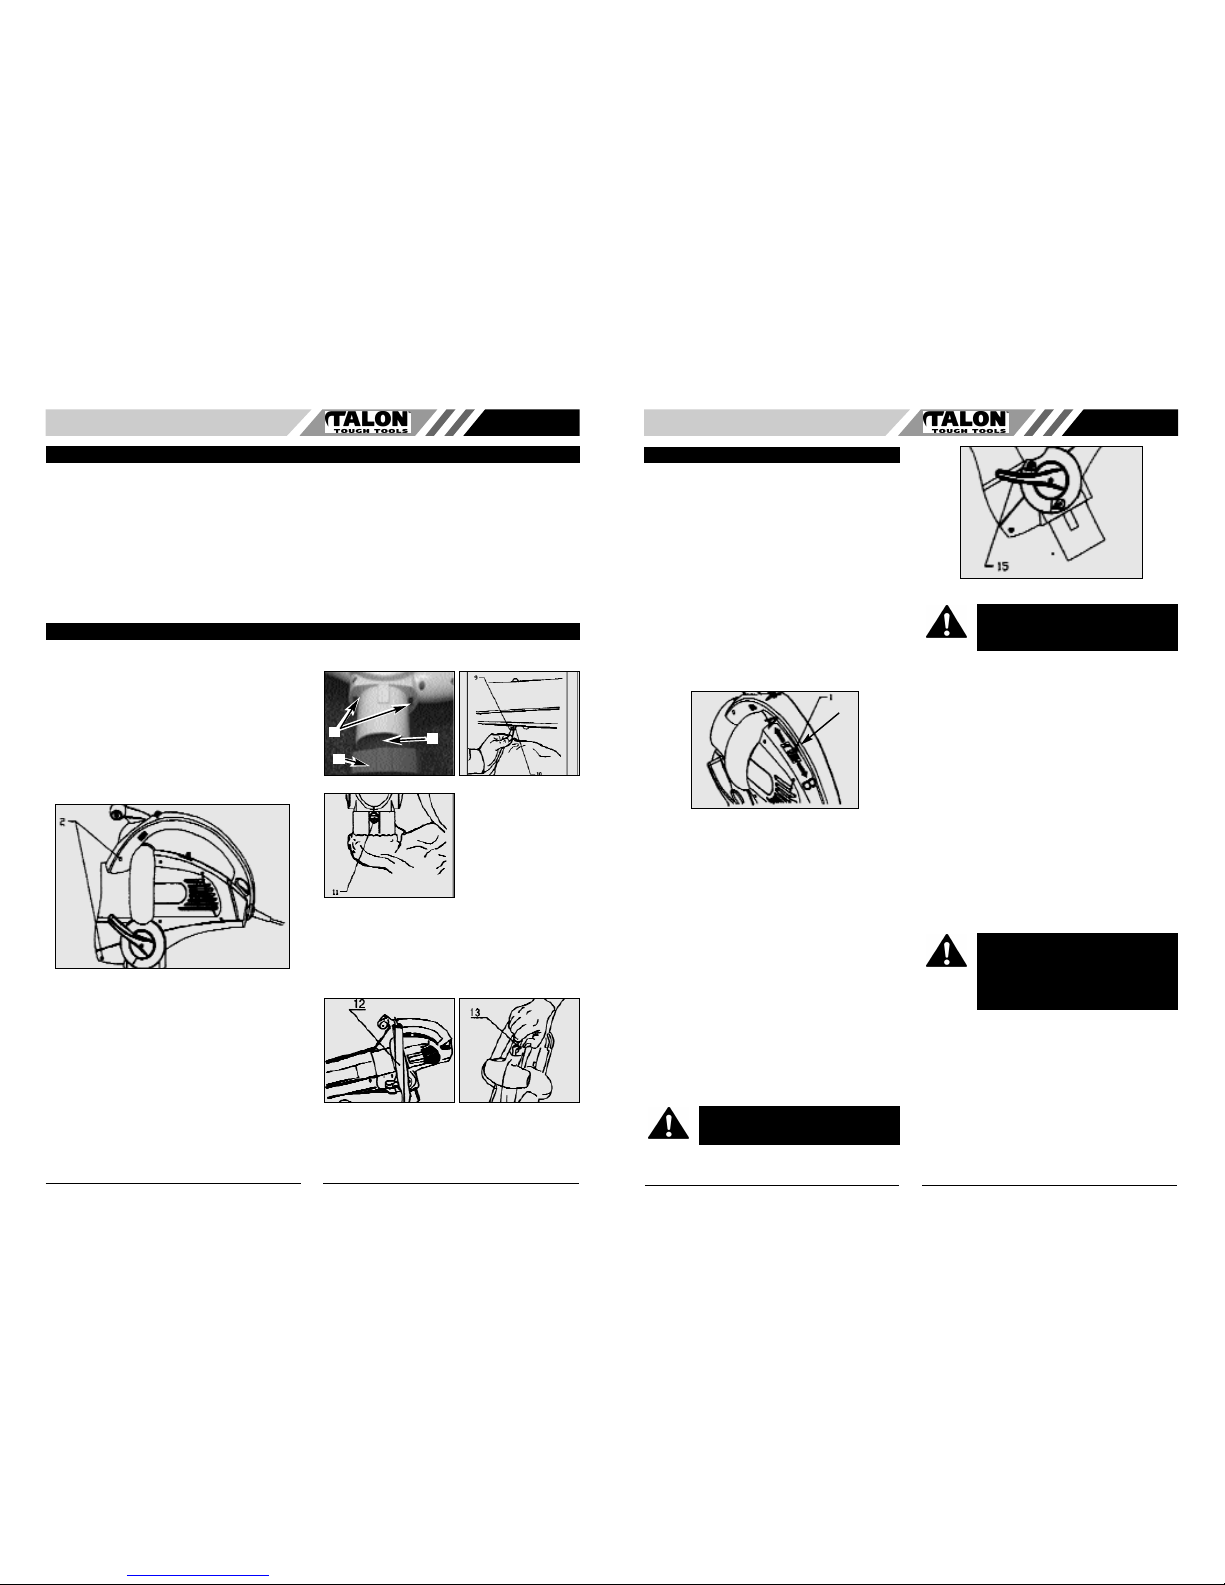
FIG. A WARNING: ALWAYS SWITCH OFF TOOL
AND UNPLUG CORD FROM OUTLET
BEFORE REMOVING VACUUM BAG FOR
EMPTYING.
BLOWER/VACUUM DESCRIPTION
1. On/Off Switch
2. Variable Speed Control
(AB2400V)
3. Nozzle
4. Support Wheel
5. Cord Retainer
6. Lever Change
7. Collection Bag
8. Air Vents
1
2
3
4
5
6
7
8
3
2
GENERAL SAFETY RULES AU
When using an electrical appliance, basic precautions should always be followed to ensure maximum safety and optimum
performance, Read the User manual before assembling and operating this appliance. Failure to comply with instructions
may result in fire, electrical shock or personal injury.
Meaning of symbols marked on the product
Read the user manual before using the machine
Whenever the machine is in use, safety goggles
must be worn to protect against flying objects. Ear
protection must be used to protect the operators
hearing
Warning! Danger
Keep people or animals at least 15m away from
the machine during operation
Do not operate unit without proper attachments
and guards in place
Keep hands away from fan
WARNING : To reduce the risk of fire, electric shock or
injury:
1. Do not leave appliance when plugged in. Unplug from
outlet when not in use and before servicing.
2. Use only as described in this manual. Use only manu-
facturer’s recommended attachments.
3. Do not use with damaged cord or plug. If appliance is
not working as it should, has been dropped, damaged,
left outdoors, or dropped into water, return it to a serv-
ice center.
4. Do not pull or carry the cord, use cord as a handle,
close a door on cord, or pull cord around sharp edges
or corners. Do not run appliance over cord. Keep cord
away from heated surfaces.
5. Do not unplug by pulling on cord. To unplug, grasp the
plug, not the cord.
6. Do not handle plug or appliance with wet hands.
7. Do not put any object into openings. Do not use with
any opening blocked; keep free of dust, lint, hair, and
anything that may reduce air flow.
8. Keep hair, loose clothing, fingers, and all parts of body
away from openings and moving parts.
9. Turn off all controls before unplugging.
10. Use extra care when cleaning on stairs.
11. Do not use to pick up flammable or combustible liquids,
such as gasoline, or use in areas where they may be
present.
12. Always turn off this appliance before connecting or dis-
connecting motorized nozzle.
13. This appliance is provided with double insulation and
should be repaired by qualified technicians who use
only identical replacement parts. See instructions for
Servicing of Double-Insulated Appliances.
14. Unplug before connecting nozzle.
15. Do not pick up anything that is burning or smoking,
such as cigarettes, matches, or hot ashes.
16. Do not use without vacuum bag in place.
17. Keep cord clear of operator and obstacles at all times.
Do not expose cord to heated surfaces, oil, water, or
pull around sharp edges, corners, or close door on
cord.
18. Avoid unintentional starting. Be sure the switch is in the
“OFF” position while connecting and disconnecting to a
power supply. Do not carry plugged-in appliance with
finger on the switch.
19. Place switch in the “OFF” position and disconnect
appliance from power supply when not in use and
before servicing.
20. Never operate the appliance in wet or damp conditions
or around swimming pools, hot tubs, etc. Do not use to
blow snow.
21. Inspect appliance for any damage to the housing, cord
or plug. Keep all fasteners tight.
22. Do not use if the switch does not turn the appliance on
and off properly.
23. Keep bystanders especially children and pets, away
from the area of operation. Never allow children to
operate the appliance. Turn off unit immediately if you
are approached.
24. Always inspect the area before starting the appliance
to remove debris and hard or sharp objects that can be
blown or cause damage during operation.
25. Never blow debris in the direction of bystanders or
solid objects. The force of the air can cause objects to
be blown or ricochet which can harm people. Never
place objects inside blower tubes.
26. Never operate with any air openings blocked. Keep air
openings free of dust, lint, hair and anything that may
reduce air flow. Do not plug anything into openings or
blower tubes.
27. Never use the appliance for spreading chemicals, fer-
tilizer, or any other substances that may contain toxic
materials. Do not use appliance as a sprayer of flam-
mable liquids.
28. Avoid dangerous environments. Do not use in unventi-
lated areas or where dust or explosive vapors can build
up.
29. The vacuum function is intended for vacuuming leaves
other garden debris and dirt only. Do not misuse this
tool to vacuum: rocks, plastic bag, sand or metal.
30. The appliance is not suitable for use by children or
infirmed persons. Never allow children or infirmed per-
sons to use the machine under any circumstances. Do
not leave the appliance where such persons can gain
access to it and operate the unit.
31. If the supply cord is damaged, it must be replaced by
the manufacturer or its service agent or a similarly
qualified person in order to avoid a hazard.
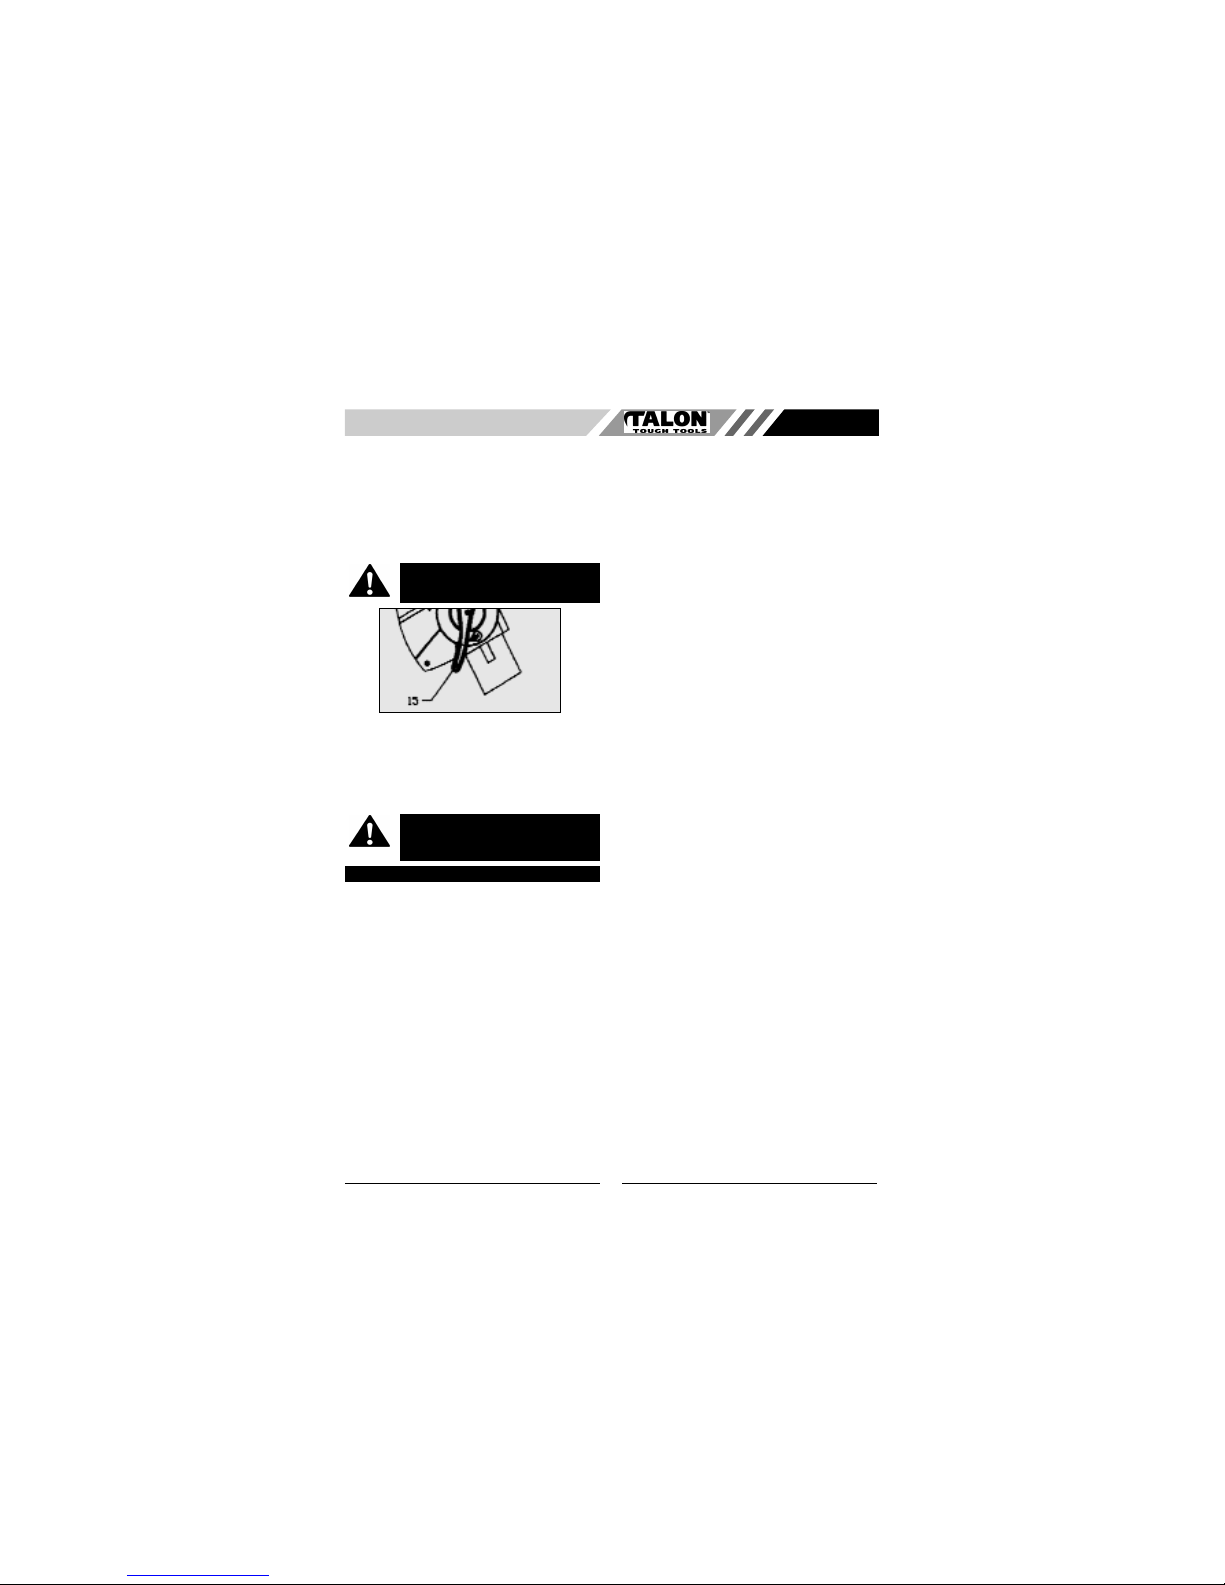
WARNING: DO NOT OPERATE THIS TOOL
WITH VACUUM/BLOWER TUBE
REMOVED. Serious injury from the fan or fly-
ing debris could result.
WARNING: Take care not to expose this tool
to rain and remove plug from mains immedi-
ately if the supply cable is damaged.
WARNING: DO NOT OPERATE THIS TOOL
WITH VACUUM BAG REMOVED. Serious
injury from the fan or flying debris could result.
WARNING: Electric shock could occur if used
on wet surfaces. Do not expose to rain. Store
indoors.
WARNING: Always wear eye protection to
prevent rocks or debris from being blown or
ricocheting into the eyes or face which can
result in blindness or other serious injury.