T&T Industries Co TM886 User manual

1
TM886 User’s Manual
T&T Industries Co., Ltd.

2
This manual provides detailed operation instructions and features to enhance
your product enjoyment. Please read this manual carefully before using this
product for the first time.
CAUTIONS
1. This player is a high precision electronic product and is serviceable only by
authorized technicians. Please do not attempt to open the unit at your own
discretion.
2. Do not subject the unit to severe impact
3. Keep the unit from extreme high/low temperatures, high humidity, dust or exposure
to direct sunlight
4. Use damp cloth to clean the unit only. Do not use any chemical solution
5. Please Slide the HOLD switch on the side of TM-887 to the opposite direction of the
arrow before operating. Hold function prevents accidental operation or changes to
settings while carrying the device in the pocket or briefcase
IMPORTANT
Our Company assumes no responsibility for any damaged or lost data caused by
accident resulting from malfunction, repairs or battery replacement. Backing up of all
important data on other media to protect against data loss is strongly recommended

3
CONTENTS
Announcements
Direction and function
Accessories
Mounting battery
LCD display
Turn on /off MP3 player
Playing music
Recording
Fm radio
Deleting files
EQ mode
Repeat mode
Mounting MMC
USB cable
System requirements
Installing soft on PC
Downing file(s) to the player
Uploading MP3 file(s) to PC
Formatting MP3 memory

4
Trouble shooting
Technical specifications
Announcements
zYou must use USB cable we offer, unmatched USB cable may cause the damage
of the MP3 player.
zIf you would not use MP3 player for a long time, please pull battery out of the MP3
player.
zDo not leave MP3 player in hot, cold, dirty, or damp place.
zUnlock hold switch before you use MP3 player.
zBattery life varies depending on the condition of playback
zPlease change the battery when,
○
1. An icon of “ ” and “LOBATT” appears on LCD display.
○
2The button does not function as usual..
zPlease do not use MP3 player in very dry weather.
5
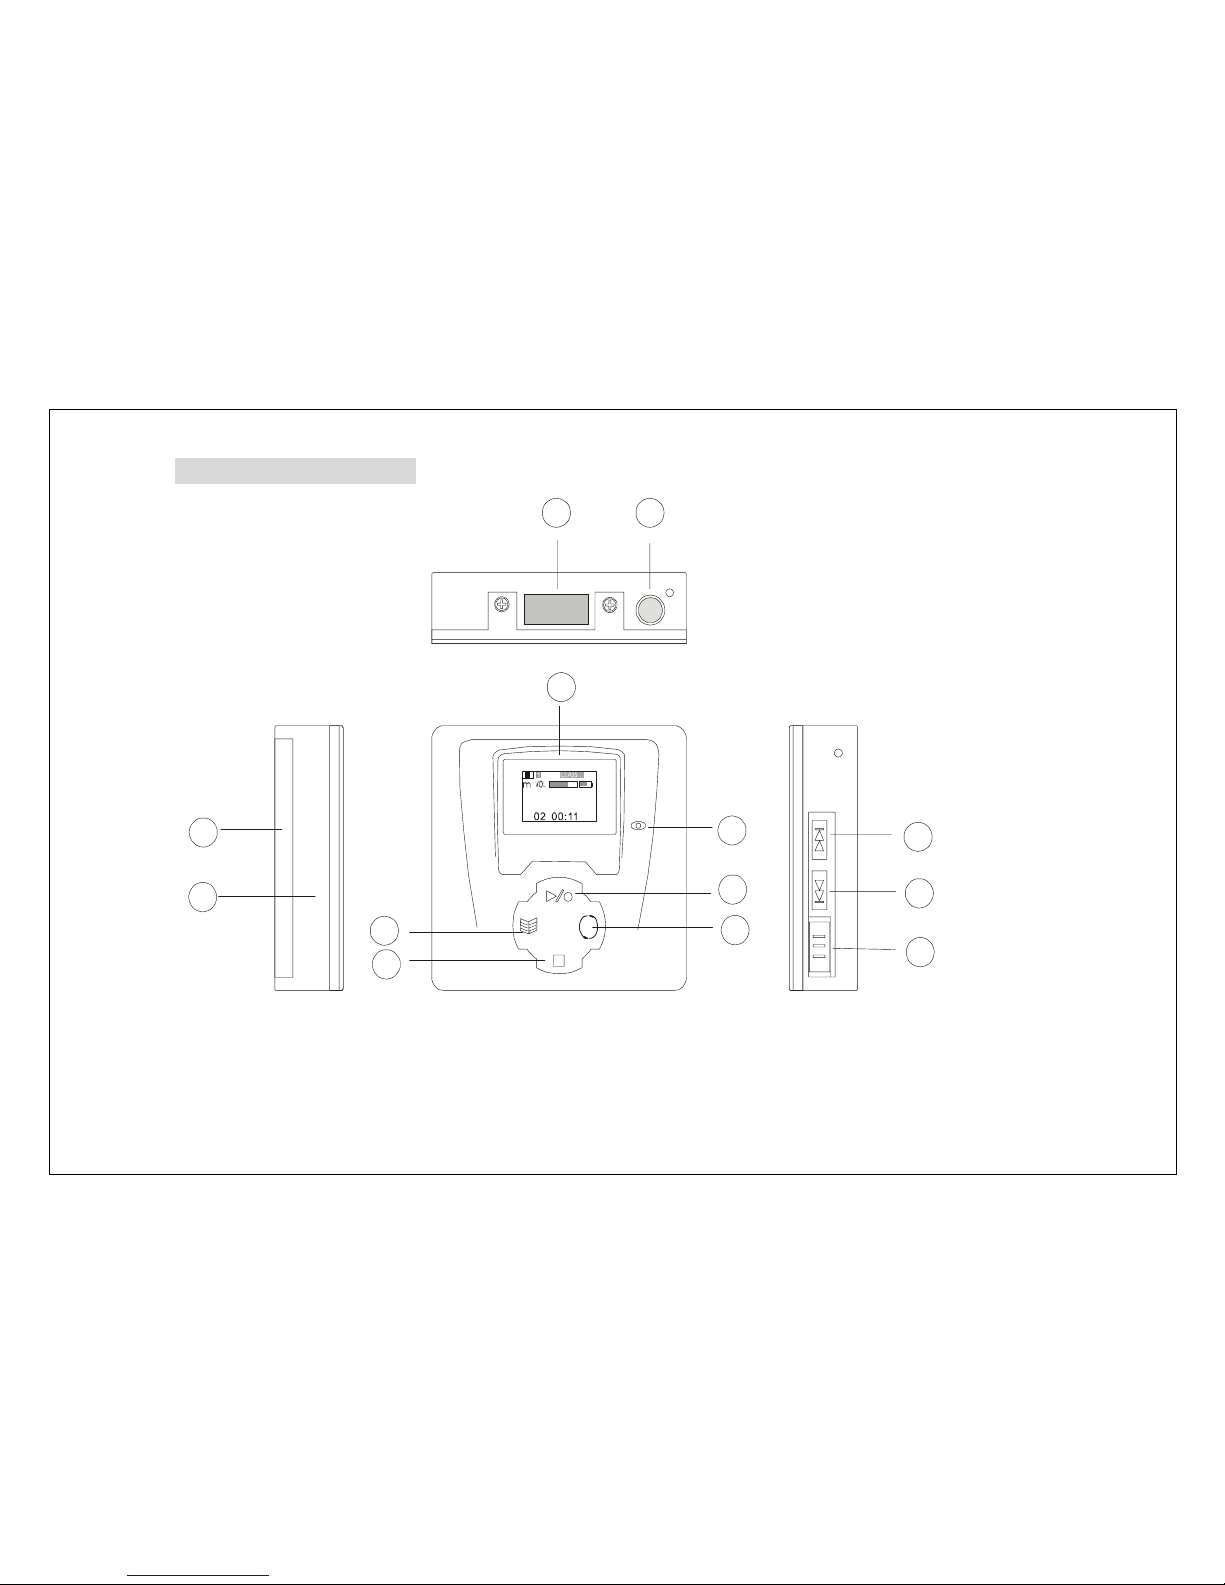
Direction and function
Bi g b i g wo rd . m p 3
1
2
3
4
5
6
7
9
10
11
12
13
8
○
1Menu/volume control
○
2Stop/power off
○
3Repeat

6
○
4Power on/play/ pause
○
5Micro phone
○
6LCD
○
7Battery case/MMC case
○
8MMC slot
○
9Hold switch
○
10Fast search (back)/rewind
○
11Fast search (next)/forward
○
12Earphone jack
○
13USB connector
Accessories
USB cable
Earphone
AAA battery
User’s guide
Mounting battery
1. Slide the battery door to the direction of arrow.

7
2. Insert “AAA” battery in correct polarity
3. Close the battery case.
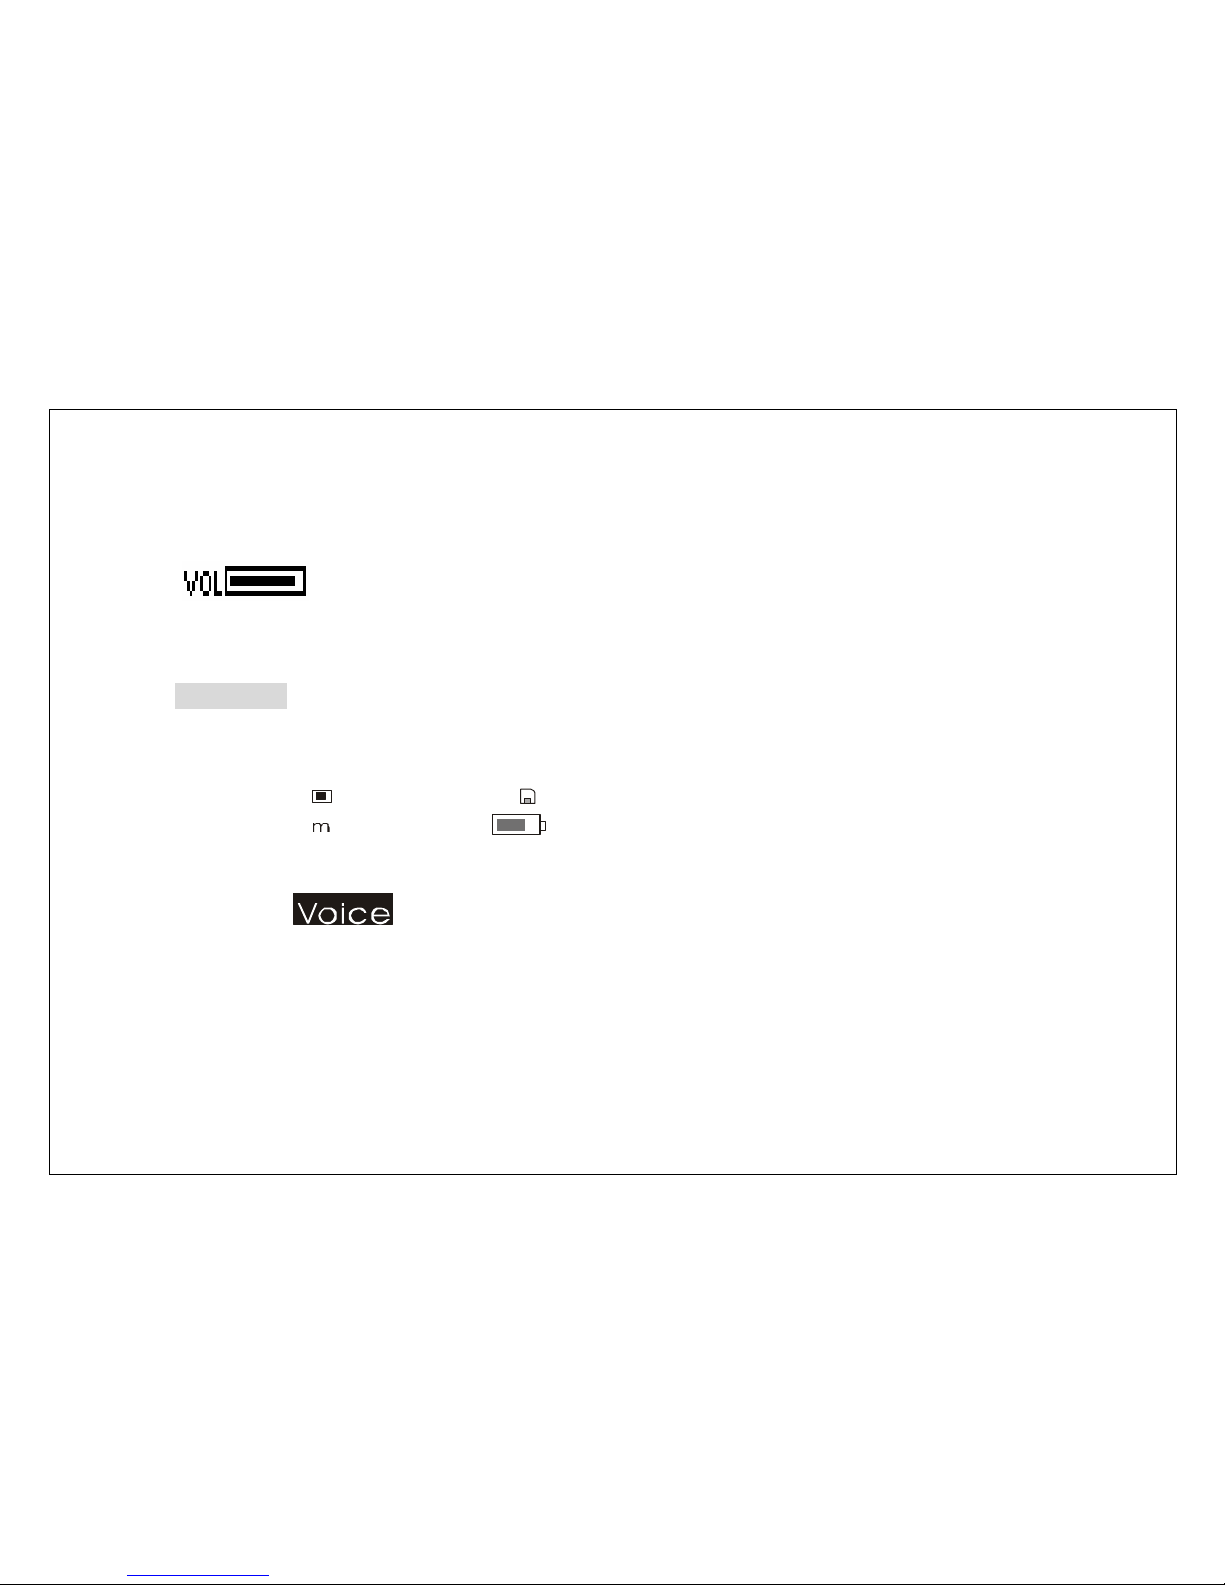
LCD display
Big big word 03:02
1
2
3
4
5
6
7
8
9
1011
12
13
○
1Playback icon
○
2Music state
○
3Recording state
○
4Track name
○
5Playing or recording time
○
6Battery icon
○
7Hold icon
○
8MMC icon
○
9EQ mode

8
○
10Volume level
○
11A-B/R
○
12Repeat mode
○
13Stop mode
Turn on/off player
1. Turn the MP3 player on by pressing and holding “play” button for about 2 seconds.
Then LCD displays color backlight.
2. When the player is in playback or stop mode, press “stop” button for about 3 seconds
until “ ” icon appears and the player is turned off afterwards.
Listen to the sample music
1. Turn the player on by pressing and holding “play” button for about 2 seconds. Press
“play” button again to play the first selection.
Big big word 03:02
2. You can select track number by pressing “PREV” or “NEXT” button.
9
At the same time, press “play” button to stop playing.
3. Pressing and holding “stop” button about 3 seconds to turn the player off.
4. When the player is playing the music, press “MENU” button shortly to see
“”. Then please press “PREV” or “NEXT” button to adjust the volume level.
(L0—L63)
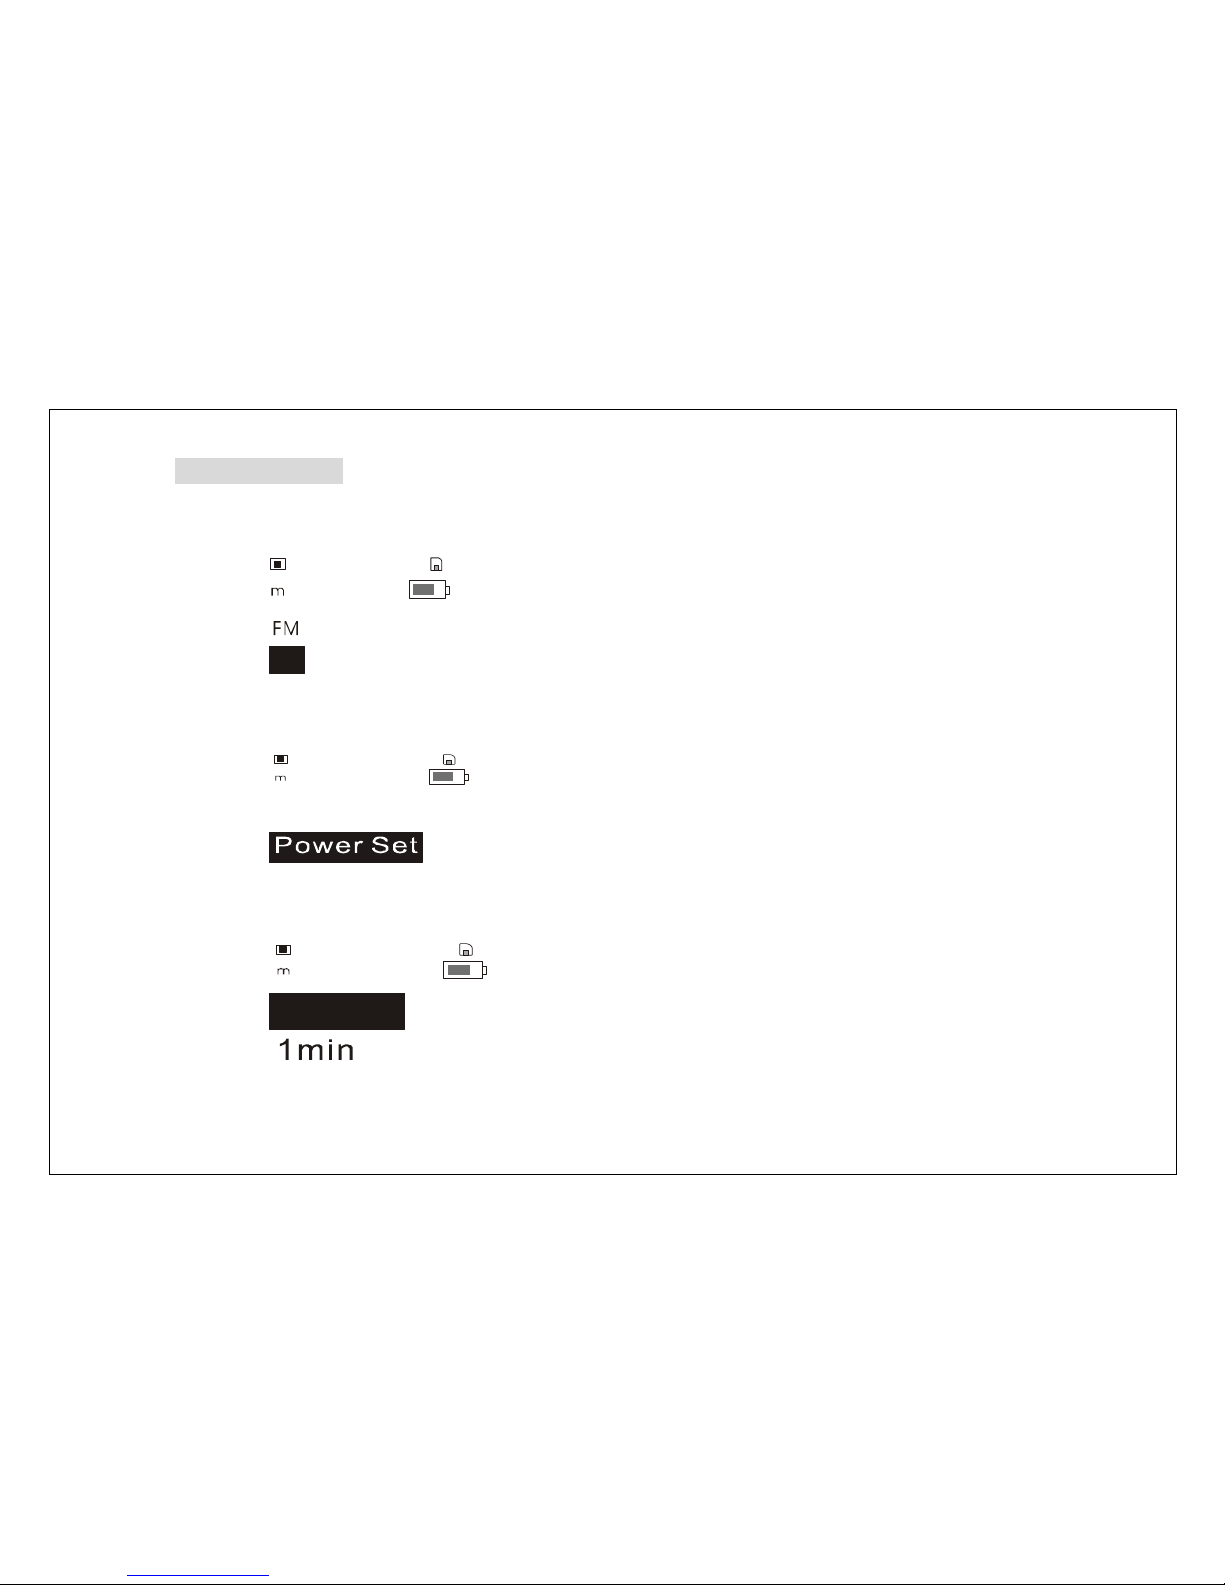
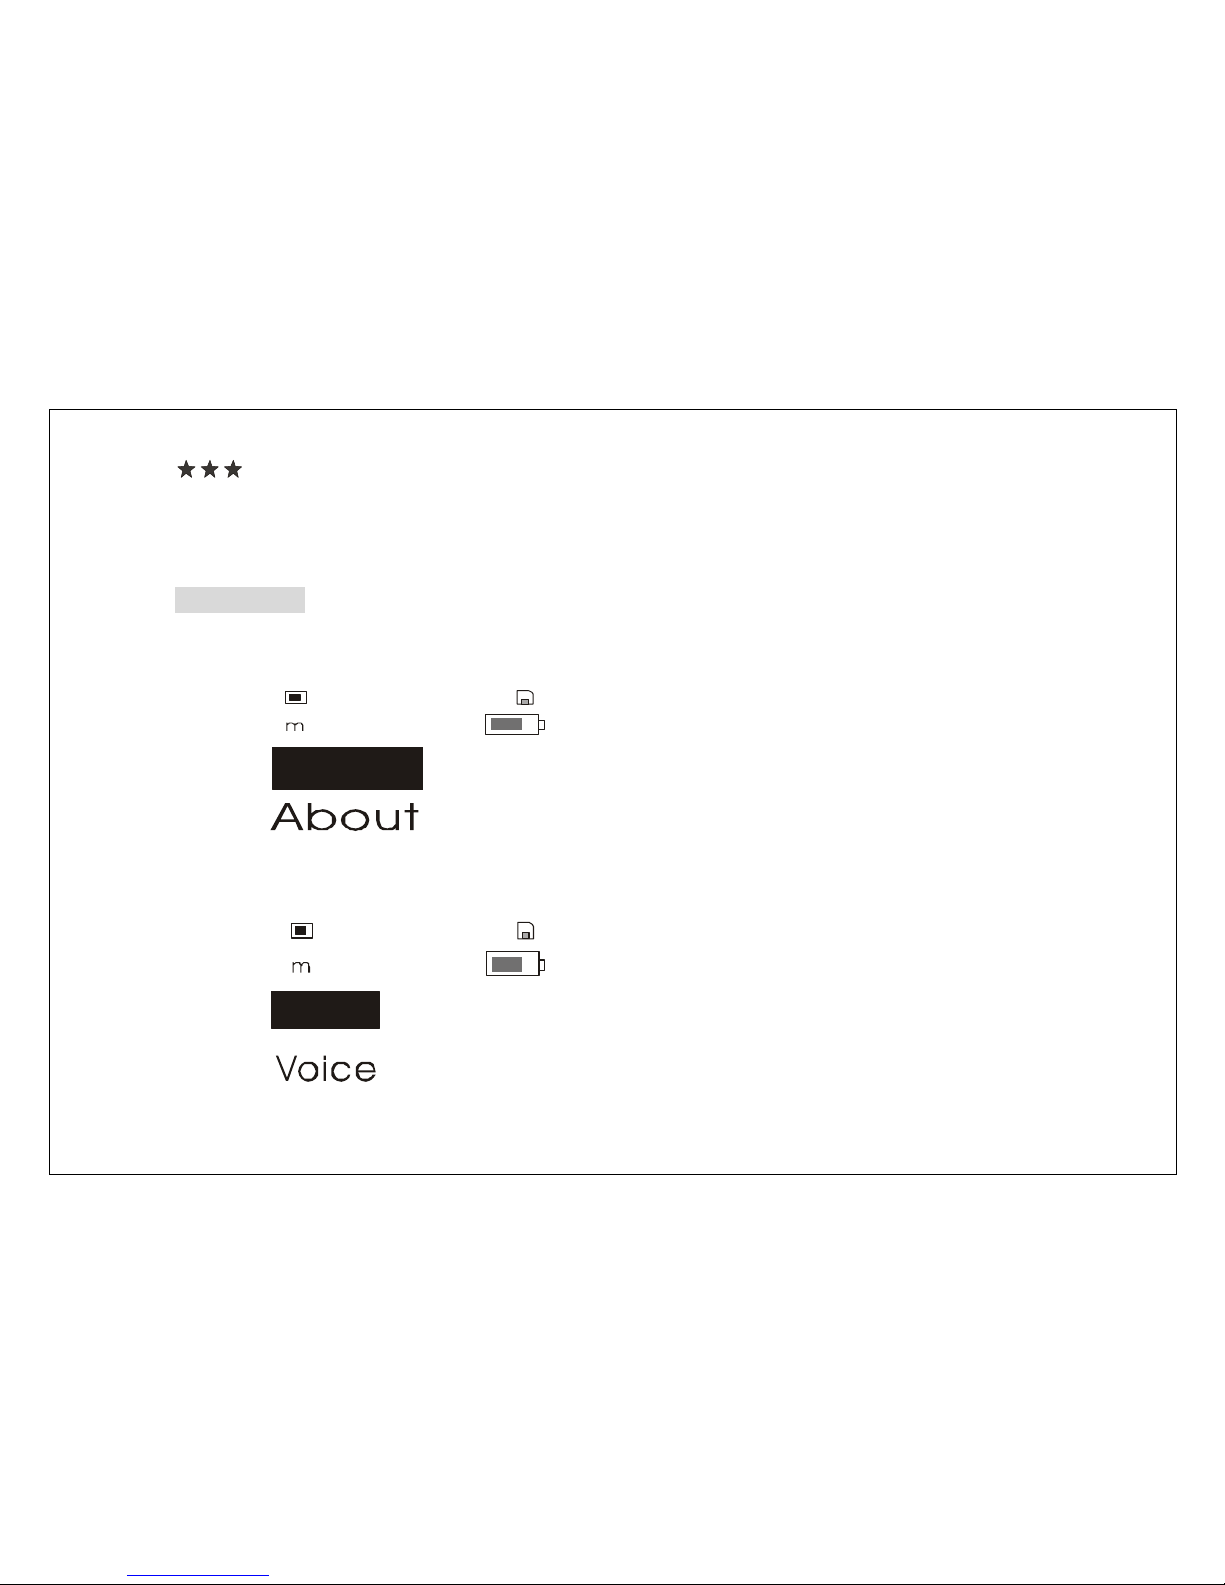
Recording
1. Turn the player on by pressing and holding “PLAY” button for about 2 seconds. Press
“MENU” button and press “PREV” or “NEXT” button to select “VOICE” to record.
Music
2. Press “MENU” button to display recording stop interface, then press “PLAY” button
for 2 seconds to start recording. Or press “PLAY” button to play back the recorded
files if there is any.

10
V003.WAV
V003.WAV
3. Press “STOP” button to stop recording and return to recording stop mode. And
press “MENU” button to enter the “MUSIC” mode.
Note:
When the player is recording, only stop button is useful.
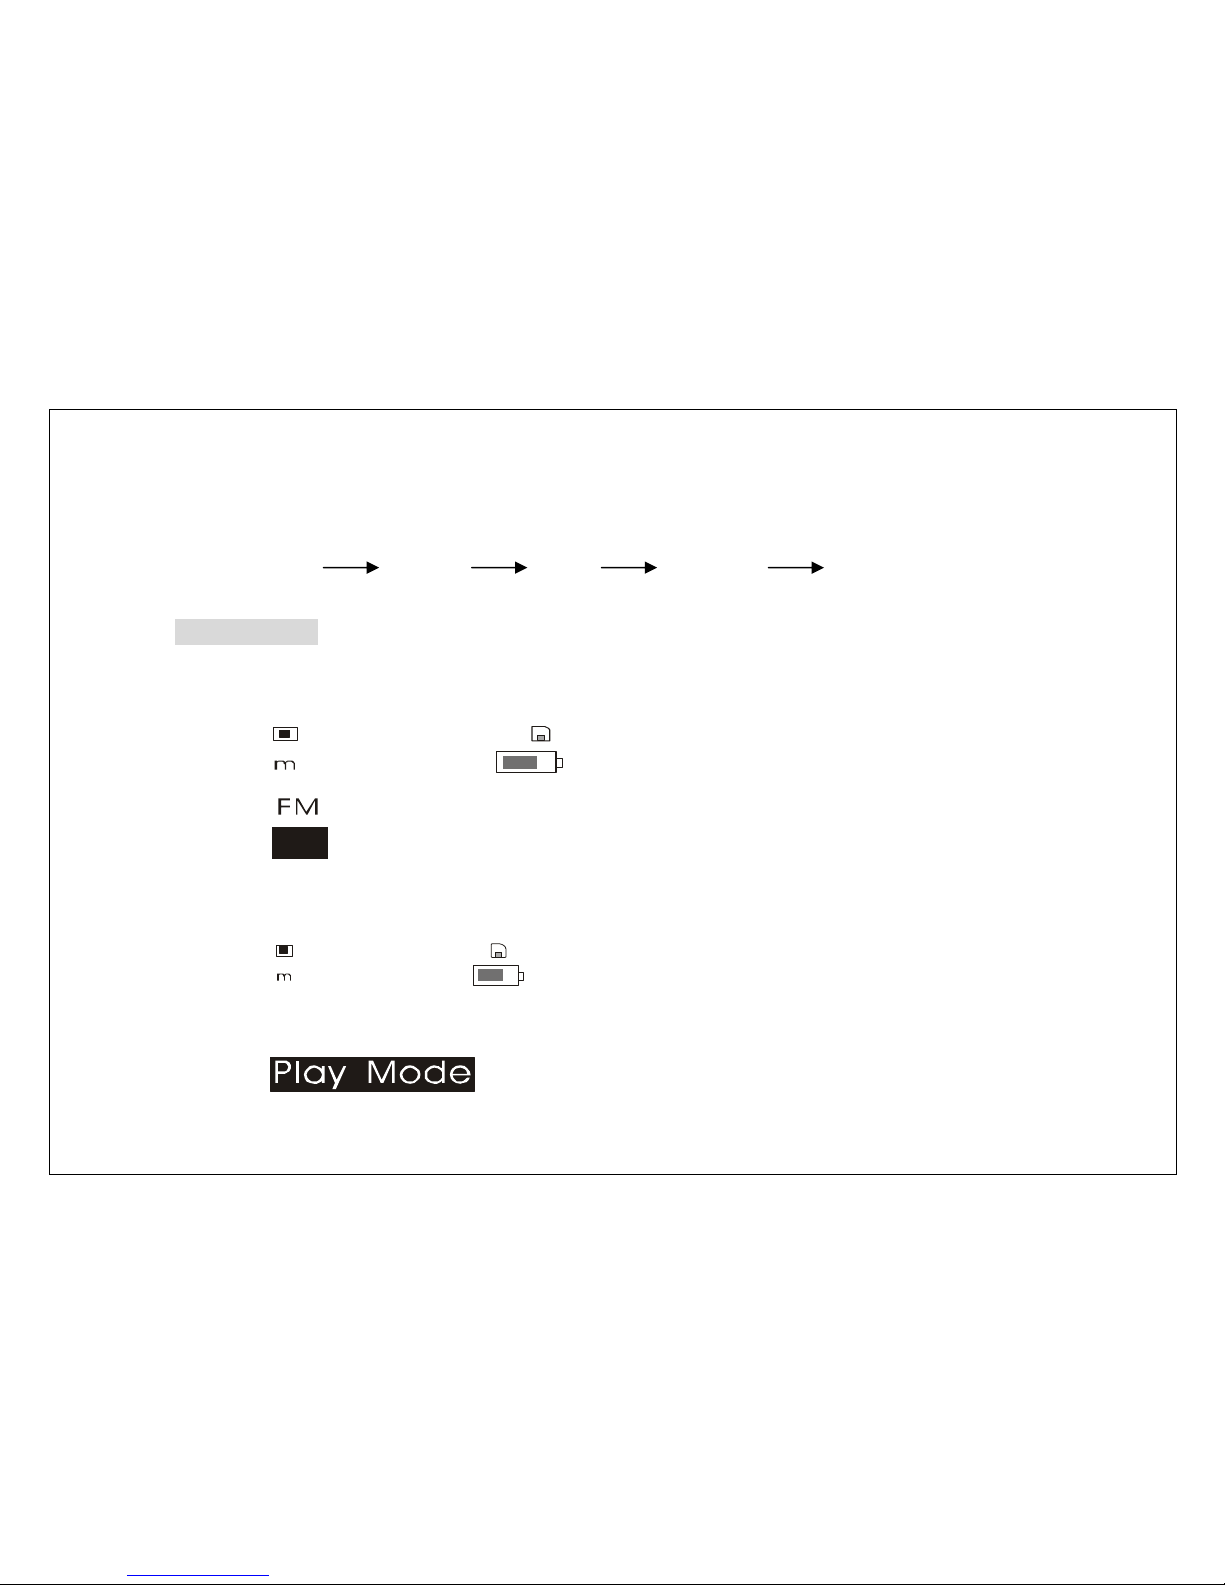
FM radio
1. When the player is in “MENU” mode, press “PREV” or “NEXT” button to select “FM
RADIO”.
Se t
2. Press “MENU” button to enter the “FM RADIO” mode, then press “PREV” or
“NEXT” button to select preset stations.

11
01 087.
5
3. To preset desired stations, press “PLAY” button to enter the “FM TUNER” to search
channels when the player is in “FM RADIO” mode. Press “PREV” or “NEXT” button
shortly to search channels manually and press “PREV” or “NEXT” button for about
2 seconds to search channels automatically.
01 087.
5
4. Then press “PLAY” button to enter “FM SAVE” mode and press “PREV” or “NEXT”
button to select the preferred number of channel, then “PLAY” button to confirm
presetting the desired station. Press “STOP” button to cancel presetting stations
and return to searching channels.
01 087.
5

12
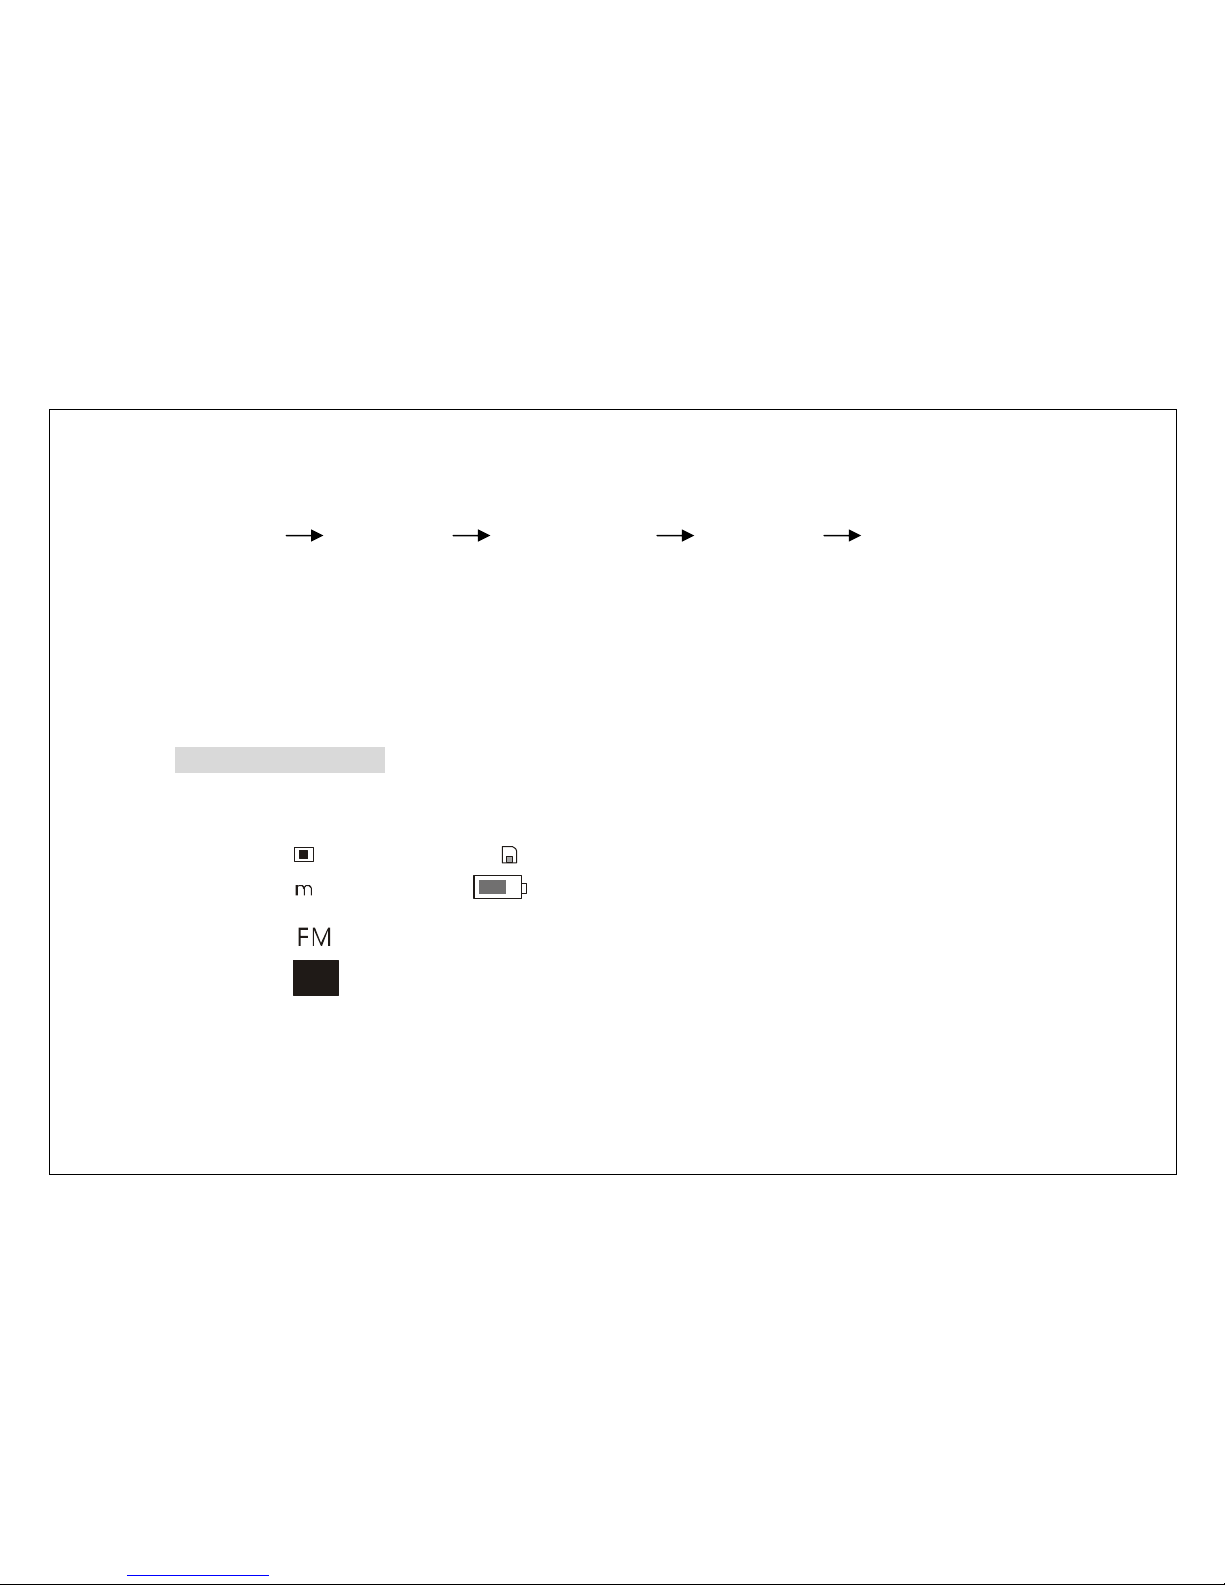
Repeat/A-B (use as digital voice recorder)
1. Press the A-B/R button during the playback to set starting point “A”.
2. Press the A-B/R button again to start repeating and set ending point “B”.
3. Press the A-B/R button again to cancel repeating.
EQ mode
1. When the player is menu state, press “PREV” or “NEXT” button to select “SET”.
Se t
2. Press “MENU” button to enter setup mode, and then press “PREV” or “NEXT”
button to select “EQ SET” and press “MENU” button to confirm.
EQ Se t
13
3. Press “NEXT” or “PREV” button to select the desired equalizer mode, press menu
button again to confirm and to get back to menu mode, you can enjoy 5 different
modes as below.
NORMAL ROCK JAZZ CLASSIC POP
Repeat mode
1. When the player is in “MENU” mode, press “PREV” or “NEXT” button to select setup
interface:
Se t
2. Press “MENU” button to enter setup mode, and press “PREV” or “NEXT” button to
select playback mode:
EQ Se t
14
4. To adjust the desired playback mode, press “MENU” button again, you can enjoy 5
different modes as below.
NORMAL REPEAT1 REPEAT ALL RANDOM RANDOM ALL
Normal: Play all stored files one time in order
Repeat I: repeats the currently selected file
Repeat all: repeats all stored files
Random: plays files in random order
Random All: plays files in random order and repeat all the files
Setup LCD contrast
1. When the player is menu mode, press “PREV” or “NEXT” button to
Select setup interface:
Se t

15
2. Press “MENU” button to enter setup mode, and press “PREV” or “NEXT” button to
select “CONTRAST”.
Contrast
3. Press “MENU” button again and press “PREV” or “NEXT” button to setup LCD
contrast degree:
Contrast
LEVEL
16
Power Set Mode
1. When the player is in menu mode, press “PREV” or “NEXT” button to
select setup interface:
Se t
2. Press “MENU” button to enter setup state, and press “PREV” or “NEXT” button to
select “Power Set”.
Contrast
3. Press “MENU” button again and press “PREV” or “NEXT” button to enter the
“POWER SET” mode.
Disa b le
17
Note:
Select one minute, the player is turned off automatically after one minute if you do not
operate the player.
Deleting files
1. When the player is menu state, press “PREV” or “NEXT” button to
Select deleting interface:
Era se
2. Press “MENU” button to enter deleting mode, and press “PREV” or “NEXT” button to
select deleting mode.
Music

18
3. Press “MENU” button again to enter deleting interface:
Del File?
Big bi g word. MP3
5. Press stop button to select “YES NO”and press “PREV” or “NEXT” button to
select files you want to delete. When you select“YES NO”state , press play button
to delete the track and Press “MENU” button to exit deleting state.
Note:
Turn the player off by pressing and holding the “STOP” button for about 3 seconds to
save all setup.
Using MMC
1. Open the MMC case when the player is turned off
2. Insert the MMC in the correct direction
3. Use the MMC when the player is turned on.
Note:
You must turn the player off when inserting or pulling out the MMC. Otherwise, the
player may be damaged.
USB cable
1. Please check the pc’s USB port.
2. Connect the player to PC with the USB cable. The picture will appear on the LCD
19
display as below.
3. When you connect the MP3 player to your PC, the PC should perceive it as a
removable disk in Window2000/ME/XP. You must install the driver if you are using
Window98/SE.
Installing the software
System requirement
IBM compatible PC
CPU: higher than Pentium 166 MHz
Operating system: Win98, The second edition, ME, 2000, XP
USB PORT
Higher than 32MB system memory
Higher than 20MB spare disk memory
Higher than 4 X high-speed CD-ROM
Sound card
Loading network (recommended)
20
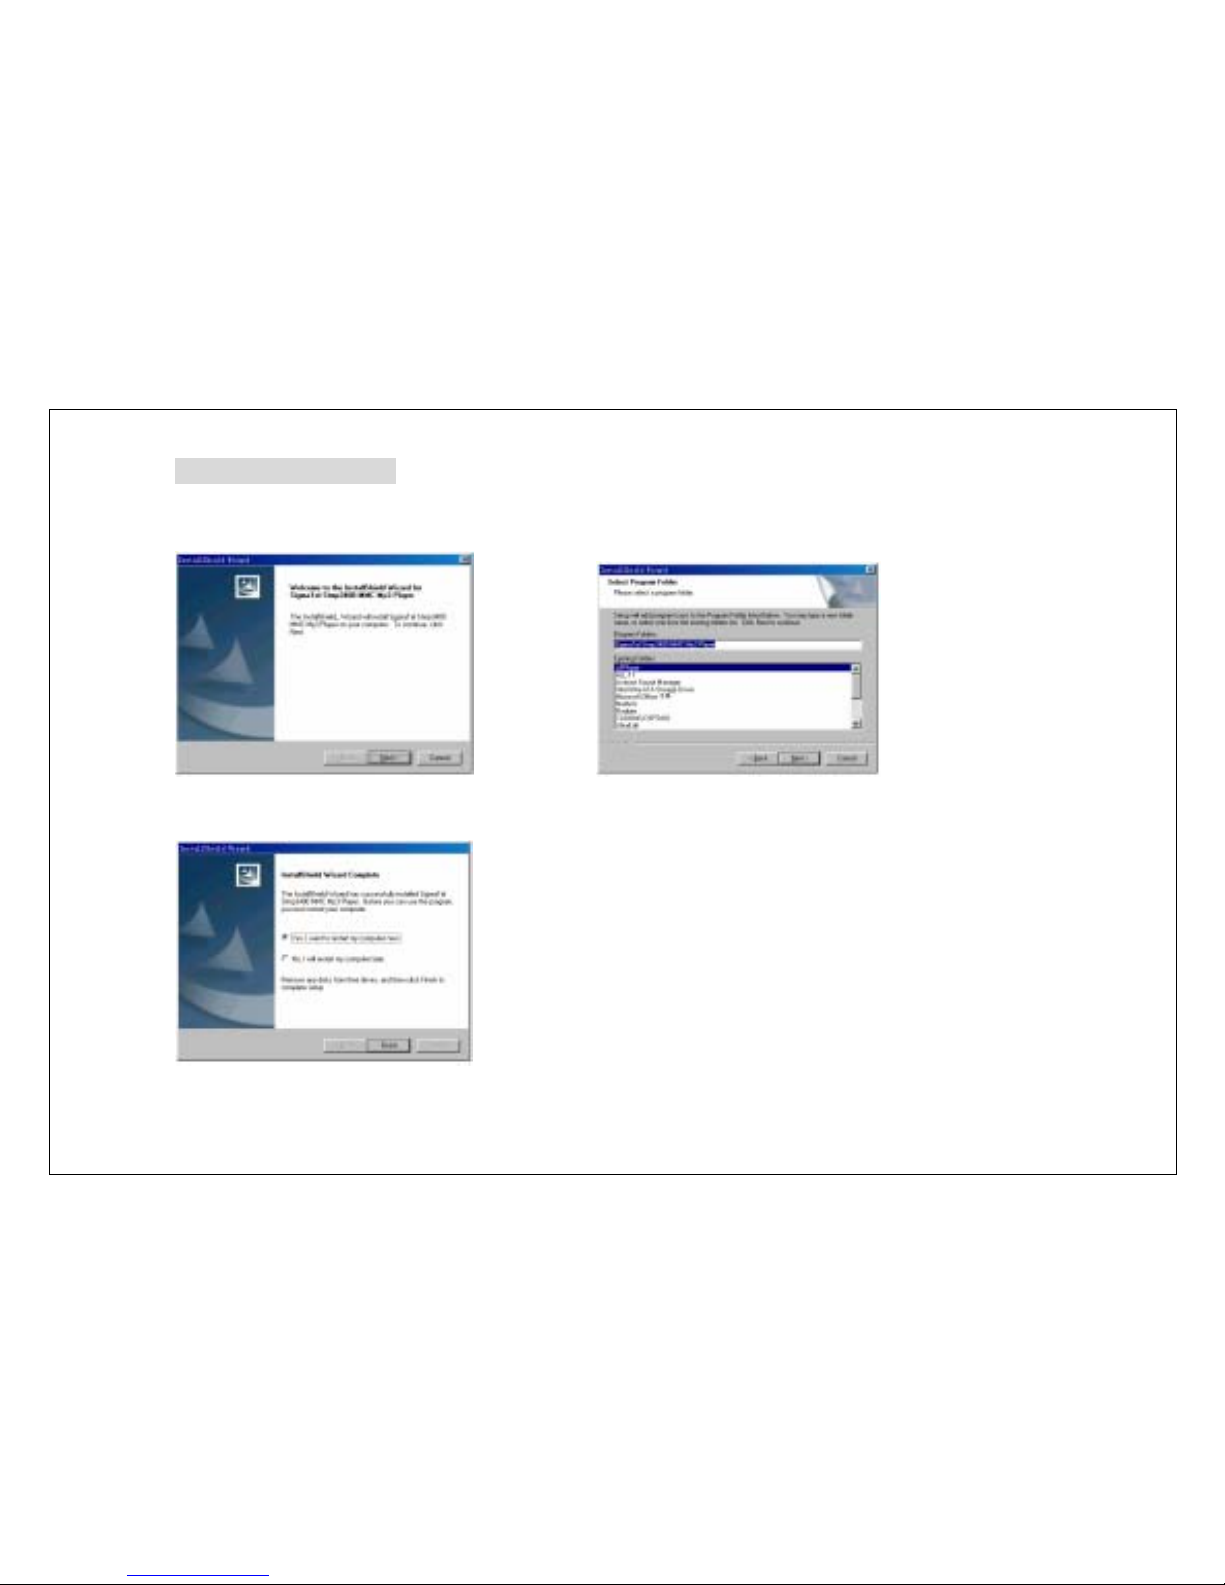
Software installation
1. Place CD to CD-ROM drive and it 2. Clicks “NEXT” button in all dialogue box.
is running automatically (as below picture)
3. When the installation is completed, click “Finish” to start again, and display 2 PCs
removable disks in Windows manager.
Table of contents
Other T&T Industries Co MP3 Player manuals


