EL.1A EDGE Locate User Guide Rev 02/20 3
Introduction
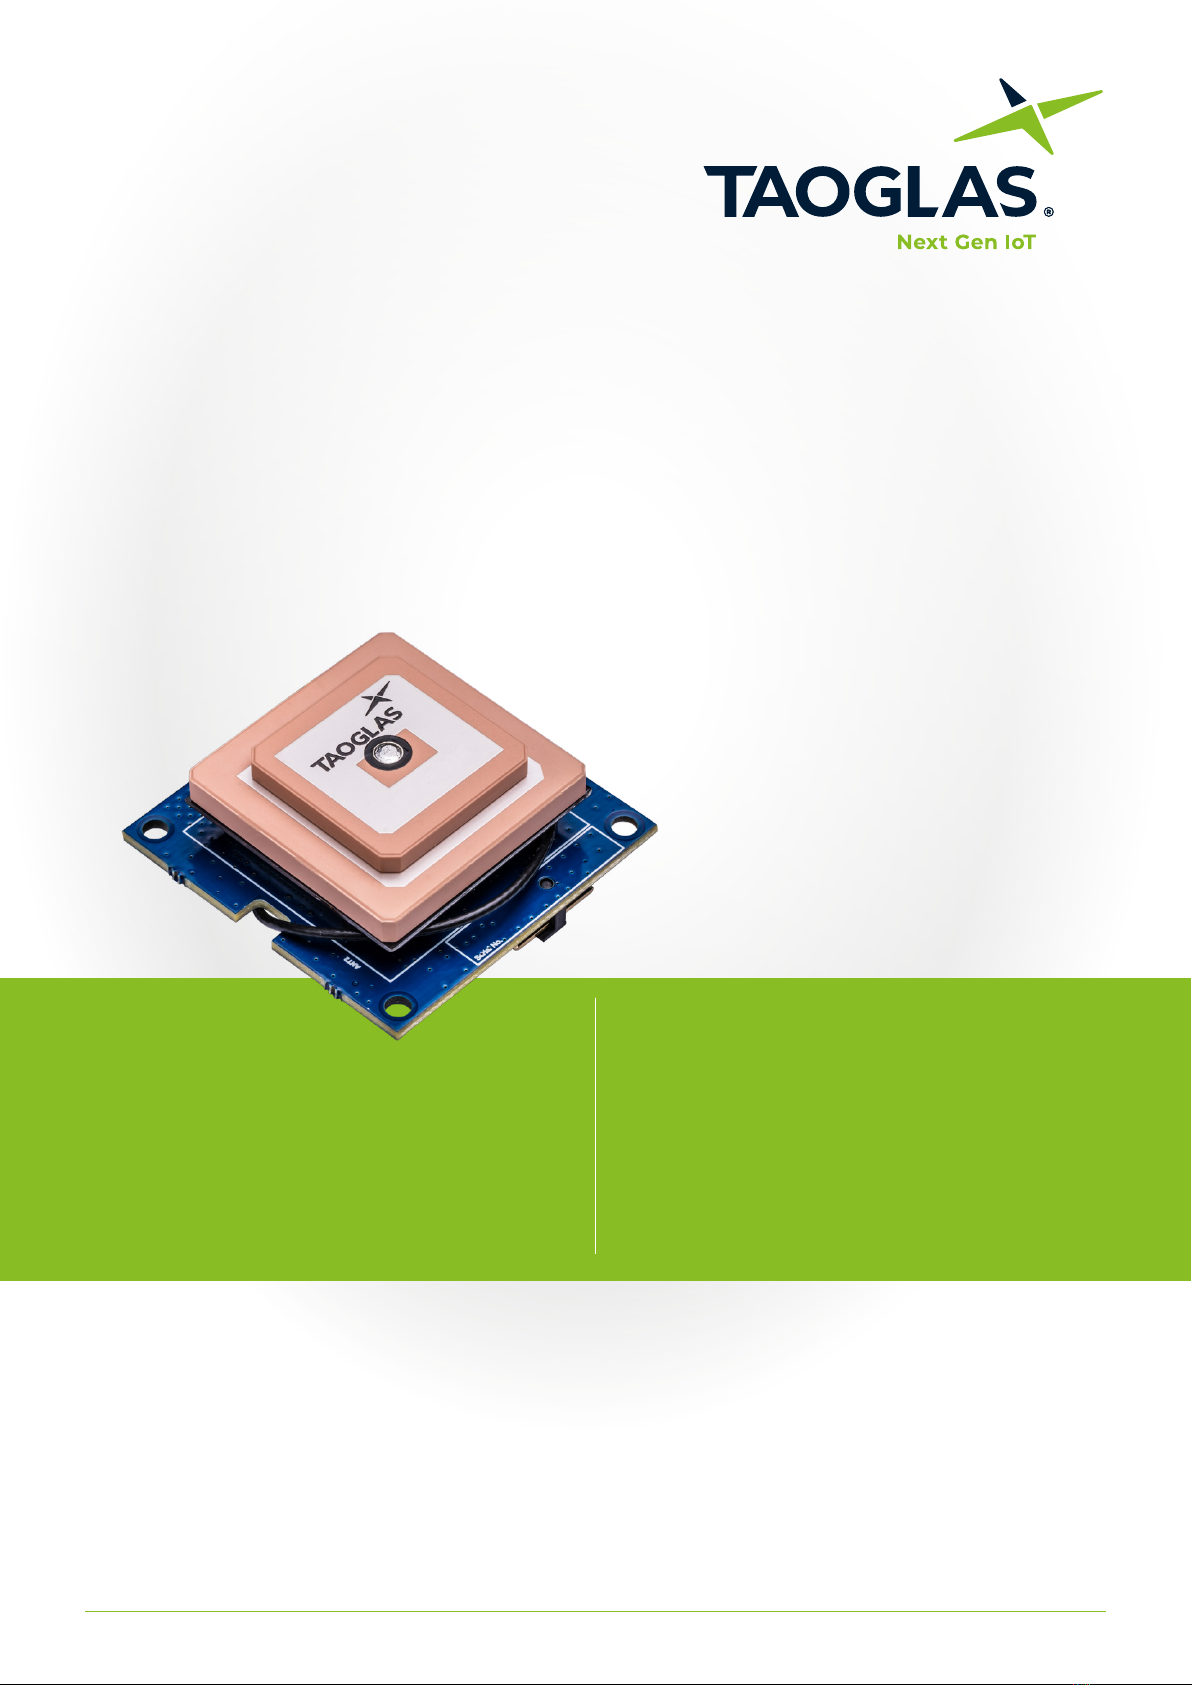
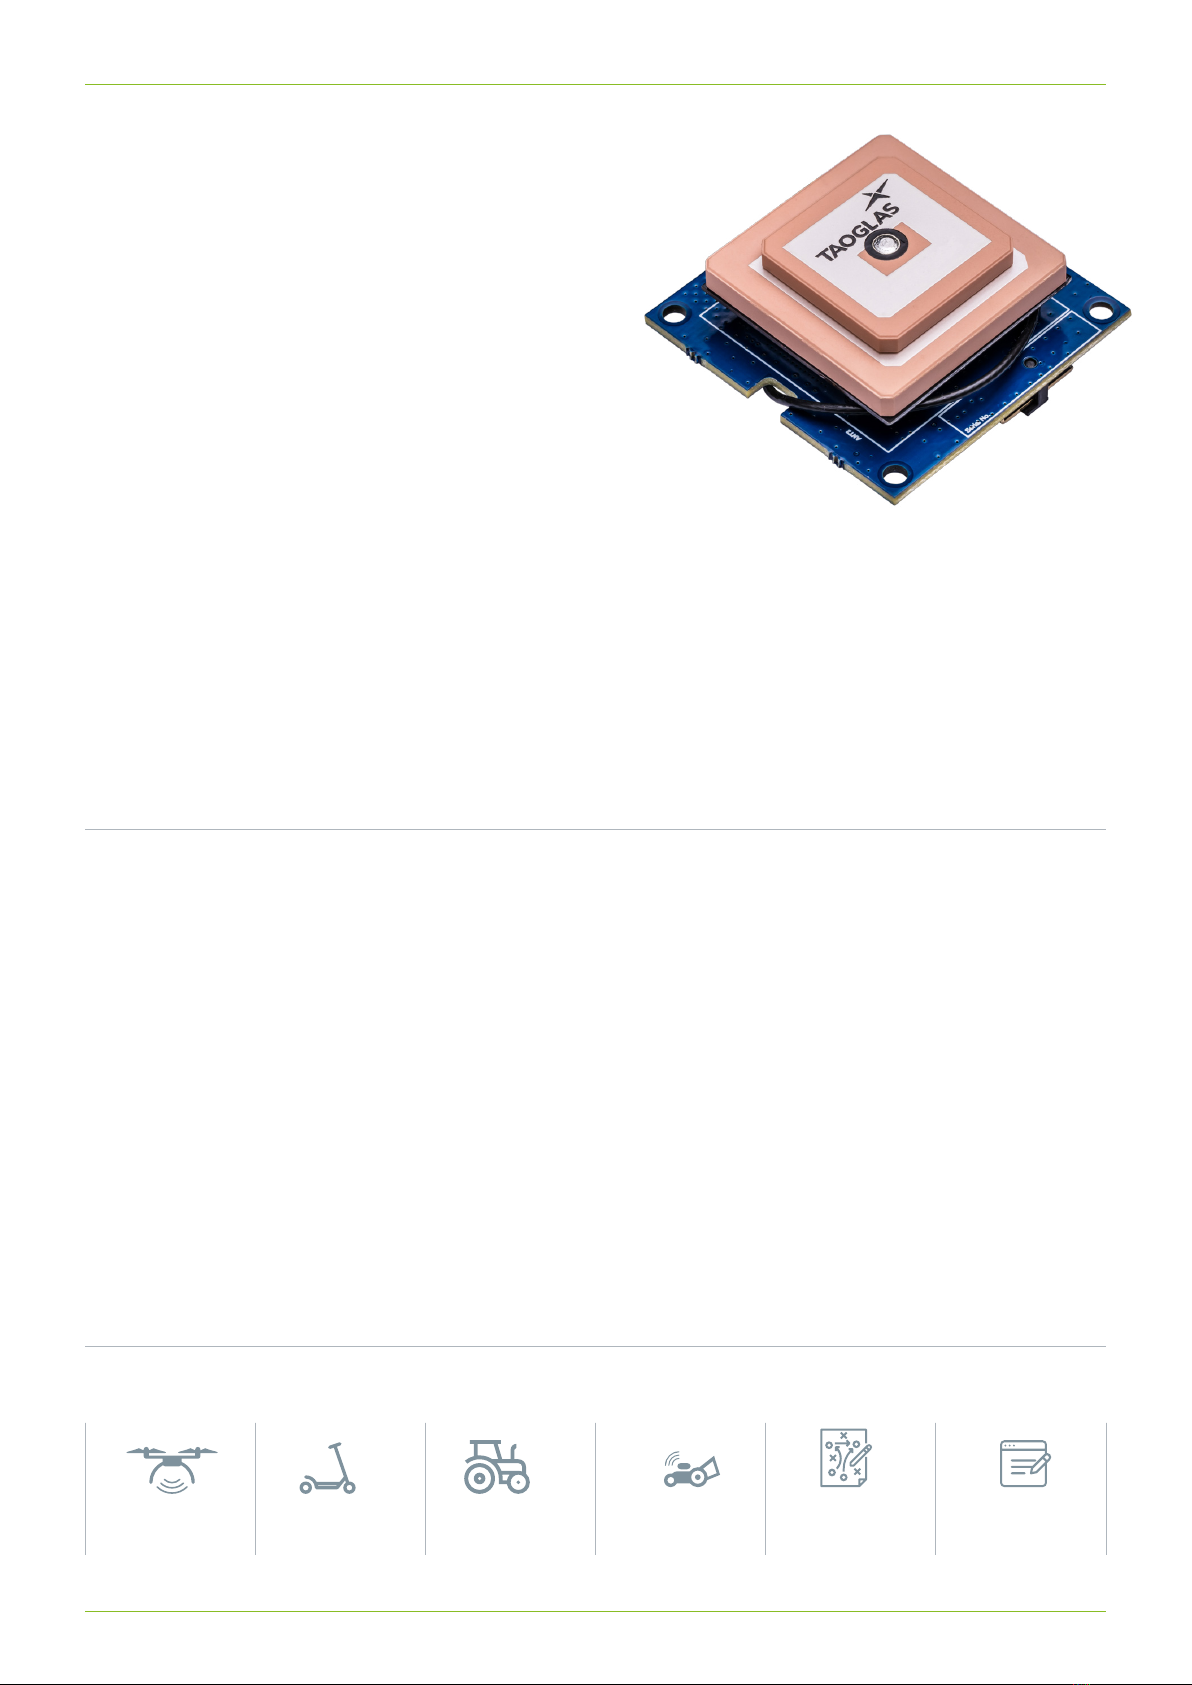
EDGE Locate™
High Precision GNSS Solution
The Taoglas® EDGE LocateTM is an
ultra low-power IoT hardware platform
providing high precision GNSS for high
volume navigation and autonomous
applications in an o-the-shelf, compact
form factor.
The EDGE LocateTM GNSS L1/L2/E5
hardware platform combines the antenna,
RF electronics and receiver technology
delivering reliable high accuracy
positioning.
Key Features
• Optional RTK capabilities, providing up to 1 centimeter level
accuracy
• Small form factor design and energy eicient platform
• Integrated and validated multi band antenna
• Integrated u-blox ZED-F9P multi-band GNSS receiver
• Concurrent reception of GPS, GLONASS, Galileo and BeiDou
• Advanced anti-spoong and anti-jamming
• Supplied with 30 days Hexagon Correctional Services
Subscription
• PMOD compatible and easy to integrate into third
party hardware
• The EDGE Locate is supplied with a PMOD to USB adaptor
and USB cable.
Key Benets
• Ultra low power platform in an o the shelf compact form
factor
• Future-proof your IoT deployments and optimize location
based performance with high precision GNSS and RTK
• Quickly and eectively build IoT devices without having
to invest in costly and lengthy RF design, integration and
testing processes
Typical Applications
UAV Robotic
Guidance
Agriculture and
Machine Control
Micro Mobility Professional
Sports
Survey and
Mapping