9
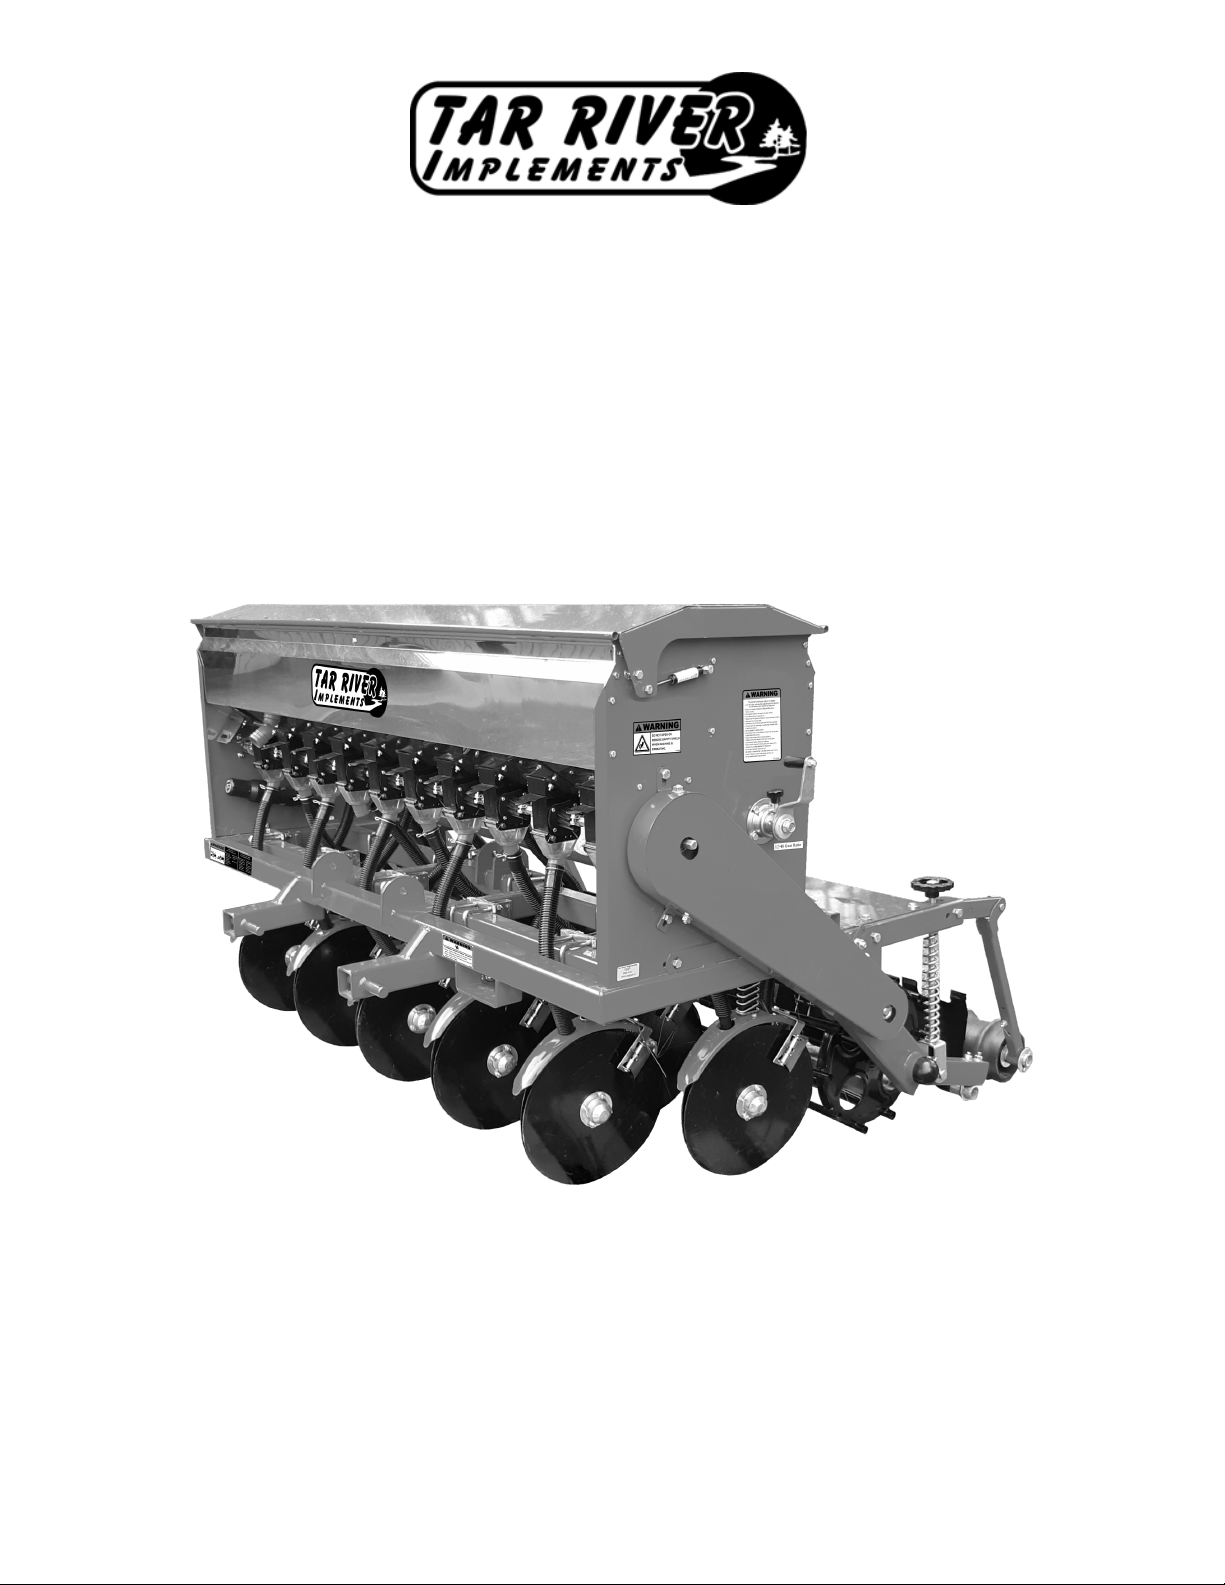
DRL-048, DRL-072 Crop Seeder
Important Safety Information
• Children should not be allowed on the product.
• Clear the area of small children and bystanders before moving the feeder.
• If using a towing unit, securely attach feeder by using a hardened 3/4” pin, a metal retainer, and safety
chains if required. Shift towing unit to a lower gear before going down steep downgrades, thus using the
engine as a retarding force. Keep towing vehicle in gear at all times. Slow down for corners and rough ter-
rain.
• Make sure you are in compliance with all local and state regulations regarding transporting equipment on
public roads and highways. Lights and slow moving signs must be clean and visible by overtaking or on-
coming traffic when feeder in transported.
• Beware of bystanders, particularly children! Always look around to make sure that it is safe to start the
engine of the towing vehicle or move the unit. This is particularly important with higher noise levels and
quiet cabs, as you may not hear people shouting.
• NO PASSENGERS ALLOWED! Do not carry passengers anywhere on, or in, the tractor or equipment,
except as required for operation.
• Keep hands and clothing clear of moving parts.
• Do not clean, lubricate or adjust your equipment while it is moving.
• When halting operation, even periodically, set the tractor or towing vehicle brakes, disengage the PTO,
shut off the engine and remove the ignition key.
• Be especially observant of the operating area and terrain. Watch for holes, rocks or hidden hazards. Always
inspect the area prior to operation.
• DO NOT operate near the edge of drop-offs or banks.
• DO NOT operate on steep slopes as overturns may result.
• Operate up and down (not across) intermediate slopes. Avoid sudden starts and stops.
During Operation