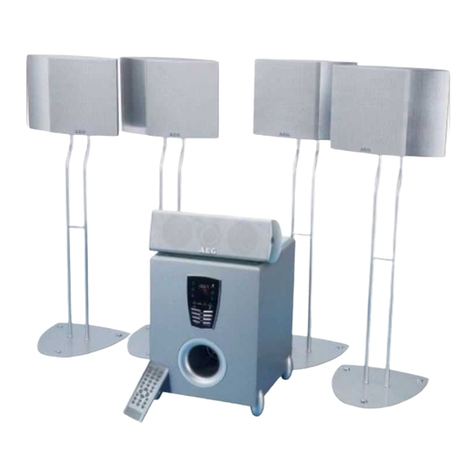
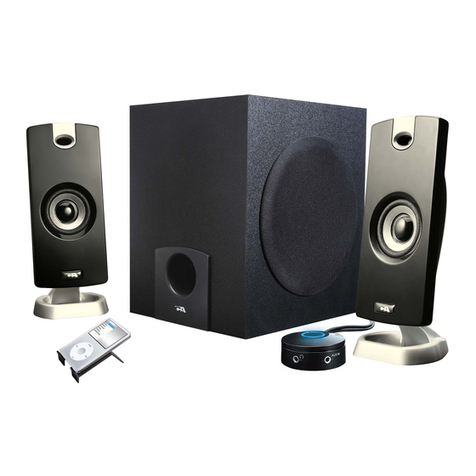
Targa HT 5.1 AS User manual


2
SAFETY INSTRUCTIONS
WARNINGS
CAUTION: To reduce the risk of electric shock, do not remove cover (or
back) no user-serviceable parts inside refer servicing to qualified service
personnel.
The lightning flash with arrowhead symbol within an
equilateral triangle is intended to alert the user to
the presence of uninsulated‘dangerous voltage‘
within the product’s enclosure that may be of
sufficient magnitude to constitute a risk of electric
shock to persons.
The exclamation point within an equilateral triangle
is intended to alert the user to the presence of
important operating and maintenance (servicing)
instructions in the literature accompanying the
appliance.
The apparatus shall not be exposed to dripping or splashing and that
no objects filled with liquids, such as vases ,shall be placed on the
apparatus
IMPORTANT SAFETY INSTRUCTIONS
•Read and keep these instructions available for future reference.
•For indoor use only.
•The unit must only be connected to a suitable mains power supply
using the mains power lead provided.
•To reduce the risk of fire or electrical shock, do not expose this
unit to rain or moisture.
•Unplug the unit form the wall socket during lightning storms and
when it is not going to be used for a long period of time.
•Take care that foreign objects do not enter, or liquids are not
spilled, into the enclosure through any openings. If this
shouldhappen, refer to qualified service personnel before
attempting to use.
•Ensure adequate ventilation - do not cover the subwoofer unit
with curtains, etc.
•Do not install near any heat source, such as radiators, or other
equipment that produces heat.
•Protect the mains power cable form being damaged.
•When servicing only use identical replacement parts.
Contents
SAFETY INSTRUCTIONS ............................................................. 2
CONTROL LOCATIONS ............................................................... 3
GETTING STARTED .................................................................... 4
CONNECTION ........................................................................... 4
USING THE CONTROLS .............................................................. 4
TROUBLESHOOTING .................................................................. 8

3
EN
Thank you
Dear customer:
Thank you for purchasing our product. Please take a
moment to read the instructions in this manual, Following
these instruction will enable you to obtain optimum
performance and listening enjoyment from this product.
PACKAGE CONTENTS
1 AV Sub cabinet
1 Power cable
1 Single lotus line
CONTROL LOCATIONS
Please use the guide below to help you
identify the controls mentioned in this
manual.
POWER LED
PHASE SWITCH
FILTER CONTROL
VOLUME CONTROL
HIGH LEVEL
SPEAKER INPUT
LOW LEVEL SUB
INPUT
HEAT SINK
POWER SWITCH
MAINS FUSE
POWER INPUT

4
GETTING STARTED
TheTARGA 5.1 Spraker System is an ideal accessory to
accompany a DVD home cinema system or Hi-Fi system. A
subwoofer can be used along with any amplifier, whether
it be Dolby Digital/DTS or stereo, to provide a fuller and
deeper sound. There are two ways to connect the Acoustic
Solutions‘ AV SUB to your existing equipment:
1. CONNECTION OF AUDIO SIGNAL VIA
SINGLE PHONO CABLE FORM AN
INDEPENDENT SUBWOOFER OUTPUT
An independent subwoofer phono output can be found
on most AV amplifiers and some DVD players. This output
is usually labelled as either/or SUB / WOOFER / LFE. You
ma need to consult your DVD player/amplifier manual for
more information on this output.
This is the preferred method of connecting your subwoofer
as it transmits the low frequency signals only.
Some DVD Players
AV Receiver/amplifier

5
EN
2. CONNECTION OF AUDIO SIGNAL VIA
(HIGH-LEVEL) SPEAKER CABLES.
If your audio equipment does not have an independent
subwoofer output, then it is possible to extract the lower
frequencies form the amplifier speaker outputs. This can
be achieved by using the additional speaker cables
provided.
You can also connect to one channel of any line output
of a DVD/Amplifier to enjoy bass reinforcement.
Amplifier Speaker Terminals
Speaker Level
Input
Speaker Terminals
Speakers

6
NOTE: When connecting speaker cables, please ensure
that the polarity is correct (connecting a positive cable
to a negative socket or vice versa will result in your speaker
being out of phase.)
Connect your existing set of speaker cables from the
speaker terminals of the amplifier to SPEAKER LEVEL IN-
PUT terminals on the rear of the same SPEAKER LEVEL
INPUT terminals on the AV SUB to the speaker terminals
on your speaker.
PLACEMENT OF SUBWOOFER
The placement of a subwoofer speaker doesn’t carry as
much importance as when positioning standard speaker.
For the best sound distribution, the ideal place to
positioning a subwoofer speaker is in the corner of a
room, about 15cm from the wall, which enables the sound
to spread across the whole room. However, this is
sometimes not practical due to the need to position the
subwoofer close to a power terminal. There is also the
need to connect it to your current equipment, which
requires the subwoofer to be in close proximity with the
equipment unless longer cables are available.
NOTE: It is important to provide air circulation to the
heat sink on the rear of the AV SUB. Do not place the AV
SUB too close to the wall. Do not place any objects on
top of the AV SUB which may disrupt air circulation.

7
EN
USING THE CONTROLS
The AV SUB has a number of controls to customise the
sound coming from the subwoofer.
1. VOLUME CONTROL
The VOLUME control on the rear panel of the AV SUB (see
image 1) allows you to adjust the volume of the subwoofer
only. Be careful not to set the volume too loud. This will
result in distortion from the woofer and the overall sound
will lack clarity and definition.
2. FILTER
The FILTER control (see image 2) determines which
frequencies the subwoofer will reproduce. Setting the
control to the 40Hz position will only allow the very low
frequencies through to the subwoofer. Setting the control
to the 150Hz position will allow slightly higher frequencies
to be reproduced. There is no advisable level for this
setting, should be set to your own individual preference.
3.PHASE
Sometimes, when connecting speaker, the sound may
become this and lack clarity. This is usually because the
speaker are out of phase, which means that they are not
working in unison with each other. To adjust the phasing
of the subwoofer, simply move the PHASE switch (see
image 3) between the 0 and 180 positions.

8
PROBLEM SOLUTION
NO power Mains fuse has blown. Change fuse in
mains plug.
Fuse in unit has blown. This will need to
be changed by a qualified repair
technician.
NO sound Ensure volume control is set to
reasonable level.
Increase the filter control to a higher
level to allow higher frequencies to be
reproduced by the AV SUB.
Remove all speaker cables and phono
leads and re-connect system ensuring all
connections are made correctly (Follow
instructions on page 5)
Sound is
Distorted
Decrease volume to a reasonable level
TROUBLESHOOTING SPECIFICATIONS
Mains input: 220-240 volts 50/60Hz, fuse 1 Amp
Power output: 75Watts RMS - 10% THD
Frequency range: 40Hz - 150Hz
Table of contents

