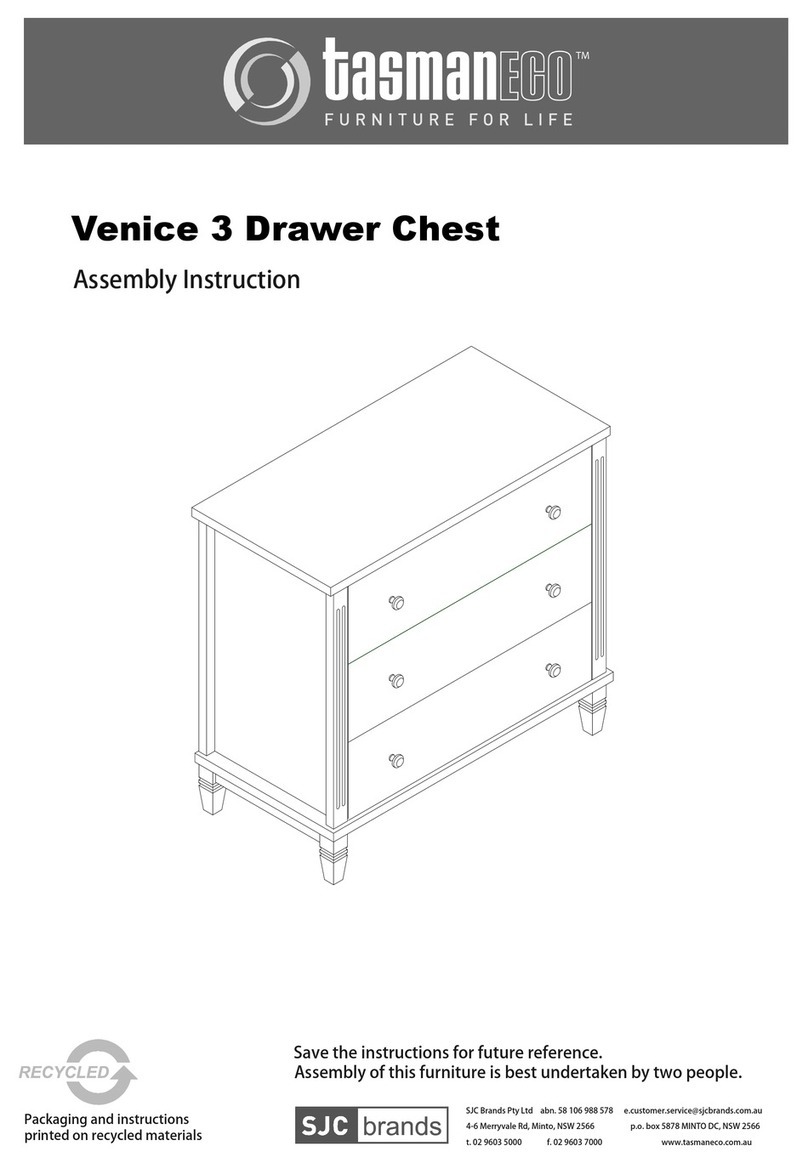
TasmanEco Venice Chest User manual

Assembly Instructions:
We use recycled materials for our
instructions and packaging.
DO NOT OVER-TIGHTEN SCREWS.
Tighten all screws and connectors by hand,
not power tools.
Tasman Eco Pty Ltd
ABN: 58 106 988 578
Address: 4-6 Merryvale Road, Minto NSW
(02) 9603 5000
tasmaneco.com.au
@tasmaneco
(02@ 9603 5000
Venice Chest
IMPORTANT
Read all instructions before assembly and use of product.
Recommended that two people complete this assembly.
Save these instructions for future use.

Follow manufacturer's assembly instructions in detail, ensuring safety features are not
compromised.
ENSURE THE COT IS NOT POSITIONED TOO CLOSE TO HEATERS, BLINDS, CURTAINS,
WINDOWS OR POWERPOINTS.
DO NOT KEEP ITEMS NEARBY WHERE THERE IS DANGER OF THE ITEM FALLING INTO THE
COT.
KEEP ANY MEDICATION, STRING, ELASTICS OR SMALL ITEMS OUT OF REACH OF YOUR COT,
PREVENTING THE CHILD REACHING FROM OUT OF THE COT, WITH ANY SUFFOCATION OR
STRANGLE RISKS.
TO PREVENT FALLS, THE BASE OF THE COT SHOULD BE ADJUSTED TOTHE LOWEST POSITION
BEFORE YOUR CHILD CAN SIT UP.
Safety Considerations - Child
Safety Considerations - Cot
Tighten your connector bolts, at least two months after cot assembly, some may loosen as the
cot settles.
Regularly check your connector bolts, ensuring they are tight, and regularly check the cot for any
weakness in the panel joints and panels. If weaknesses are found, report immediately, to Tasman
Eco ([email protected]).
Do not use the cot if it has been damaged in any way.
Always use spare parts direct from Tasman Eco, these can be purchased via the website.
For general dusting wipe the cot with dry soft cloth
To remove spills, dirt or anything your baby throws at you use warm soapy water
Avoid using a scourer/steel wool, these damage the finish
Always dry the cot after cleaning
Cleaning and Care

Hardware List
WARNING
Small parts can present as a choking hazard. Always keep small parts out of the way of children,
during and after assembly. Store unused small parts in a safe place.
Cam Lock x 28 Locking Pins x 28Handle x 6 M4 x 20mm Bolt x 6 M6 x 60mm Bolt x 12
Wall Strap x 1 M4 x 25mm Self-Tapping Screw x 2M6 x 35mm Bolt x 8 Allen Key x 1

Parts List
Back Rail x 1 Front + Back
Bottom Rail x 2
Frame Side Panel x 2 Legs x 2
Bottom Base x 1Top Board x 1 Back Panel x 2
Drawer Side Panel (L) x 3Drawer Side Panel (R) x 3 Drawer Back Panel x 2
Drawer Front Panel x 3 Drawer Base Panel x 3

Assembly:
STEP 1: Take your 2 x frame side panels, lay flat and screw your 4 x locking pins
into holes shown below. Tighten with your allen key.
STEP 2: Fit your front and back bottom rails to the bottom base, using the M6 x
60mm Bolts, using your Allen Key.
With your M6 x 60mm bolts, secure your chest's legs, also using the Allen Key.
Locking Pins x 4
M6 x 60mm Bolt x 12
Allen Key x 1

Assembly:
STEP 3: Take the back rail and connect it to the 2 x frame side panels, using your
camlocks. Then, insert 1 x back panel sliding this into the opening on the 2 x side
panels and back rail.
STEP 4: Fit the bottom base of the chest onto the two side panels, using your M6 x
35mm bolts. Carefully, flip your chest the right way round, and insert the rest of the
back panel, in the same way did in the previous step.
M6 x 35mm Bolt x 4
Allen Key x 1

Assembly:
STEP 5: With your chest now the right way up, place the top board onto the chest
frame, using M6 x 35mm bolts. Use your Allen Key to secure bolts and do not over-
tighten.
STEP 6: Follow the below set of images, from left to right.
Begin by fitting the locking pins to the drawer side panels.
Following picture 2, fit the camlocks to the rear of the drawer panels.
Following picture 3, insert the draw base between the gaps of the draw side panels.
M6 x 35mm Bolt x 4
Allen Key x 1
Locking Pins x 4
Camlocks x 4

Assembly:
STEP 7: Now to prepare the front of the drawers. Fit your locking pins into place,
and then align the front of the drawer to the drawer itself using your camlocks.
Repeat this step for all 3 drawers.
STEP 8: Position the drawer handles correctly. and screw them into place from the
behind the drawer front, using M4 x 20mm Bolts. Insert your 3 x built drawers into
the chest frame and your chest is now complete.
Locking Pins x 4
Camlocks x 4
Handles x 2
M4 x 20mm Bolt x 2

WALL STRAP INSTALLATION
Wall Strap x 1Self Tapping Screw x 2
STEP 1: Screw the wall strap to the back of the chest, using the self tapping screws.
Front Front
Back Back
STEP 2: Once the wall strap is attached to the back of the chest, position the strap
100mm the left of its intended final position, to give you room before attaching to
the wall.
NB: The wall fixing is not supplied, seek advice from your local hardware supplier to
ensure you purchase the correct wall fixing in which the wall strap can attach to.
Wall

WALL STRAP INSTALLATION
STEP 3: Ensure the wall strap is fixed to the wall securely.
Wall
Wall
STEP 4: Once STEP 3 has been completed, you can reposition the chest in its
intended position in your space. You may need 2 people for this step.

Product Guarantee
The item is improperly assembled or adjusted and/or not assembled strictly in
accordance with the written instructions provided by the seller in the box containing the
item.
There is damage to the product and that damage is deemed by Tasman Eco Pty Ltd to
be caused by incorrect assembly, misuse or by use or storage outside of the physical or
environmental specifications of the product.
There are modifications to the product or to parts of the product that were not
authorised in writing by Tasman Eco Pty Ltd.
The item is transferred, gifted or disposed of by the original owner to another.
Our goods come with guarantees that cannot be excluded under the Australian Consumer
Law. You are entitled to a replacement or refund for a major failure and for compensation
of any other foreseeable loss or damage. You are also entitled to have the goods repaired
or replaced if the goods fail to be of acceptable quality and the failure does not amount to
a major failure.
2 YEAR MATERIALS AND WORKMANSHIP GUARANTEE
If within 2 years of the date of purchase of this product, there is found any defect in
materials or workmanship of this product, Tasman Eco Pty Ltd will replace the product free
of charge, subject to the condition below:
The replacement product will be identical to the originally purchased product where
possible, though in situations where the identical model is discontinued or out of stock, then
Tasman Eco Pty Ltd will replace the product with a model that is functionally equivalent.
This guarantee is made to the purchaser and/or original owner only. For purposes of this
guarantee, the original owner is considered to be the person who first makes use of the
product.
Note: In situations where an individual purchases this product for the purpose of gifting to
another, the recipient is considered to be the original owner.
CONDITIONS
The 2 year Material and Workmanship Guarantee will be void and nullified in
circumstances where:
1.
2.
3.
4.
REGISTRATION AND CLAIM
To be eligible for the above guarantee, the original owner must register their details online
at www.tasmaneco.com.au immediately upon receipt of the product. The product must be
returned to Tasman Eco Pty Ltd or to the place of purchase with proof of purchase,
including date and purchase price.
Table of contents
Other TasmanEco Indoor Furnishing manuals
Popular Indoor Furnishing manuals by other brands
HOMCOM
HOMCOM 837-393V00 manual
EXPEDO
EXPEDO GESST DUO 117972 quick start guide
Southern Enterprises
Southern Enterprises DN0988A0TX Assembly instructions

Teknik
Teknik Trestle 5410421 manual
Balt
Balt Single Floor Carrel 89830 Assembly instructions
The Bradley Collection
The Bradley Collection GLIDERPOLE installation instructions
