Taurus MIG 280 PLUS User manual

Digital Inverter Pulsed Gas Metal
Arc Welding Machine
MIG 280 PLUS
Operation Manual
Read this manual carefully before installing,
operating and maintaining the machine.

- 1 -
Description: This machine is designed and built to weld ferrous and non-ferrous metals.
Disclaimer: The information, illustrations and instructions described in this manual
are based on the latest product information available at the time of publication. The
manufacturer and distributors reserve the right to modify the contents of this manual
at any time. Modifications may result following product modifications and the
manufacturer and distributors are not obliged to notify any organization or individual
of such modifications. Welding work must be executed only by professionally trained
and qualified individuals. Therefore, the manufacturer and distributors will only
accept responsibility for product quality. No liability, joint or several, shall be
accepted for incidents including but not limited to loss of profit resulting from
omissions or misdirection that may be printed in this operation manual. This manual
will contain as far as possible preventive and safe operation measures related to the
equipment but cannot exclude the occurrence of accidents. Therefore, the
manufacturer and distributors shall not be liable for any direct or indirect, joint or
several liability for any incidental or consequential damages which may occur. For
detailed health and safety information, the relevant professional agencies and
manufacturers of consumables such as welding materials and flux should be
contacted.
Warranty Exclusions:
✓Consumable items such as welding wires, welding flux, fuses, quick
connectors, drive rollers, tension rollers, etc.
✓Machine damages caused by incorrect voltage input or power surges.
✓Machine or parts malfunction owing to incorrect connections or user operation.
✓Illegal disassembly or re-fitment of the machine without permission of the
manufacturer, resulting in damage or malfunction.
✓Accidental damage during shipment, transportation and storage.
✓Damage owing to incorrect handling, natural disaster and other force majeure
occurrences.

- 2 -
CONTENTS
Safety Precautions .........................................................................3
Warnings ........................................................................................4
Packaging and Transportation ...............................................................7
Parameters .............................................................................................8
Product Description ................................................................................8
Working Principle.................................................................................. 16
Installation and Wiring..........................................................................17
Brief Procedure for Welding Operation ................................................27
Maintenance .........................................................................................30
Common Machine Malfunctions and Solutions....................................30

- 3 -
Safety Precautions
The equipment is designed for use by qualified personnel who have completed
professional training and have obtained a qualification certificate as a welder/cutter.
The operator shall have sufficient professional knowledge of welding, cutting and
circuitry. The machine should be operated only after having read and fully
understood all the safety precautions and warnings contained in this manual and
those generally applicable to welding operations. The risk of personal injury and
damage to equipment is reduced by safety precautions being followed when using
tools and equipment. This machine is easy to operate and the selection of its
functions is straight forward. Improper use and maintenance will reduce the safe
operation of the machine and the following safety precautions must be followed:
1. The operator must be suitably qualified and certificated before operating the
equipment.
2. A qualified professional should be employed to ensure that the machine and all
cables are properly connected, grounded and installed.
3. Personal protective equipment approved by the local safety authority must be
used. All relevant safety procedures must be adhered to.
4. Before operation, insulation layers on wires and cables as well as connection
sequences should be inspected and corrected if required.
5. Repairs and maintenance should be carried out by qualified technicians only
after the machine has been disconnected from the electricity supply.
6. Operating the machine in a humid environment may result in a short circuit or
may cause an electric shock to the operator.
7. Modifications to the machine or equipment are not allowed.
8. The disposal of scrap machine parts and equipment must comply with local
regulations.
- 4 -
Warnings
Welding and cutting operations are specialised operations which present a certain
degree of risk. Professional training, correct operating procedures and protective
measures reduce the accident risk and damage to equipment.
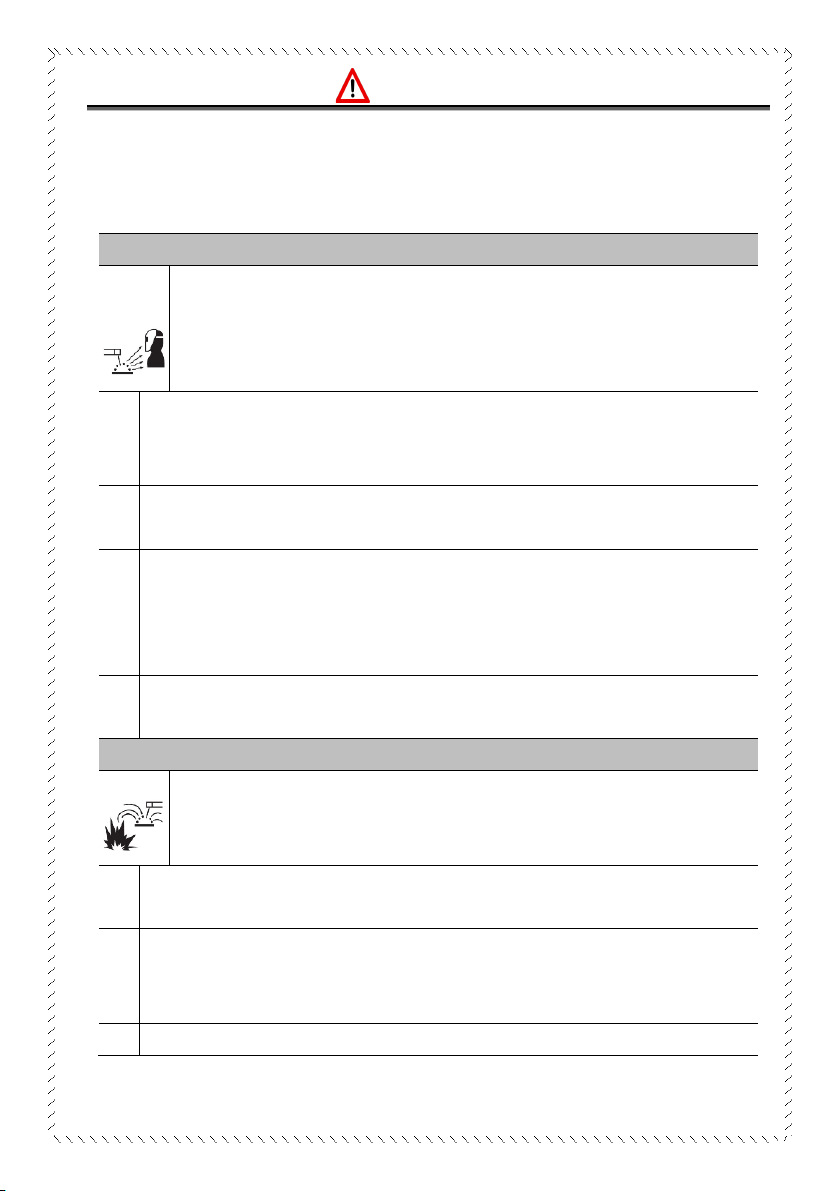
Personal Safety Protection
Welding and cutting operations generate noise, bright light and
high-temperature sparks which will cause harm to human hearing,
eyes and skin unless personal protective measures are
implemented and proper operational instructions are adhered to.
1
Wear flame retardant personal protective equipment (PPE) such as gloves,
overalls, welding/cutting helmets, shoes and aprons to protect against
thermal radiation, sparks and hot metal particles.
2
Hot sparks and metal fragments can cause skin damage. Avoid clothes with
front pockets and button-up sleeves and collars.
3
Use appropriate flame-retardant shields or curtains to protect bystanders
from arc radiation and high temperature sparks. Bystanders also need to
wear a protective helmet fitted with a shading filter to protect face and eyes
or a pair of spectacles fitted with shading filters.
4
Avoid burns and scalds by not touching a welded work piece with bare
hands.
Fire and Explosion Hazards
Welding and cutting operations generate high-temperature flames
and arc which can cause fires and explosions. The same applies to
welding slag and sparks.
1
Operators and bystanders must be protected from arc, sparks and metal
fragments.
2
The welding/cutting area should be free from flammable and explosive
materials. Should these materials be required in the welding/cutting process,
flame retardant covers should be applied.
3
Care should be taken to avoid fire hazards from cracked floors and walls.

- 5 -
4
Welding and cutting on sealed gas tanks will cause explosions. These
operations are prohibited.
5
Welding and cutting areas must be provided with adequate fire extinguishing
equipment. Regular testing for efficiency of this equipment is compulsory as
is training of staff in the use of the equipment.
6
Once the welding/cutting operation is completed, check for any high
temperature spark or metal which might cause a fire and immediately
dispose of it. If necessary, employ the assistance of a firefighter.
Electricity Hazards
Electric shock can cause serious injury or even death to the
individual when contact is made with live wires. Humid conditions
can add to the risk and great care should be taken when welding or
cutting machines are used in these conditions.
1
Reliable grounding of machine and work piece as well as a secure ground
clamp, is important.
2
Insulation layers of electric wires and cables must be checked regularly for
wear and replaced if necessary.
3
All equipment used and clothing worn during the welding/cutting operation
should be free from moist and kept dry.
4
Do not make direct body contact with any live electrical parts.
5
Wearing rubber-insulated shoes and standing on an insulated platform
greatly reduce the risk of accidental shock.
6
Refrain from replacing the ground cable on the machine with wires not
suitable for the task.
7
The machine operates on high voltage and capacitors remain charged even
after power is switched off. Removing covers for maintenance procedures
must only be executed by qualified professionals.
Effects of Electromagnetic Fields
Electric current flowing through a conductor produces magnetic
fields (EMF). The discussion on the topic of the effects of EMF on
the human body is ongoing worldwide and up to the present no
evidence has been forthcoming proving negative effects on health.
- 6 -
However, it would be wise to limit exposure to EMF as far as
possible and the following procedures are suggested:
1
Welders and cutters with cardiac pacemaker implants should obtain medical
advice on the effects of EMF on the implant.
2
Welders should minimise the possibility of electromagnetic field damage
through the following methods.
2.1
Route the electrode and ground cables together and, where possible, secure
them with tape.
2.2
Do not wrap wires and cables around arms or coil power cables around body
parts. If possible, keep cables away from the body.
2.3
Keep the distance between the ground clamp to the workpiece and the
electrode as short as possible.
2.4
Keep a safe distance between the operator and the welding/cutting machine.
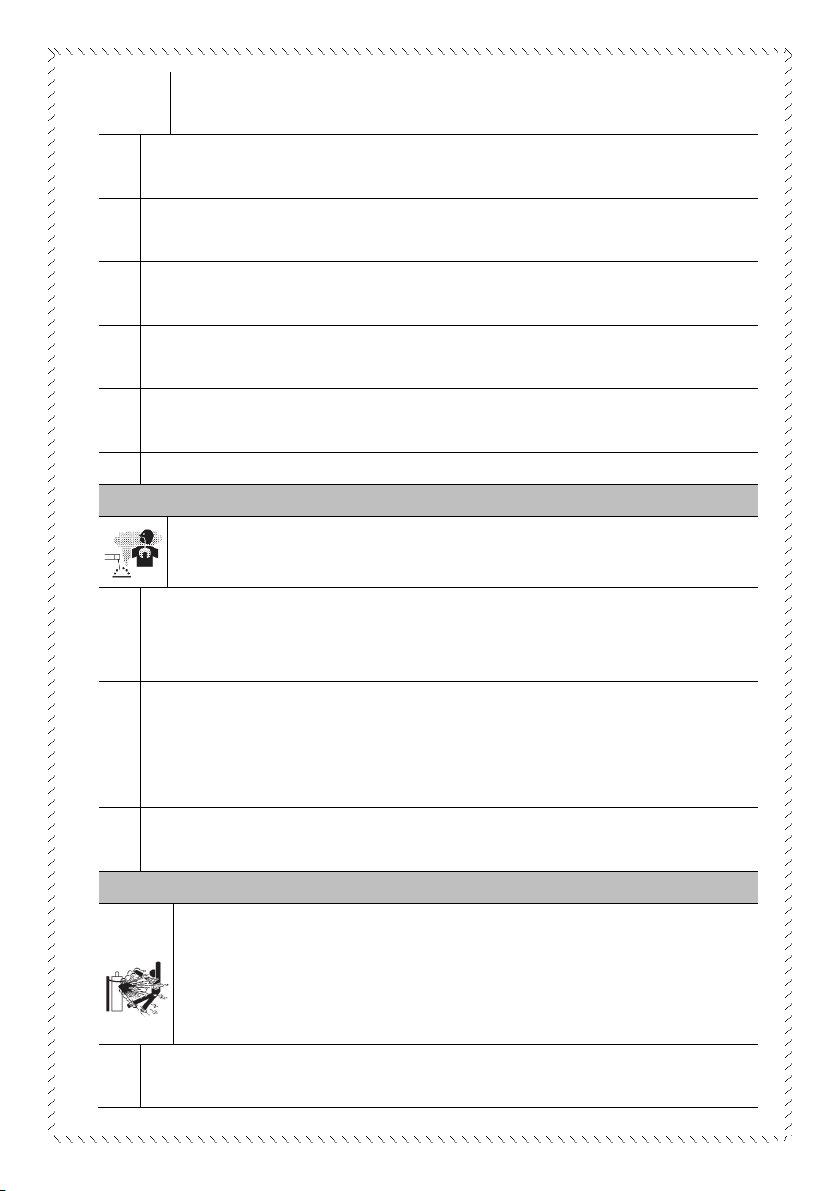
Protection from Fumes and Gases
During the welding or cutting process, fumes can be produced
which may be detrimental to health.
1
The working area should be well ventilated and welding/cutting activities
should not be executed in confined spaces. Eye, nose or throat discomfort
can be the result of inadequate ventilation.
2
Welding and cutting in or near locations where chlorinated hydrocarbon
vapours are produced such as degreasing, cleaning and spraying
operations, should not be undertaken since phosgene, a highly toxic gas as
well as other irritants can be reaction products.
3
The industry offers a variety of respiratory masks and must be used in
conditions where clean breathing air is required.
Gas Cylinder Safety
Gas leaks can occur on cylinders connected to welding/cutting
operations if the system is not properly managed and maintained.
A ruptured cylinder or relief valve can cause serious injury or can
even be fatal.
1
Gas cylinders should be kept away from extreme temperatures and fire
sources. Scratching on cylinder walls with hard objects should be avoided.

- 7 -
2
A pressure regulator should be installed on the gas cylinder in use in
accordance with the manufacturer's operating instructions. Quick-coupling
connectors must not be used and gas hose fitting should be tested for leaks.
3
Gas cylinders must always be kept upright and chained or belted to a
cylinder trolley, base, wall, post or shelf. Never fix a gas cylinder to a
worktable or machine: It can become party to an electrical circuit and
explode.
4
Ensure that the cylinder valve is closed when not in use. If there is no hose
connected to the cylinder regulator then cover the outlet with a dust cap.
Protection Against Moving and Rotating Parts
Moving parts, such as fans, rotors and belts, can be
hazardous.
1
Ensure that all protective covers, doors and panels on the machine are
closed or securely intact before starting an operation.
2
Ensure that maintenance on machines are only carried out by qualified
technicians.
3
Ensure that hands, hair, clothing and tools are safely out of range from
moving and rotating parts.
Packaging, Transportation and Handling
1. Pay attention to and comply with packaging, storage and transportation
instructions which are clearly identified on the containers.
2. Always handle all containers with care.
3. Equipment must be stored in waterproof, moisture proof and well-ventilated
facilities within the temperature range -25°C - 55°C.

- 8 -
Parameters
Model
MIG-280
MIG-280PLUS
Parameters name
Value
Rated input voltage:
AC380V±10% 50Hz 3PH
Rated input power:
9.2kVA
9.2kVA
Rated input current:
14A
14A
Output current range:
10A~280A
10A~280A
Open circuit voltage:
70V
70V
Rated duty cycle:
60%
60%
Efficiency:
≥85%
≥85%
Wire diameter(mm):
Φ0.8~1.6
Φ0.8~1.6
Gas flow rate(l/min):
5~15
5~15
Insulation grade:
F
F
IP grade:
IP21S
IP21S
Package
dimensions(mm):
980×540×790
980×540×1020
N.W.:
48kg
59kg
Product Description
The welding machine in this series inverts the 50Hz power supply to a high-
frequency, high-voltage power supply. The inversion process is facilitated by a
powerful IGBT device followed by step-down rectification and pulse-width modulation
(PWM) technology producing a high-power DC output suitable for welding. The
advanced inverter technology allows for the construction of a smaller volume and
light-weight, stable and reliable transformer with a 30% improved efficiency.
Added to the advantages of the inverted power supply, the machine has good
dynamic characteristics, and offers a stable arc, good welding quality and ease of
control.
This semi-automatic, high-performance machine is designed for argon or carbon
dioxide and mixed-gas welding on aluminium, aluminium alloys, low-carbon steel,

- 9 -
low-alloy steel, stainless steel and copper. Aluminium welding wire (4043/5356) and
0.8mm - 1.6mm diameter steel and stainless-steel wire as well as other solid or flux-
cored wires can be used.
The inverter welding machines in this series are manufactured in accordance with
IEC60974-1 <Arc Welding Equipment - Part 1: Welding Power Sources >, Safety
Requirements for Arc Welding Equipment.
1. Product Functions and Features:
1.1. All-in-one multiple welding functions served by a digital CPU control system
delivering a precise digital output.
1.2. A reliable work performance and fast dynamic response is ensured by the IGBT
high-frequency, soft-switching inverter technology.
1.3. A stable welding process and excellent arc self-regulation is ensured by the
closed-loop control system regulating a stable voltage in cases of grid-voltage
fluctuation.
1.4. Less spatter and a high metal-deposition rate.
1.5. Excellent weld-seam appearance and low heat-input distortion.
1.6. An excellent arc start resulting from an intense pulse-to-strike arc.
1.7. A wire feeding circuit which adopts a stable power supply ensuring smooth wire
feeding.
1.8. Troubleshooting is minimised by the protection circuit ensuring safety and
reliability.
1.9. Small size, light weight, high efficiency and reliable duty cycle as well as a
noiseless arc produced by the rectifier.
1.10.Good structure, simple layout and ease of maintenance.
Table of contents
Other Taurus Welding System manuals


Popular Welding System manuals by other brands


TAFA
TAFA 30*8B35 owner's manual

Lincoln Electric
Lincoln Electric INVERTEC V350-PRO CE Technical specifications

ESAB
ESAB Buddy Arc 145 instruction manual

CIGWELD
CIGWELD 636804 use instructions

Red-D-Arc
Red-D-Arc DC-400 Operator's manual

Hobart Welding Products
Hobart Welding Products Spool Gun DP 3035-10 owner's manual


