TBI PRO Engineering RaLights GL-27 User manual
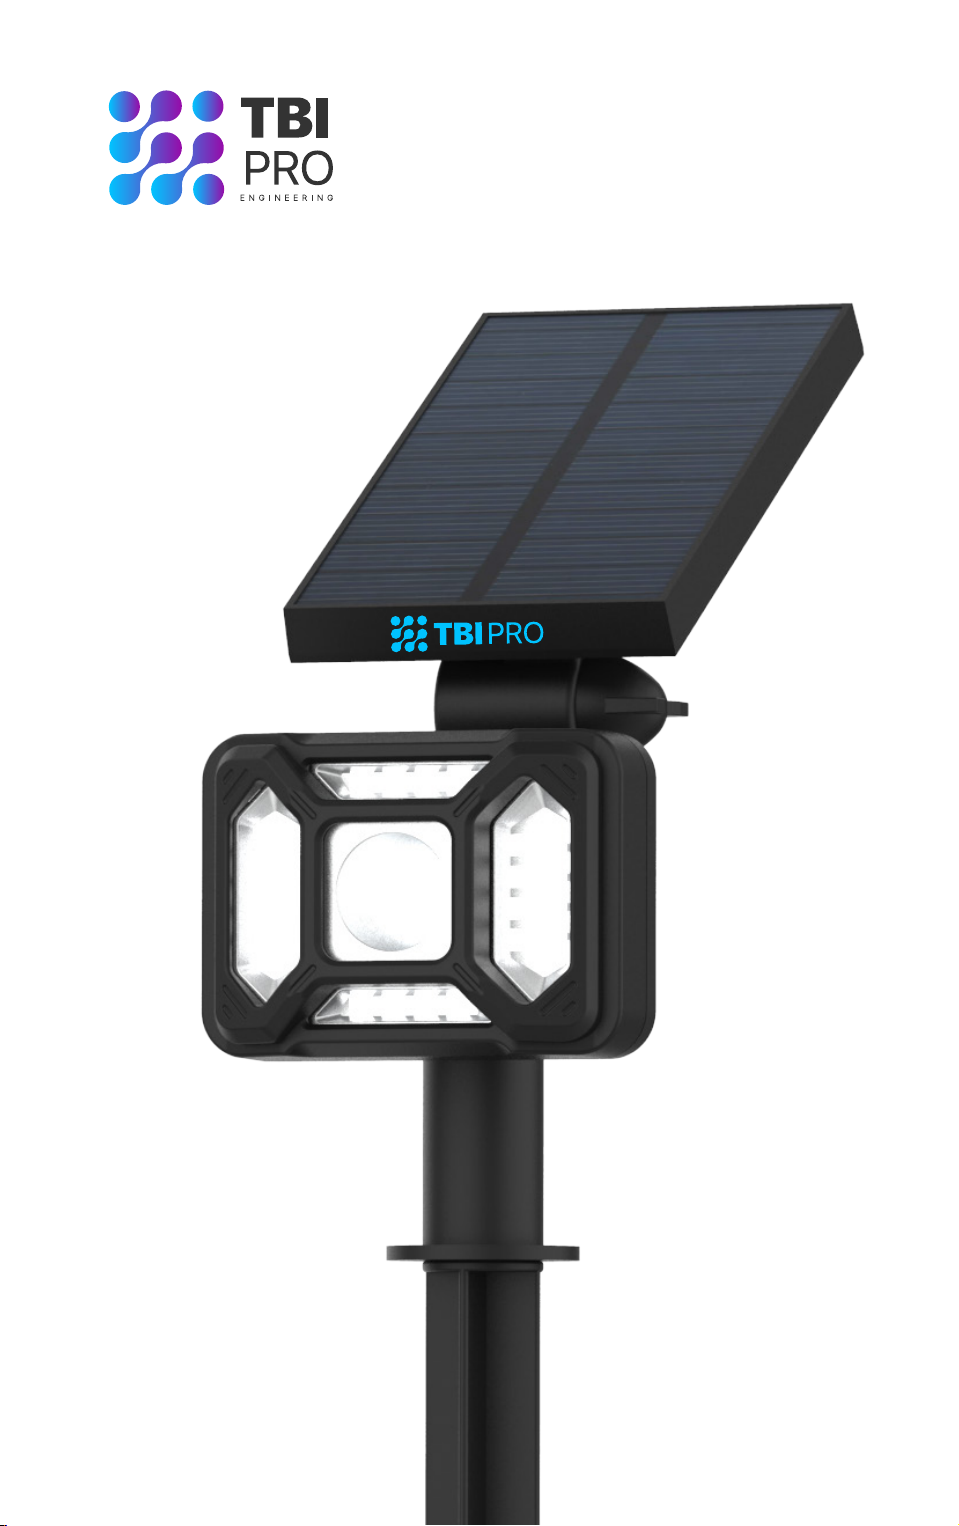
RaLights GL-27
LANDSCAPE SOLAR LIGHTS
USER
MANUAL


Introduction
Package contents
Specifications
Solar Light Location
Operation Guide
Installation
Warranty limitations
4
4
5
7
8
13
18
TABLE OF CONTENTS

RaLights By TBI Pro
4
INTRODUCTION
PACKAGE CONTENTS
Thank you for your purchase.
27 LEDs spotlight solar charged lights are brighter and last all
night with a standard solar charge. Unique design, superior
light output, and numerous installation options confirm the
outstanding value of our product.
The unique optical controlled technology ensures that the light
is auto charging in the daytime and automatically lights up at
night.
In addition, the light is easy to install, waterproof and anti-
sunburn.
Please read the instruction manual carefully to obtain the best
results from your purchase.
27 LED Solar Powered
Spotlight 2 pack or 4 pack,
depending on the Light set
Extend Stake
(4 pieces of 2 pack and 8
pieces of 4 pack set)
Screw Kit
Ground Stake
(2 pieces of 2 pack and 4
pieces of 4 pack set)

RaLights By TBI Pro
5
SPECIFICATIONS
LEDs
Lighting Area
Lighting Color
Adjustable angle of Solar
Panel
Adjustable angle of Light
Head
Modes
Battery
Solar panel
Lumen
Material
Charging duration
Working duration
Waterproof
2 in 1 installation
27
up to 1300 sq ft
Cold
up to 180°
up to 90°
3 Light modes
(High, Medium, Low)
2200 mAh type 18650, 3.7V
5.5V, 1.54W
500 lm
ABS+PC
up to 8 hours
from 10 up to 20 hours
IP65
1) Mount on the Wall
2) Stick into the Ground

RaLights By TBI Pro
6
WARNINGS AND SAFETY
INSTRUCTIONS
Do not allow children to install or operate the light.
Do notinstallthelightin poorweatherconditions, especially
when lightning is present.
Ensure the area where the light is being installed is free
from obstructions such as underground wiring, rocks and
sprinklers.
Ensure the area where the light is being attached is free
from wires, plumbing or other obstructions.
Ifusingaladder,ensurethefootingissecurebeforeclimbing
and obtain assistance when needed.
Ensure the area where the light is being installed is
structurally sound and will support the light.
Do not hang anything from the light.
Do not allow snow, leaves or other objects to rest on top of
the light and solar panel.
Keep the device away from fire and avoid the product being
immersed in water in order to avoid explosion or leakage.
The device does not have any charger.
No one except professional technicians should attempt
to disassemble the device in order to avoid damaging the
product.
Never look directly into the solar motion light when
illuminated.
RaLights By TBI Pro
7
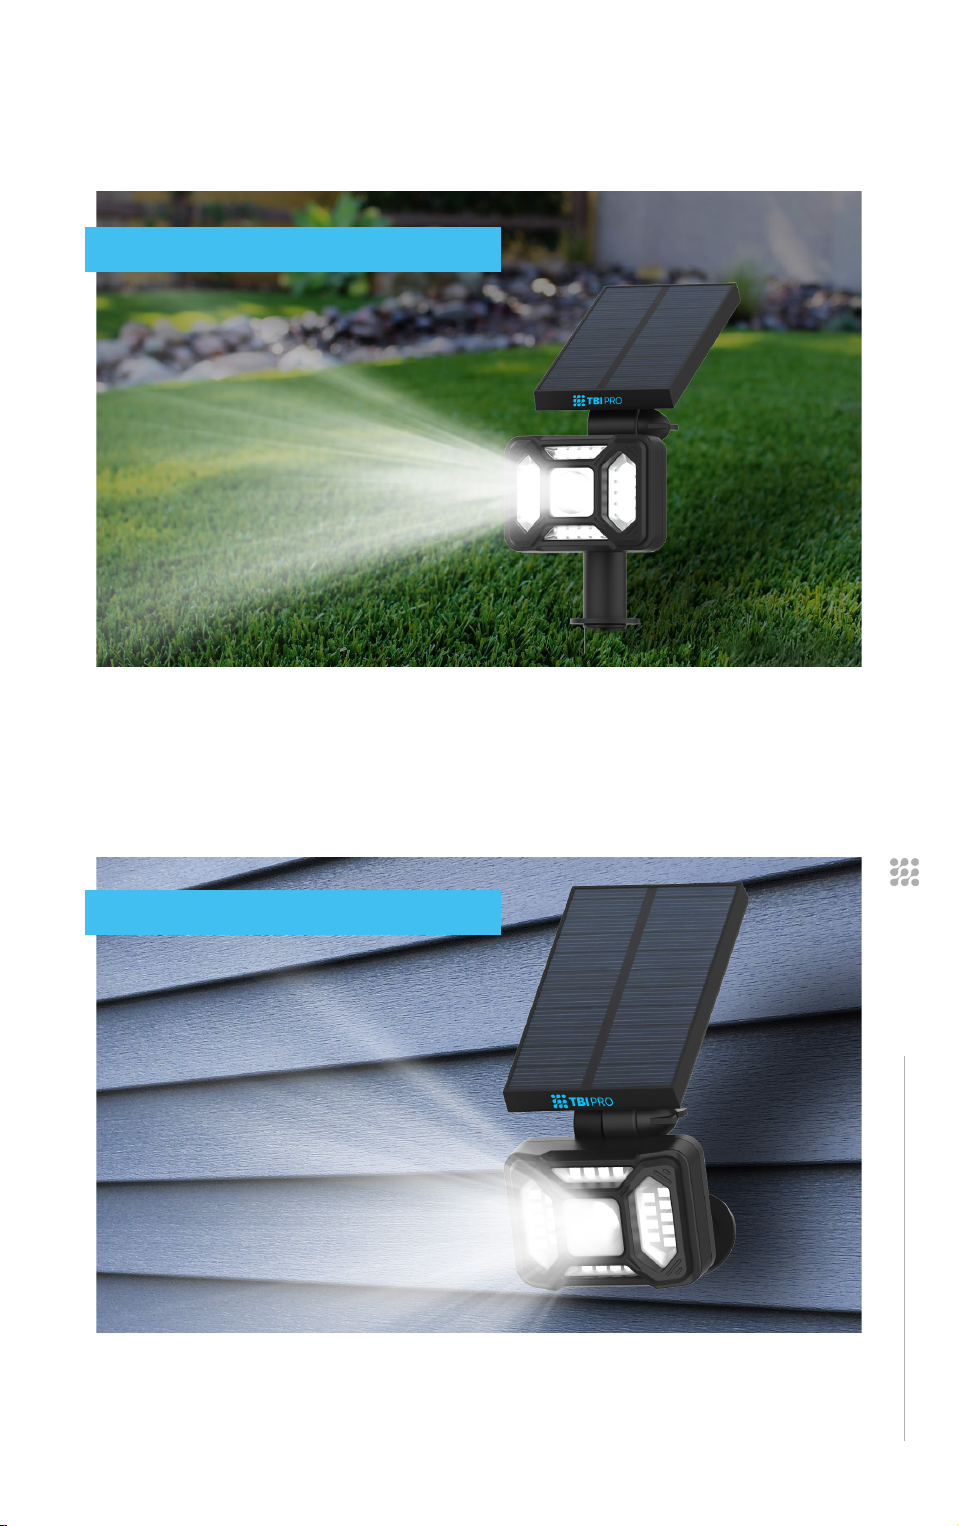
SOLAR LIGHT LOCATION
Place the solar landscape light in a position where sunlight will
reflect on the solar panel free from cover and shade.
Ensure that the solar panel will not be affected by any light
source, otherwise the light will not illuminate at dusk.
ON THE WALL
IN THE GROUND
RaLights By TBI Pro
8
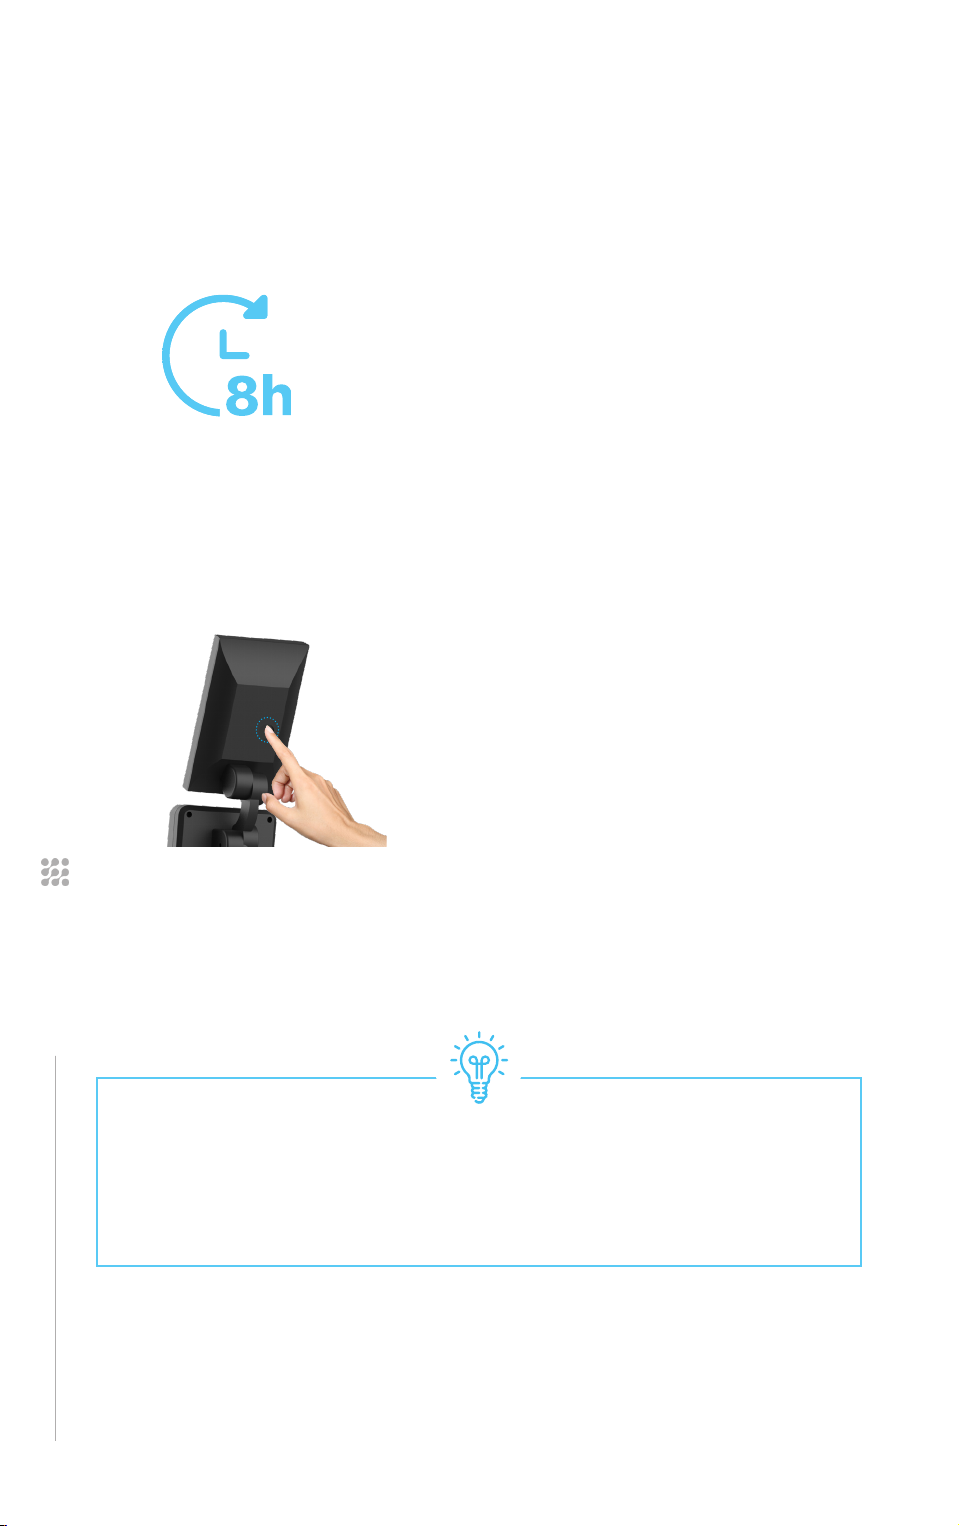
OPERATION GUIDE
Charge it under direct sunlight for
8 hours before its first use.
Make sure the product has enough power.
The default mode of the product is
OFF mode.
Press the Power button on the
back side of the Solar Panel to
adjust modes when using the
product.
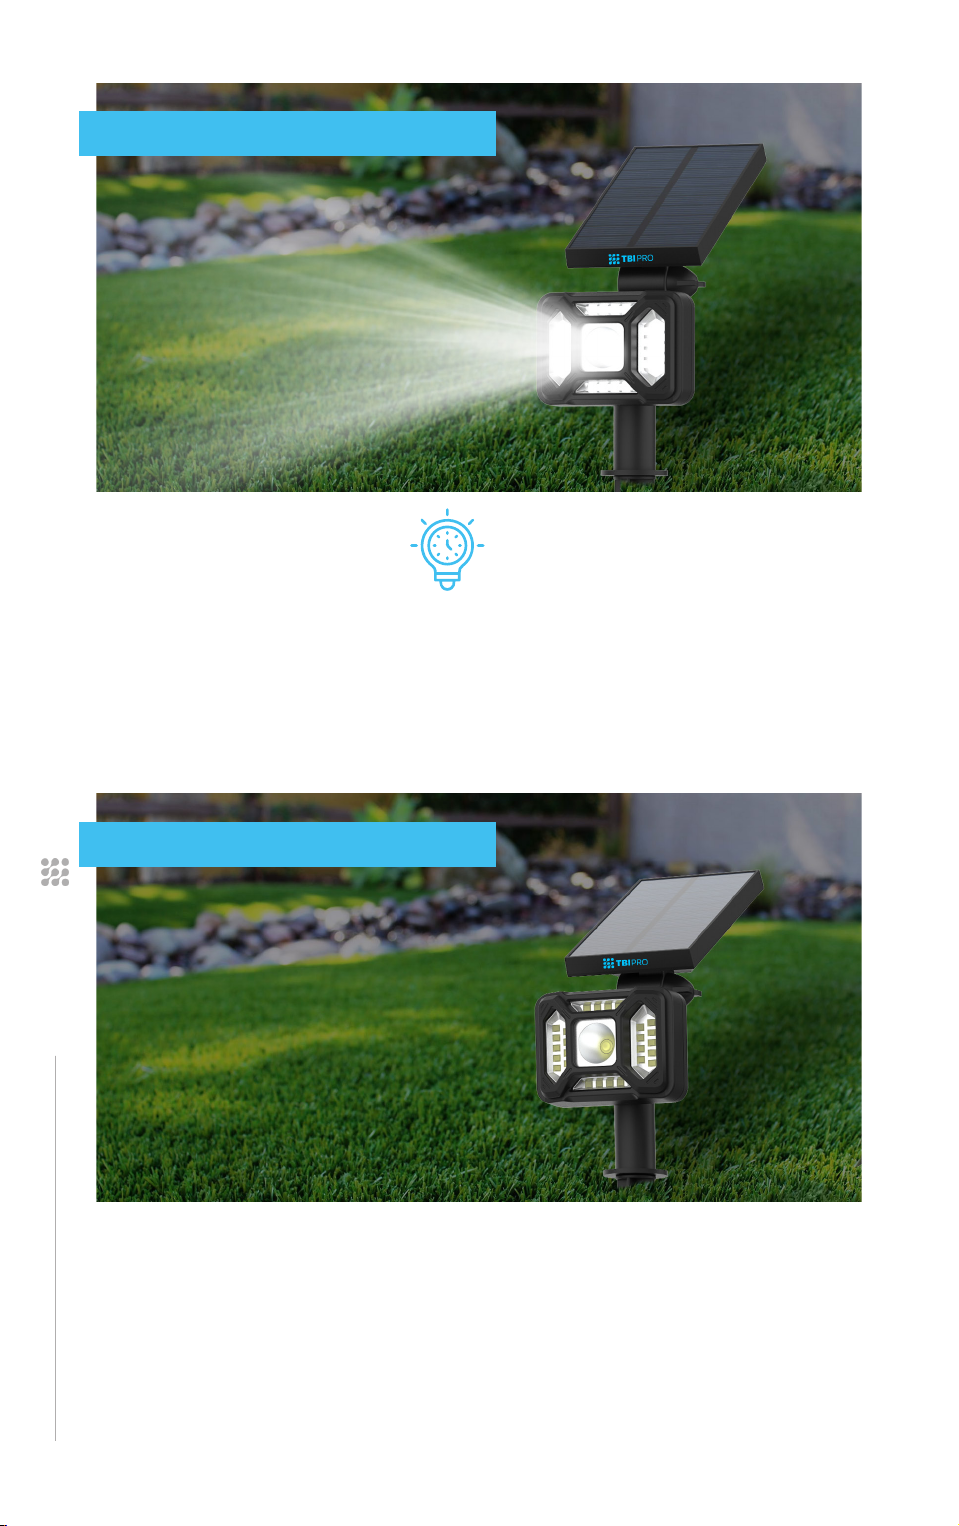
The landscape light will charge but not light up in
the day, and it will automatically light up brightly in
darkness or at night.

RaLights By TBI Pro
9
From the High Light
Mode setting, press the
power button again.
The brightness will decrease
in comparison to the high
light mode.
Working Duration:
14-15 hours
After fully charging the battery.
Press the Power
button once.
Working Duration:
10-12 hours
After fully charging the battery.
MEDIUM LIGHT MODE
HIGH LIGHT MODE
RaLights By TBI Pro
10
From the medium light
mode setting, press the
power button again.
From the low light
mode setting, press the
power button again.
The brightness will decrease
in comparison to the medium
light mode.
The landscape light will
power OFF.
Working Duration:
15-20 hours
After fully charging the battery.
LOW LIGHT MODE
OFF LIGHT MODE
RaLights By TBI Pro
11
If there is no proper sunlight for 3 months, the battery may
run out of power and you will need to charge it with bright
sunlight. When it is fully charged, then it will function
normally.
If the light is blinking, it means that the power is low and
will need to be charged with sunlight right away, otherwise
the device will stop functioning after a short while.
If there is no strong sunlight, especially in the northern
countries or during winter season, the device may take a
longer time to fully charge, and this situation is normal
with solar products.
During installation, please ensure that the landscape light
is installed under direct sunlight where there is no shade
or leaves to shelter the solar panel, otherwise the lighting
time will be shorter.
If the lighting time decreases after the product has worked
for a period, check if the solar panel is covered in dust, and
It is recommended to turn OFF the light and charge it under
direct sunlight for 8 hours before its first use. Make sure
the product has enough power.
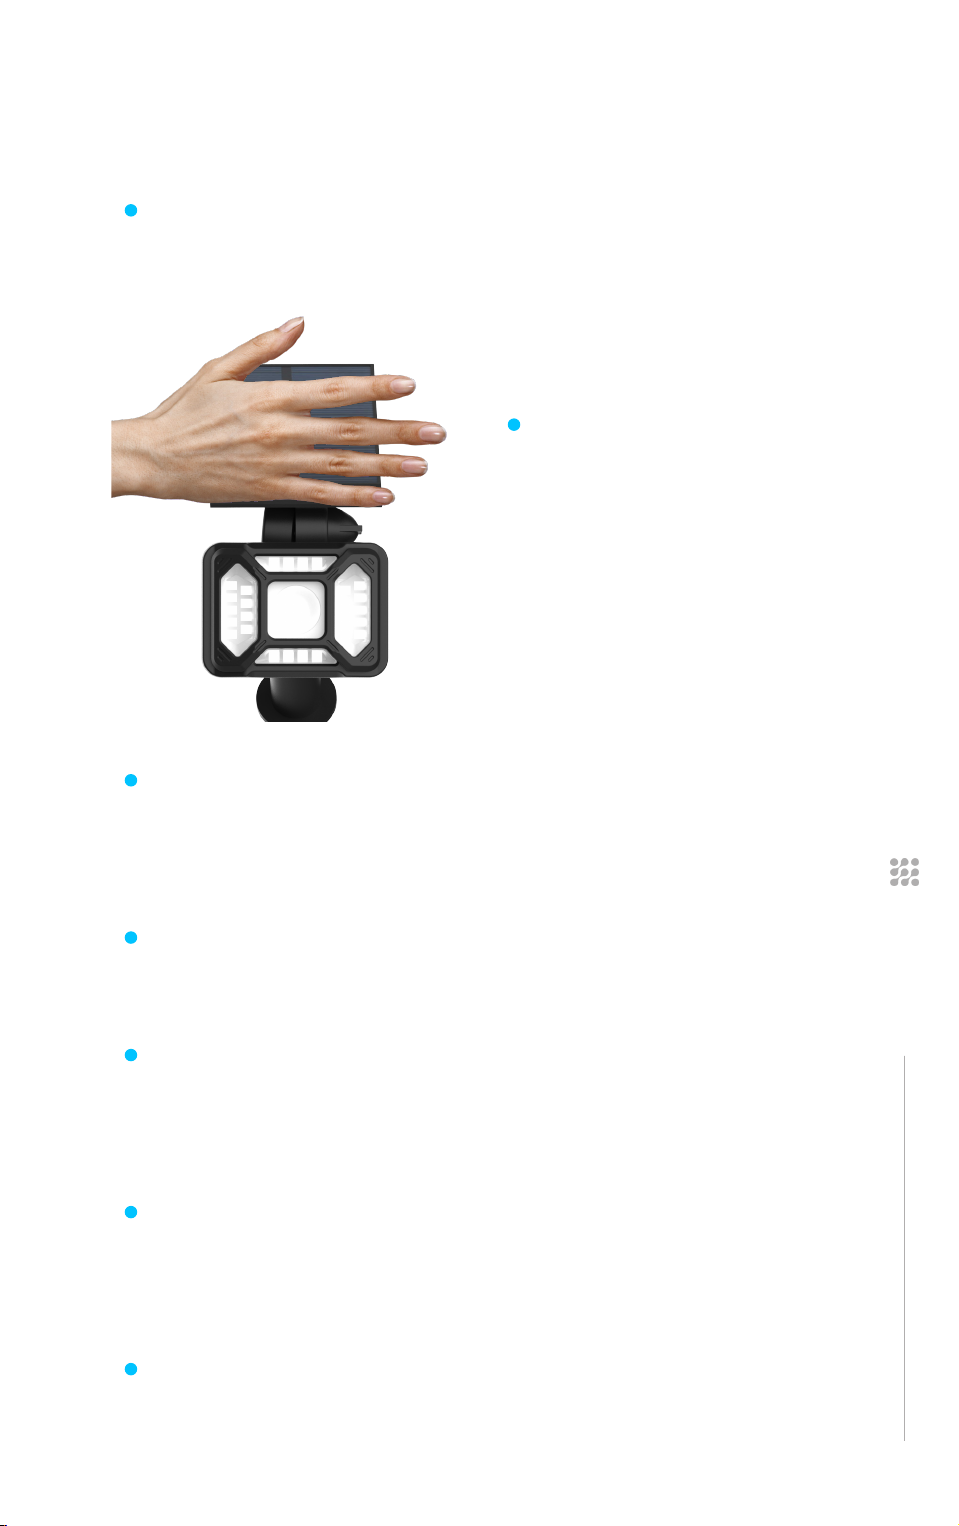
To check if the product is
functioning properly in
the daytime, please turn
it on by pressing the back
button and then cover
the solar panel with your
hands or place it in a dark
environment.
NOTE

RaLights By TBI Pro
12
remember to clean it regularly.
The RaLights Solar landscape Lights are waterproof,
heat-resistant, frost resistant, suitable for any weather
condition, and suitable for outdoor patio, garden, lawns,
decks, yards, drive, outside wall, fence, etc.
On the RaLights solar panel there is a photosensitive
control switch. At night the light can automatically turn on
using the electricity stored (you also can cover the solar
panel with your hand to enter night mode). After daybreak
the switch will automatically turn off the lights and enter
charging mode.

RaLights By TBI Pro
13
INSTALLATION
IN THE GROUND
WARNING
Ensure the area where the light is being installed is free
from obstructions such as underground wiring, rocks
and sprinklers.
STEP 1
Unfold the light and remove any
packaging. Remove the ground stake
from the light.
Ensure that the location where the light will be
installed allows for adequate sunlight throughout
the day to charge the battery sufficiently. Be
mindful of overhangs or shaded areas.
RaLights By TBI Pro
14
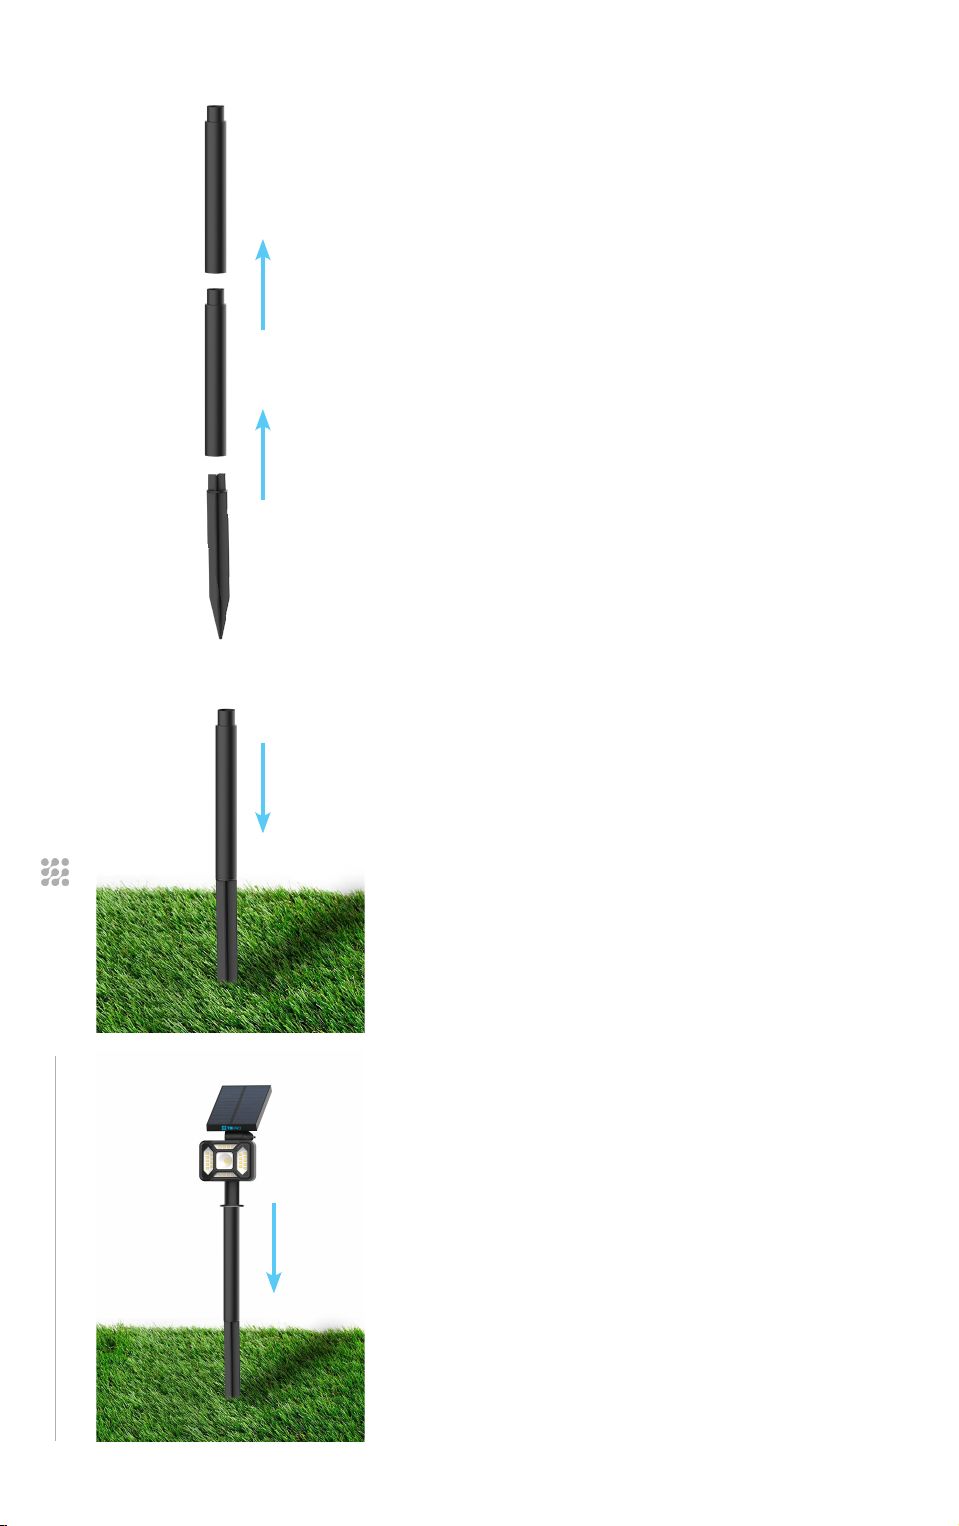
STEP 2
You can change the height using the
extension pipes to help you choose
the optimal spotlight height. To do
this, insert one pipe into the other,
then insert a ground stack and place a
spotlight on the top.
The maximum height with two
extension pipes is 48 cm. (The height
of the entire spotlight will be 72 cm.)
STEP 3
Place the ground stake in the desired
area, ensure the stake is level and
press firmly into the ground.
Do not use any metal hammer to
drive into the ground, as you can
damage the spotlight or solar panel.
If the stake is hitting any obstruction,
preventing it from going into the
ground, try a new location.
STEP 4
Once the stake is firmly in the ground
place the light on top of the stake post.

RaLights By TBI Pro
15
STEP 5
Adjust the angle of the solar panel and
the light by loosening the knobs on the
side of the light.
Do not remove the bolt / knob
completely. Only loosen to allow for
adjustments.
STEP 6
Once the light and the panel are at the
desired angle, tighten the knob to lock
into place.

RaLights By TBI Pro
16
ON THE WALL
WARNING
Ensure the area where the light is being attached is free
from wires, plumbing or other obstructions.
If using a ladder, ensure the footing is secure before
climbing and obtain assistance when needed.
Ensure that the location where the light will be
installed allows for adequate sunlight throughout
the day to charge the battery sufficiently. Be
mindful of overhangs or shaded areas.
Prior to wall mounting the
light, hold the light at various
heights and ensure it covers
the area that is desired to
be illuminated. The diagram
below shows generally where
the center of the light will hit
the ground at various heights.
ground 8.5’
8’
7’
6’
10’ 11.5’
wall
RaLights By TBI Pro
17
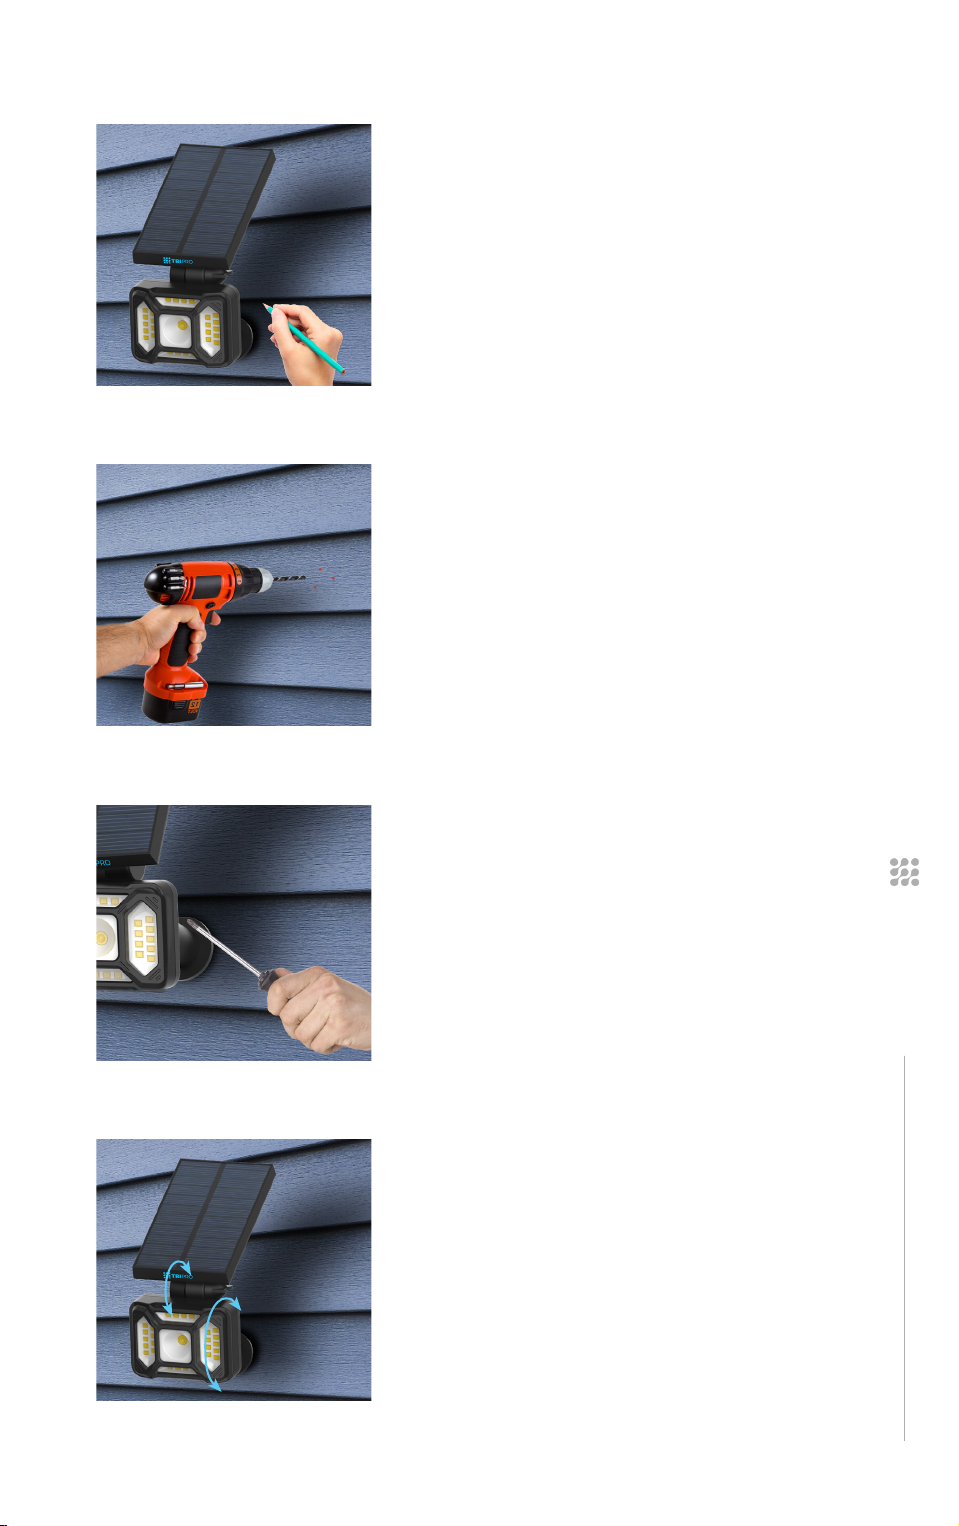
STEP 1
Hold the light in position and ensure
the light is level.
Mark the hole positions and again
check to ensure the light is level.
STEP 2
Predrill the marked location of the
holes.
Prior to drilling, ensure the area
where the light is being attached is
free from wires, plumbing or other
obstructions.
STEP 3
Using a long Head screwdriver, secure
the light in place with the provided
screws.
STEP 4
Adjust the light and the solar panel to
maximize light exposure to the panel
and angle of the light to the desired
area.

RaLights By TBI Pro
18
PRODUCT WARRANTY
WARRANTY LIMITATIONS
We provide our RaLights products with a 12 month limited
warranty from the date of purchase.
To make a warranty claim, please feel free to first contact our
support:
+1 800 674 92 29
(Mon-Fri 800-2000 GMT-6)
The following are not covered by our warranty:
Purchases from non-authorized sellers or distributors.
Damageresultingfromfire,moisture,improperuse,physical
shock or other damage occurring after purchasing the lamp.
If the item has been dismantled or modified after purchase.
Warning: The Solar Light should be charged under
sunshine for more than 6-8 hours before its first use.

Questions?
Contact us at
suppor[email protected]
+1 800 674 92 29
(Mon-Fri 8:00-20:00 GMT-6)
www.TBI-STORE.com
Table of contents
Popular Landscape Lighting manuals by other brands

LIGMAN
LIGMAN CAPSULE 4 CA-30597 installation manual

Faro
Faro GRUND 13W installation instructions

Sterno
Sterno Home GL33790BK instructions

LIGMAN
LIGMAN JET 54 installation manual

WE-EF
WE-EF GRY200 LED Series Installation and maintenance instructions

Stoane Lighting
Stoane Lighting inter-lux Pipien Installation and maintenance instructions

Cooper Lighting
Cooper Lighting Lumark SF Falcon specification

Portfolio
Portfolio SLS10BR quick start guide

AMP Lighting
AMP Lighting HydraPro AWL-5006-B-BZ Installation & maintenance guide

Enchanted Garden
Enchanted Garden 343-1786 installation instructions

LLD
LLD TUBE INDOOR S Installation instruction

STEINEL
STEINEL L 220 LED manual


