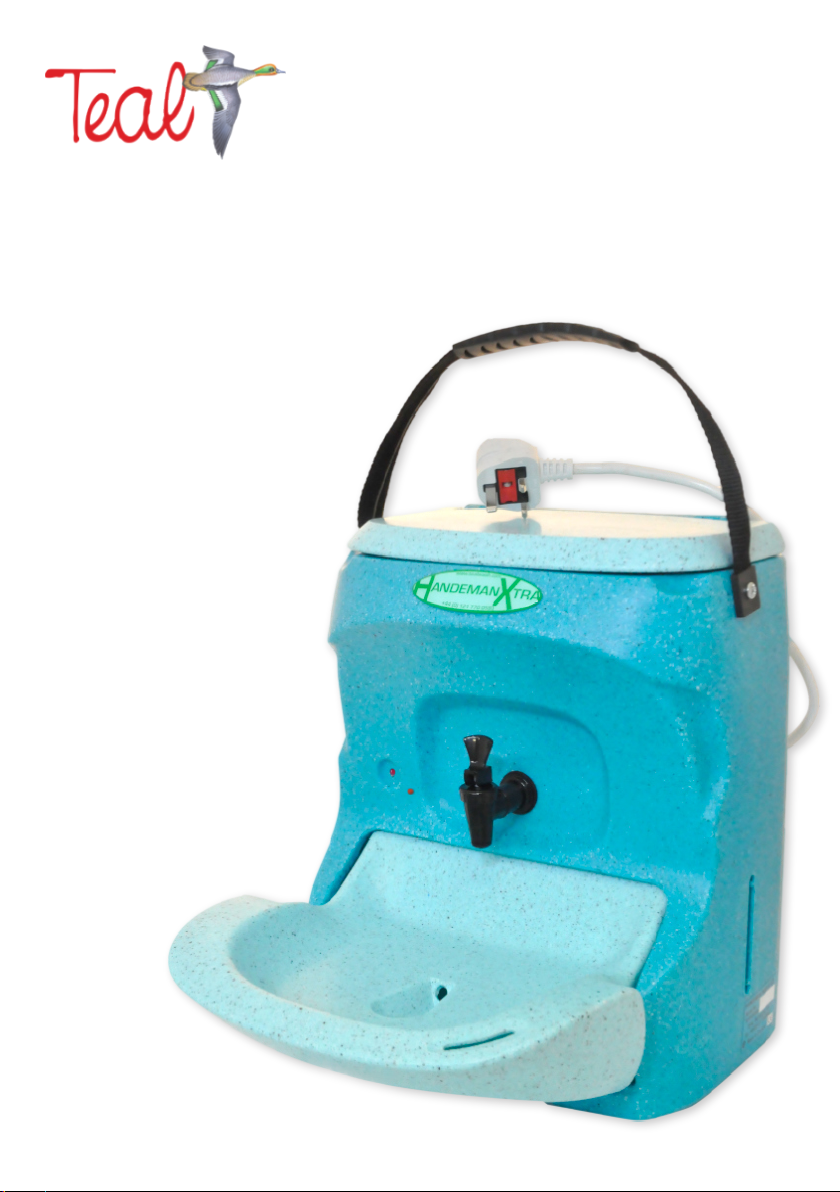
Teal The Handeman Xtra 230V User guide
HMX 230v 7_2021
The Handeman Xtra 230V
Installation and operating instructions
Manufactured by:
Teal Patents Limited
Unit 2, Waterloo Avenue
Chelmsley Wood Industrial Estate
Birmingham B3 6QQ
Telephone: 0121 0 0593
Email: [email protected]om
www.tealwash.com

Page 2 Page 3
The Handeman Xtra 230V
Installation and operating instructions
Index
Important safety instructions page 4
Box contents page 5
Parts identication page 6
Installation page 8
Operating instructions page 9
Cleaning instructions page 10
roubleshooting guide page 10
Optional extras page 10
Guarantee page 11
Disposal page 11
echnical specication page 12

Before using this appliance, read all instructions and familiarise yourself with
the operation of the unit
1. his appliance can be used by children aged from eight (8) years and above,
persons with reduced physical, sensory or mental capabilities, or persons with
lack of experience and knowledge only if they have been given supervision or
instruction concerning use of the appliance in a safe way and understand the
hazards involved. Cleaning and user maintenance shall not be made by
children without supervision.
2. Children should be supervised to ensure that they do not play with the
appliance. his is not a toy.
3. he unit should only be used in accordance with these instructions. Do not
carry out any maintenance other than is shown in these instructions or as
advised by eal Patents service support.
4. Do not place in a hot area of more than 70˚C.
5. Do not handle the plug with wet hands.
6. Do not use with a damaged cable or plug. If the supply cable is damaged, it
must be replaced by the manufacturer, its service agent or similarly qualied
persons, in order to avoid a hazard.
7. If the appliance is not working as it should, has been dropped, damaged or
submerged in water do not use. Contact the seller or eal Patents Ltd.
8. Do not dismantle the unit or attempt to repair the unit. his will invalidate the
warranty.
9. his equipment is for heating water for handwashing only. It is not designed
for washing of crockery or other items.
10. Water dispensed is not suitable for drinking.
11. Water is dispensed at a temperature of 38-40˚C.
12. he appliance must be connected to a mains supply rated at 220 to 240V AC.
13. he unit must be protected by a fuse rated at 3 amps.
14. If used outdoors the equipment should be protected by an RCD.
14. Cable should be placed in such a way to avoid trip hazards.
15. Do not stretch the cable and beware of sharp objects which may damage the
cable.
16. Unit must only be used on a at, even surface. It must be used only in an
upright position. Unit may be wall mounted: if so, use the provided ttings for
a solid brick wall. If mounting on an alternative type of wall, ensure that you
use appropriate ttings.
17. Unit should be positioned where it does not obstruct walkways or access to
services.
18. Unit must only be lled with clean cold water.
19. Do not overll, only ll to the level of the bae.
20. he unit should not be operated without water.
21. Waste water is removed by taking out the bowl and tipping the water from
the water drainage slot.
22. This unit must not e su jected to a high pressure water jet.
23. Any spillages should be cleaned-up as soon as possible to avoid slipping
hazards.
24. Waste water should be disposed of to a foul drain.
25. Keep unit away from direct heat sources.
26. Unit should not be left switched on when the unit is not in use.
27. Do not alter the unit in any way this will invalidate the warranty and may
make it unsafe to operate.
28. Unplug the unit when not in use.
IMPORTANT SAFETY INSTRUCTIONS
Page 4
Box contents
Page 5
Before installing the unit check that all parts are present and undamaged.
In the event of any shortages or damaged items contact the retailer.
Do not attempt to use substitute parts except as stated in these instructions.
Contents consist of:
•1 Handeman Xtra unit with pre-tted mains cable
•Carrying strap tted to the unit
•1 ttings pack consisting of:
•4 rawlplugs and 4 mounting screws
•4 mounting spacers
•1 drilling template.

Parts identication
Disclaimer
Teal Patents Ltd has a policy of continual
i prove ent in product quality and design.
The co pany reserves the right to change the
specication of its odels at any ti e.
Page 6 Page 7
Lid
Plug hole
Lid seal
Bae.
Its re oval will void
the warranty
Carrying
handle
Indicator light
Reset button
Bowl
Water
drainage
slot
ap
Rear of owl
Removable
rubber cover
Upper
mounting holes
Lower
mounting holes
Mains cable
Rear of Handeman Xtra

Wall Mounting Or Free Standing
his unit has been designed for wall mounting or to be placed on any rm, at,
level surface.
Before xing to a wall, check that you have all the parts listed.
he rawlplugs provided are suitable for use in a solid brick wall. If mounting on an
alternative type of wall, ensure that you use appropriate ttings.
Before commencing installation check that you have appropriate tools and a
suitable workspace.
Failure to follow these instructions may result in personal injury, damage to the
product or damage to property.
Check that there are no hidden service pipes or cables in the area where you
intend to drill.
If you are unsure consult a suitable qualied installer.
Ensure that the position of the unit allows sucient space for the opening of the
lid and the safe opening of the bowl.
Using the supplied template identify the locations for the 4 mounting screws.
Drill holes using an 7mm diameter drill bit.
Fit rawlplugs in each hole.
Mount the unit using the 4 screws and mounting spacers provided.
Note: the bowl must be removed to provide access to the two lower mounting
holes. Lift the lid to access the upper mounting holes.
Do not overtighten xings as this may damage the unit.
ake care not to drop tools or xings into the unit.
Check that the unit is upright and level before lling.
Electrical Connection
his unit must be connected to a mains power supply using the plug provided.
Do not attempt to replace the plug or hard wire the unit unless you are
competent electrician.
Waste Water
All Handeman Xtra models have a removable bowl that retains all the dirty water.
here is no need for a separate waste pipe or waste water storage container.
FAILURE TO FOLLOW THESE INSTRUCTIONS MAY INVALIDATE YOUR WARRANTY.
Installation
Fill the unit with cold water until water can be seen below the bae.
Do not use pre-heated water as this may damage the unit.
Do not overll – if there is water above the bae use the tap to reduce the water
level before operating.
Close lid and ensure seal is fully engaged.
Connect to a mains power source to switch on the unit.
An orange LED indicates that the power is connected.
Allow to heat up for approximately 15 minutes.
he green LED will light to indicate water is at the correct temperature.
Use tap to discharge water to wash hands.
If a continuous ow of water is required fully depress the tap lever.
Waste water will drain into the hollow bowl.
o remove waste water, detach the bowl and lift it out.
ip the water from the water drainage slot on the front edge of the bowl into a
foul water drain and replace.
Rinse with clean water.
When the water tank is empty of water the red LED will light.
Disconnect the unit and allow to cool before relling.
LED display
he unit has an LED display to indicate the status.
GREEN - this indicates the water is heating up.
GREEN - indicates the water is up to temperature and ready to use.
SOLID RED – low water level.
FLASHING RED - fault – see roubleshooting Guide (overleaf).
Operating instructions
Page 8 Page 9

Page 10 Page 11
Empty the detachable bowl to a foul water drain and rinse with clean water.
If unit is left unused for an extended period it is recommended that it is emptied
of water and replenished with fresh water.
Clean all surfaces with an anti-bacterial wipe or disinfectant paying particular
attention to frequent contact points. o clean the inside of the bowl, rst take o
the removable rubber cover.
Do not use abrasive cleaners which may scratch the external surfaces.
This unit must not e su jected to a high pressure water jet.
It is recommended that the unit is cleaned with a cleaning solution such as Milton
according to the instructions on a weekly basis.
owel holder ref GENTWLHDR
Soap bottle and bracket ref GENSOAPDISP/BRKT
Cleaning instructions
Optional extras
At the end of its useful life, the handwash unit should not be
disposed of in general household waste.
Units should be taken to a recycling facility for electrical and
electronic items.
Please see WEEE regulations.
All eal Patents products are tested before leaving the factory.
he unit is covered by a two year return to manufacturer warranty from date of
purchase – please ensure that you retain proof of purchase.
Any faulty items will be repaired or replaced, and the repairs guaranteed for the
remainder of the original warranty period.
Exclusions
eal Patents will not be liable to repair or replace goods where:
•he fault has been caused through misuse, accidental damage, use contrary
to the manufacturers instructions, damage in transit or power surges.
•he appliance has been used on a voltage supply other than that specied on
the product
•Repairs have been attempted by someone other than eal Patents or an
authorised dealer
•he appliance is second hand
•he warranty does not cover any claims for consequential loss or damage.
his guarantee does not eect your statutory rights as a consumer.
Guarantee
Disposal
No water dispensed. Check water level in tank
Water cold. Check Orange LED is on. If not, check power supply. If LED is on leave
unit for 15 minutes to fully heat water. If water is still cold unplug unit and return
to supplier.
Red LED solid. Unit cut-out activated.
•Low water.
•Check water level. Rell if required and press and release reset button
•Unit tilted.
•Return unit to upright position. Rell if required and press and release
reset button.
Red LED ashing. Hardware fault.
•Unplug unit. Check water level and rell if required. Plug unit in. If fault
persists contact eal or the retailer.
Water around unit. Clean up any spillage from lling unit.
Check that the bowl is not full.
If further water is seen switch o unit and contact the supplier for advice.
Trou leshooting guide
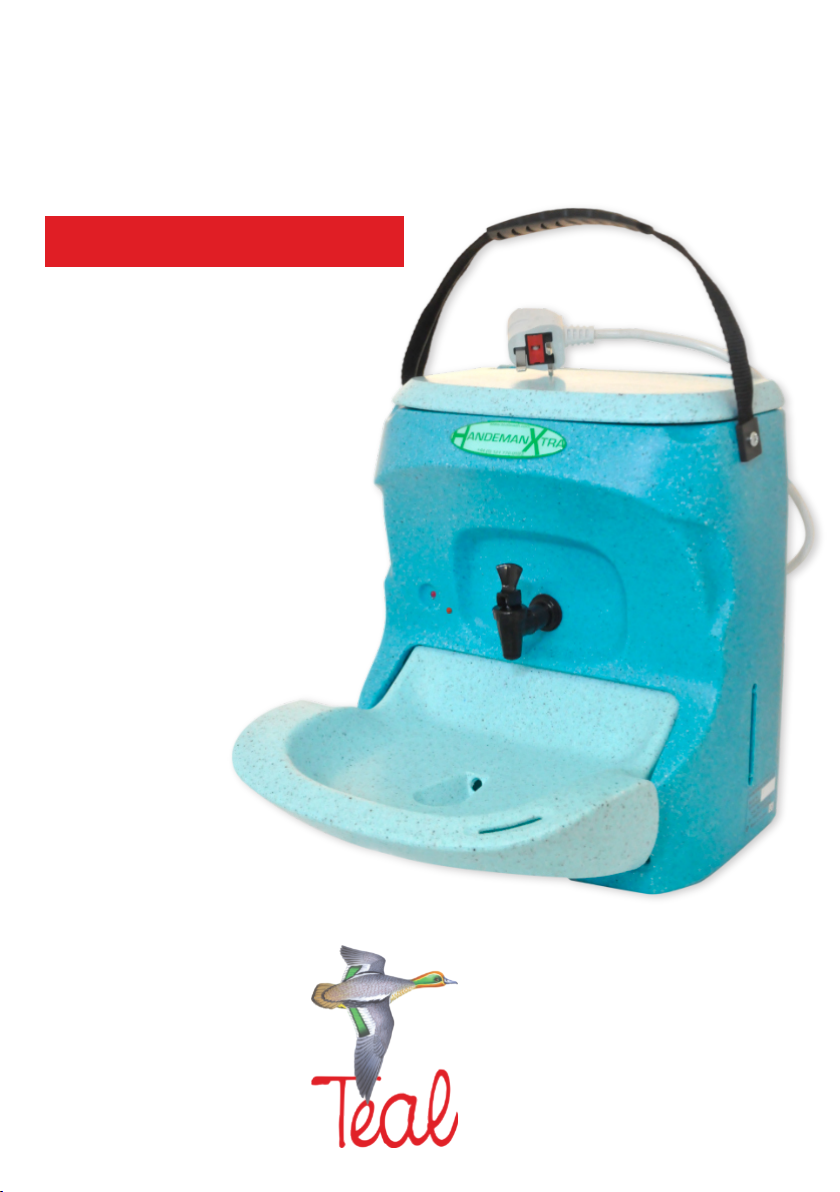
The Handeman Xtra 230V
Product Specication:
Height 370mm
Width 310mm
Depth (bowl open) 370mm
Depth (bowl closed)220mm
Weight 3Kg empty
6.3Kg full
Water capacity 3.3 litres
Electrical Specication:
Operating voltage
230V~50Hz/60Hz
Heater output 300W
Operating current 2A
IP rated IP34
Conforms to EN60335-1
& A13:2017
Technical specication
Teal Patents Ltd
Unit 2, Waterloo Avenue
Chelmsley Wood Industrial Estate
Chelmsley Wood
Birmingham, B37 6QQ, UK
el: +44 (0) 121 770 0593
www.tealwash.com
Email: [email protected]
This manual suits for next models
1
Table of contents
Other Teal Washer manuals


