24 25
reverse-connected to the charger, it will be reverse-charged and an
abnormal chemical reaction may occur. The battery may generate
heat or smoke, rupture, or burst into flame.
14) Do not touch a ruptured and leaking battery!
If the electrolyte liquid from the battery gets into your eyes, wash your
eyes out with fresh water as soon as possible, without rubbing your
eyes. Go to the hospital immediately. If left untreated, it may cause
eye-problems.
WARNING
1) Do not charge the battery for longer than the specified time!
If the battery pack has not finished charging even after the regulat-
ed time has passed, stop it. The battery may generate heat or
smoke, rupture, or burst into flame.
2) Do not place the battery pack into a microwave or highpressure
container!
The battery may generate heat or smoke, rupture, or burst into
flame.
3) Keep ruptured and leaking battery packs away from fire!
If the battery pack is leaking (or the battery emits a bad odor),
immediately remove it from flammable areas. Electrolyte leaking
from battery can easily catch on fire and cause the battery to gen-
erate smoke or burst into flame.
4) Do not use an abnormal battery!
If the battery pack emits a bad odor, appears to have different color-
ing, is deformed, or seems abnormal for any other reason, remove it
from the charger or operating equipment and do not use it. The bat-
tery may generate heat or smoke, rupture, or burst into flame.
2.2 Battery Care Tips
The transceiver is equipped with a TEAM Ni-MH battery pack. An
optional Li-ion battery pack is available. The following tips help you to
get the best battery performance and longest battery life.
1) Charge the new battery pack continuously for 4~7 hours before its
initial using, which ensures the maximum battery capacity and best
performance in using.
2) Charging the battery pack in non-TEAM equipment will cause
battery damage and the battery warranty invalid.
3) The battery pack can be charged while in the transceiver, and to
ensure it is fully charged it's recommended to charge the battery
pack with the transceiver turned off.
4) The ideal temperature to store the battery pack is 25 (room tem-
perature). Charging the battery pack at a low temperature (below 0 )
will cause electrolyte leakage and damage to the battery pack.
5) Charging the battery pack at a high temperature (above 35 ) will
cause decrease in battery discharge capacity and affect the trans-
ceiver performance. The TEAM SLG-PT6200 rapid charger has a
temperature sensor, which ensures the battery is charged within
the temperature range mentioned above.
6) A new battery shows no significant life shortening even after two-
year storage. The new or used battery should be stored in a cool
and dry place.
7) If recharge the battery pack after long storage, you should charge it
continuously for 4~7 hours.
8) Do not leave the transceiver and battery in the charger when not
charging. Overlong charging will shorten the battery life. (Please do
not use the charger as the transceiver's mounting bracket.)
9) Please use the TEAM SLG-PT6200 charger to ensure battery
normal work and prolong its life. The battery and charger are design-
ed under an integrated concept of power system.
2.3 Battery Recycling and Disposing
After the battery life expires, the Li-ion battery can be recycled, how-
ever, the recycling facilities are not available everywhere. TEAM goes
in for the recycling of all the rechargeable batteries. For more details
please contact your local TEAM distributor.
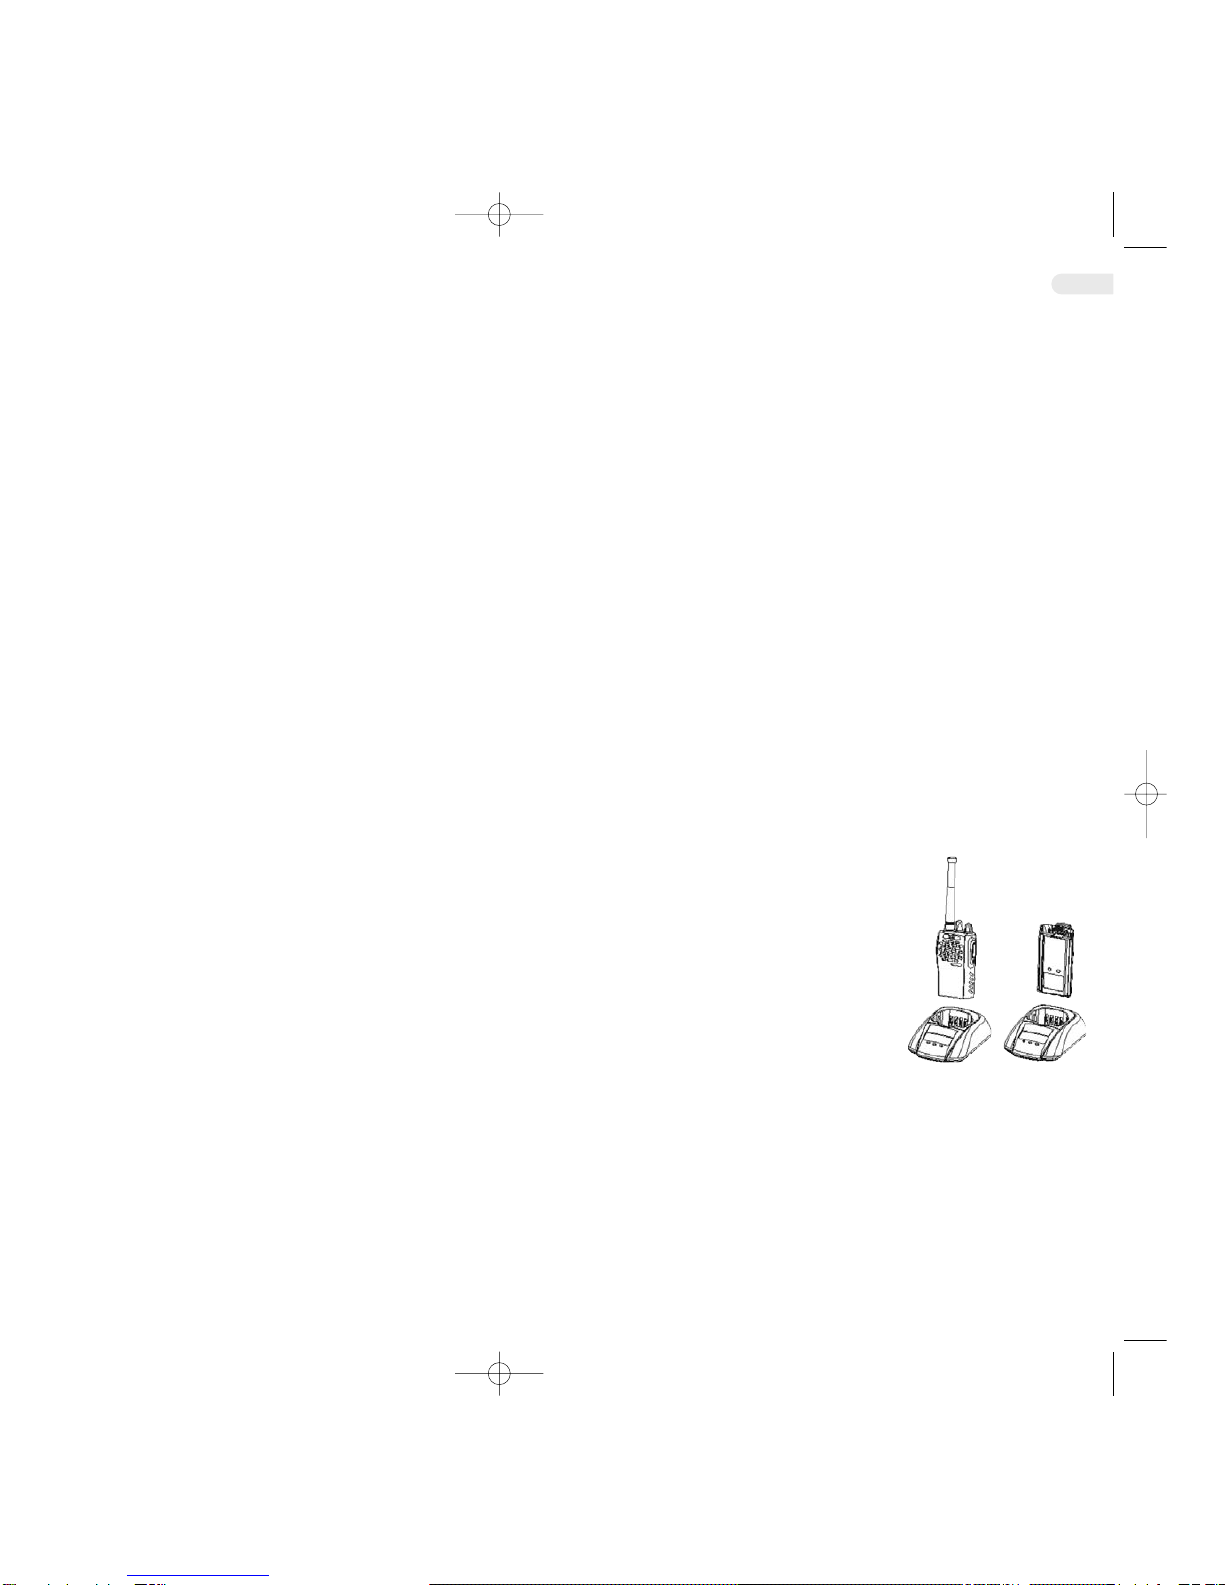
2.4 Charging the Battery
Anew battery, or a battery the power of which appears low power indi-
cator displays one bar or no bar, needs charging before using.
Red The battery is in the state of charging.
Green The battery is fully charged or the charger is not
not connected with the battery.
Flashing red Ready for charging.
Yellow The battery temperature is abnormal.
Dim The battery is damaged and unable tobe charged.
1) Connect the power adapter with the bat-
tery charger. Plug the adapter into an AC
wall outlet and the indicator turns green.
2) Place the battery or transceiver into the
charger slot. The indicator turns red or
flashes, then the charger gets in the state of
charging automatically. Charging time
depends on battery capacity. When battery
is fully charged the indicator turns green.
Notes:
1) The battery is not fully charged in the factory, and probably
the new battery is falsely indicated as full charge. Before the initial
use, please charge the new battery continuously for 4~7 hours.
2) The charger will stop charging and the indicator turns yellow
if the charger detects the battery is damaged or if the temperature
of the battery is too high (higher than 50 for Ni-MH battery or 40 for
Li-ion battery).
3) Do not charge the battery longer than the specified time. And do
not charge the battery again if it is charged fully, otherwise, its life
will be shortened or it will be damaged.
GB GB